A&A Frame Assembly Page 10
So I assembled most of the frame and figured out which holes were to be countersunk and on which side. I then went back and started to drill into the holes before putting the screws in there. I chose a drill bit that had a slightly smaller diameter than the thread of the screws. I am not sure what would happen if you tried to screw the wood screws in without drilling a pilot hole. It is possible they may not go in correctly. The only pilot holes I did not get to drill were the ones inside the vertical plates since I could not get the drill inside. I then disassembled most of the frame to get to the holes to drill
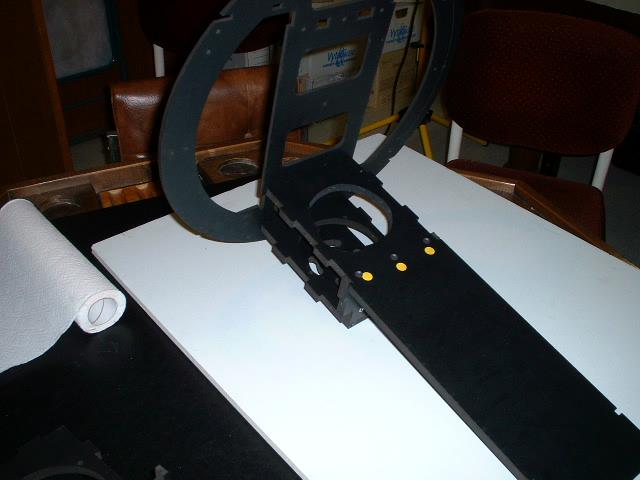
Here is the mostly disassembled frame to access the inner holes to drill the pilot holes. And that would be it for all the holes to be drilled
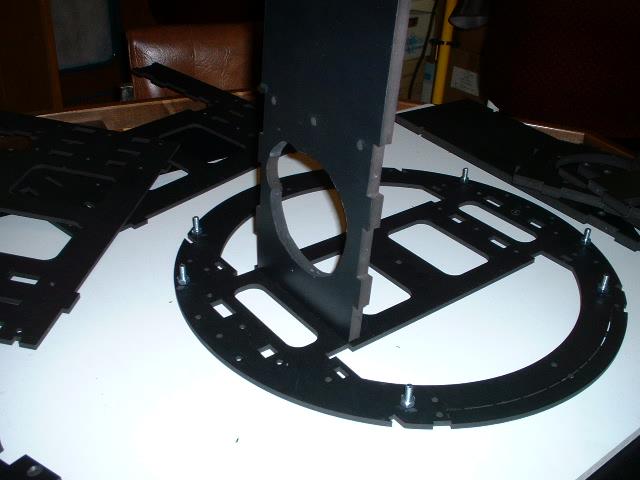
Now to start seriously assemble it. Here you can start gluing things. However saying this in this phase do not glue the top ring to anything yet. While disassembling the frame parts I placed the left and right side parts into their own piles so this process can be done quickly. I did screw the parts together.
You will see assembly of certain parts repeated from before
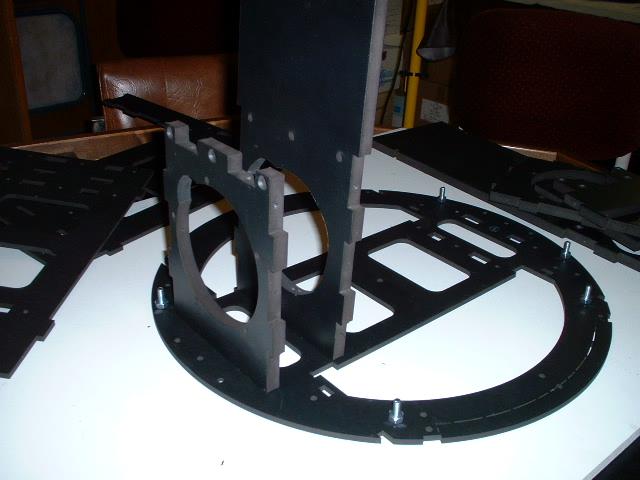
Next is the motor mount
To make sure the parts used are correct I used one of the plates to check.
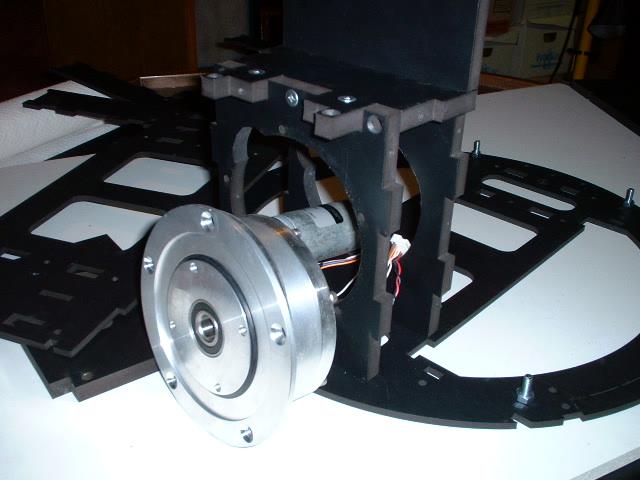
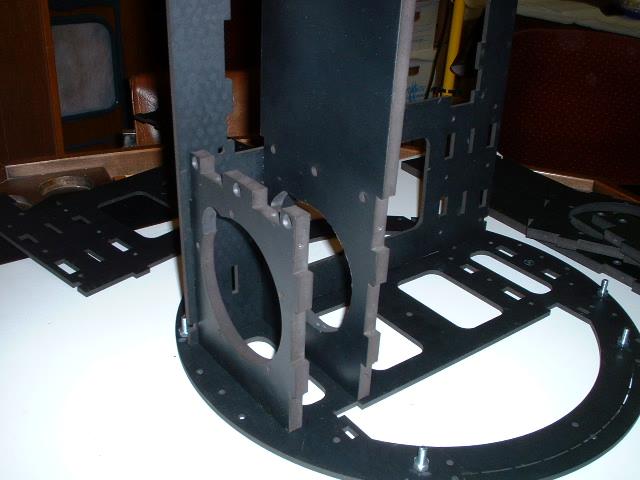
The frame was designed for the satellite motor. It was also designed to allow the motor to be removed. However some of the nuts can be very hard to reach and some have recommended to install the motors at this point. This choice is up to the builder. Here are a sequence of photos to show what the problem may be.
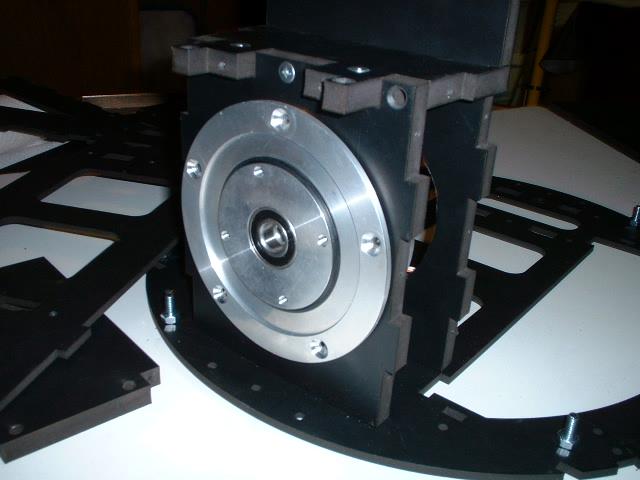
Here is the motor installed

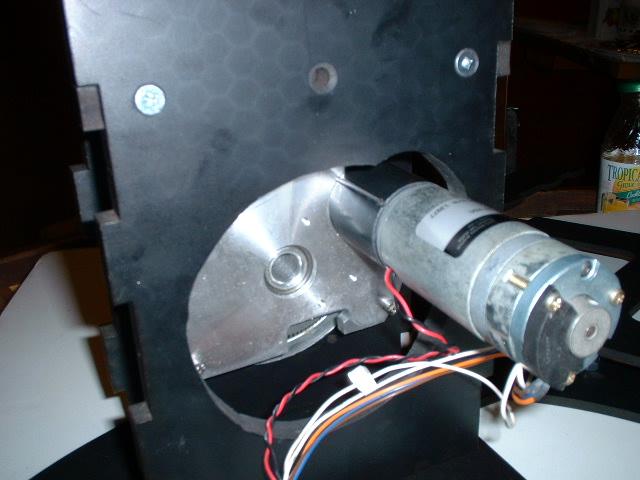
A side view with one of the plates removed
This is the hole you have to go through to access the nuts for mounting the motor.
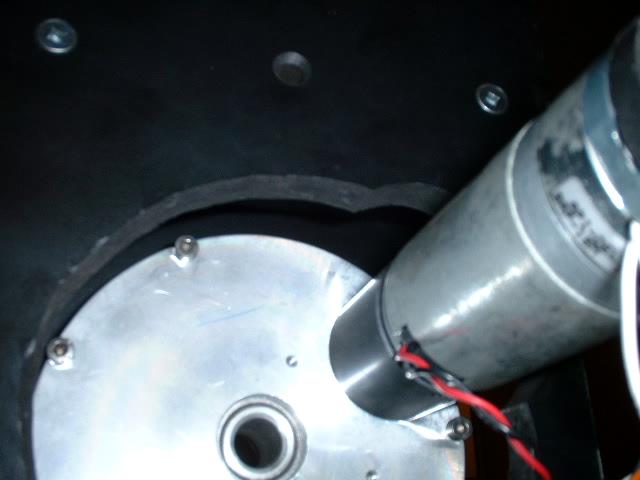
Another view of how tight it is to get into for the motor mounts
Well it isn't over yet. Now you have to go to Page 11
[ Prev ] [ Next ]