A&A Frame Assembly Page 9

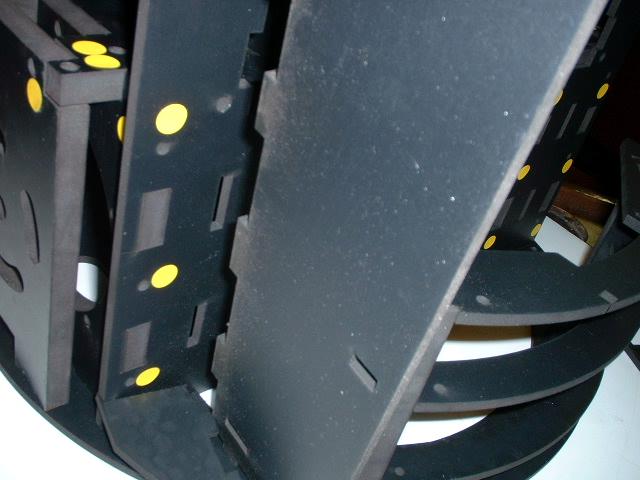
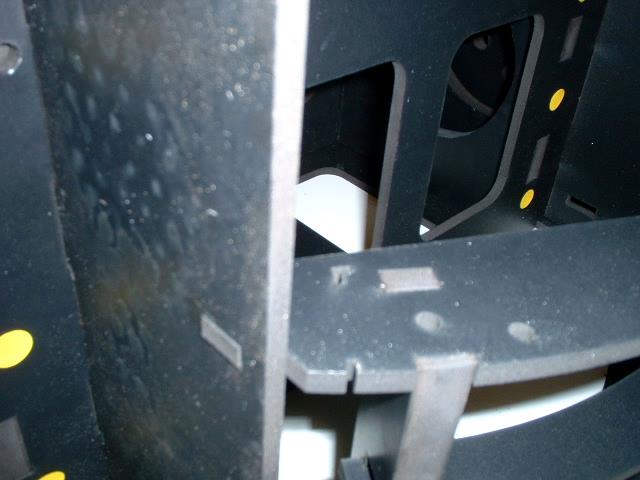
Now we are making the insides of the large vertical doors. Here are the pieces. Note that these are very similar except for the cutout that is a support for the bottom of the arm carrier.
The part is positioned close to where it is to be installed
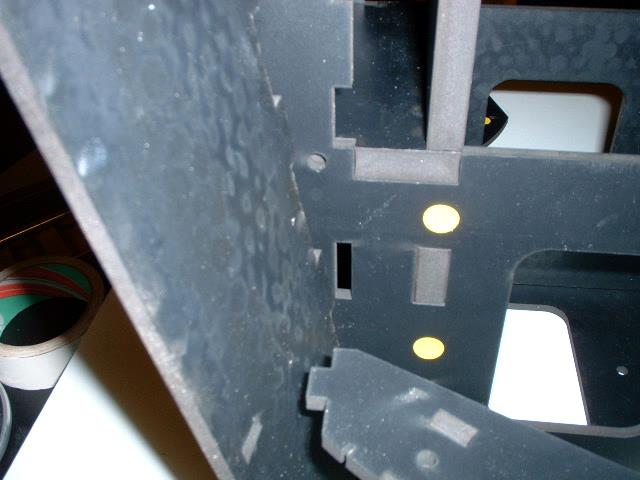
On the arm carrier side you can see where the notches line up
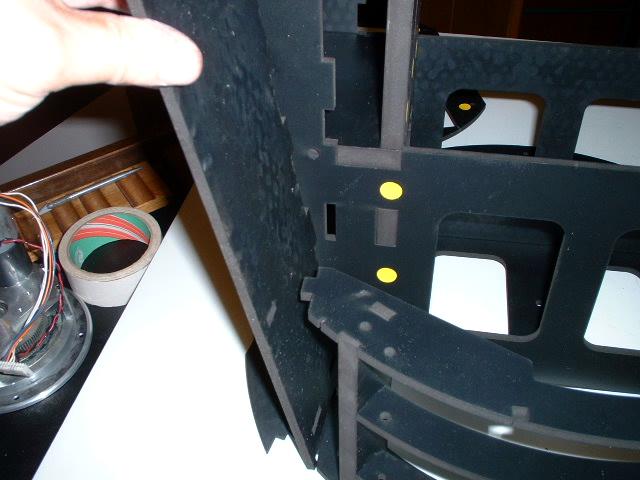
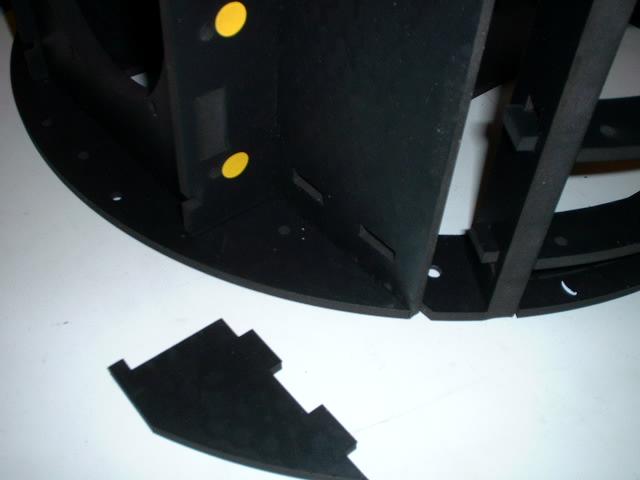
I had to raise the assembly off the top ring slightly to get it on
Here is the part installed
Close up
Next is the top wall of the box. Note that 3 of these parts has a hole in it that has to be opened up to allow the coupling to pass through it. In this case no modifications need to be done

Here is the part installed. It should slide right in
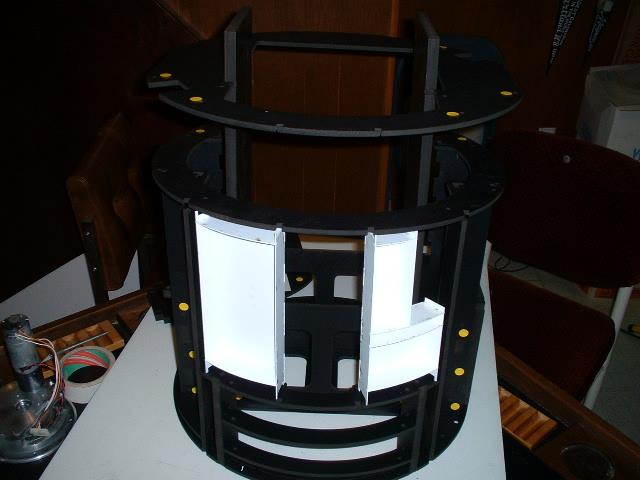
We now put in the styrene boxes we assembled earlier. There are small cutouts in the bottom of the arm carrier that the boxes will fit into.

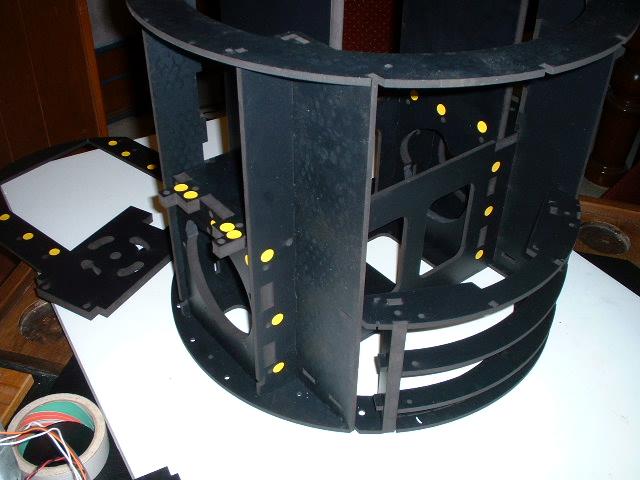
Through the magic of digital manipulation ,this is what the frame would look like right side up so far. Here is where the orientation of the middle ring is paramount to make sure the slots for the styrene boxes go in smoothly. The bottom skirt ring is fairly straight forward for which holes are to be countersunk. All of them on one side is to be countersunk. Next since there are no keyed areas in the bottom skirt ring the pilot holes to be drilled in the vertical supports must be done carefully to make sure the edge of the vertical support is on the edge of the opening in the bottom skirt ring.