Tamiya 1:20 Ferrari F2001
69.jpg
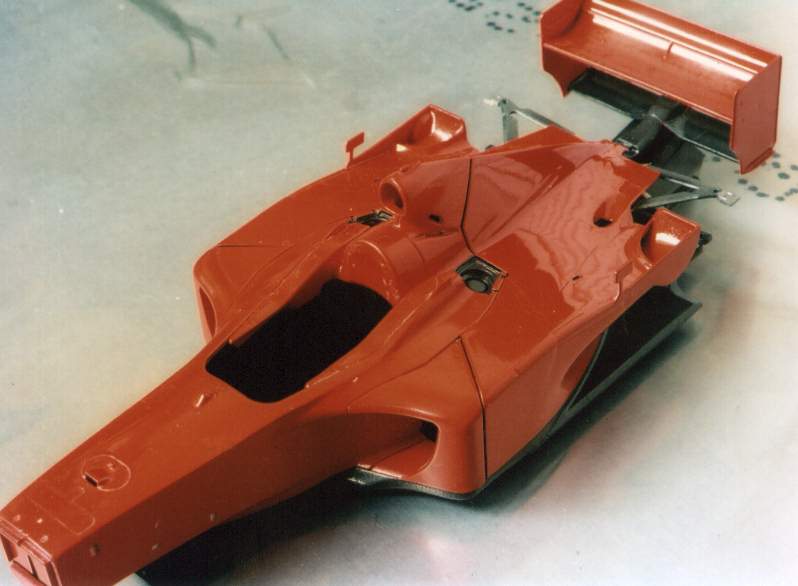
Here is a test fit of the body panels after painting. Everything looks fine. This will change as you will see later.
70.jpg
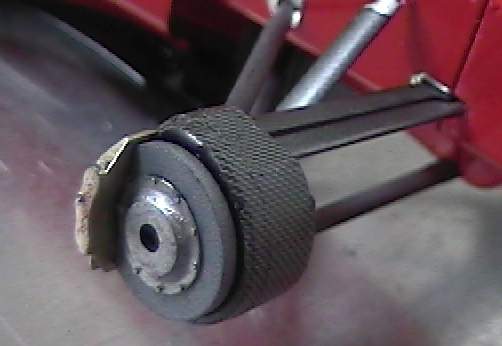
Here is a close-up of the front brake area. I have not devoted
much time to this area as the wheels will be installed and little detail can be seen here. If I was going to leave the wheel off I would add more detail.
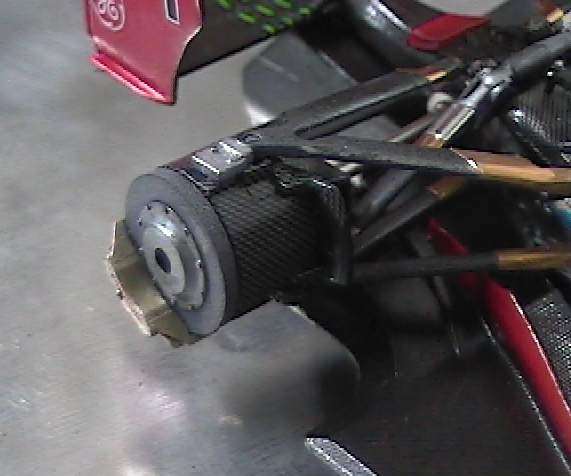
71.jpg
This is the other view showing the air intake and a slightly better view of the CF decalling. The decals used here are
Modellers and do stand out a lot more than others I have used.
72.jpg
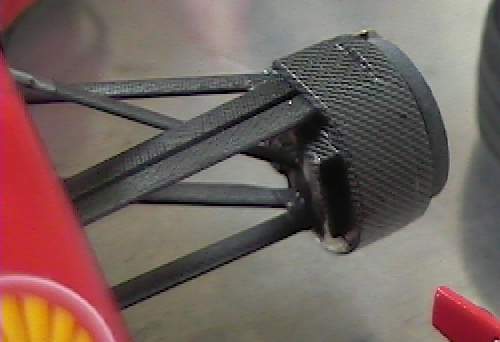
Here is the rear brake area.
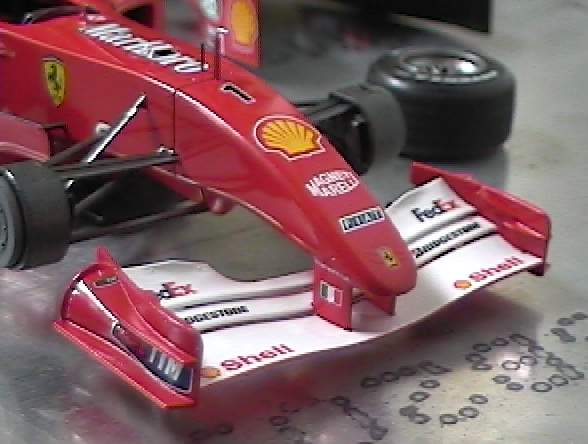
73.jpg
This is the front wing all decalled up The white area is the kit decals and are fairly opaque.
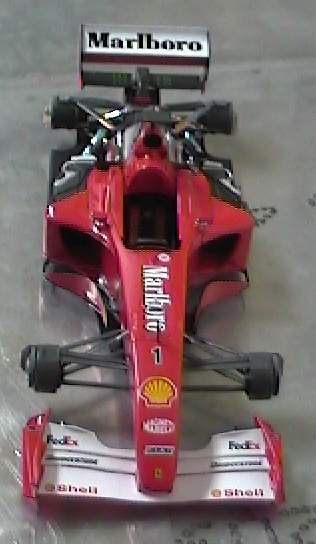
74.jpg
Here is the overall car. The car is standing on the clear supports provided in the kit. This is why it looks like it is floating. I decided to take a few overall pictures with the wheels off since it looks interesting
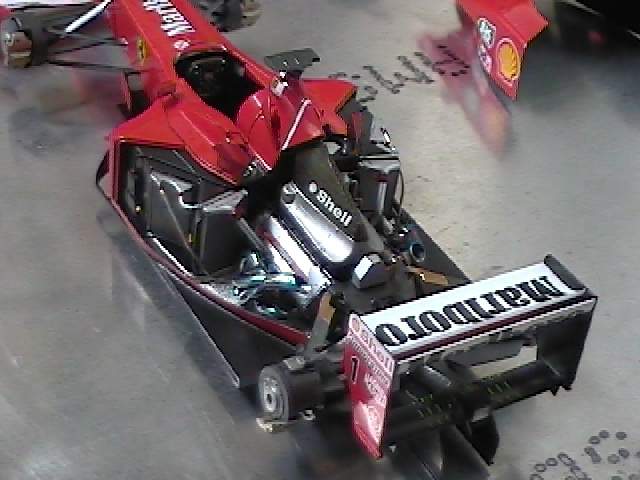
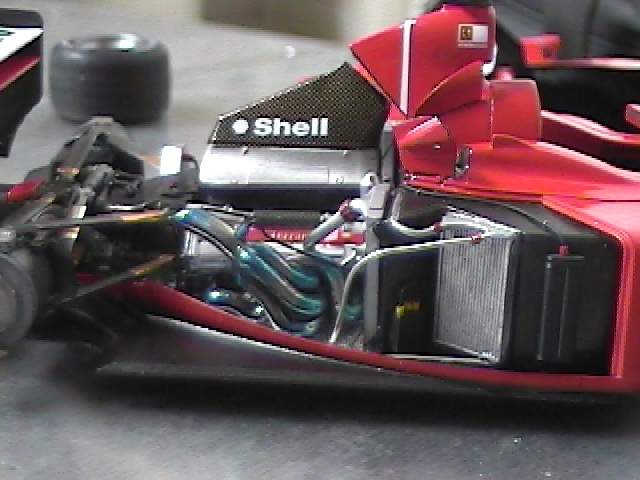
75.jpg
3/4 shot of the engine area
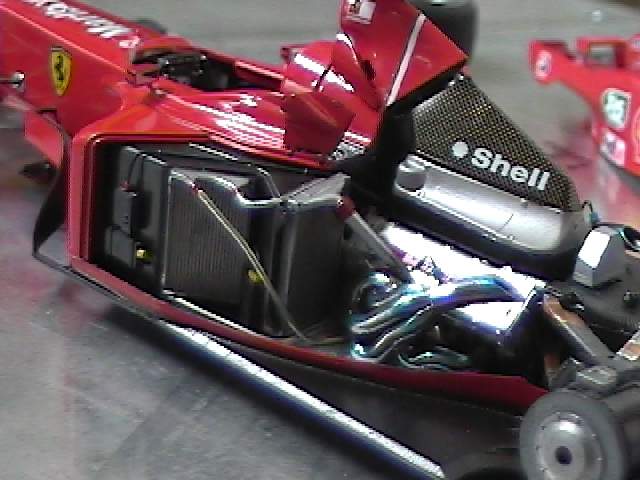
76.jpg
Close-up of the rear engine left side. I have painted the kit exhaust pipes with Alclad II chrome. I then applied a wash of Tamiya clear blue. I used this method along with clear red to very good effect on the F1-2000. See my tips section under detailing exhausts for a more detailed explanation of this method. I find the results very impressive.
77.jpg
The right side of the engine with some minor wiring
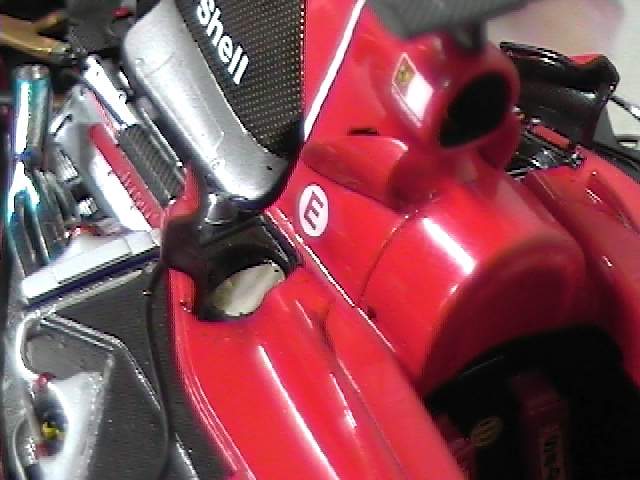
78.jpg
Close-up of the fuel port on the right side with the kit supplied chrome PE insert. I had a bit of a problem with the fit of the PE part due to paint buildup. This also meant the decalling problems I had here are covered up.