|
Tamiya 1:20 Ferrari F1-2000 |
|
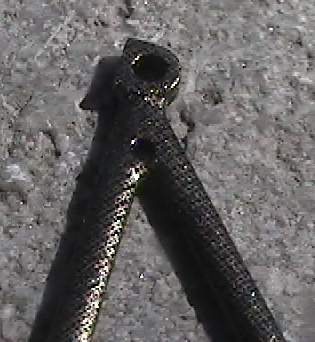
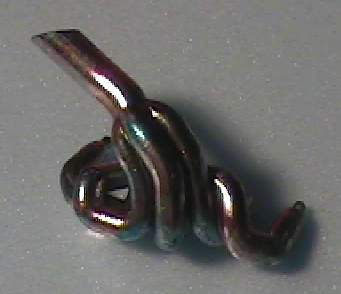
Here is a super close up of the bronze colour. As in the previous case you can obviously see the pattern. This picture would be equal to your eye being 0.5 inch from the part. |
|
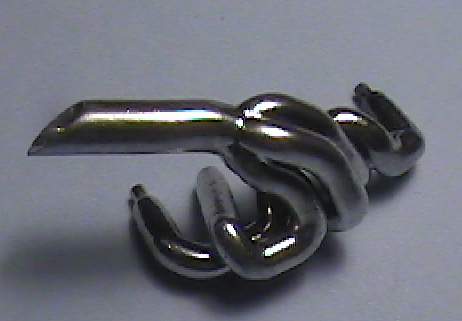
Sept 25 2001 These next few pictures will outline the process I used to paint my exhaustsystem. Here is the kit part after some minor sanding and filing and then painted with Alclad II Chrome. Excellent finish. |
|
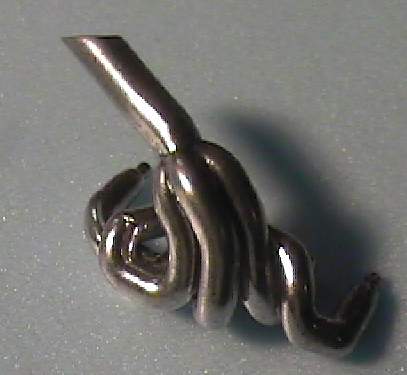
Here is a secnd view of the Alclad II covered part |
|
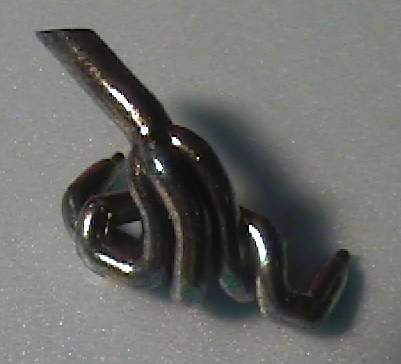
You can bairly see it but I have now painted parts of teh exhaust system with Tamiya clear blue thinned with rubbing alcohol. I applied paint to the end of the pipe and anywhere there is a change in direction of the pipes. |
|
Next I added some Tamiya clear red to locations right beside the blue. I used less red than blue and tried to mix it in with the blue areas |
|
|
|
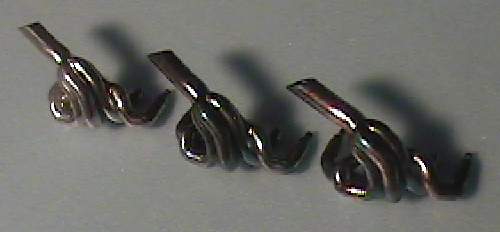
Here are al three steps side by side with the bare Alclad II at the left |
|
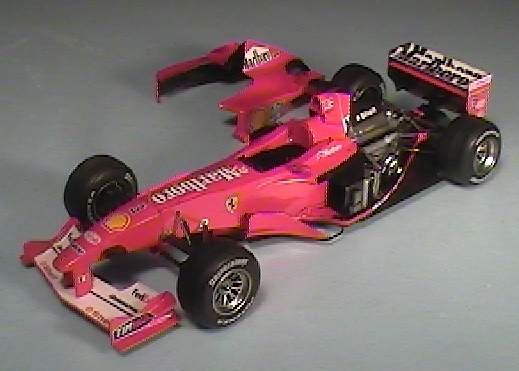
BadaBing all Done. A few late nights there to get this done for a contest. Not 100% done but it is hard to tell by the photos. Here is the beast. The fit of the parts are so fine that the nose is not glued in. The front monocoque is also not glued to the chassis. You can count also the front and rear suspension that is held in place by the tight fit of the parts. Painting actually made some parts hard to assemble. These include the rear wing to the gearbox, Wheels to the suspension, mirrors and one of the lower suspension parts. My painting method made sure that there was not excessive buildup of paint where the rear engine cover meets the body. What I did was to tape the rear body and main body together after the parts were primed. This way the coats of white and red did not get a chance to build up and caus panel fit problems. |
|
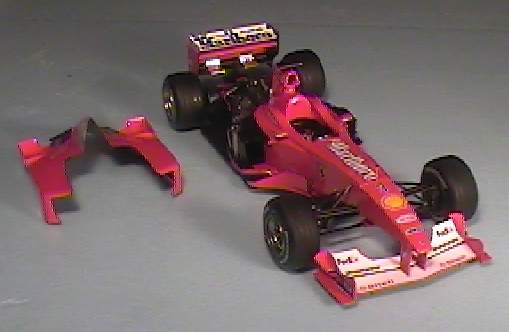
Close Up of the engine area. I know for a fact that one of teh rad pipes is in the wrong place. I did not have time to correctly plumb the pipe so do not use my photo as reference for your own plumbing. |