|
Tamiya 1:20 Ferrari F1-2000 |
|
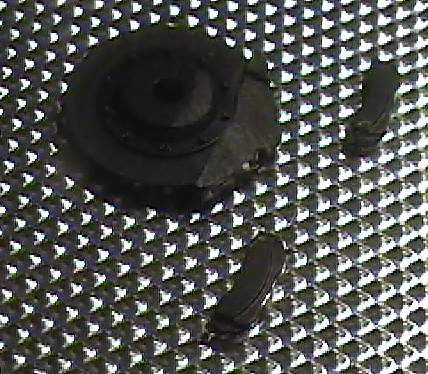
Here is the kit part with the two edges cut off with a hobby saw blade. The two small parts are then filed down to a thickness of 0.020" |
|
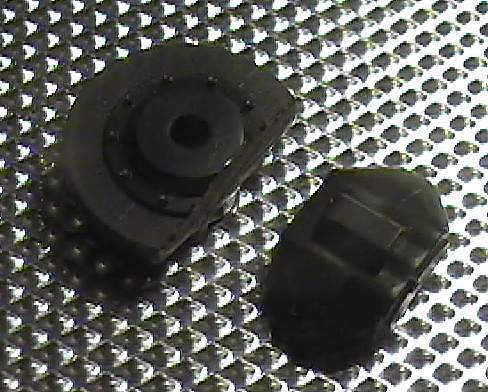
Here is a second kit part with the entire caliper cut off. This will mainly be used for comparison purposes. |
|
The bottom right part is the start of the detail project to return to a more detailed caliper than the one in the top left corner. |
|
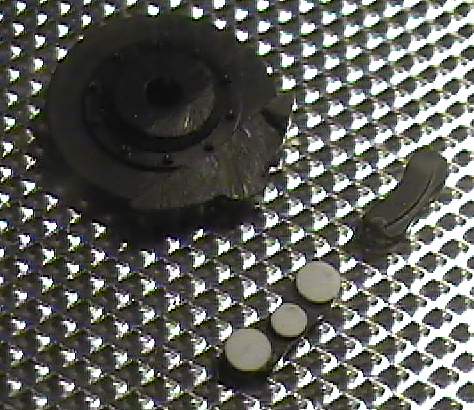
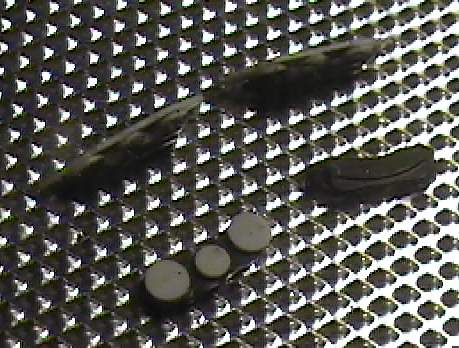
I then glue 3 disks I punched from 0.020" styrene. If you look closely at reference pictures 1, 2 and 3 you will see the recess and channels in the calipers that I am trying to replicate with the disks.
|
|
The next step is to put a large sheet of 0.020" styrene over the disks to trap them. The picture isn't clear due to the black plastic. The bottom middle part is the kit part with the disks turned over. The part to the upper right of the first one is the outside of the caliper. The two upper parts are the modified kit part with the disks sandwiched between the kit part and another sheet of 0.020' styrene. |
|
Sept 2 2001 There is a contest in 2 weeks so I am going to try and finish off one model out of the box. |
|
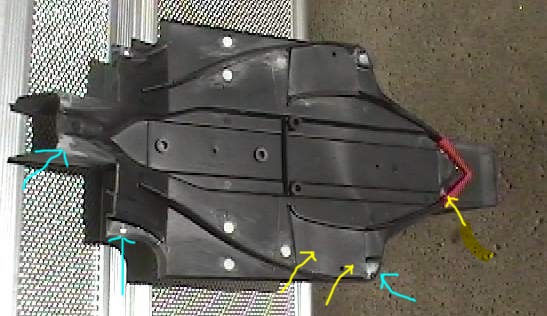
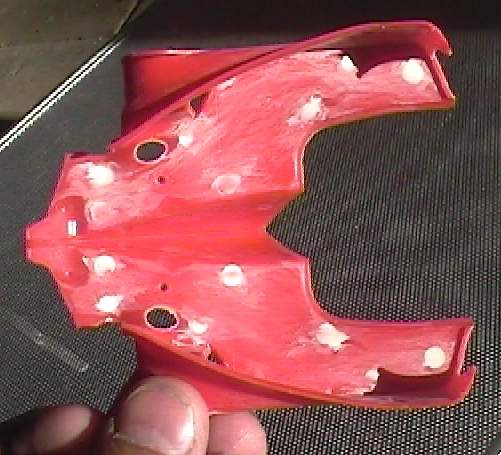
Here is the undertray partially assembled ready for painting. The yellow arrows show where I didn't have to fix the ejector pin marks. The green arrow to the right shows an ejector pin that I missed. The green arrow to the left is the putty added when the rear diffuser was assembled. |
|
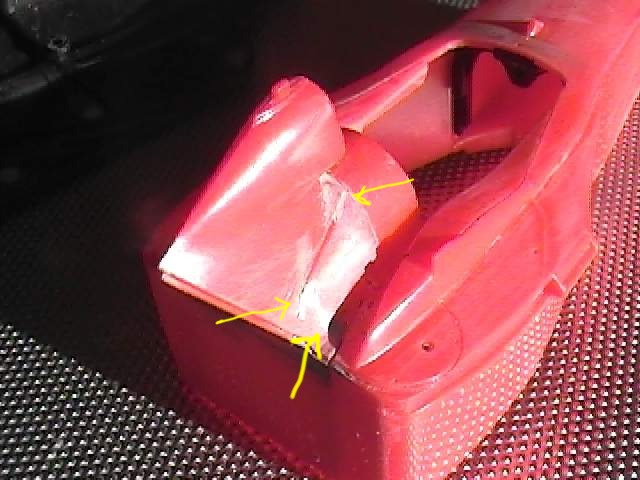
The yellow arrows show where I had to putty to attach the airbox. One has to be careful in this area to make sure the puttywork and sanding is clean without damaging other areas. |
|
Fill it in this line as it is not a panel line. |
|
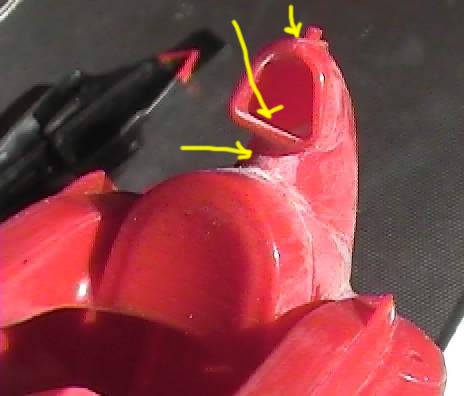
Inside the airbox and just underneath the intake are a couple of areas that are not easy to putty and sand. Specific needle files are helpful here. |
|
|