|
Tamiya 1:20 Ferrari F1-2000 |
|
The underside of the front end that should be puttied. The way the kit is designed it might be actually very hard to see this seam line due to the location and the barge boards. However out of habit I have filled and sanded it. |
|
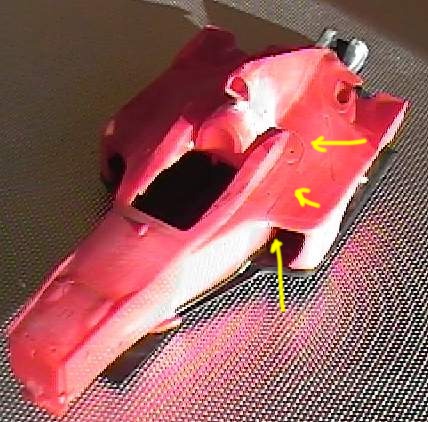
A few more locations of the airbox that has to be filled and sanded. |
|
The fit of the body panels is very precise. There is some worry that when the model is painted that this will be enough that the body panels will not fit. I have some ideas on how to prevent this. I will discuss them later on in that section of the review |
|
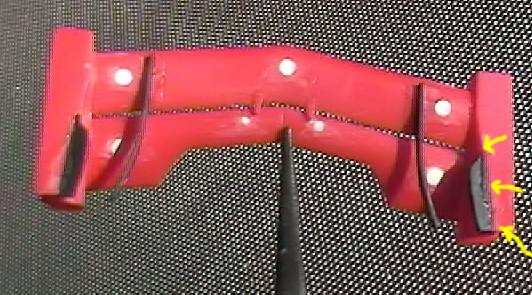
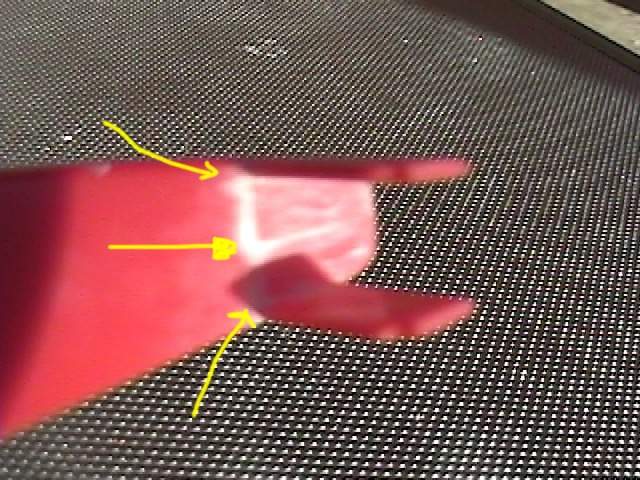
Here is the underside of the front wing with all the ejector pin marks filled.. I have decided to assemble the wing before painting instead of painting the parts separately. The yellow area shows the area that will have to be filled after adding the black part to the wing |
|
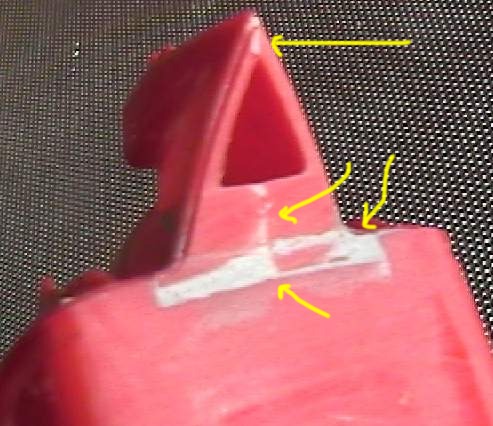
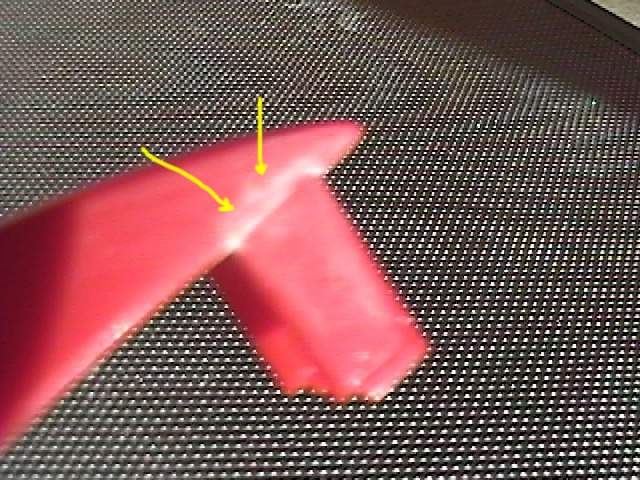
Yes it is out of focus but you still get the idea that there will be some puttying and filling in this area. During the assembly of the uprights, tape the front wing to make sure the uprights fit and that it dries that way. It would be a nasty surprise if the uprights do not fit to the wing after you have done all your painting. |
|
Yes again out of focus but here is the side of the uprights that need to be filled. |
|
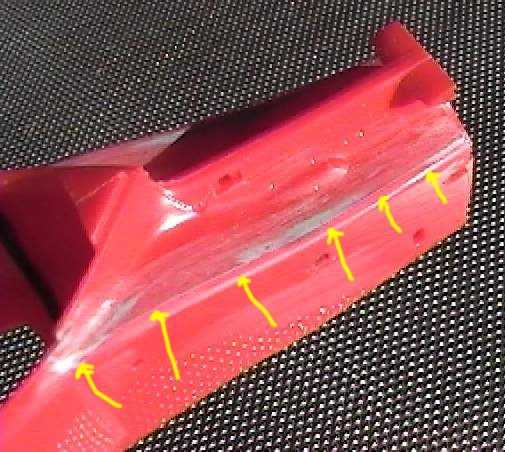
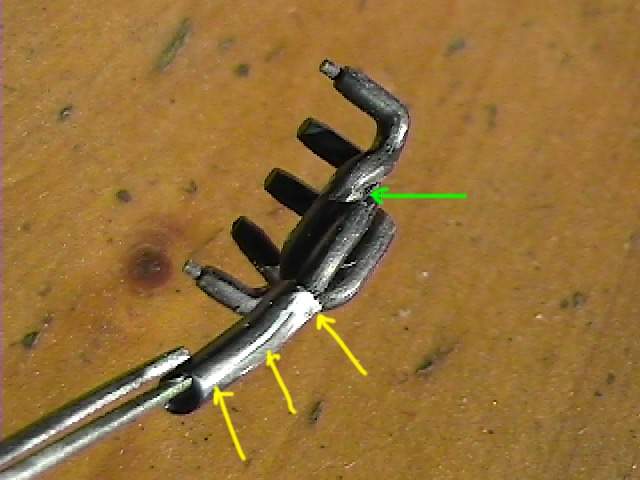
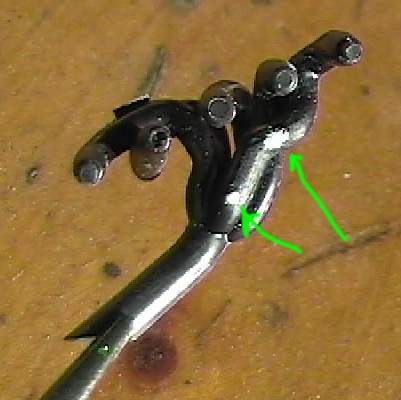
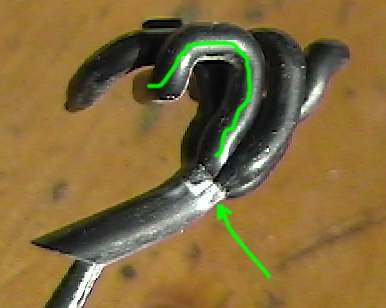
Now here are pictures of the exhaust piping. The arrows will show where I have had to putty seam lines or ejector pin marks. Due to mould limitations there are a couple of locations where you have to do some filing to make the pipe section round. |
|
|