Scratch Built 1:12 Ferrari 156 Sharknose 1961
May 19, 2003
It has been a while since the last update. Burnout and other projects have come in between. My stumbling block on this project was also the engine cooling and wiring system. Lack of references stopped me there. Since the last update MG has released a 1:12 resin kit of the Sharknose. I purchased one of these kits and I am using it for some references.
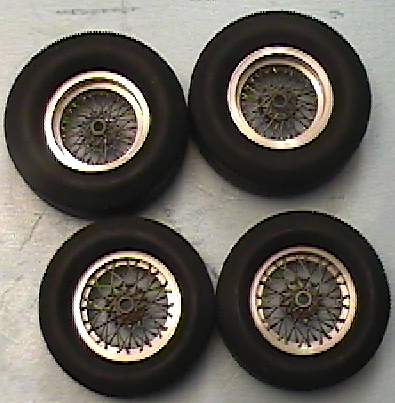
Since the last update I may be repeating some stuff. What you see above and on the following pages are the almost finished wheels. I still have to make the knockoffs.
Pictures were taken with a digital video that takes stills. For this reason some of the images may not be as sharp as before. I don't have a digital camera yet and do not know when I will be getting one.
Tires are painted flat black and the wheels were wired with stainless steel wires. There are small adjusters at the base of each spoke. The middle part is made of resin. I should have made it in aluminum but it would have been hell (again) to drill all the holes I needed
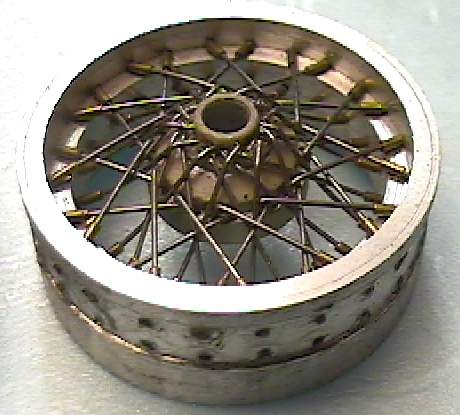
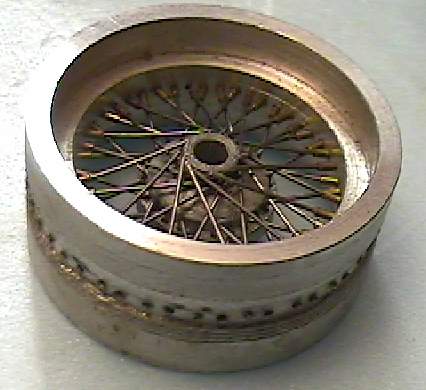
Front and rear wheels. You can see the different patterns and how many holes I had to drill.
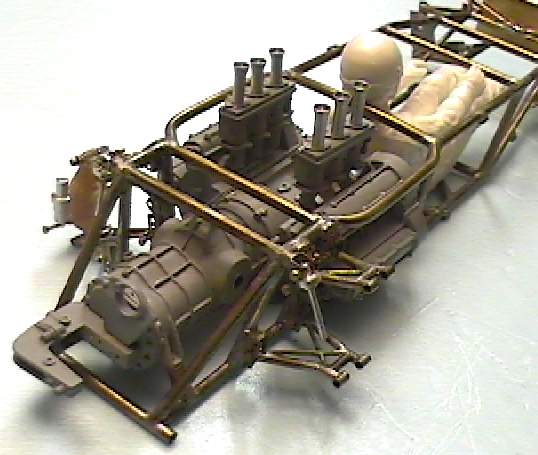
A closer image of the rear of the car and the gearbox detail I am working on.
Side view with the figure in the car
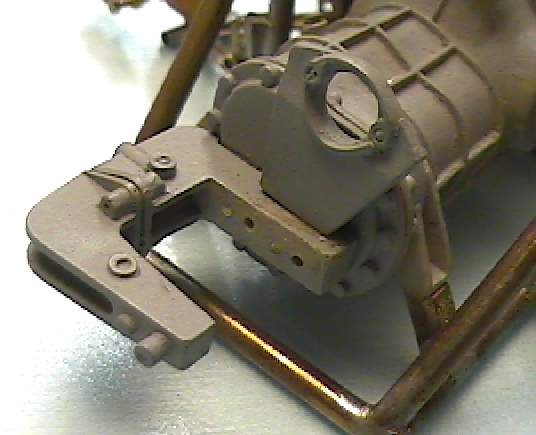
A super close up of the gearbox selector system. The funny looking gear thing has to be still added.
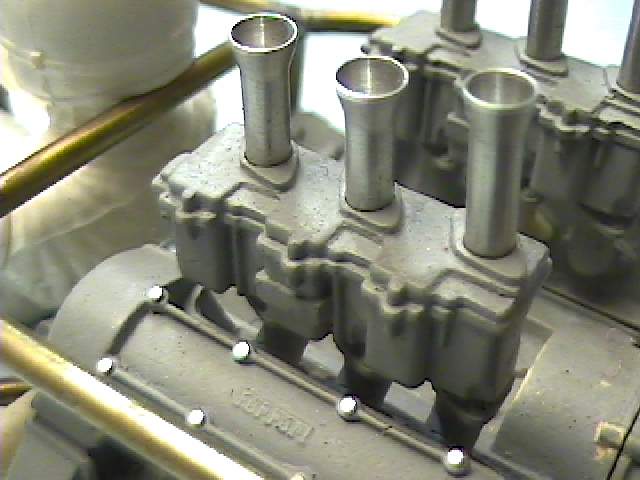
Close up of my carburetors. The intake trumpets are aftermarket items and are not correct. They are placed there for effect.

References showed quite a few different setups. I had it one way and finally decided to show it another. The top shock mounting points have been added and the solder still has to be cleaned up.
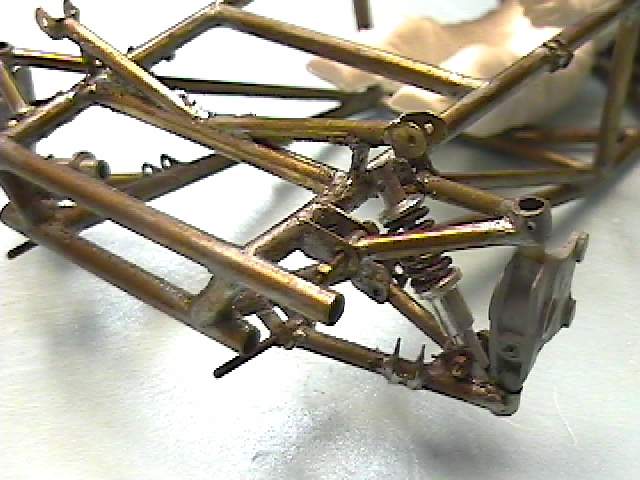
Another view of the new front shock mounts
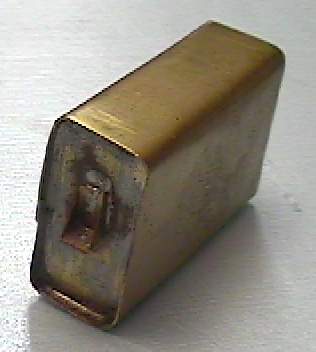
Here is my oil tank (?) This is brass sheet all soldered together. It was a bit hard trying to get the side panel recessed the correct depth all the way around. The side mounting point is brass sheet cut and folded. The other side has the seam line where the brass sheet meets.