Serenity - May 12 2007

Detail looks good but the mould separation line on the right looks quite big. It does look like it is in a good location for easy cleanup

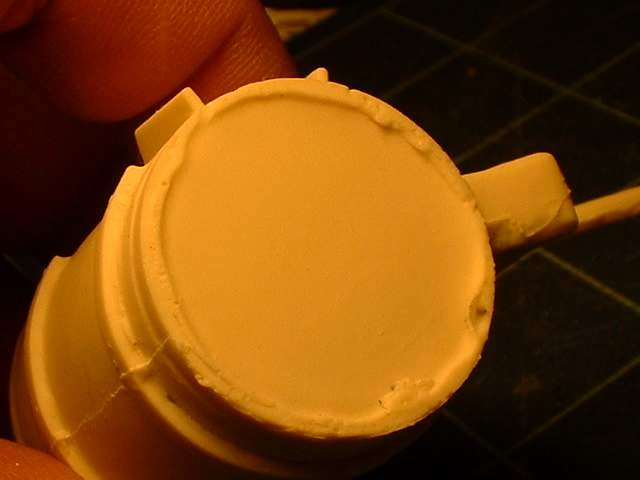
Top detail looks great. For those rivet counters, yes I did miss the light that goes on the very top of the curved section
The other side. A bit fuzzy but again the mould separation line to the left looks a bit heavy

As with the other side the mould separation line step seems a bit large. Funny how that term can be relative. The step might be only 0.001" difference but here it looks like a huge difference.

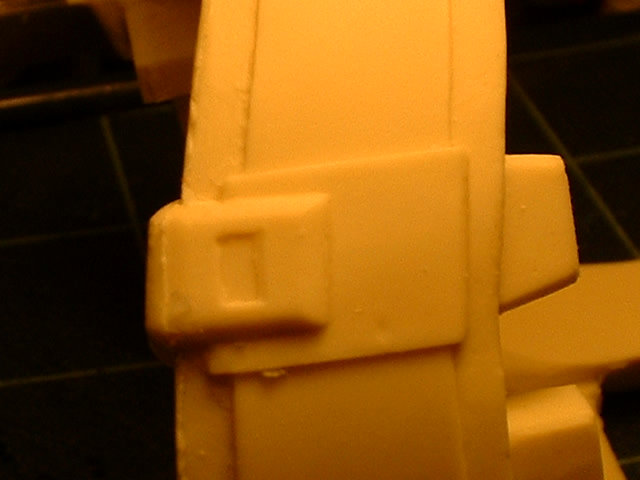
Mould separation line at the edge

Bottom looks OK but may need a bit of work to clean up and fix up. Not sure why it looks like a small chunk was taken out of that edge. I don't think the master was like that

Detail looks good. Mould separation line looks good

Again it looks like a chunk is taken out of the edge. Separation line looks rough

Detail

Flash between the cross members to make removal from the mould easier

Cleanup doesn't look like it will be too bad
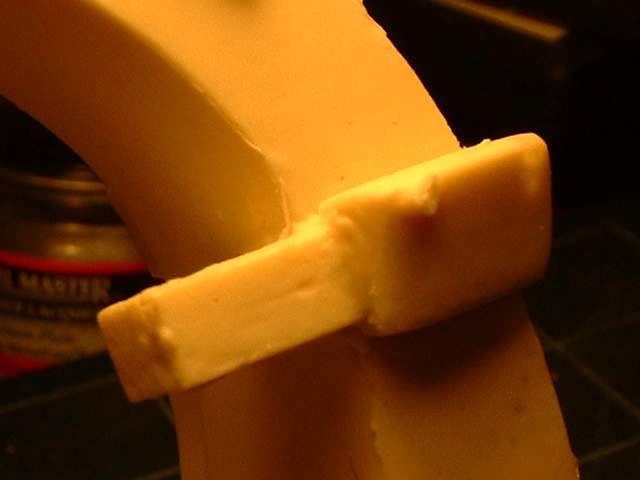
Mounting lug that attaches to the main body

Front side of the detail. Looks good

Other side of the mounting lug. This excess sticking out shows a vent channel location on the mould

The other side

Inner surface

Other side

Inner surface

Other side

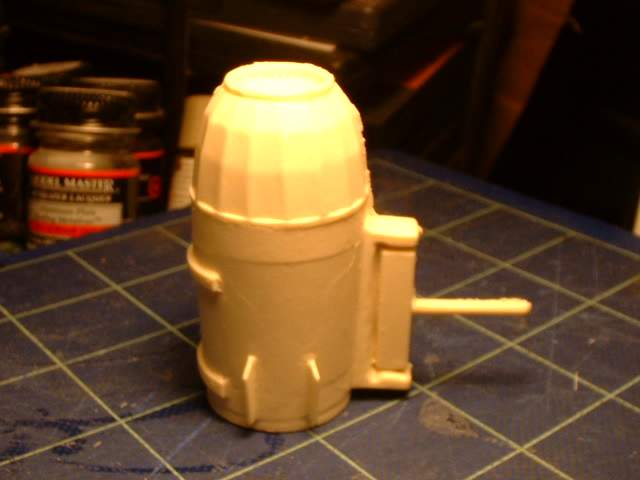
Bottom view

Front view.
A fairly difficult part and even thought ere are some minor problem again I would say it is top notch work.
A the problem pieces. Even though they look simple they turned out to be a bit problematic
This section was glued together to make it easier to assemble. Hindsight says that this should be a separate piece.

The bottom fins are good

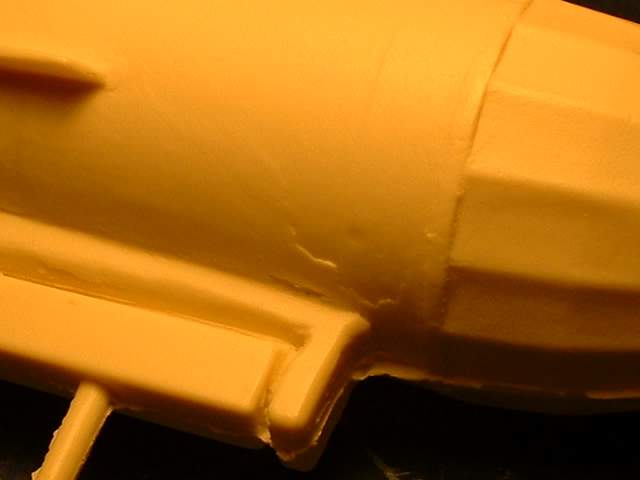
The mould separation line that looks fairly rough. A lot of it is actually hidden behind a panel that will go over the two raised rails

It does look rough.

However the inside is clean and no need to try and clean up the slats. Good choice of mould separation line
The rear just to show all the angles

The other engine