Serenity - May 12 2007
So after over 660 days since I first started I am now at a point where I can start assembling and painting parts to get a complete model
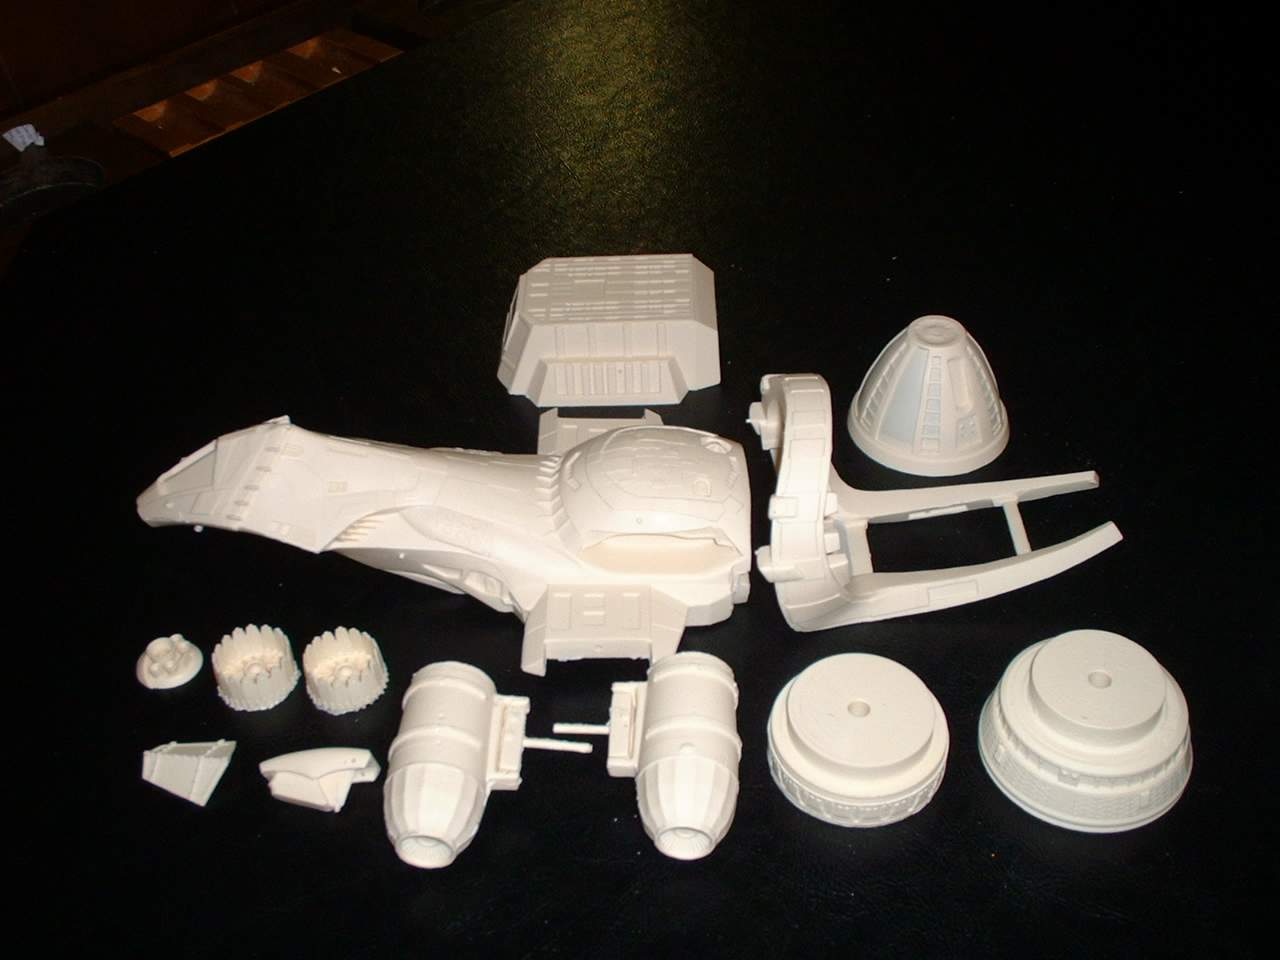
All the parts that was received today to allow me to have one complete casting. Hopefully next weekend I can get 2 more castings
For a complete model these are the parts that I have been casting.
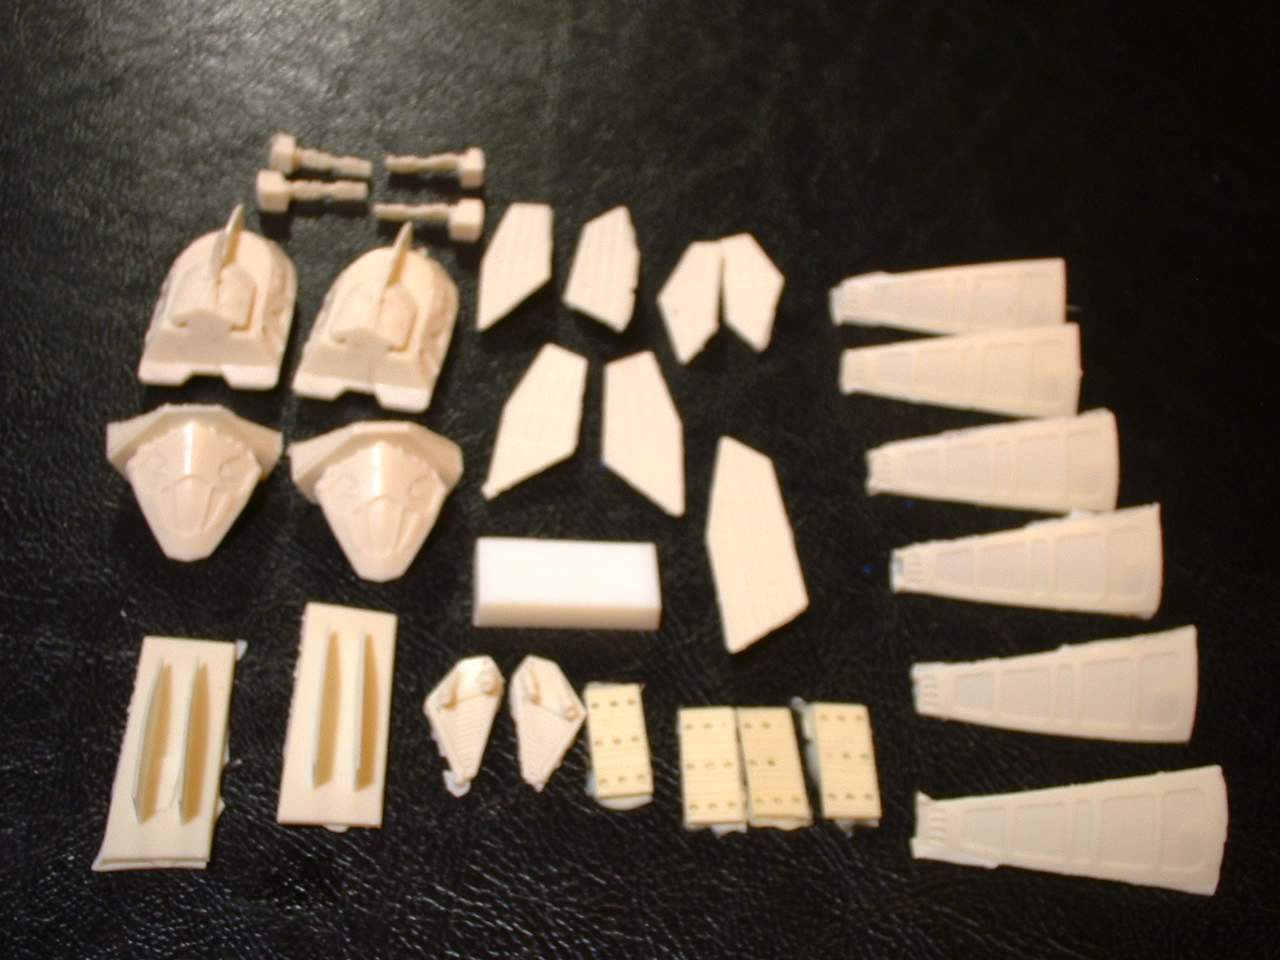
The following is an detailed review of the parts received
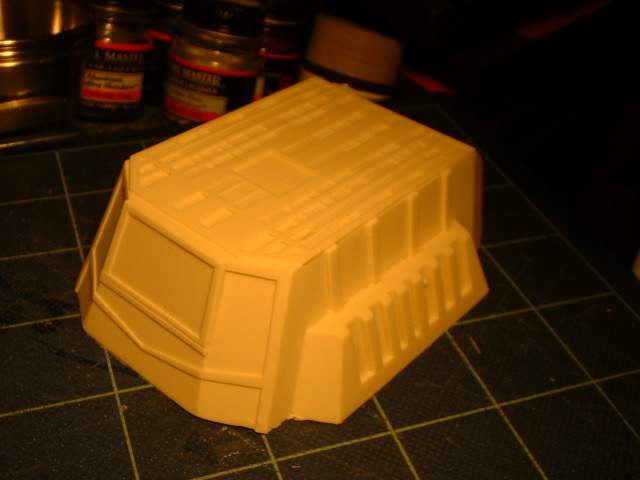
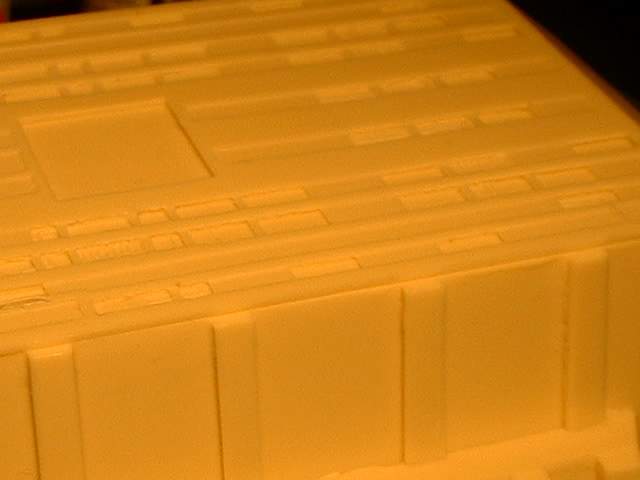
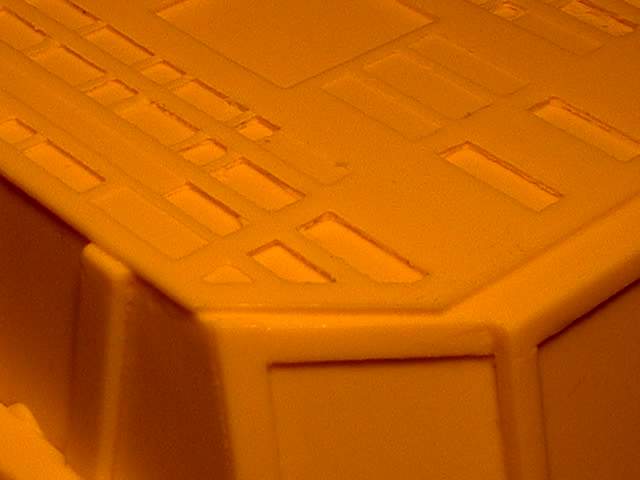
Start off with the cargo section

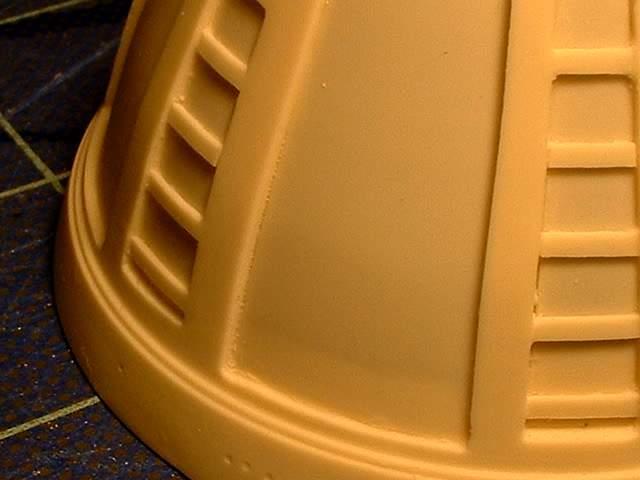
Close up shows good casting
Side with the mounting point of one of the side solar panels
The bottom from an angle
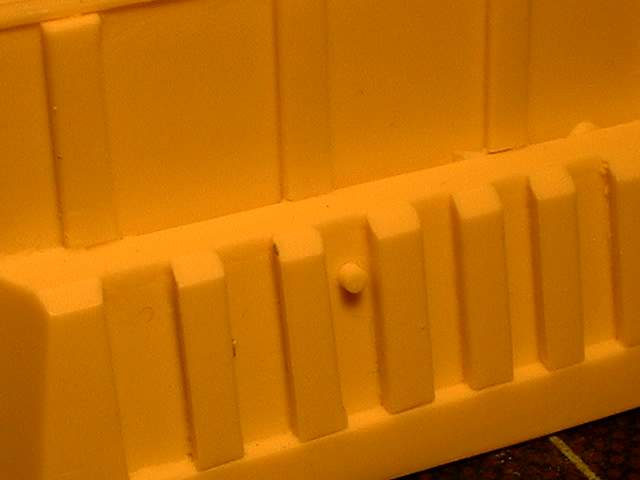
The other side and solar panel mounting tab
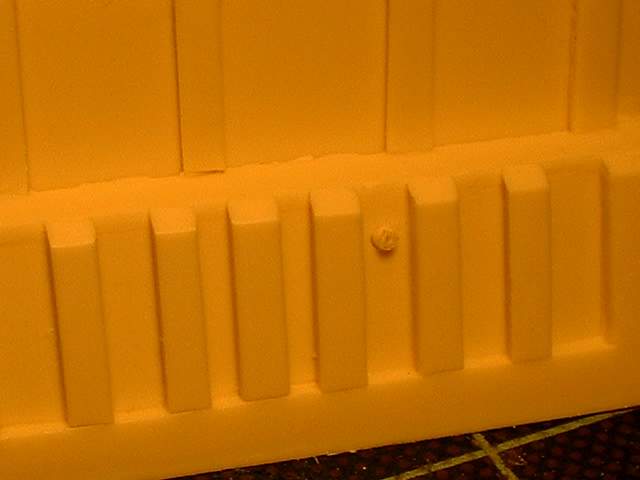
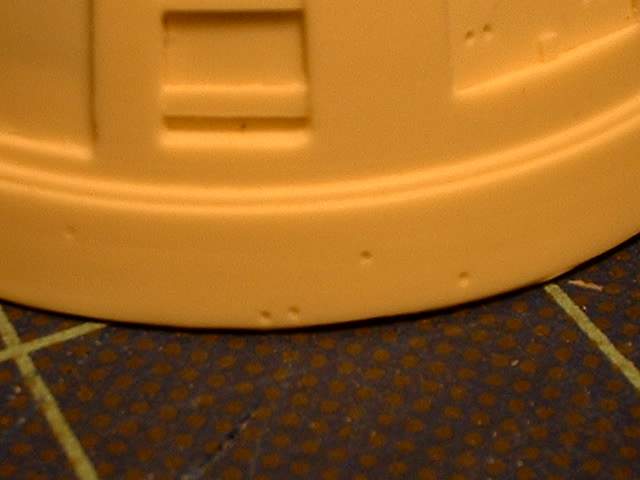
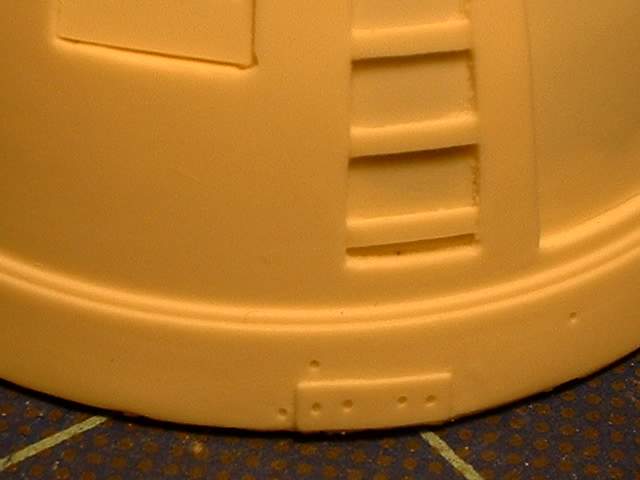
Bottom detail. The photo etch I did for this was not completely symmetrical and one side has good detail while the other side was missing a lot of it. This can be seen in the casting. I was not overly concerned as it was very faint detail and the main relief pattern is good
Another shot
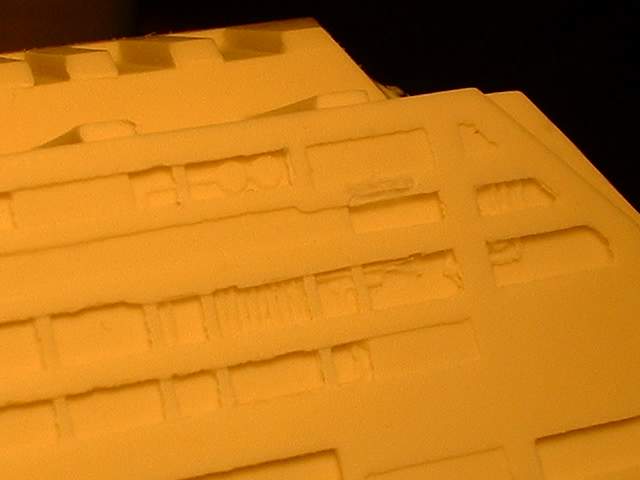
Front corner
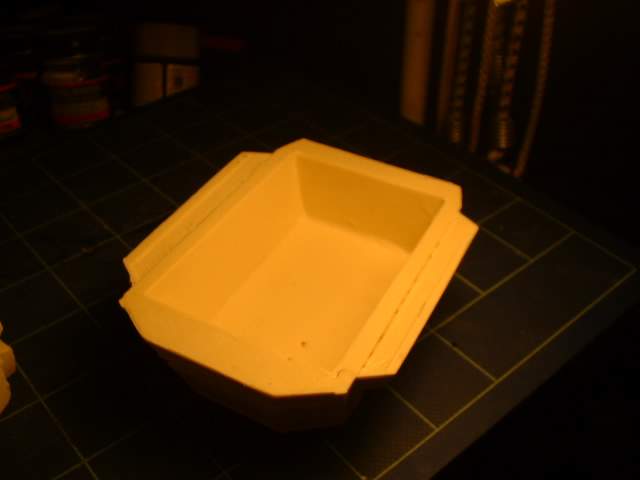
Top side showing the hollowed out inside. In theory it can be hollowed out more. This opening leaves room for some sort of electrical circuit to hopefully add lighting to the engines.
Overall I am happy with the casting and can not complaing. Top notch job
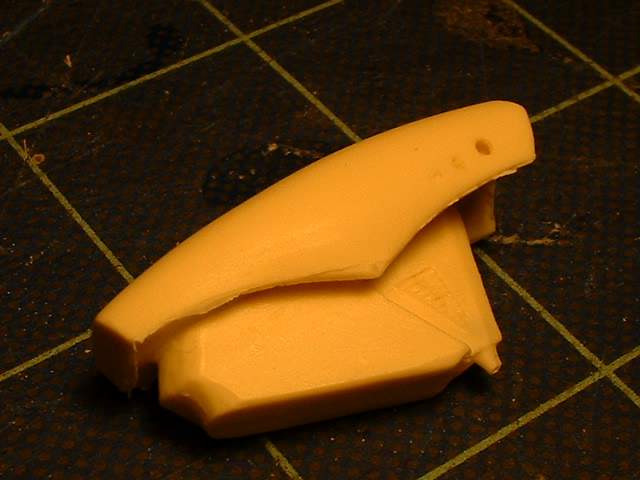
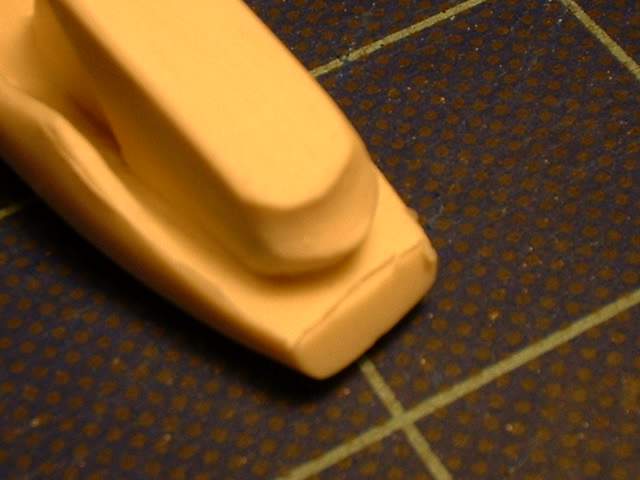
This is the rear wing (?) that goes on the bee hive rear section
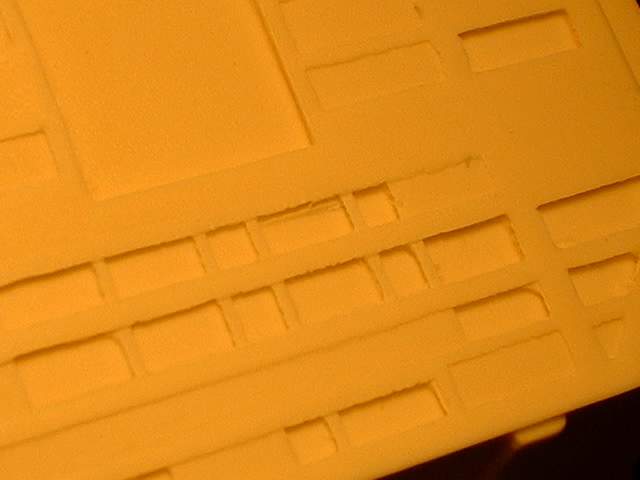
Some of the holes are flashed over but easily cleaned out.
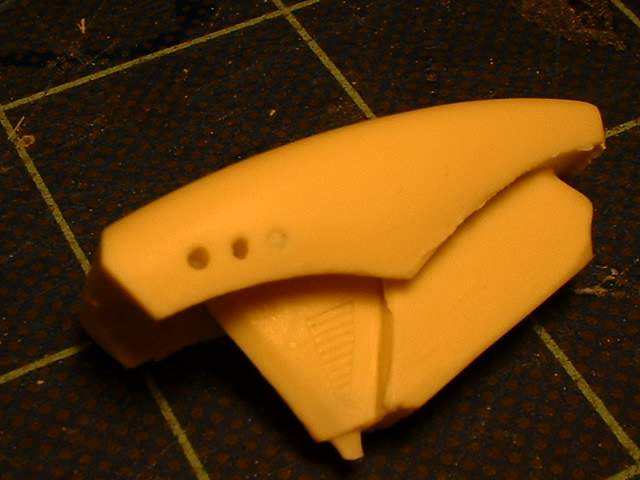
Mould separation lines are nicely located so cleanup should be good
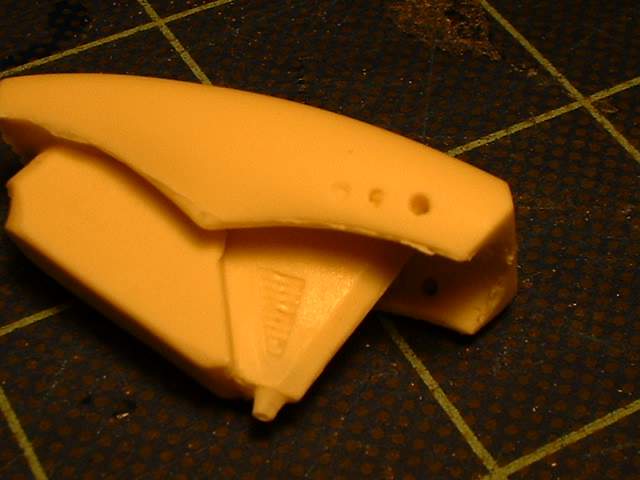
Top detail
Another view

Mould separation line
Mould Separation
Mould Separation
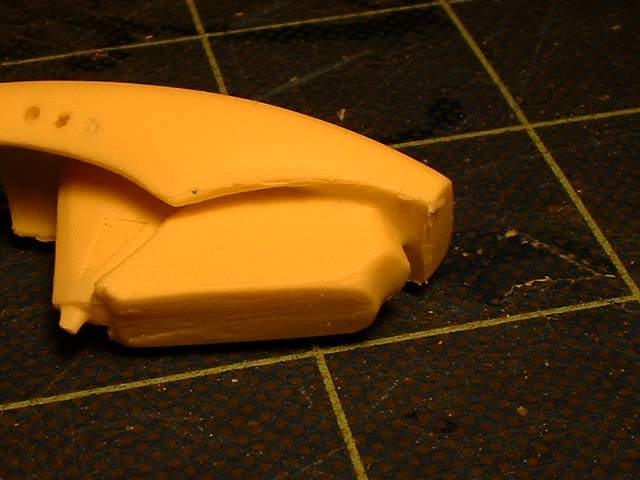
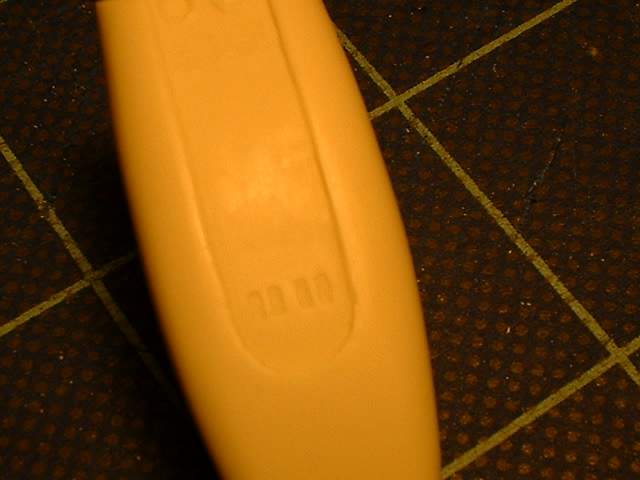
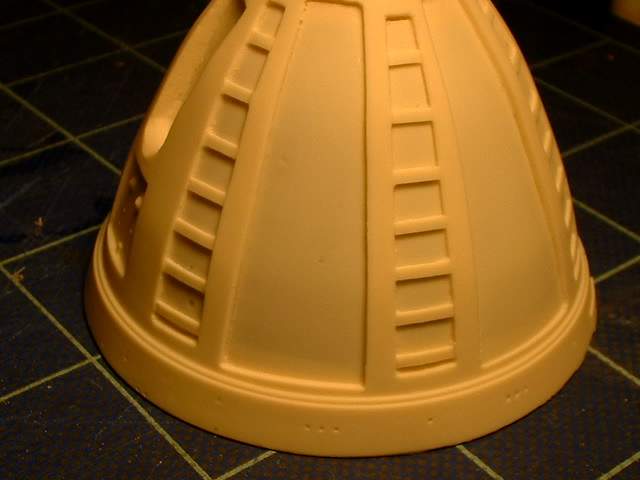
Side vent
Mould separation lines look a bit heavy but locations look good for ease of cleanup. The detail has been captured and the casting looks good. Only during cleanup will we see if things are fine. A test fit shows it will fit in the bee hive cone slot made for it

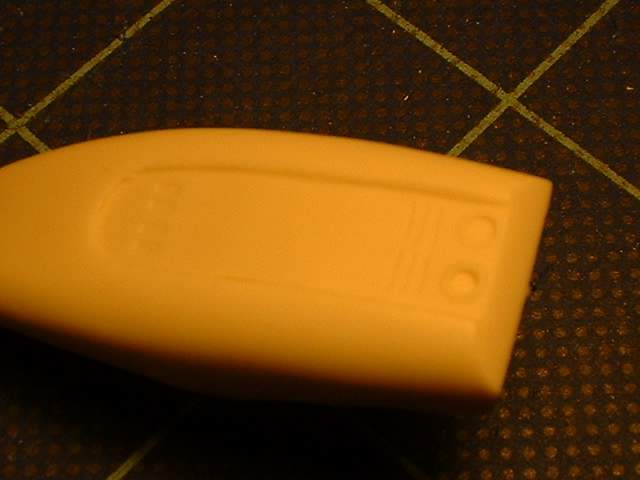
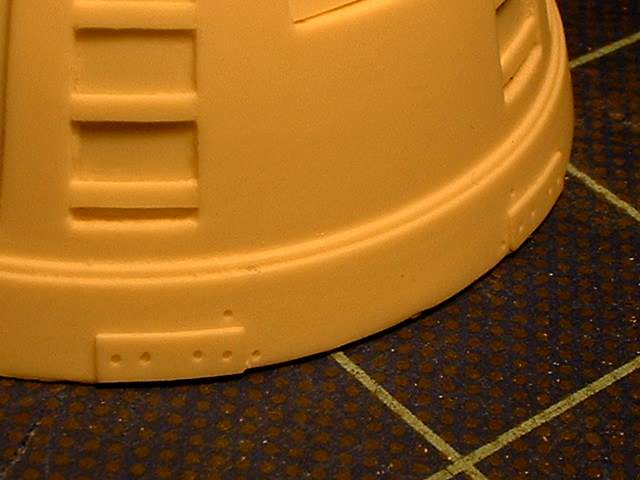
Bee Hive cone
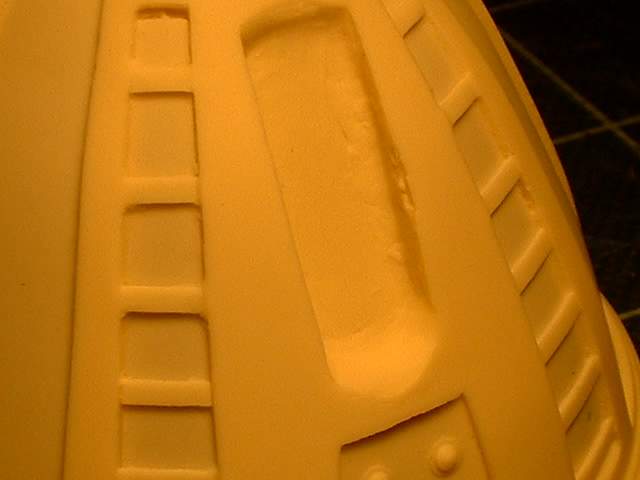
This is the recessed area the previous part goes into. The fit is good.
Detail has been accurately reproduced
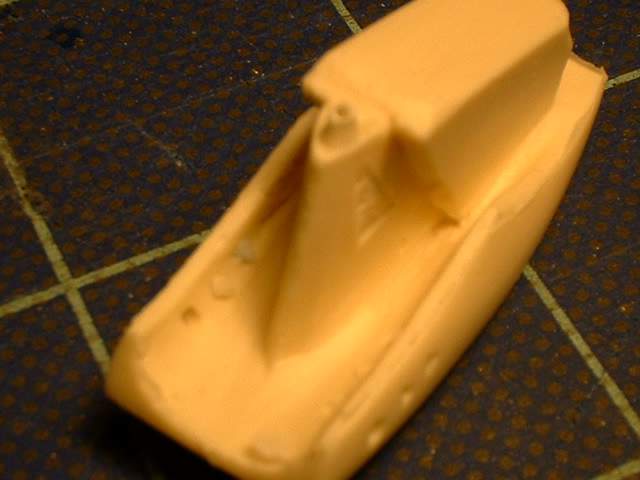
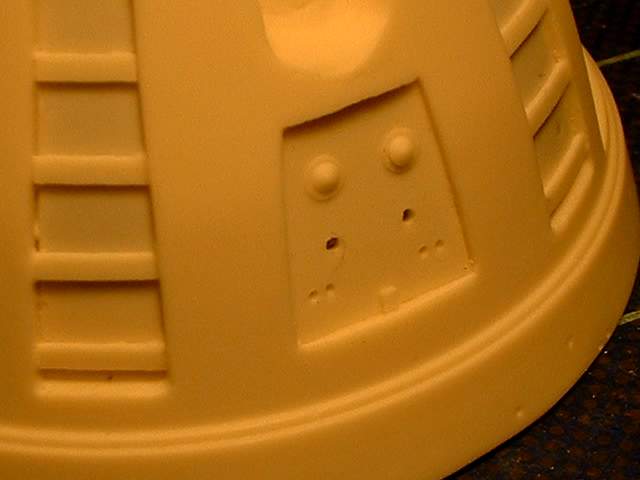
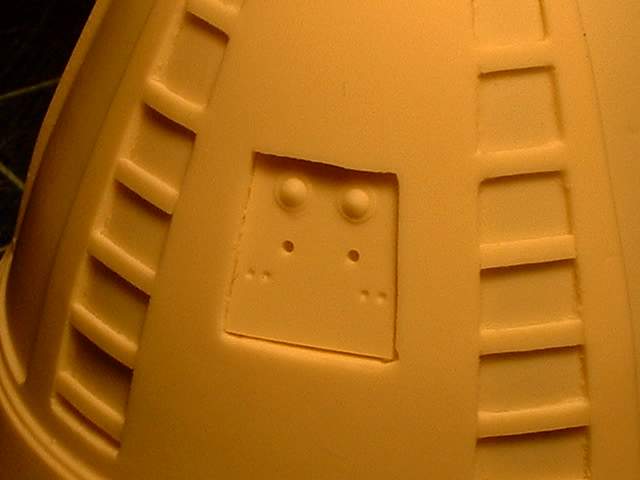
At first I thought those little holes were bubbles which surprised me as these items are pressure cast. Then I remembered that these are the locating holes for the tubing and piping on the rear section. They are reproduced very well
Everything looks good
more views
Uncerside
More views
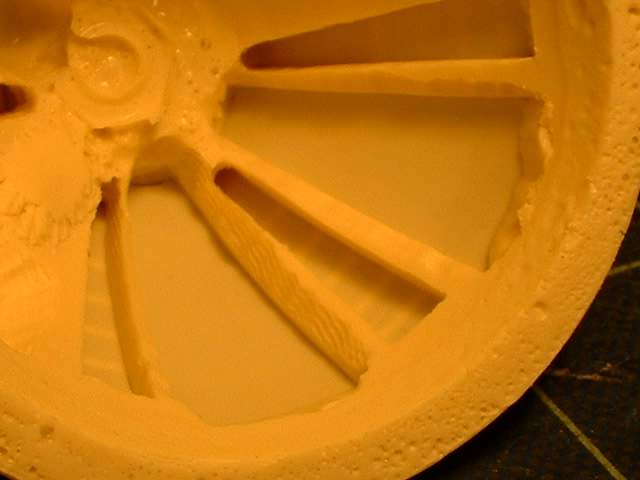
Inside view which actually reproduces the way I had left it. I had to cut into the side walls to add the thin sections. This left the inside a bit of a mess that I guess could use a bit of a cleaning. You can even see the relief of where I glued a nut when I was screwing the end onto a threaded rod I had attached to the main body.
Onto Page 2
[ Prev ] [ Next ]