Serenity - May 12 2007

some more views of the inside and how I cut through the walls to add relief details and such
One of the small recessed areas cut through and then a side wall built up

You can see the relief of where the nut was glued in

Held up to a light to show how transparent the part is with the hope that if it is lit from the inside then thin sections will glow like on the ship. This is just an option that is there if I decide to try and use it

Another test at a different angle
Overall an excellent casting that recreates the thin walls that I wanted. The detail looks great

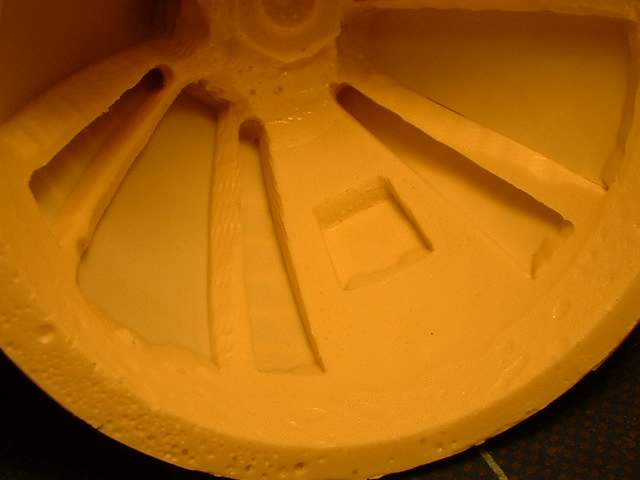
This is part of the engine that is closest to the main body. A recess has been cut into the part (top) with the intnetion of adding LEDs there for the rotating light effect.

The detail looks good

If you look closely there is some imperfections in the casting. They are not easy to see but I can see them since I did make the masters

This is the same part from a different angle. I am doing this to see if the different lighting will highlight potential problems

Another view
Overall again the detail looks good. Although there are minor imperfections I am very happy. I could pull out a magnifying glass but you have to draw the line somewhere. These are also first castings. If they are all like this I wold not mind

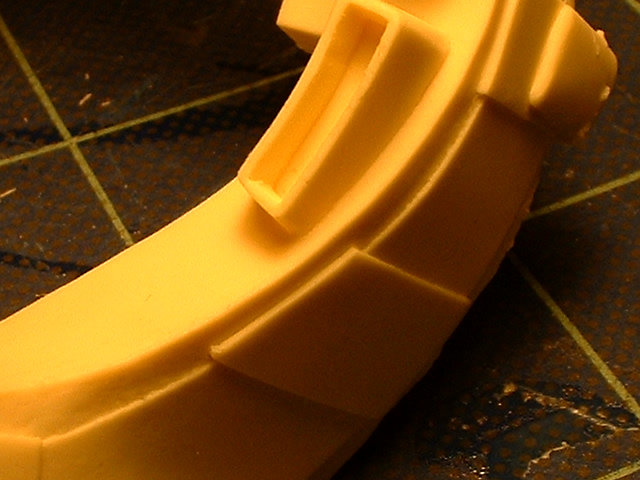
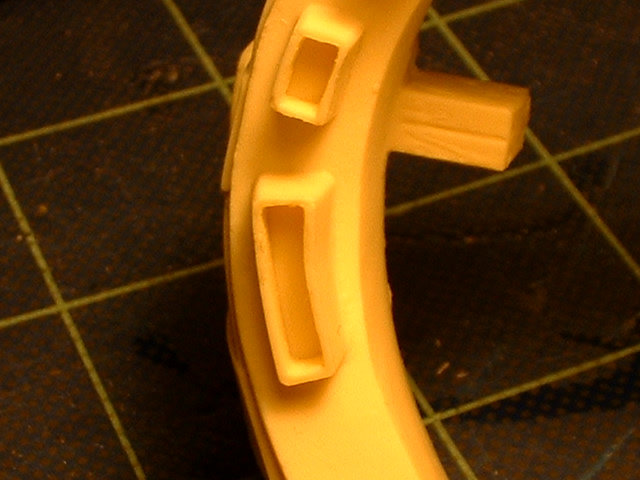
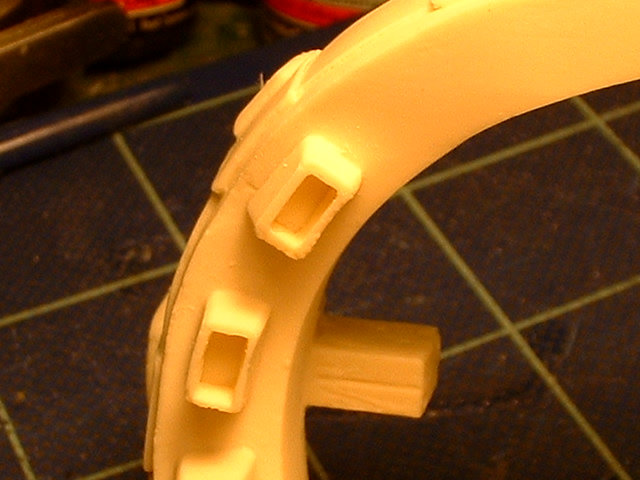
This is the second engine section.
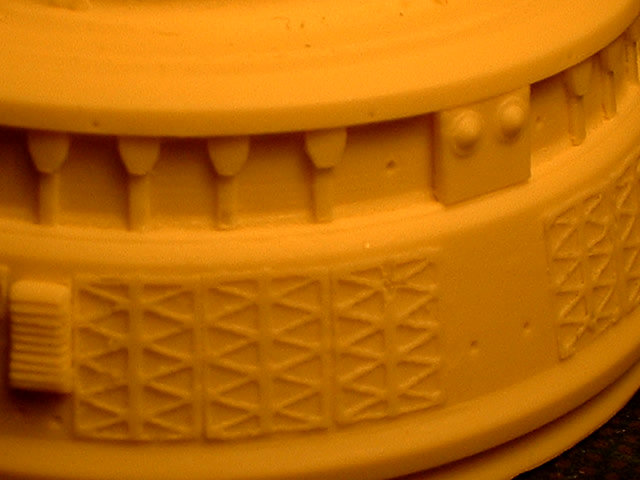
Lot so nooks and crannies and a lot of detail here. Apparently on the master when it was pulled from the mould, the majority of the fine detail came off. The results do look good
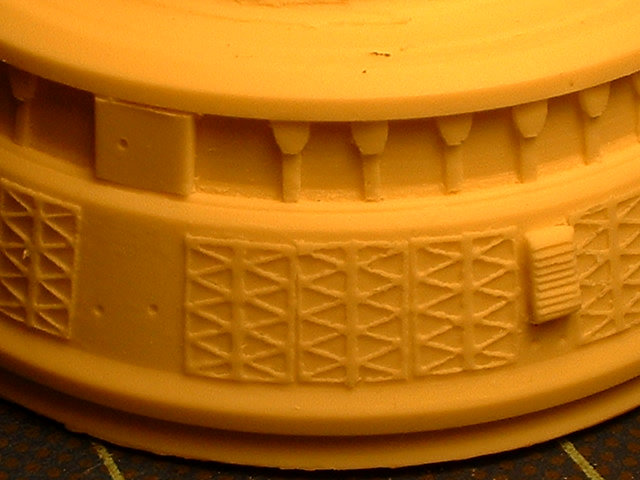
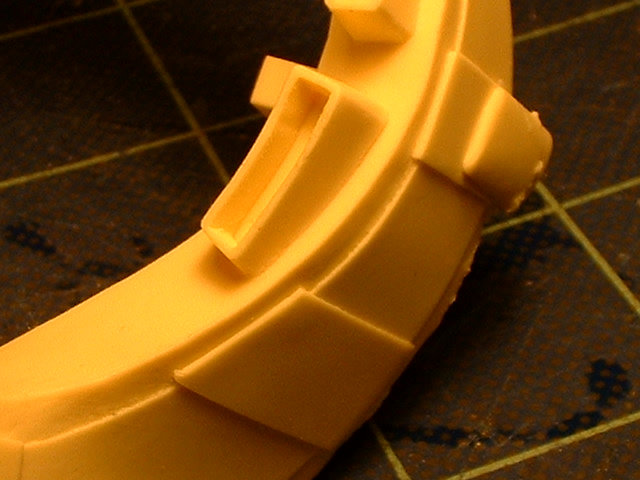
Some very slight imperfections

Reverse view

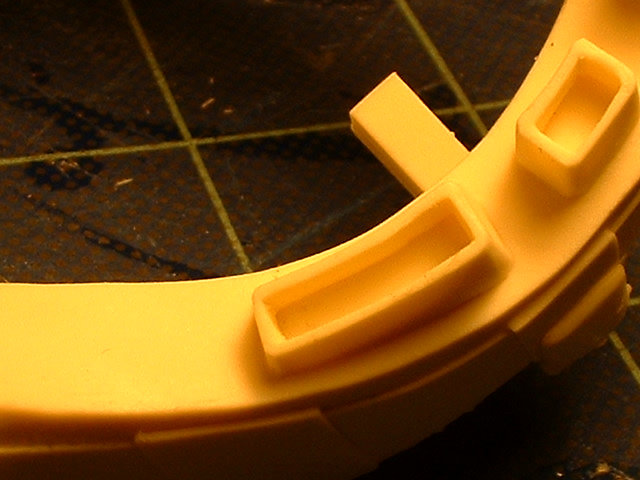
No complaints here as the casting looks very good

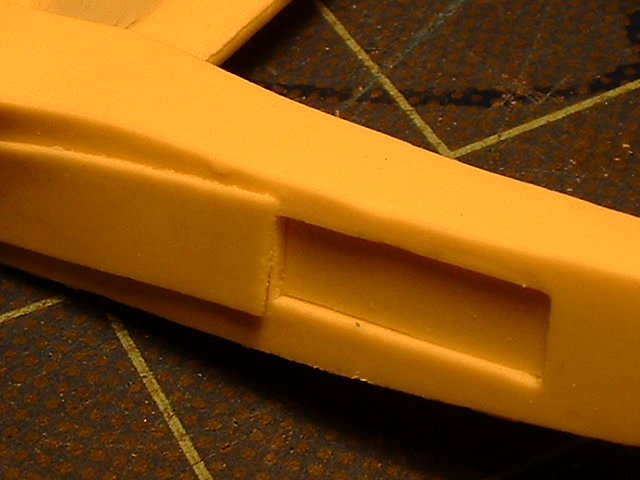
This part gave my resin caster a lot of problems demoulding due to the shape. I don't think my master survived. Unfortunate but thankfully I can get castings.


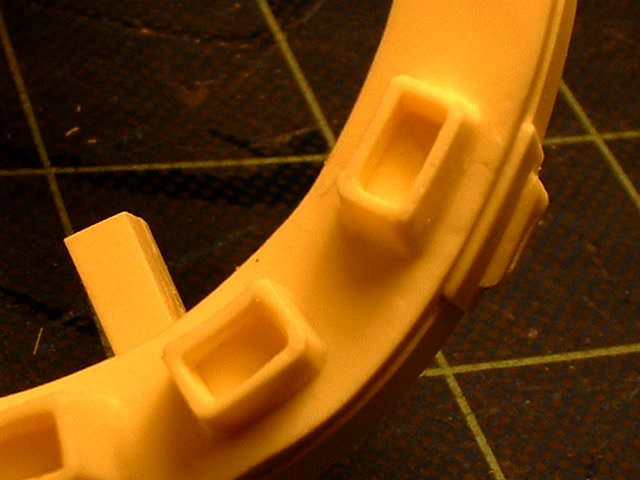
looks good

Mould separation line

Mould separation line looks a bit rough

You can see the mould separation line. Not a bad location. The shape is good so no distortions of the mould
Rear detail looks good
Side detail is good

Looks good
Chugging along
Still smiling
Still pinching myself that I finally got castings
no problems

Side detail and mould separation line. It looks like a severe step but I shall see when I try and clean it up