Ferrari 312T3 1978: Tamiya 1:20
Picture 1
Engine with kit wiring replaced and some more added
Rivets were used for the intake trumpets
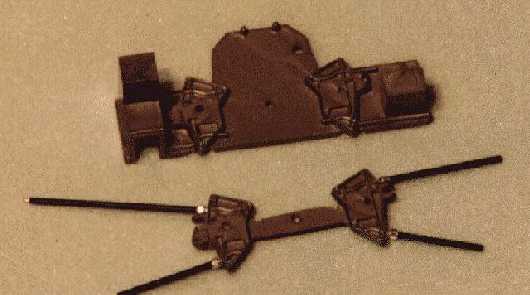
Picture 2
Modification to main body separating part of the engine block from the back of the monocoque
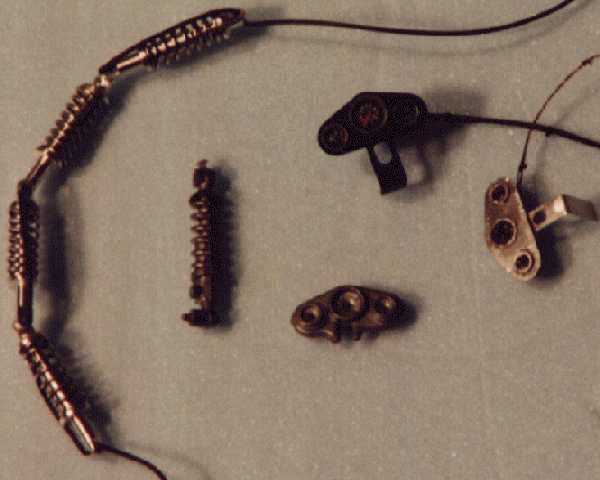
Picture 3
Kit part above and below t modified part with new piping added (not bent yet)
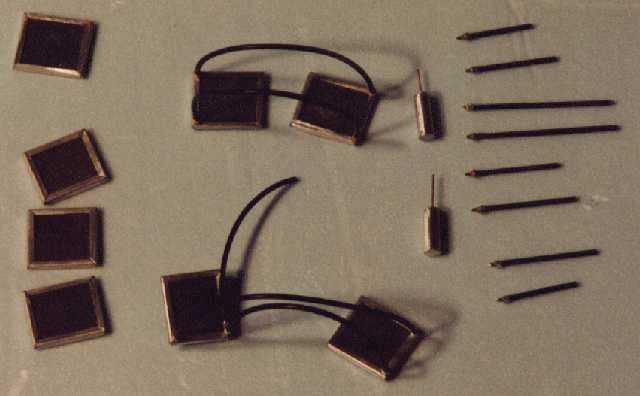
Picture 4
From left to right
1. New shocks (four) made from wire and turned aluminum parts (aluminum was from an exacto knife handle)
2. Kit shock
3. New Instrument panel #1 from sheet aluminum, PE bezels, wire
4. 2nd instrument panel not painted
5. (Bottom) Kit instrument panel
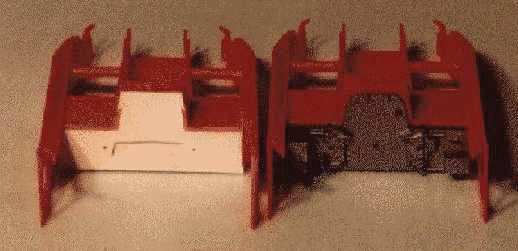
Picture 5
Thw two engines new completion. Hard to see but new oil filter made along with electronics tray
Picture 6
New radiator, hose connections and start of the fire extinguishers
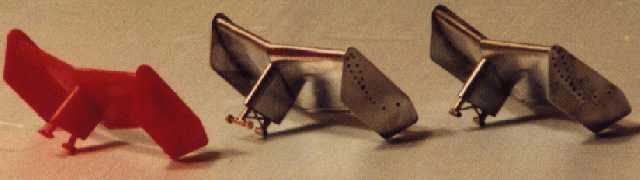
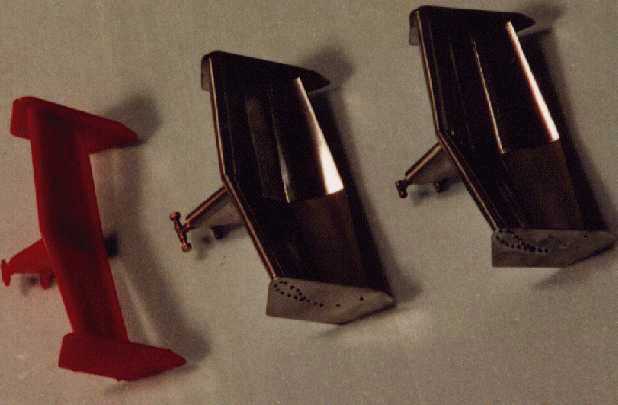
Picture 7
New rear wings made from sheet aluminum, and brass rod. Actually easier to make then it appears
Picture 8
Second view of the new rear wings. Wings are removable since the bolts can be taken off
Modifications so far
ENGINE
WINGS
1. Front/ Rear Wing Endplates From Aluminum Sheet
2. Rear wing mounting point scratch from brass tubing soldered together and aluminum tubing. Wing mounted with nut and bolts and is adjustable
3. Rest of rear wing made from bent aluminum sheet and polished up
4. Individual rivets added
THINGS TO DO ???
1. Paint rear brake calipers and wire
2. Paint brake ducts tan and check for flaws (or scratchbuild?)
3. Sand and paint body gm spectra red
4. Install rear drive shaft assemblies
5. Scratch aluminum fire extinguishers. Paint plumb /wire and mount
6. New oil tanks (3 minimum) add fittings
7. Finish off engine
8. New seat belts and hardware
9. New pedals (scratch)
10. New shocks and modify rear suspension
11. Front brakes modify and mount new units
12. Front rims scratch and make removable assembly?
13. New front wings
14. Modify steering column
15. Modify front brake bottle assembly
16. Modify steering wheel
17. Mount front roll bar
18. New front suspension
19. Scratch aluminum monocoque?? From aluminum sheet??
Return to Home Page http://www.interlog.com/~ask
Send comments, suggestions etc. to ask@interlog.com