Serenity - May 23 2007
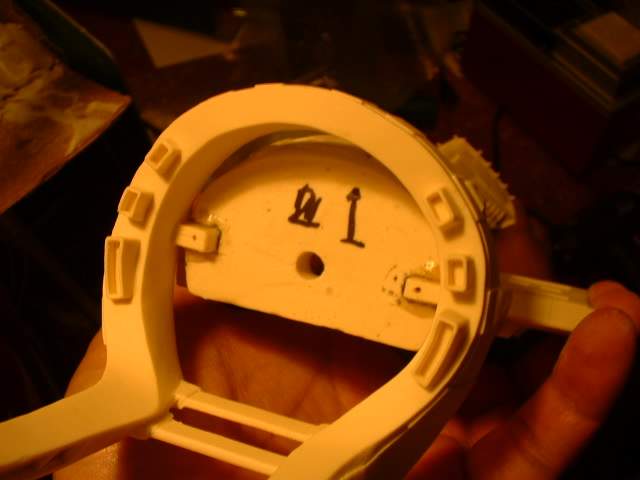
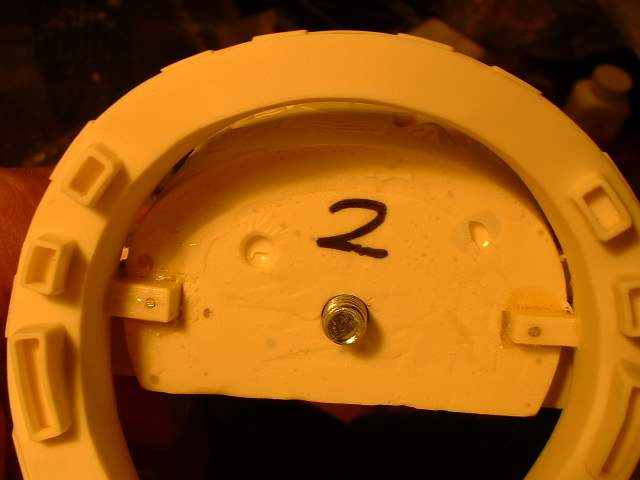
So to prevent horse shoe sag I have decided to pin the mounting points
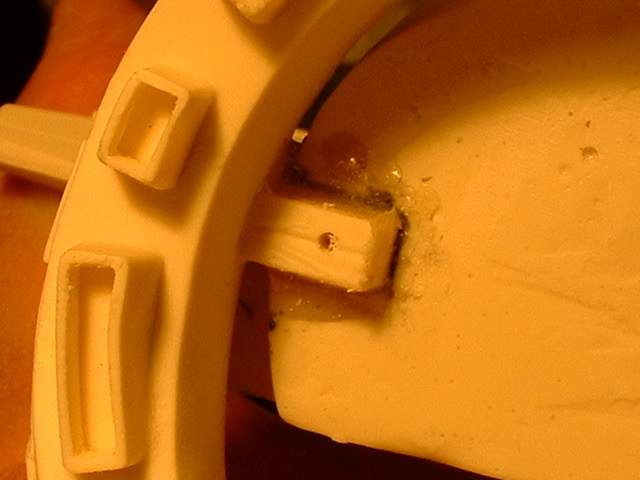
Drill hole
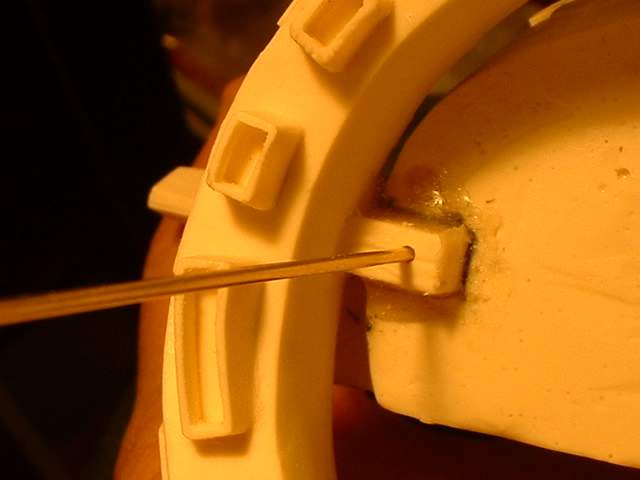
Glue in brass rod
Cut
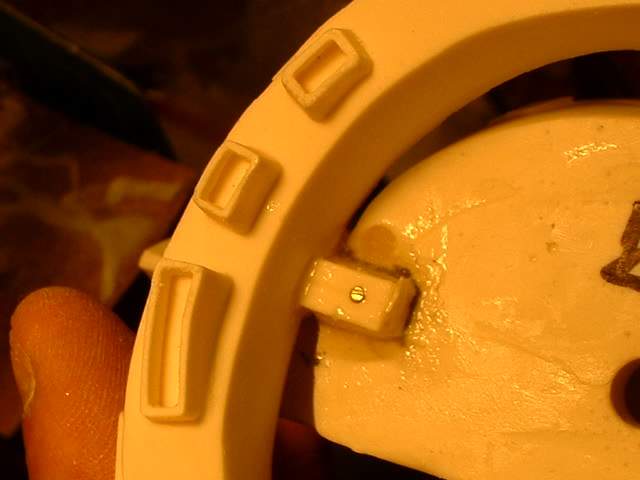
Add final dab of glue to the end and you are done
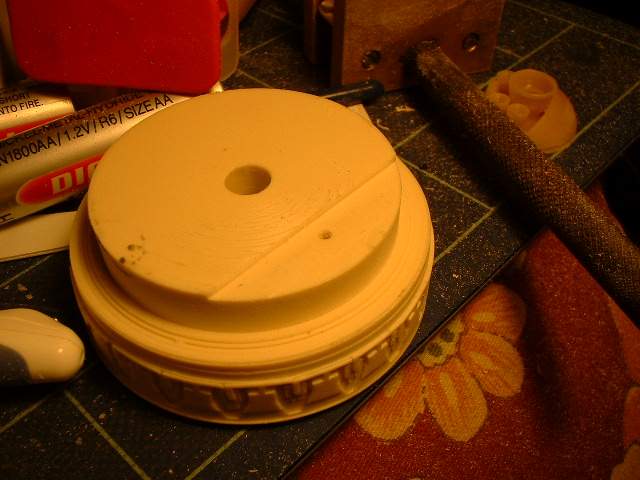
Hey lets pin other stuff so I can disassemble the model if needed. Just in case I want to add electrics later or change a light bulb. Drill hole in bee hive element 1
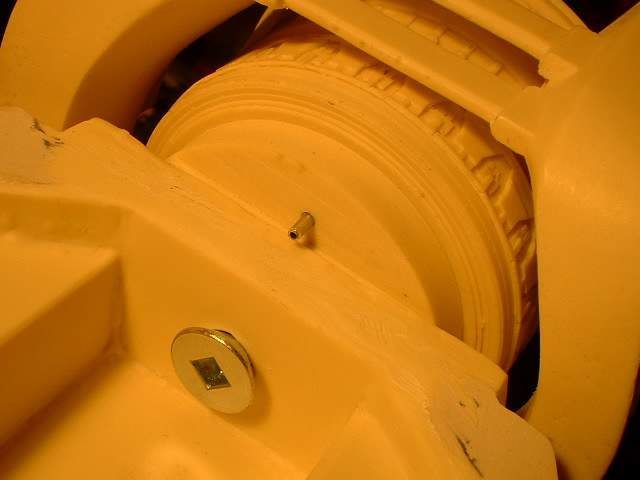
Bee hive element 1 bolted into position. next the cargo part will be installed and a corresponding hole drilled there. Next a rod will be glued in. Sorry forgot to take photos but I am sure you will see it during the build process
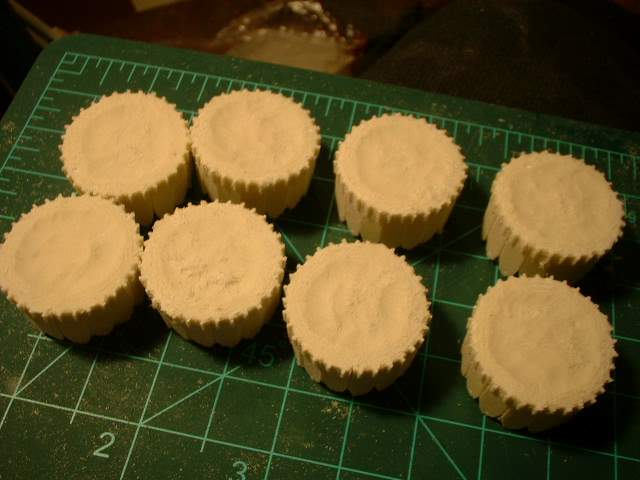
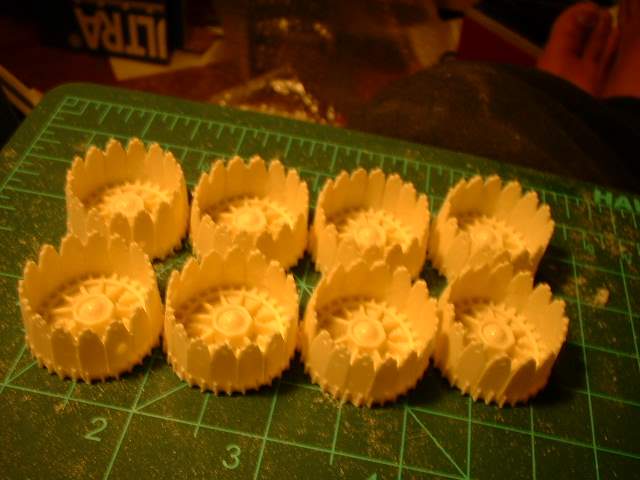
The backs of the side engine turkey feathers are sanded and ground ot using a dremel tool and a sanding drum
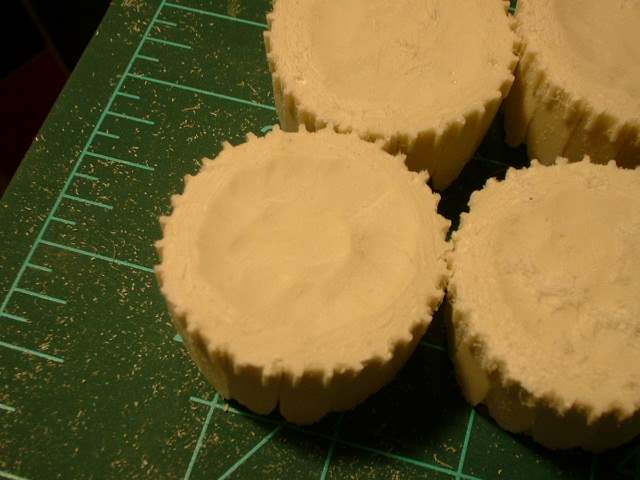
Close up. It looks like a butter cup
Front side is also cleaned up of flash and stuff
So far the weight of the main body, horse shoe, 3 bee hive elements and 2 side engines is 724g