Serenity - Jan 17 2007
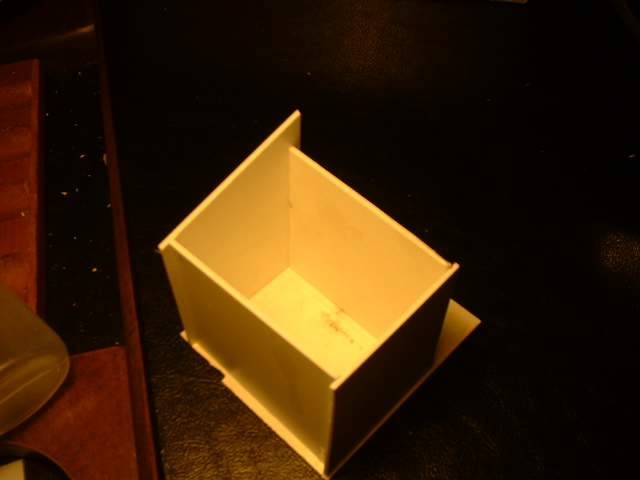
Now to make the box for the body of the shuttle. The photos are the odd yellow shade because I was in another room and the lamp I used has different properties then the one I normally use for photos
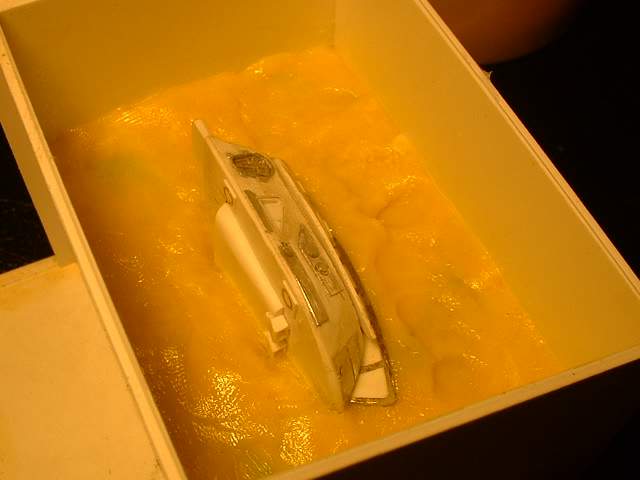
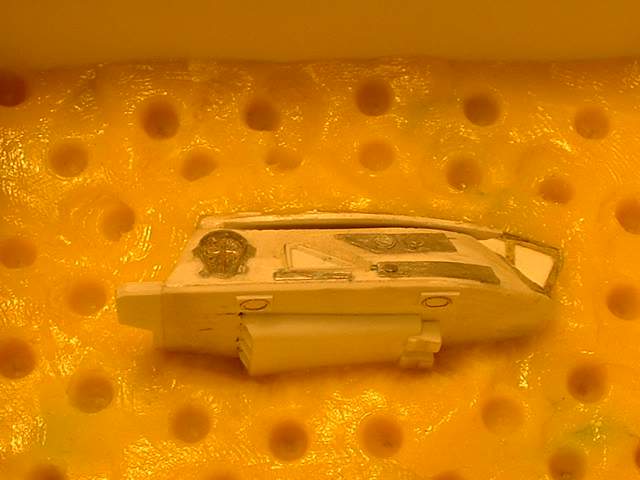
I imbed the shuttle into play-doh. I sometimes wonder if this is the best material but it has worked for me before.
The mould separation line is critical as it also has to be clean or the mould will produce terrible results. I have covered the play-doh with petroleum jelly. This prevents the RTV rubber from sticking to it after it has cured.
Next I add a billion key holes. This aids in aligning the halves of the mould during the casting process
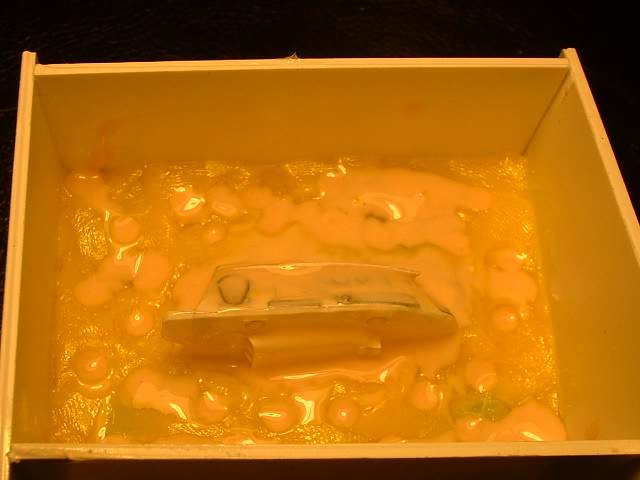
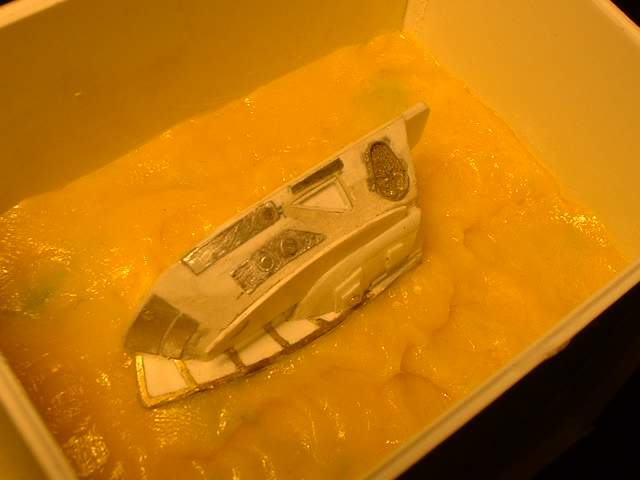
Now the one thin later of RTV rubber to try and eliminate as many bubble as possible
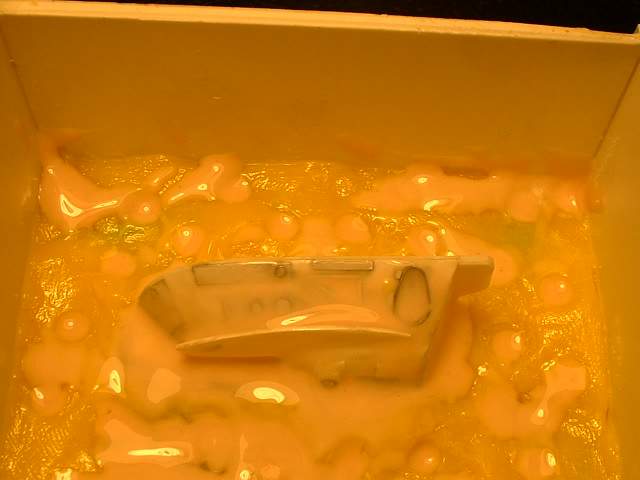
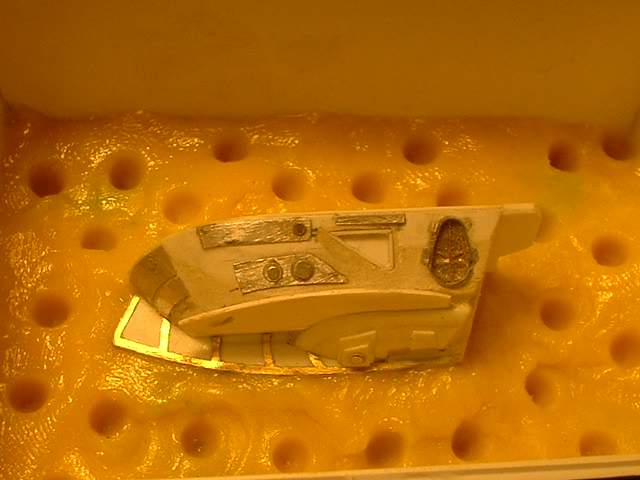
Then the food vacuum sealer comes into play again. Again the photo is taken in another room so that is why the background is different
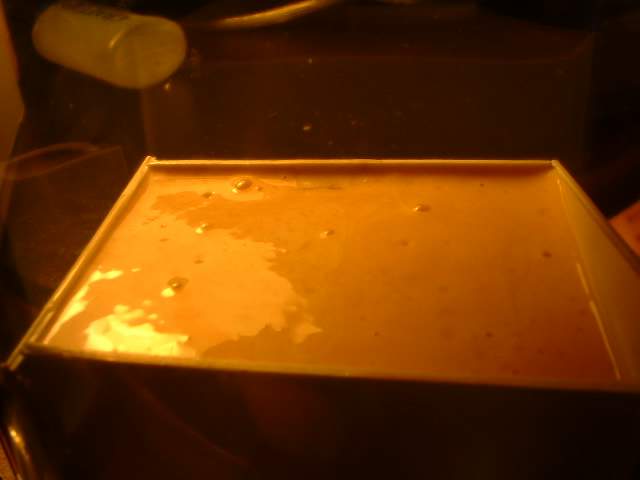
Air bubbles pop away
It has only been a few days since I dropped off the masters to the guy who will be making the moulds and doing the casting. I know they take time but I can't help but feel a bit helpless. I have no clue as to how long this guy will take. I get this bad feeling that it will take a lot longer then I would like.
Yes I am working on the shuttle now but it feels like I am running out of stuff to do.
-Shuttle mould
-shuttle castings
-solar panel moulds
-solar panel castings
-sensor castings
-new sensor mould
-logo artwork
-make logo decals
-make base