Serenity - Jan 10 2007
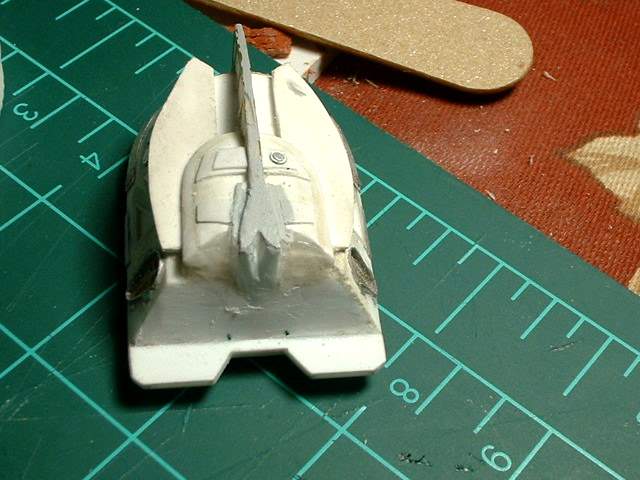
Um I did quite a bit of sanding filing, puttying and more sanding before I realized I took no photos. This photo was after a layer of Mr Surfacer 500 to check on the progress and so far it looks good
I started the indent process for the top of the head section
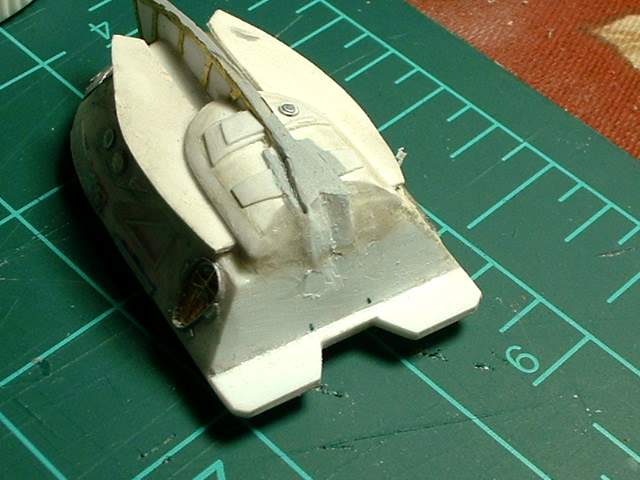
a lot more filling with CA glue and sanding and shaping to get the top looking right
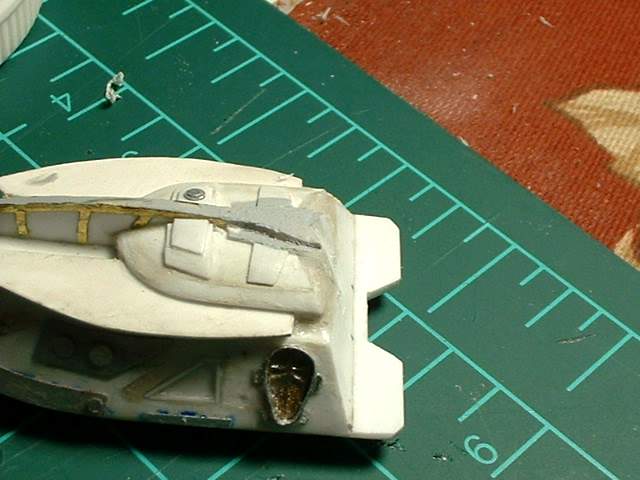
Next the start of the neck section that will close up the area between the head and the body. The leading edge is shaped to fit the back of the head and then glued into place
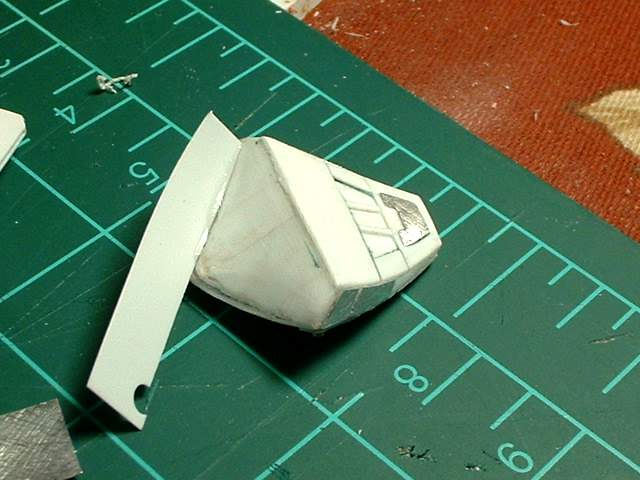
After the glue has dried some preliminary trimming will be done

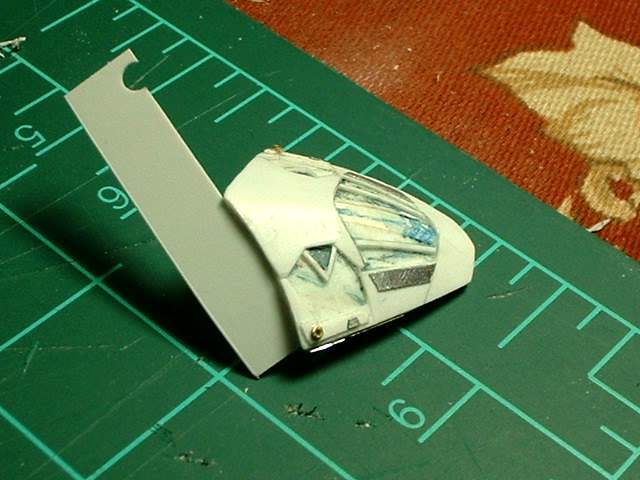
trimmed
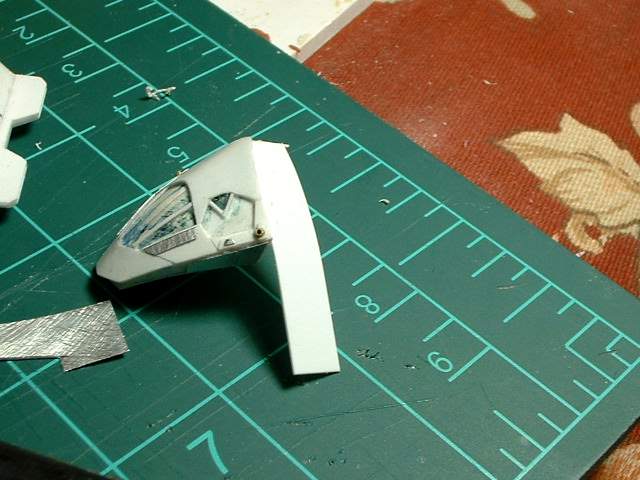
Now the other side
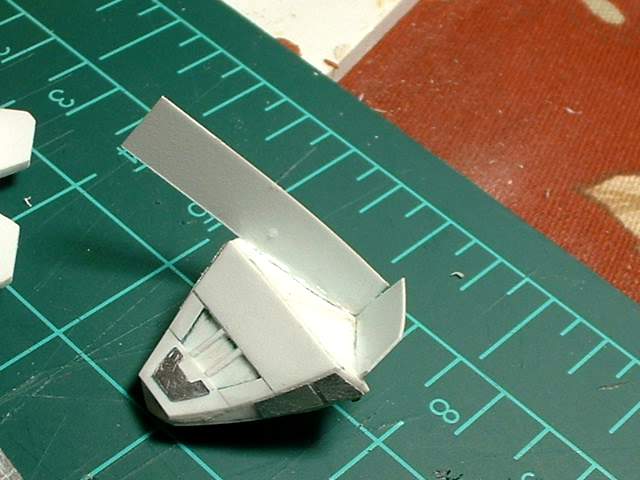
Oops for got to take a shot of this part trimmed down.