Serenity - October 22 2006
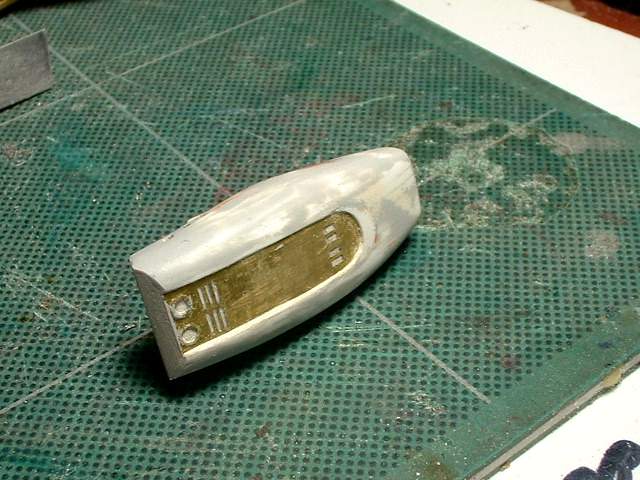
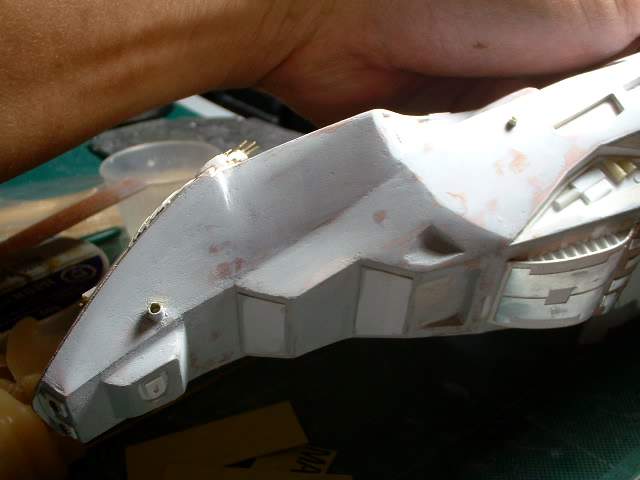
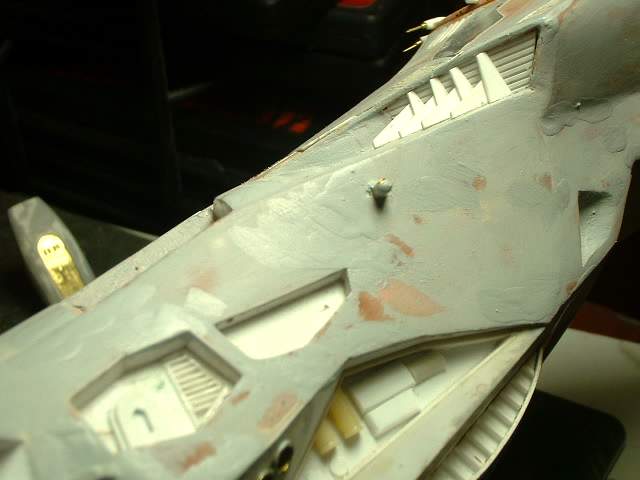
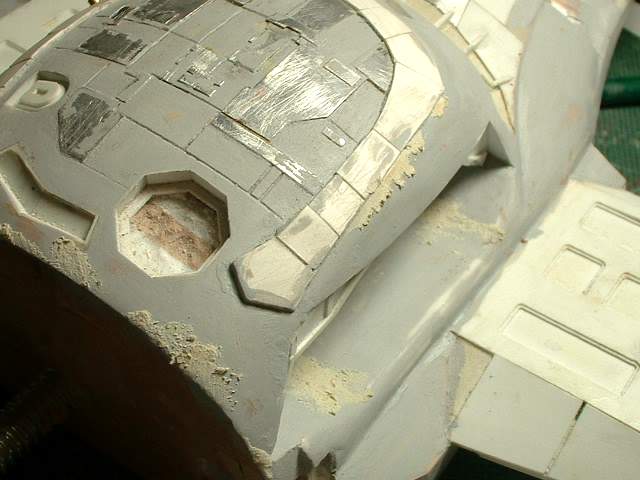
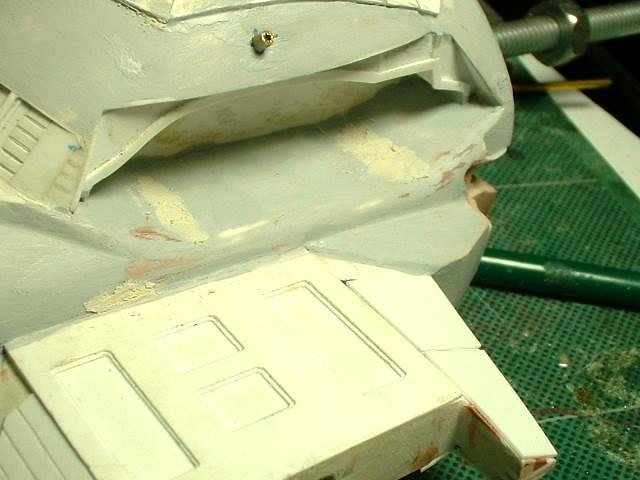
This is the sanding done after the Mr Surfacer
Unfortunately there are still some slight surface imperfection
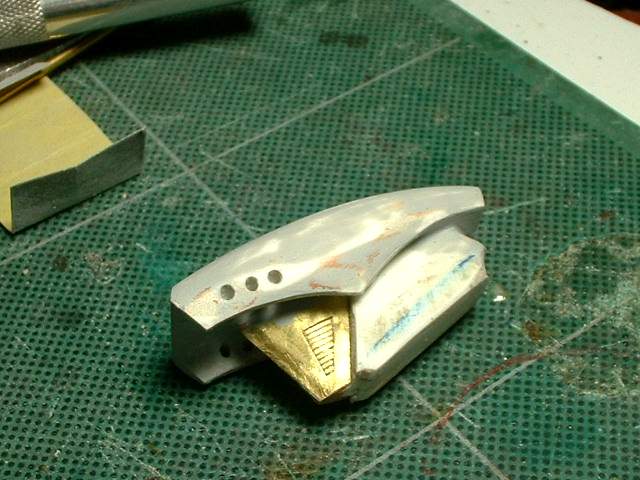
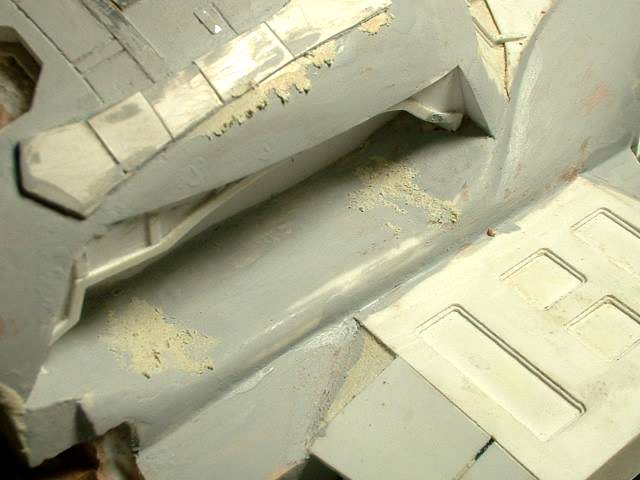
Same goes for the rest of the body

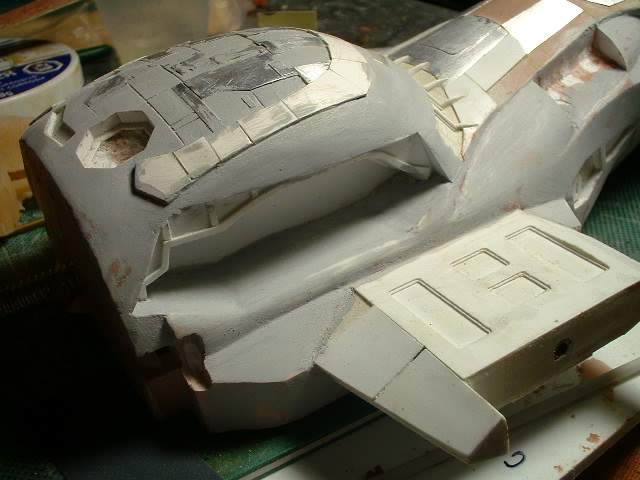


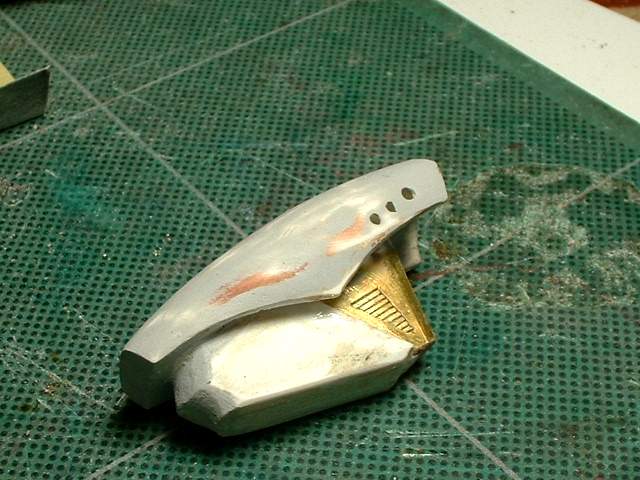
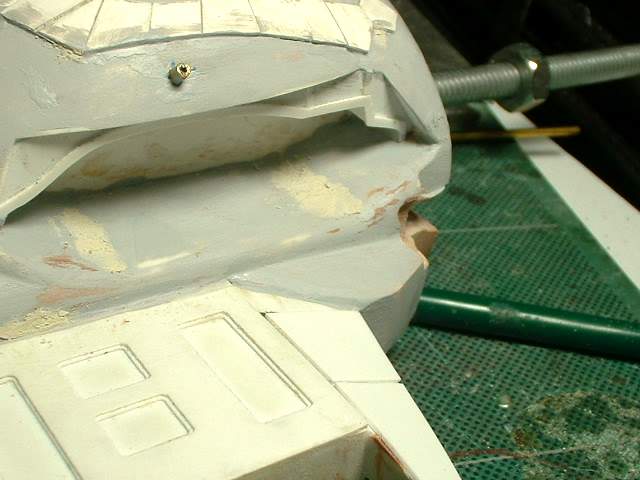
Sign. Out comes the Mr Surfacer again
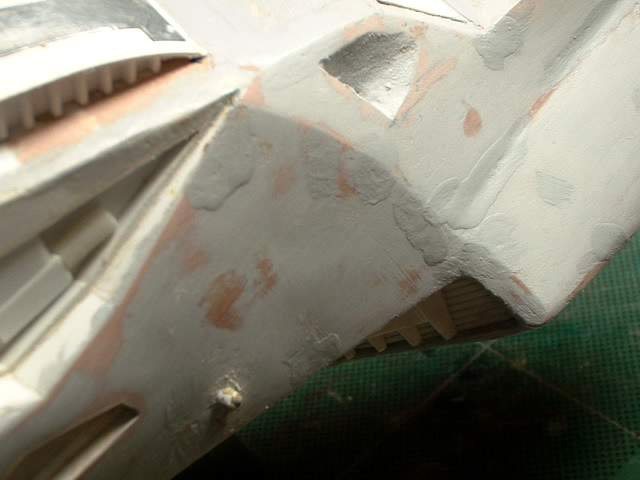
And the Squadron white putty.

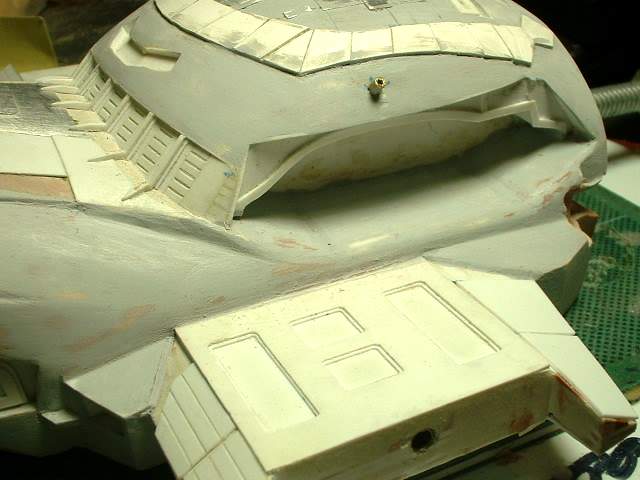
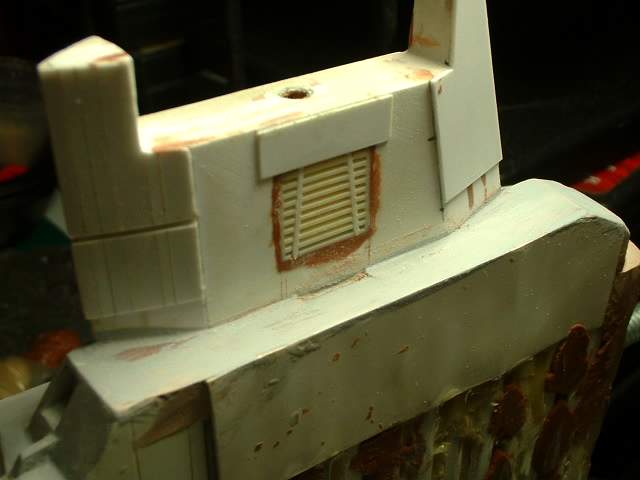
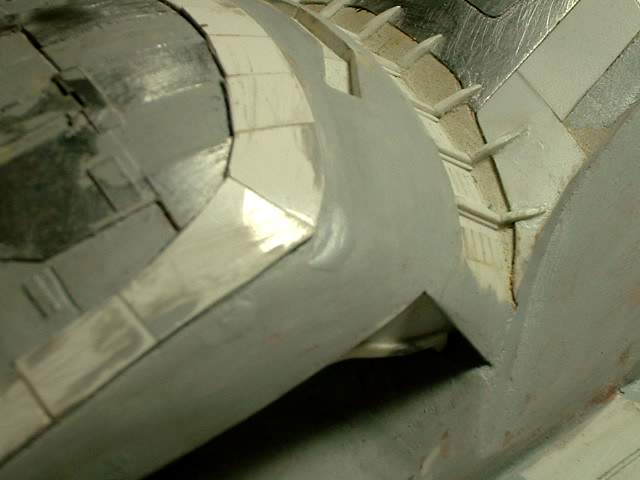
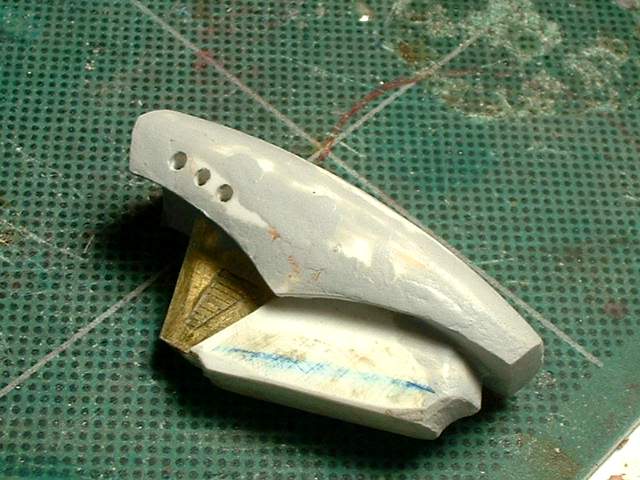
Onto the skylight. The Mr Surfacer sows how terrible the finish was and needs fixing.
If you are reading this then kudos for having the stamina to go through everything that I have done. I am sure that at times it is boring as hell. It is getting more and more frustrating how the progress has not seemed to moved much. Hopefully this will be the last round of Mr Surfacer and I can finish off the little things. I do need to think about the piping in the engine area. Doing one offs is no problem but how to do it for a kit? Casting them would not be fun as they would be fragile. Giving wire to be bend by the modeller would add to the complexity of the model that not all model builders can do. Hand bending each wire and including them in every kit? That would be very time consuming but a necessity.