Serenity - August 29 2006
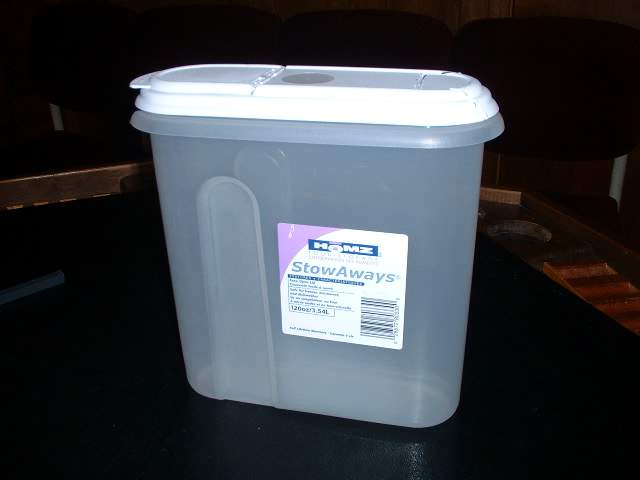
There are kits out there but this container I got from my hardware sture
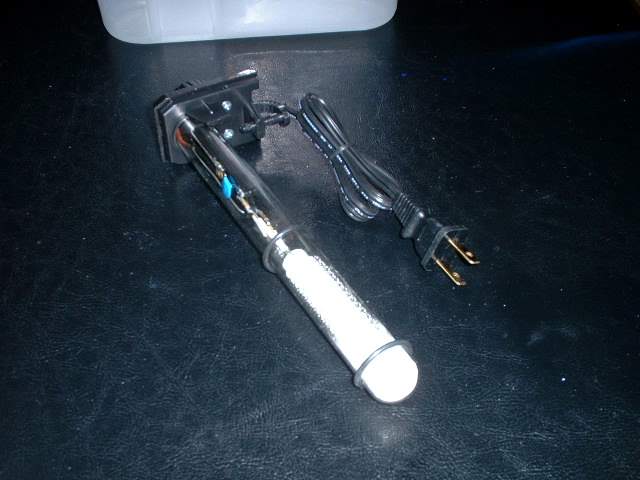
The heater you can get from an Aquarium place

This assembly is the circuit board holder with a tube with holes in it. This can be made with styrene stock. The hose you can get from an aquarium place
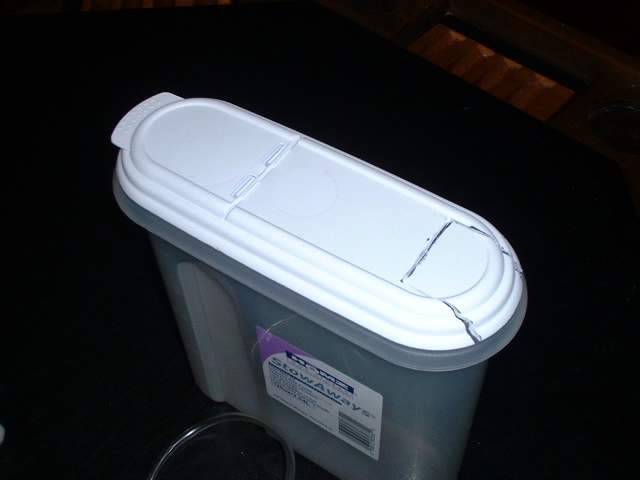
An opening was cut to make way got the heater
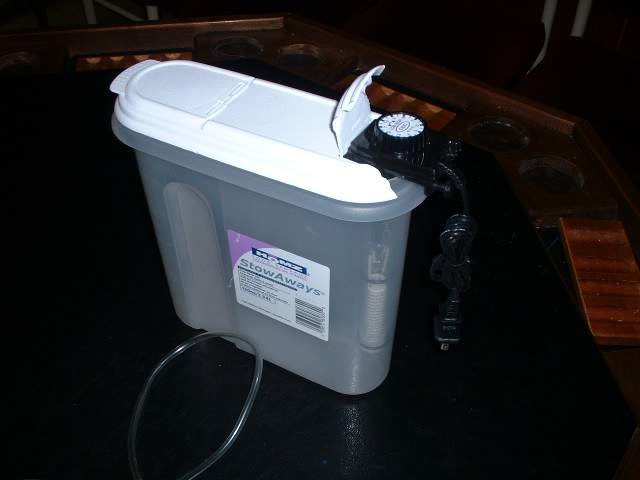
Here the heater is installed

Close up
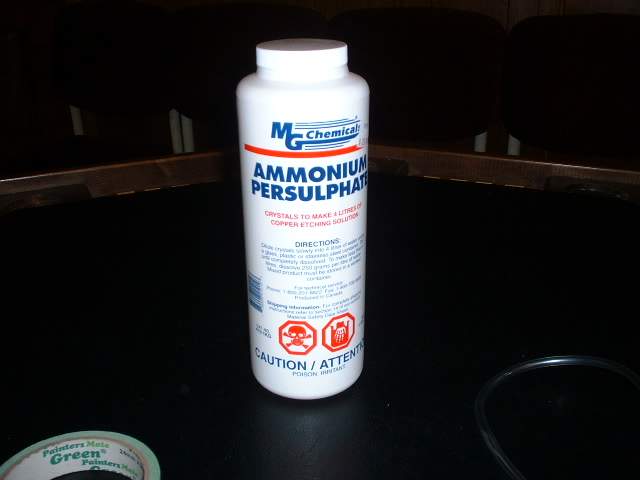
The chemical I will be using to etch the brass. This chemical might take longer buy safer then Ferric Chloride
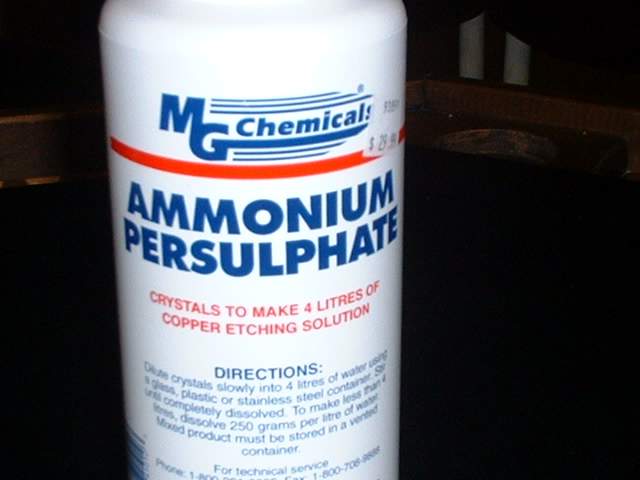
Close up
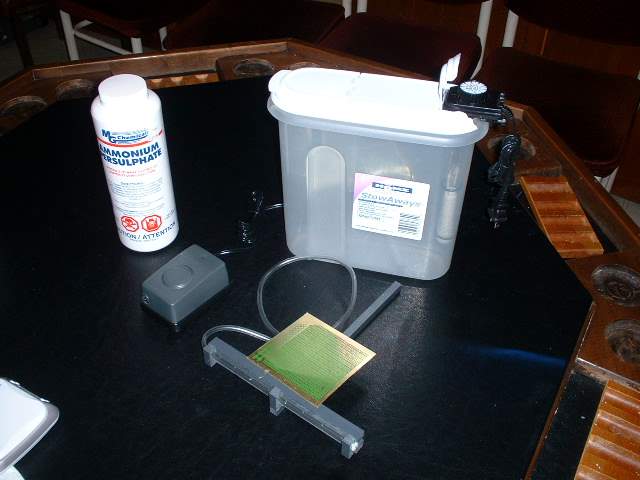
My assembly ready to go. Just under the bottle is the air pump. Again you can get this from the aquarium place. The chemical crystals were mixed with water as per the instructions. The heater was then turned on. TI took about half an hour for it to get to the desired temperature

The assembly was put in the container for about 28 minutes before I noticed that it was done and I had to pull the stuff out as fast as I can and not have any of the water splash on me, This chemical is corrosive so make sure to wear your eye protection and rubber gloves .
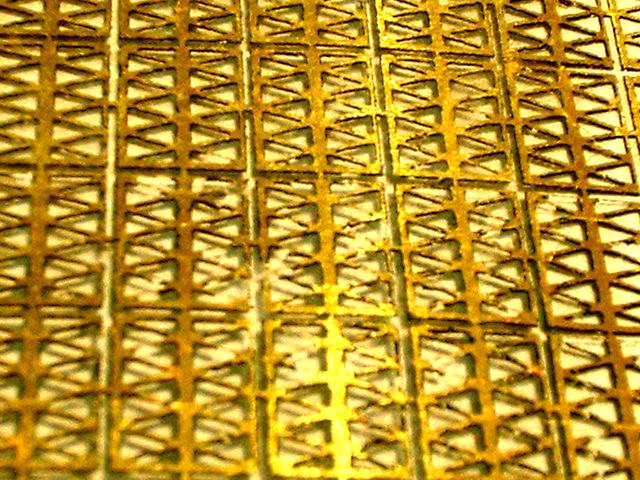
Well for the longest time nothing happened and then all of a sudden it was done. Here are the results. Not bad looking
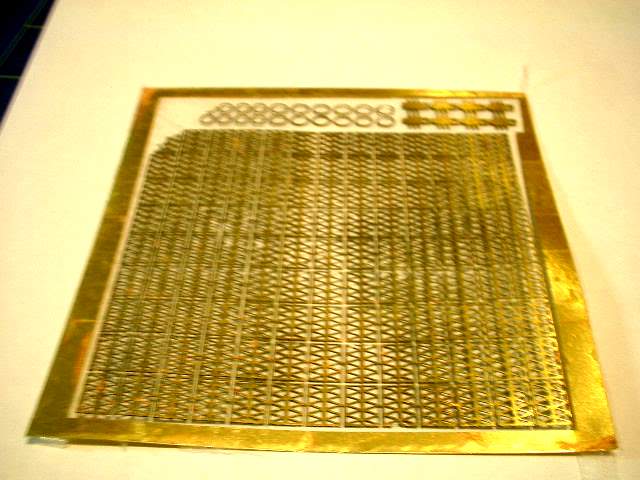
Back side
The grill sections
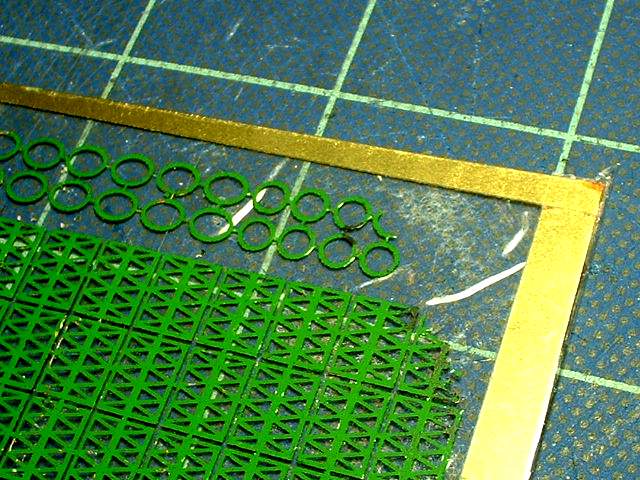
The small engine openings
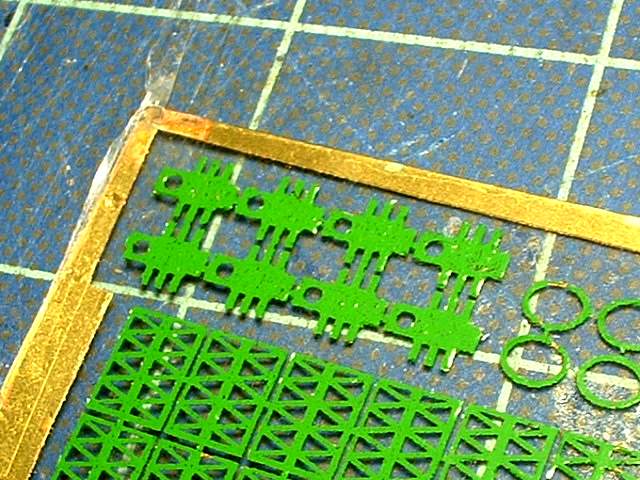
Detail parts
Close up

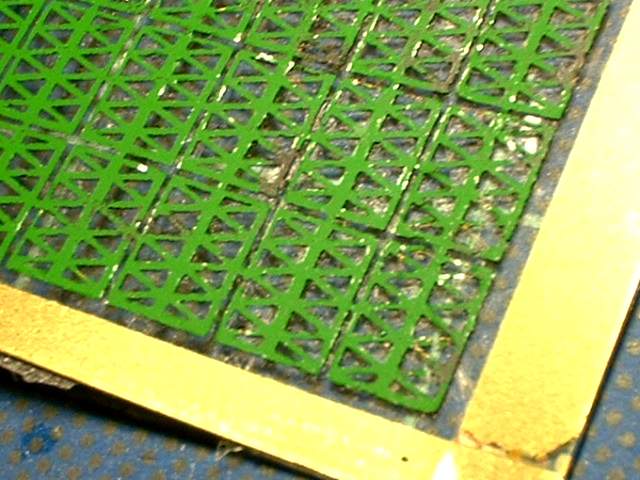
back side that was taped with clear packing tape. The bonus is you can see through the tape

Lacquer thinner will be used to remove the parts from the packing tape and all is done