Serenity - August 28 2006
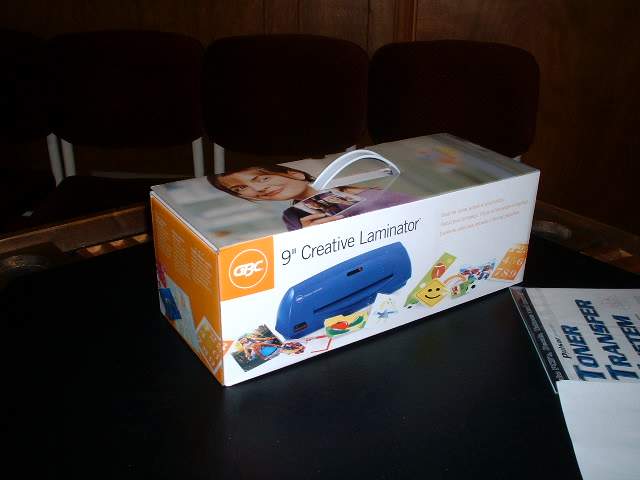
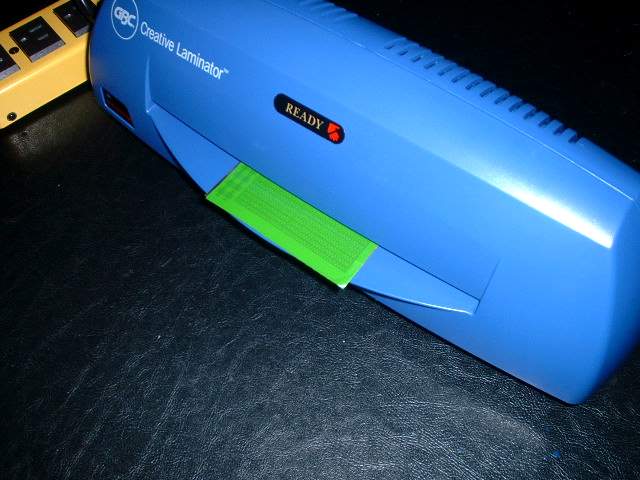
Thanks to a fellow modeller I have been encouraged to try my hand at photo etching again. I tried it a long time ago with terrible results. Now with some new help a lot of the uncertainty the first time has been eliminated. First off I went to www.pulsar.gs. They have a starter kit that will speed things up. In this kits are several items. One is the laminator above. Now there is nothing really special about the laminator that works for this system. You should be able to get one at a half decent price. This was cost around $59US
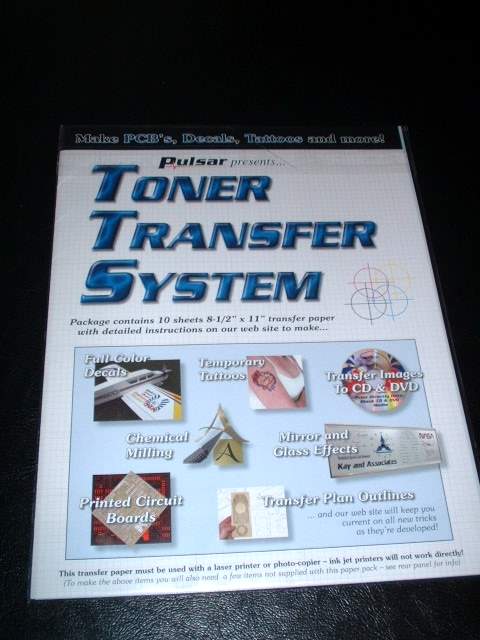
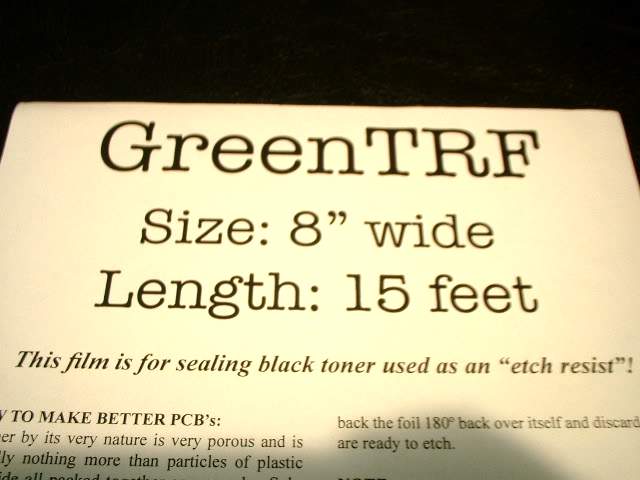
Since this kit was to prototype PC board I did not need that stuff. I asked them to replace the blank circuit boards and the white TRF paper with the Green TF paper. I am told the white stuff is not as good as the green stuff

Artwork is done in a graphics program. This is then laser printed on white paper. This shows me where it will print. I then take the TTS paper and cut it into small approx 4in x 4in squares. This is done to save the paper. I tape this to the original printed copy and run it through the printer again so it prints on the TTS paper.
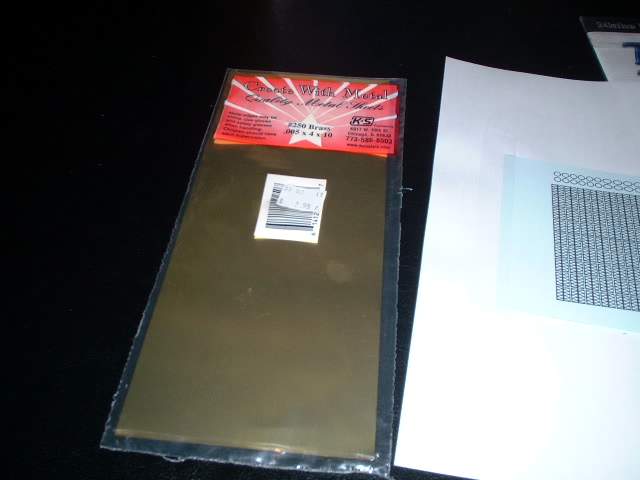
Now to cut a brass sheet to fit the printout
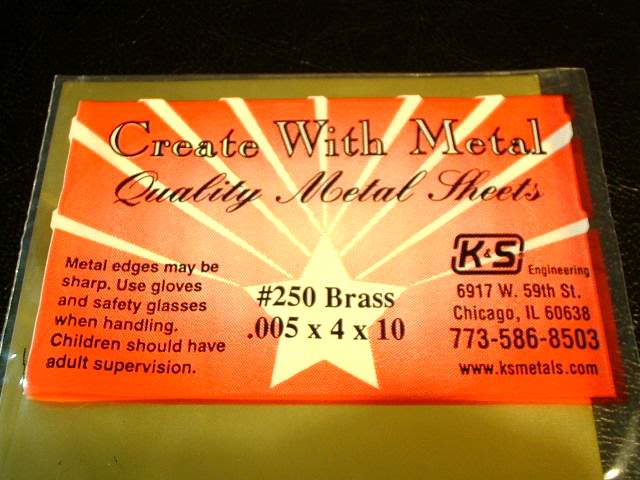
Brass description
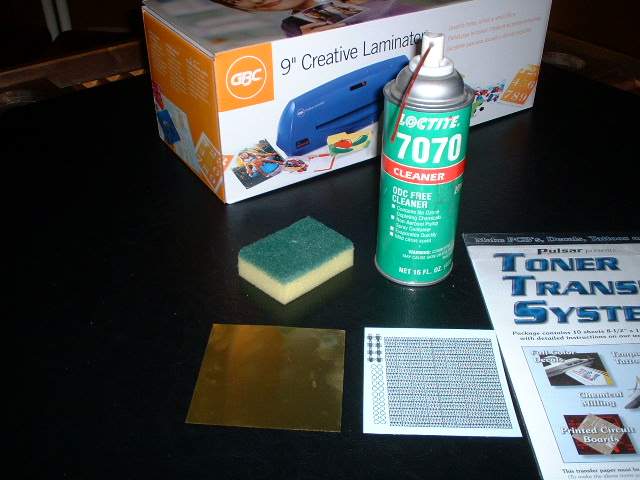
For a better seal I used the above cleaner I had laying around. This will clean off any grease from the fingers and any thing else that may prevent the TTS from transferring over completely
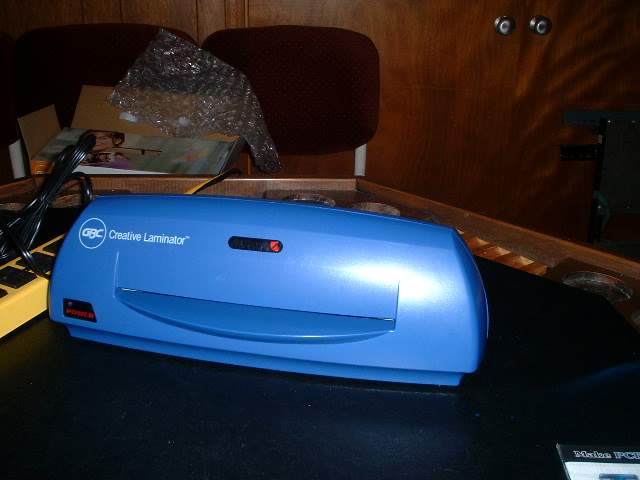
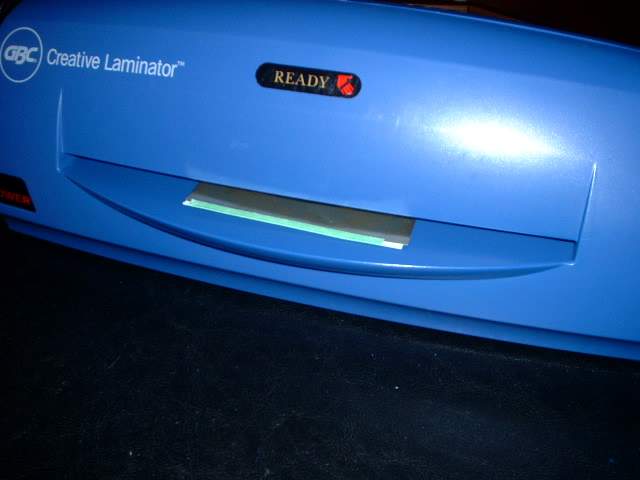
Turn on the laminator
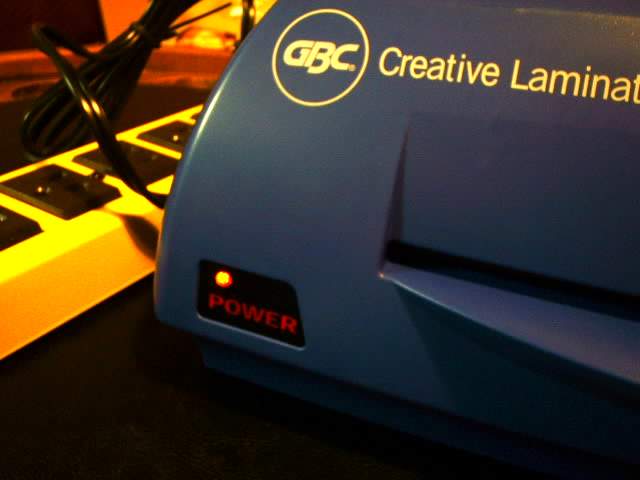
Once the light is bright on it then I know I am good to go. It says it should take around 10 minutes
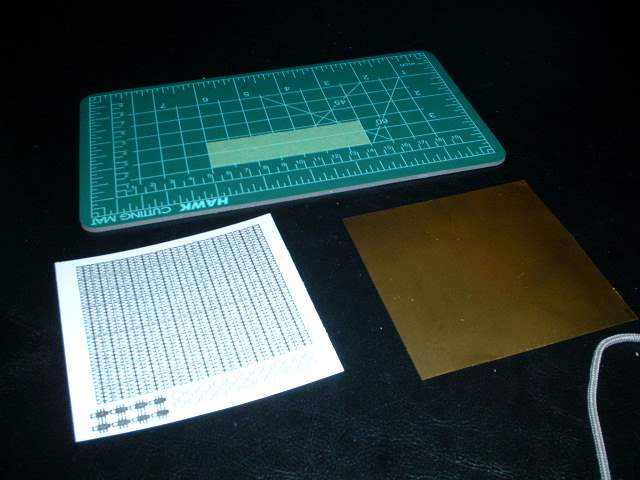
My paper and my brass

All taped up so nothing will move when I feed it through the laminator

The back side showing all the fingerprint marks
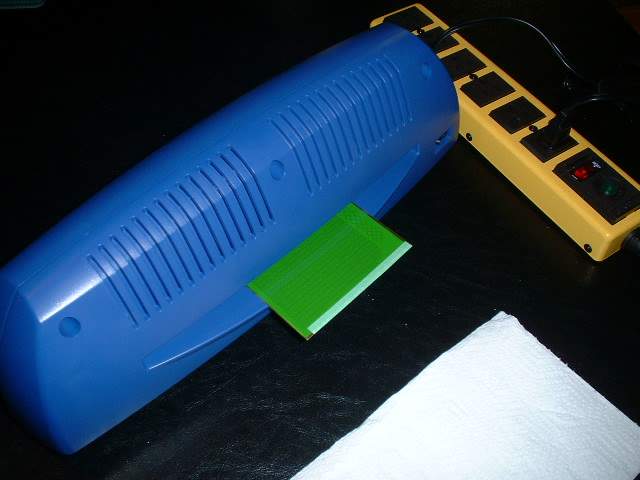
Fed into the laminator
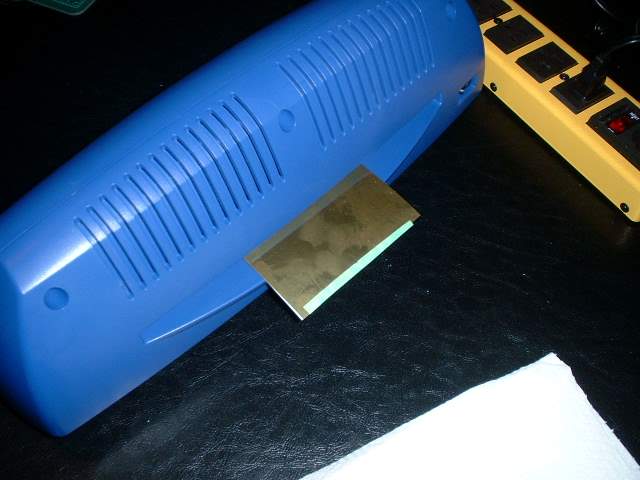
and out the back
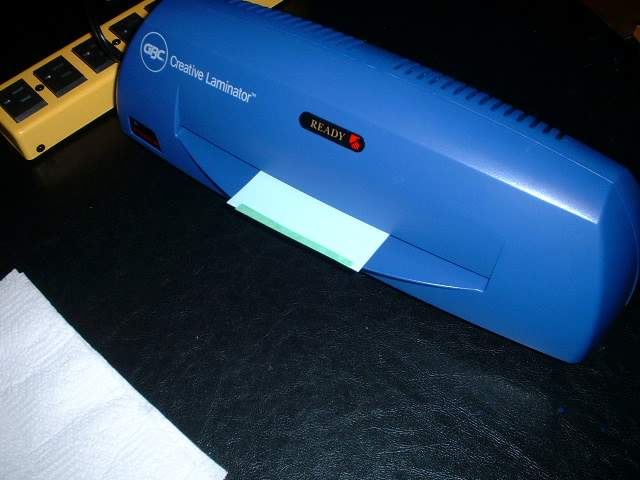
repeat for a total of 3 times
Done and slightly curled

Oops I try and peel it off which it the wrong thing to do. Now I had to run it through 3 more times
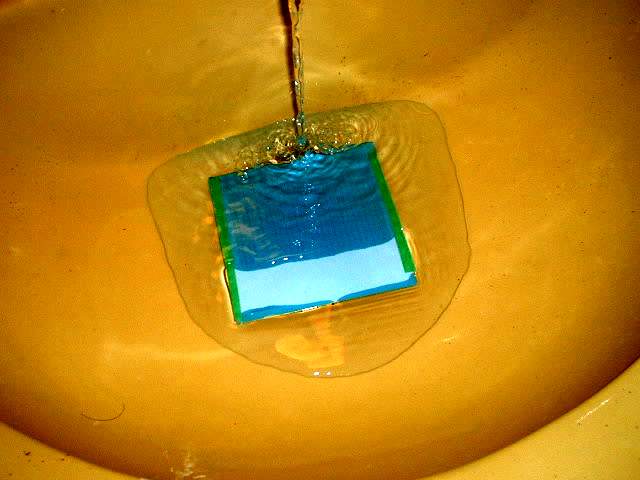
What I was supposed to do it soak of the backing to get it to come off

It quickly lifts off

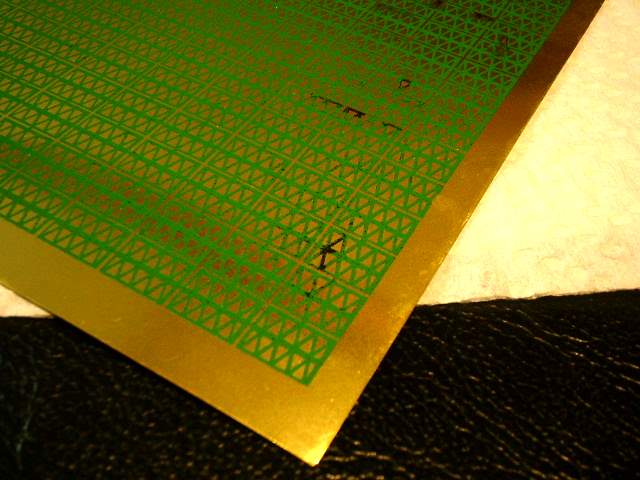
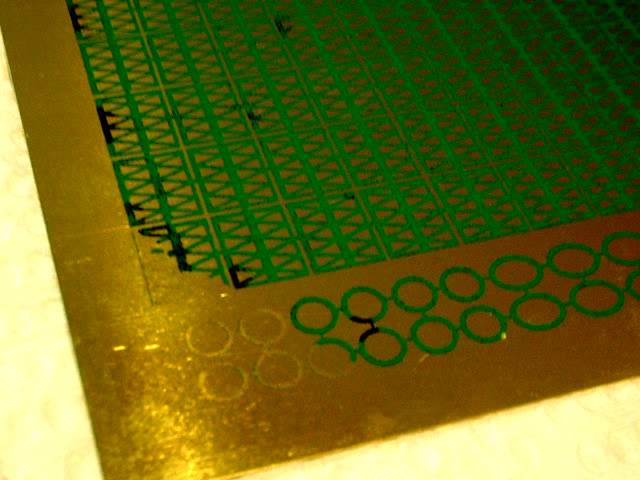
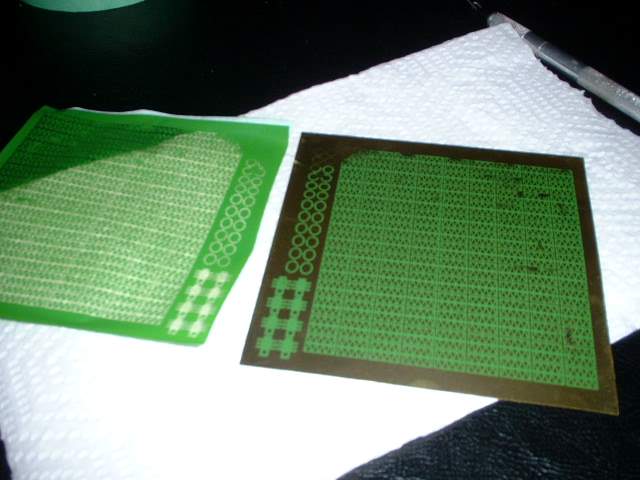
The results
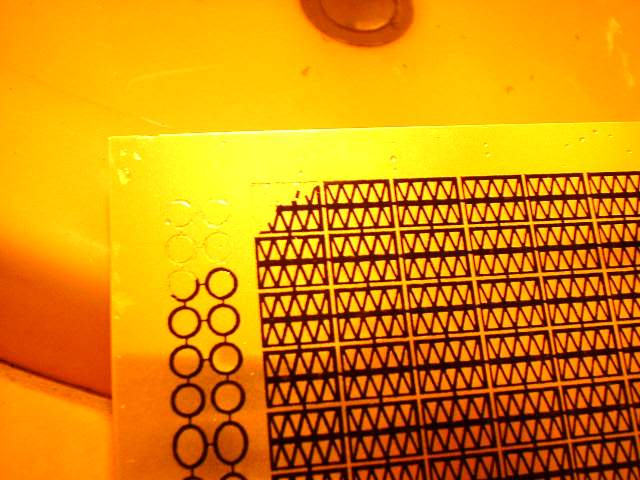
While handling it with the backing on it I accidentally moved the paper and I felt a corner lifted. This looks liek the results

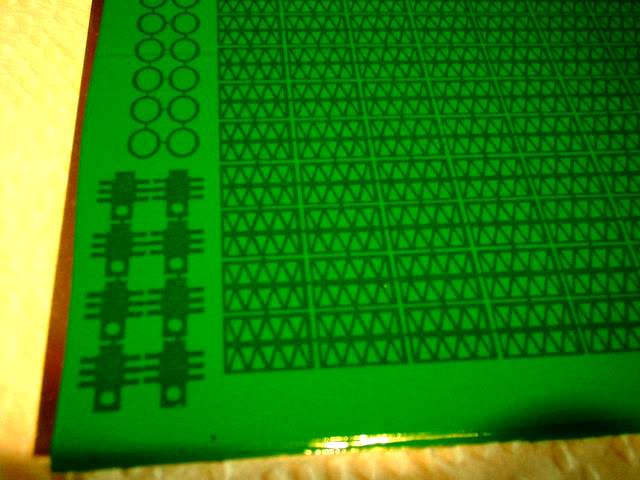
Next is the green TRF paper
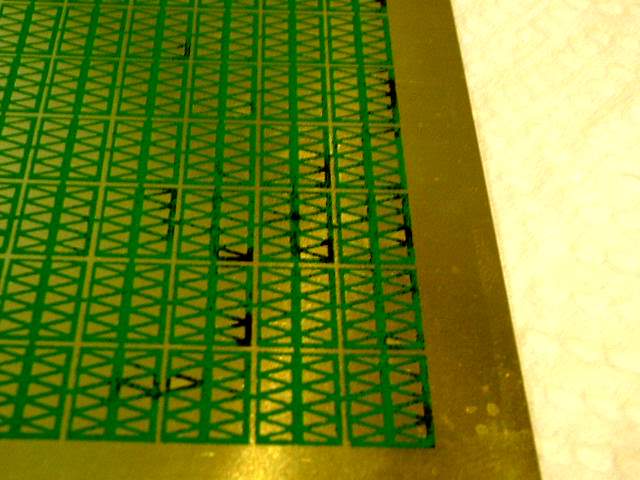
Close up
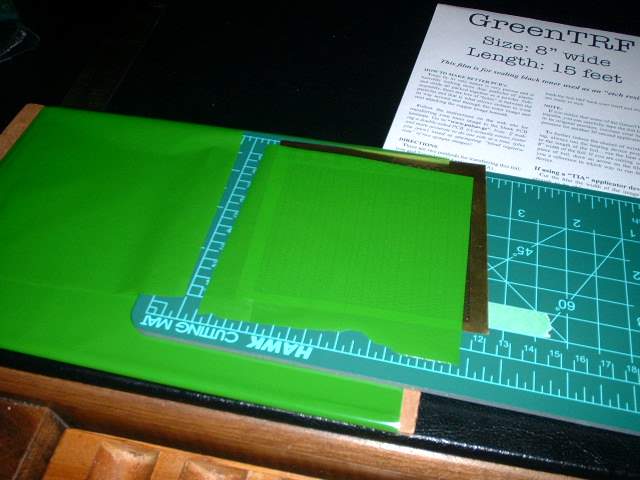
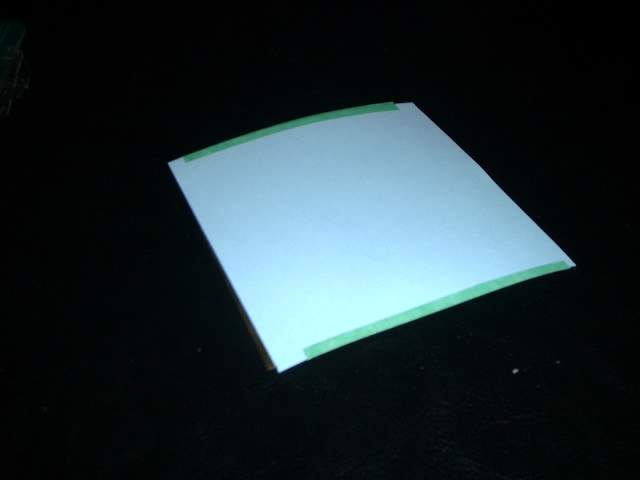
An appropriate size of this stuff is cut out.
It is then carefully taped on. Make sure there are no wrinkles
Again fed through 3 times

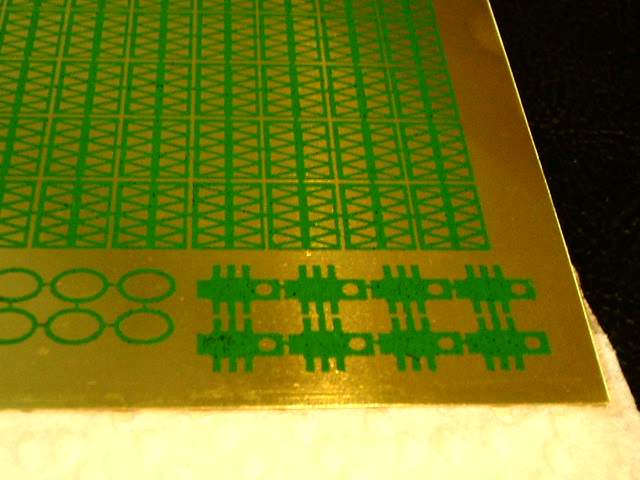
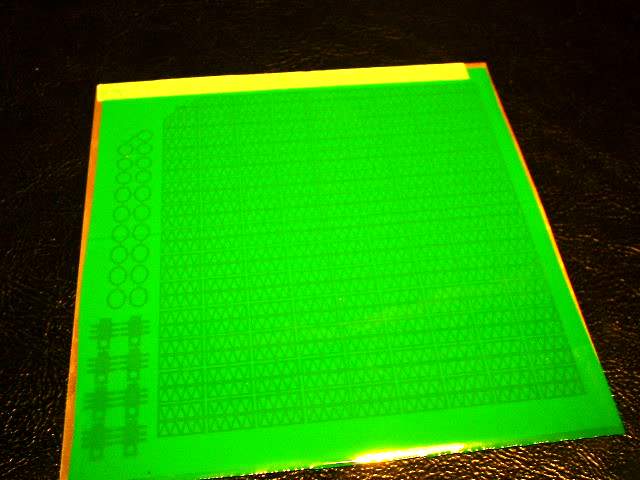
Done
Close up

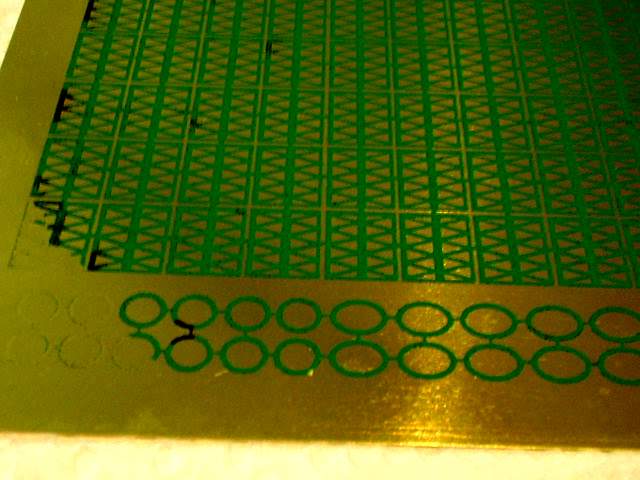
The TRF paper is peeled back
All done at this point