Serenity - August 27 2006
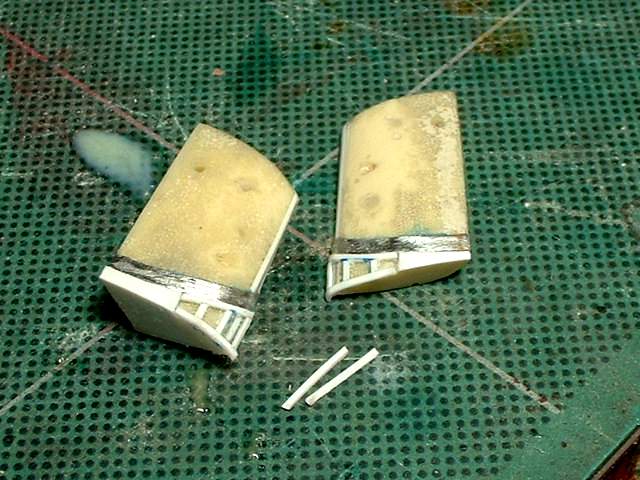
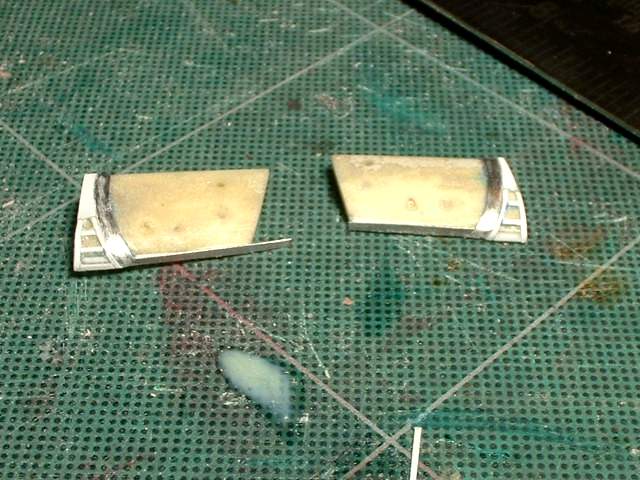
The ends are trimmed to make space for the trailing edge strips. Where the strips touched other strips I used CA glue as a filler and then filed that after it cured to try and eliminate the gaps.
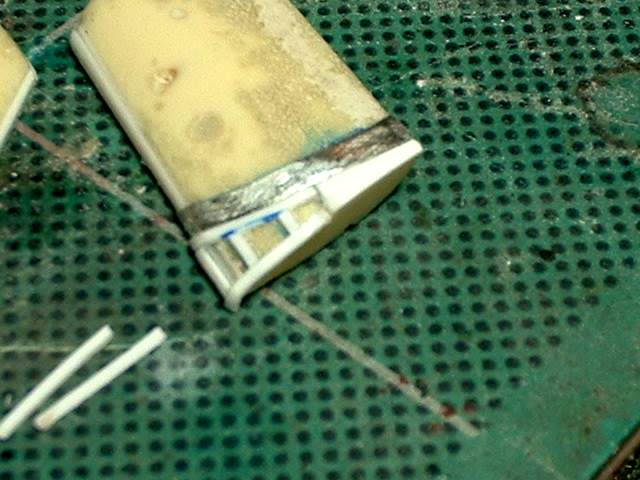
Close up. Hopefully when I prime it there will not be many flaws in this tiny area
Sanding
and more puttying. It never seems to end as I seem to find more tiny imperfections that I want to fix
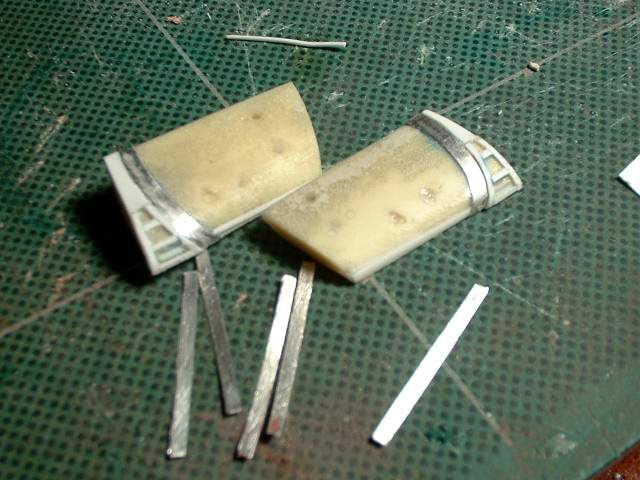
Lower strips are to be added next but first I cut a few strips from the aluminum pop can
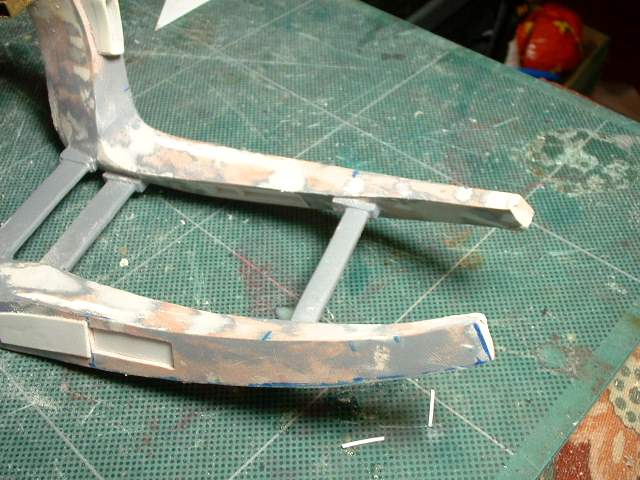
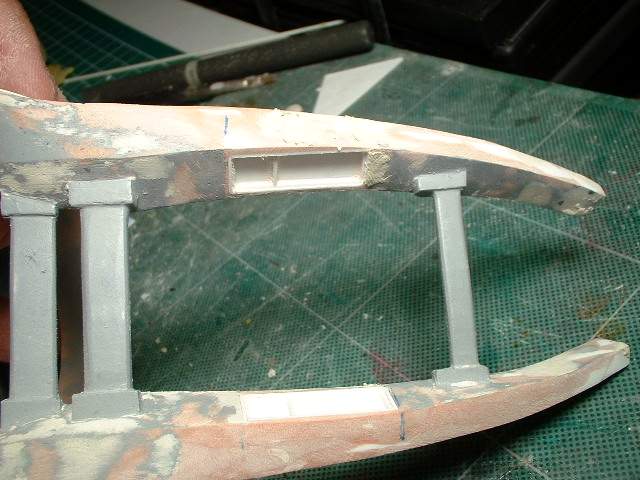
The first strips are glued on. The curved bottom did not make the installation easy and it is hard to tell if it will look right
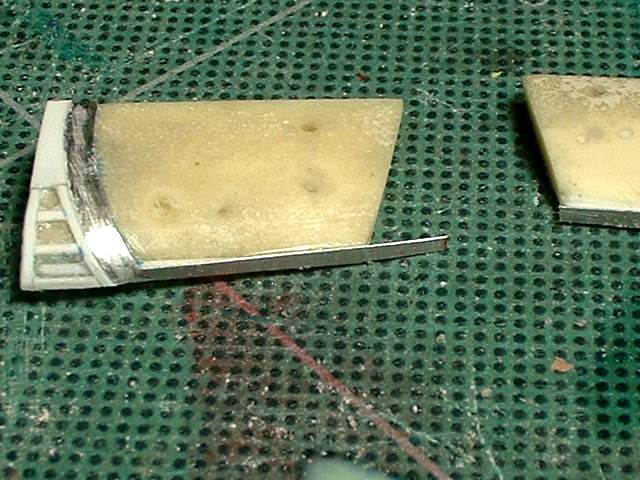
A close up and you can sort of see CA glue filling the top of the strip which is straight and not as curved as I would like

trimming

Starting to draw some parts on a graphics program. A fellow modeller contacted me and informed me about the method he used to make photo etched parts. Well I got most of the needed material to try it myself so now I need artwork to try it. This is the start
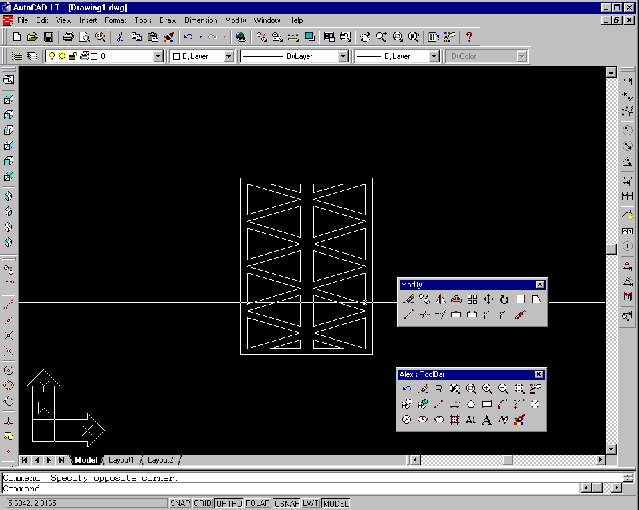
AutoCAD used first to get exact dimensions. This is then screen captured and then imported into Corel Draw which is what I will use to print out the graphics
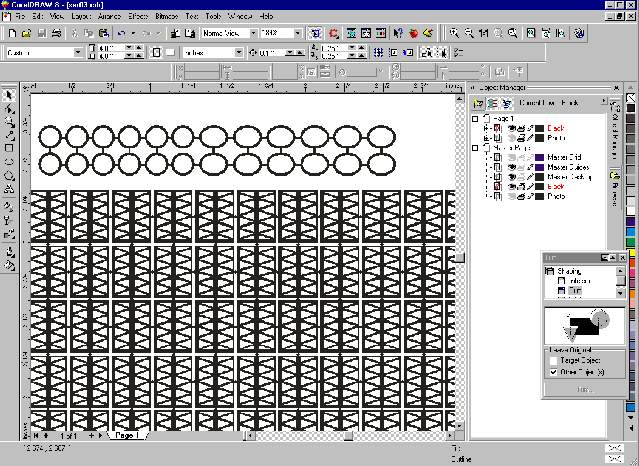
Certain patterns are repeated more then needed since there is no guarantee that all the parts will be usable
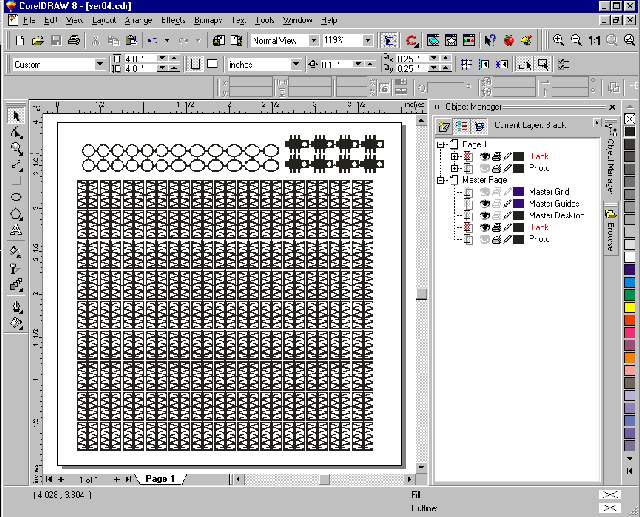
The final artwork. Now to see if there are any other items I can add to the graphics. Might as well jam as much as I can into this thing