Serenity - March 5 2006

More sanding...
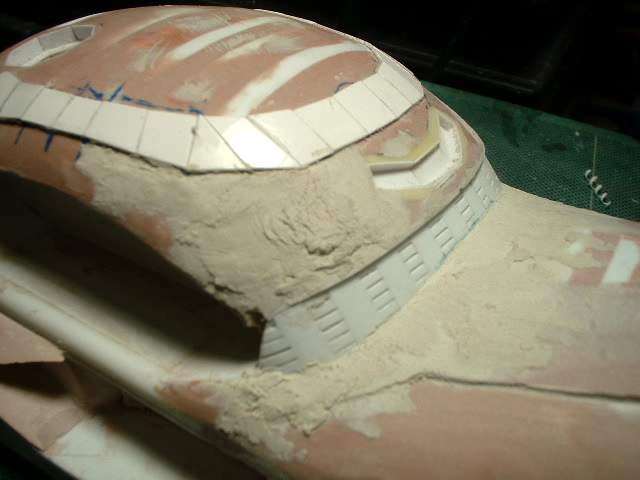
...and more puttying. Damn
Almost there it looks like it
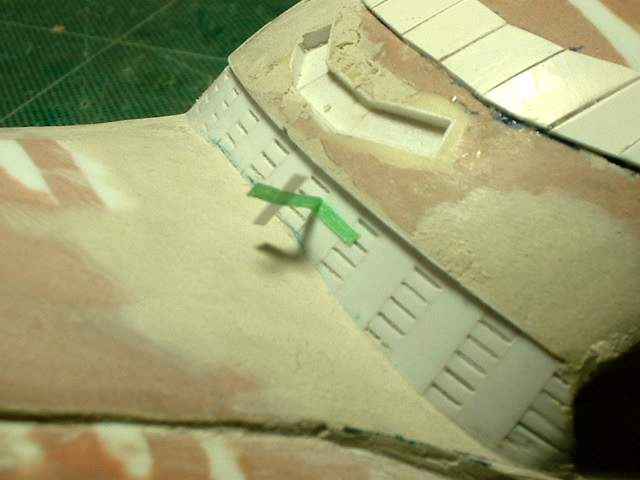
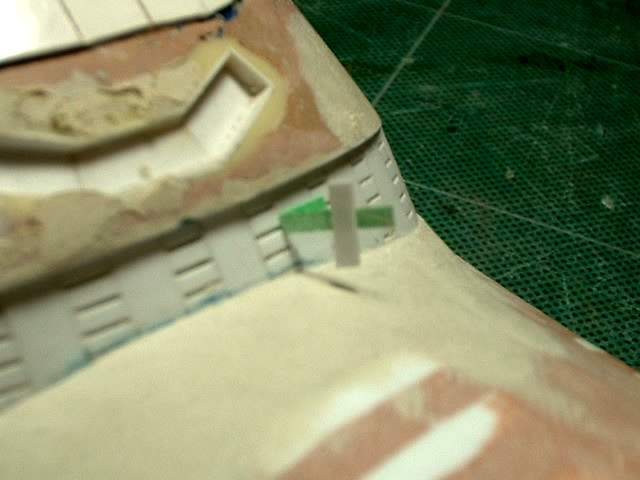
So on to the next detail items. These will be the base of the ribs that you can see in this section. It is not an easy location to glue items onto. To make it easier I am using a strip of masking tape to hold the part to be glued in position. I then peel back the part and tape. I apply glue to the back of the part and when I bring the tape down it will position the part exactly where I want it. This works better then fine tweezers as the part is too small to hold properly with tweezers. It is a slow process but it puts the part exactly where I want it.
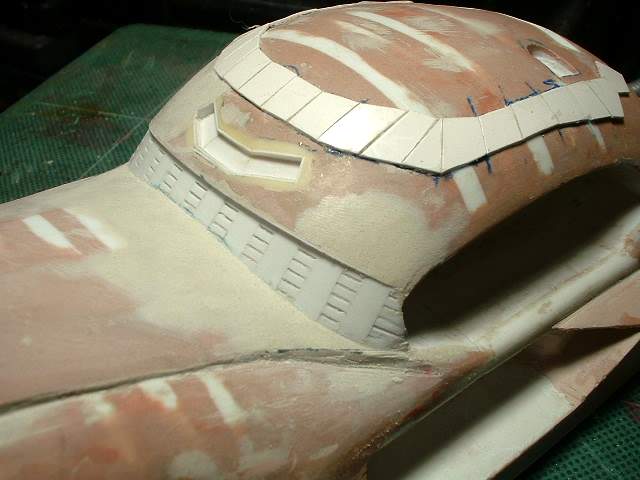
Reverse angle
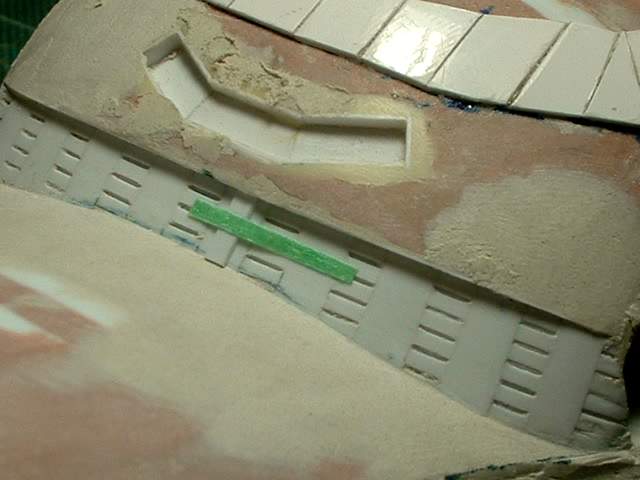
tape returned to the down position and the part is glued on
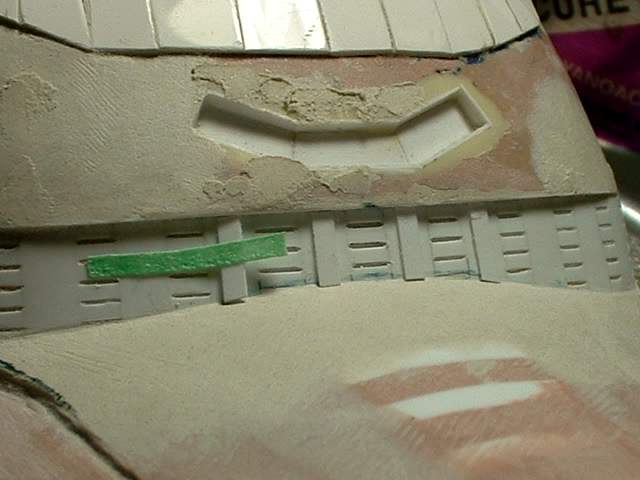
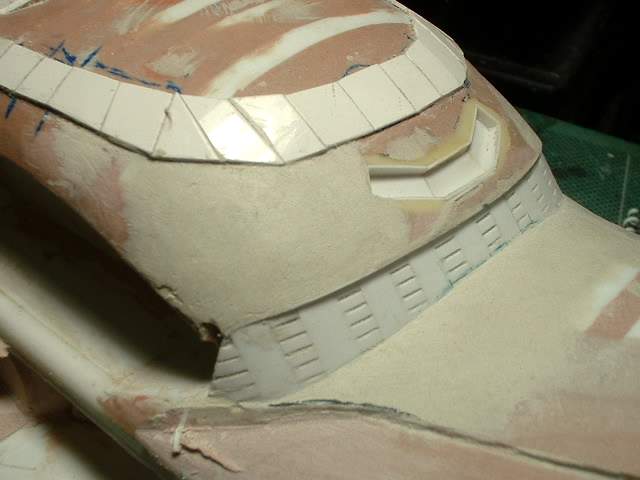
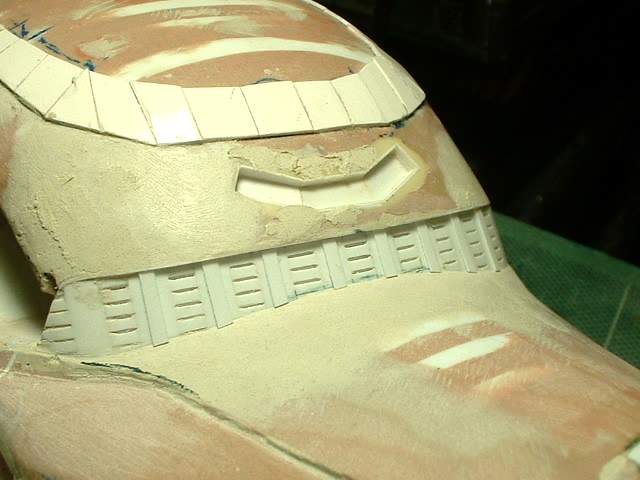
Several parts later and I am still at it

Only a few more to go. As I said this is a slow process
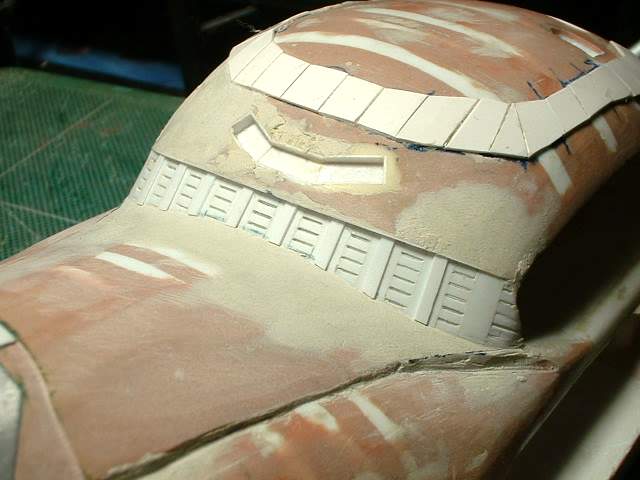
Done wheew!
The other view. Now this is just the base. There is still teh rest of the ribs to add