SERENITY - Jan 29 2006
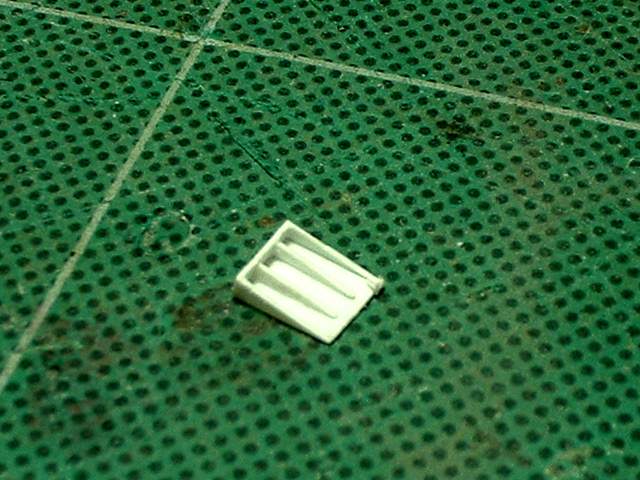
here is the vent all filed down to size
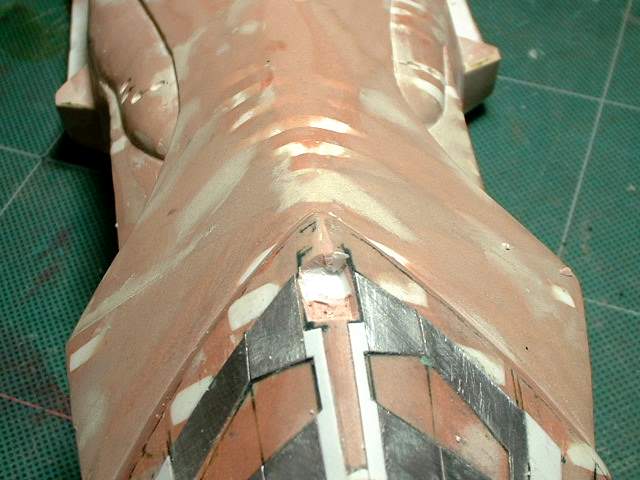
Now to start cutting into the area where the vent goes
Close up
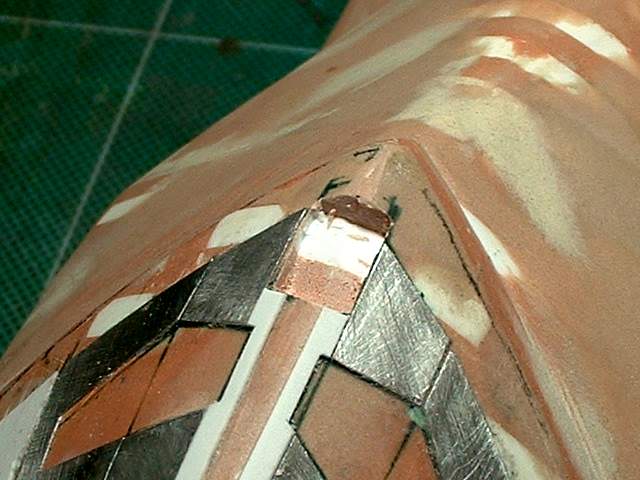
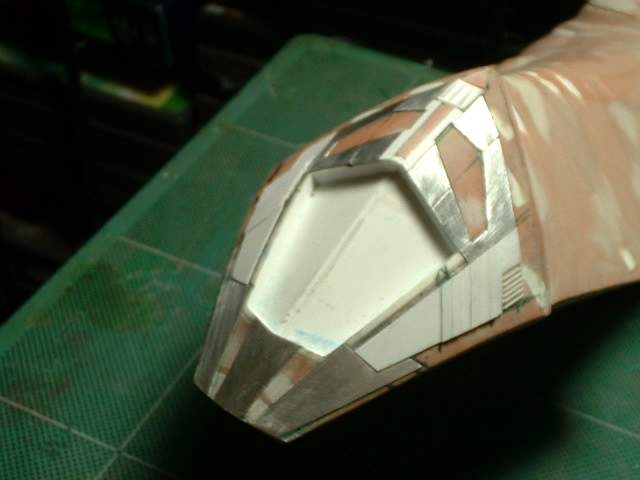
After some cutting and test fitting and more cutting I think I am ready to install it
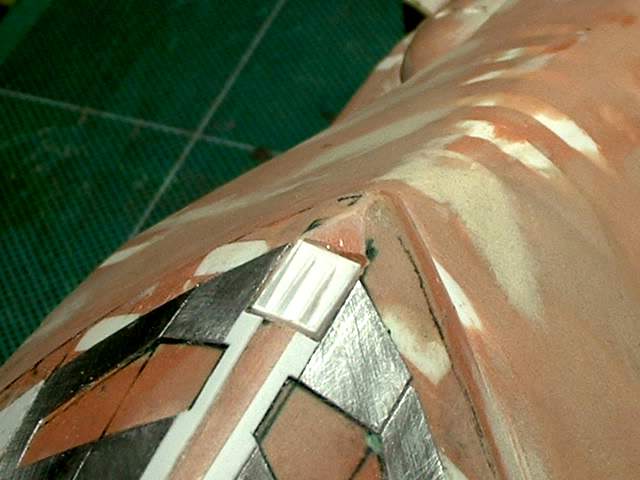
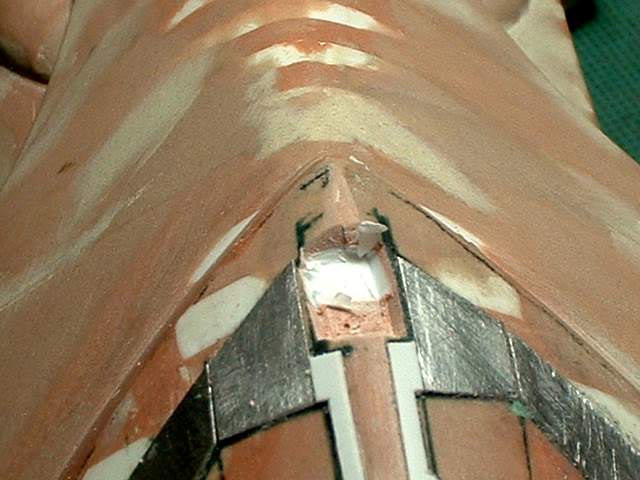
A couple of tries to position it properly and I think it is done
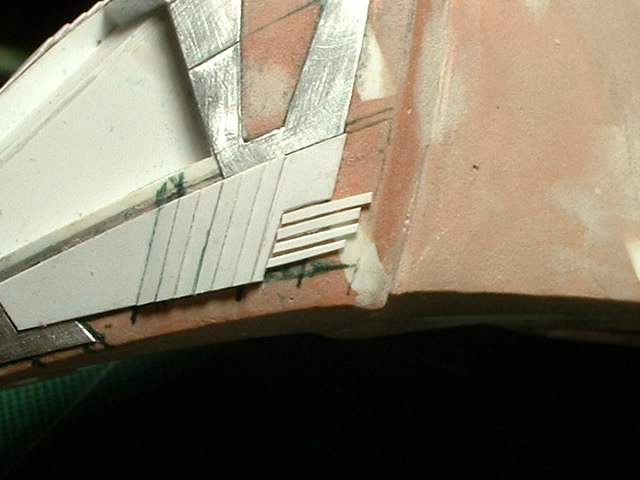
Next those side gills I missed. I tried to use sheet styrene but they look too wide and not right so off it came
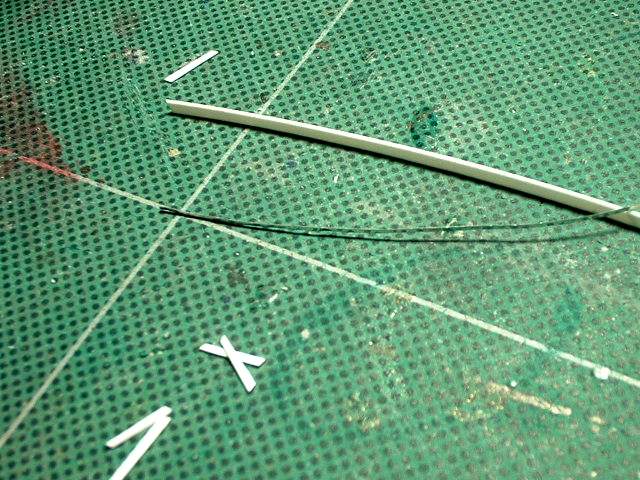
I tried to cut some very thin aluminum sheet for the gills but the material was tearing at the edges. Since they were not clean I didn't want to use it
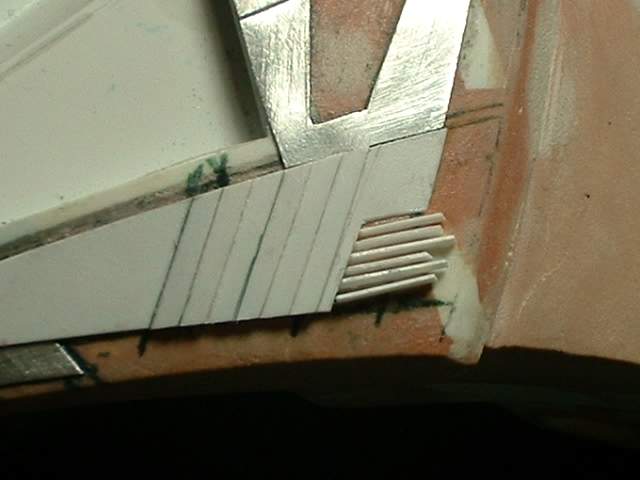
So I decided to go back to the sheet styrene but I am gluing the edge of the styrene down.
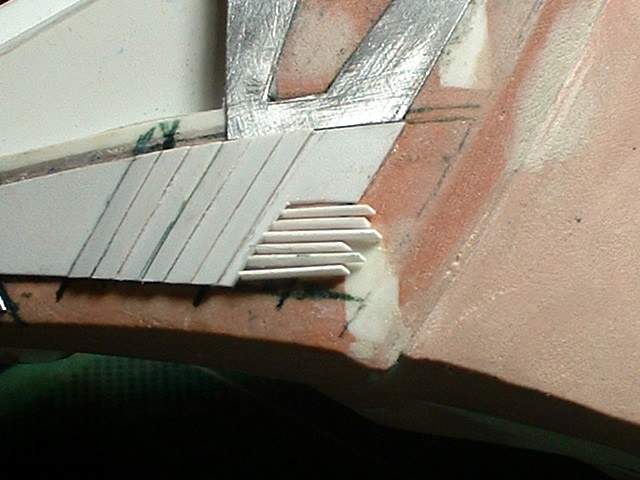
It too some steady hand and some reinforcing of each strip as they were being glued down but I think it looks OK
Once everything is dry I will start sanding and filing to shape
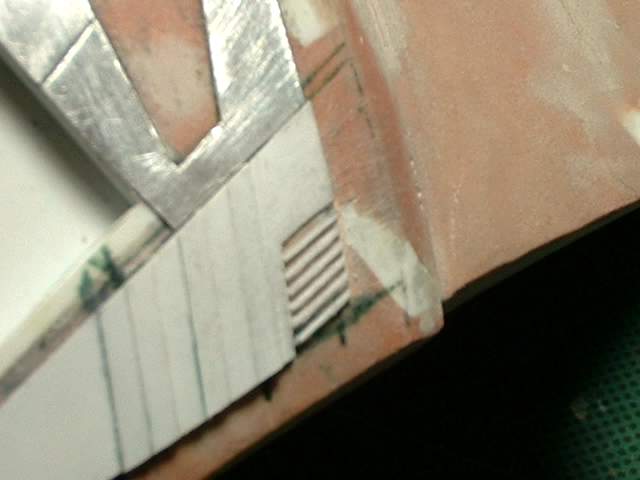
Well it looks a lot better but I know there is some glue marks I will have to fix later
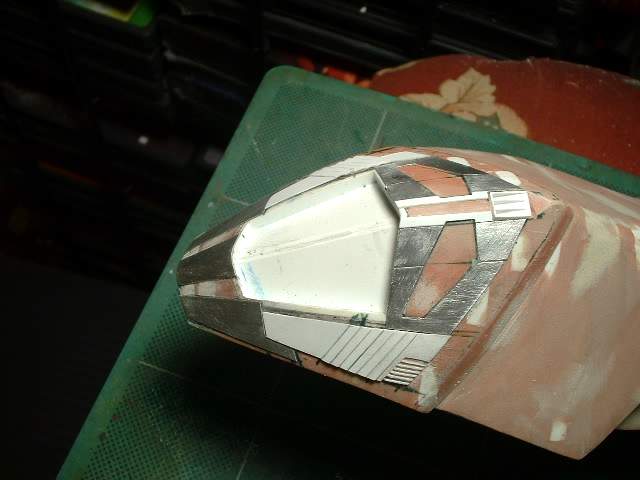
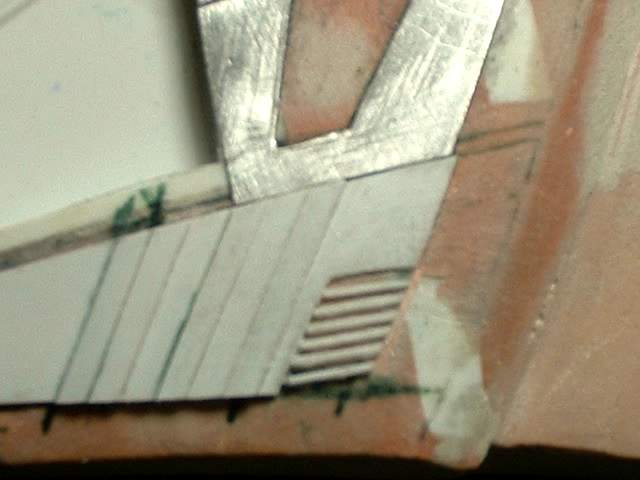
Overall view of the almost done head detail. Oh the other side gill is not done yet