SERENITY - Jan 27 2006
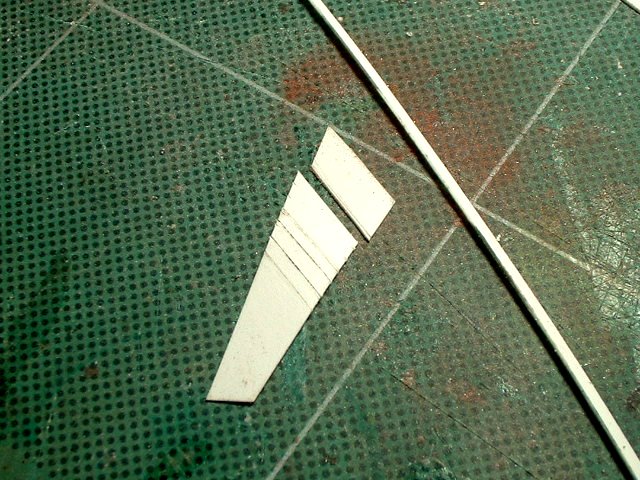
Starting the side detail. First parts were cut to fit in those locations and then the vent lines were scribed in to make sure they looked right before cutting. I was going to cut the slats from the one sheet but I found it hard to keep them the same width so I decided to cut a strip (see above the part) to keep the width the same/
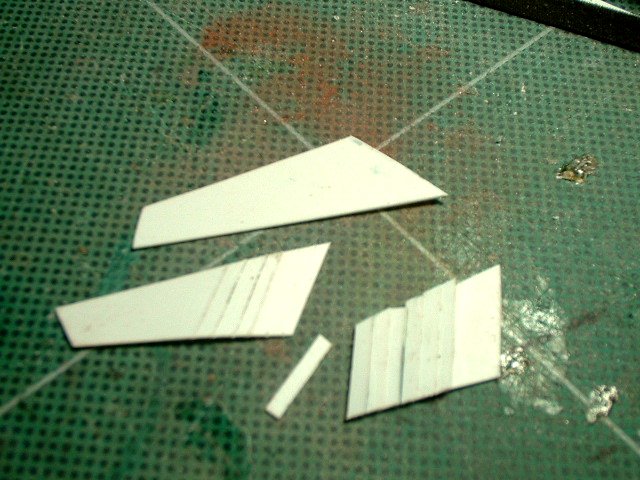
Here I started the cutting process of the strip. I cut the length longer then needed as I will be trimming it later
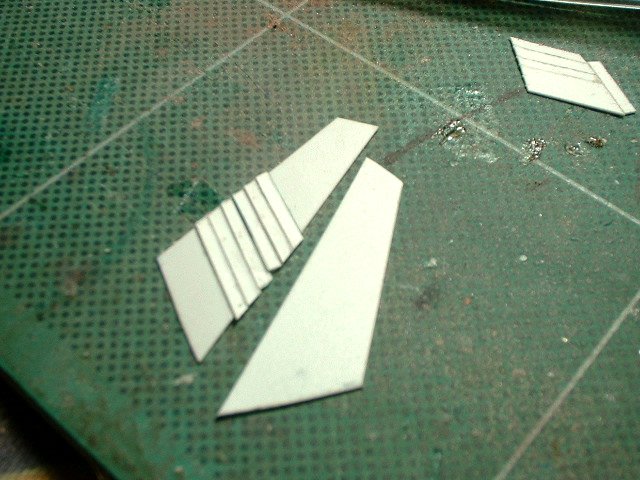
One side has the strips glued together they just need to be trimmed down. The one on the right is for the other side and shows what I began with
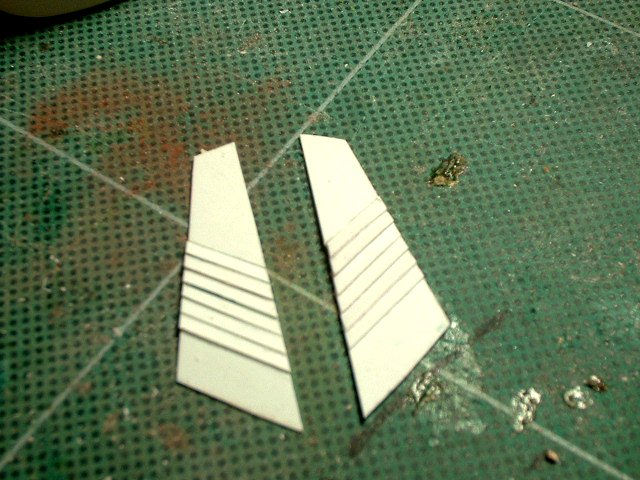
All filed and sanded to shape

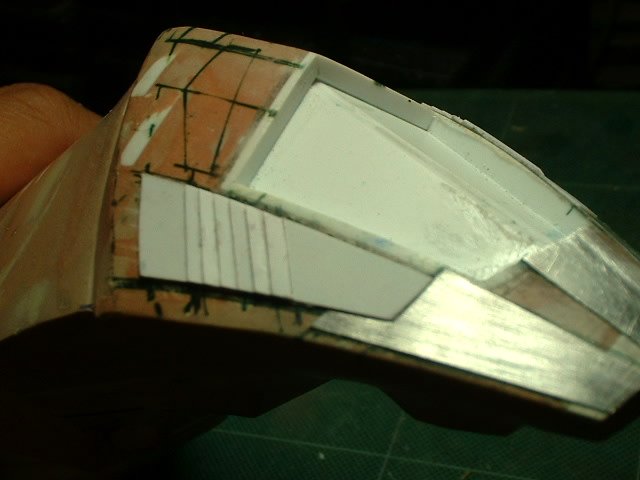
Installed
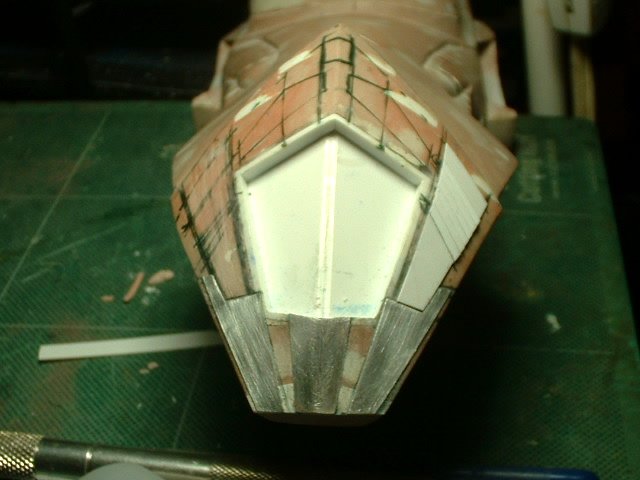
Front view

A while later the other side is done

Various views where the lighting may show off the ribbing =etter

Close up of the second side

More aluminum from a Coke can

Top detail being added

Starting to test fit a piece for the lower part
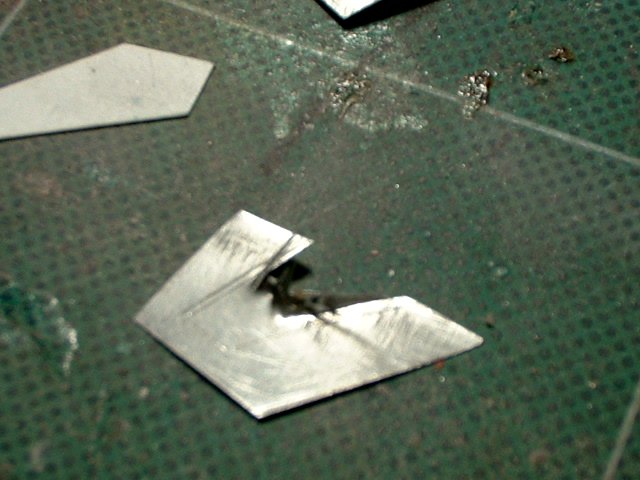
It is bit of a mess getting the shape needed without ruining the thin metal

One side done
Working with the thin metal has it's good and bad points. One bad point is metal slivers. Not fun when you get it imbedded under your skin and you have a hard time trying to figure out where it is and how to get it out.