SERENITY - Dec 25 2005

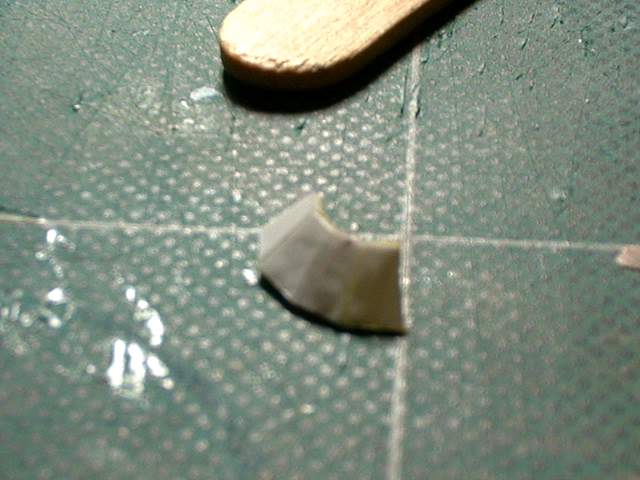
After gluing together the first 4 parts and test fitting it there looked to be problems The parts did not look like they were the right shape so here I am on my second try. The part on the right is the new part
4 of the parts glued together
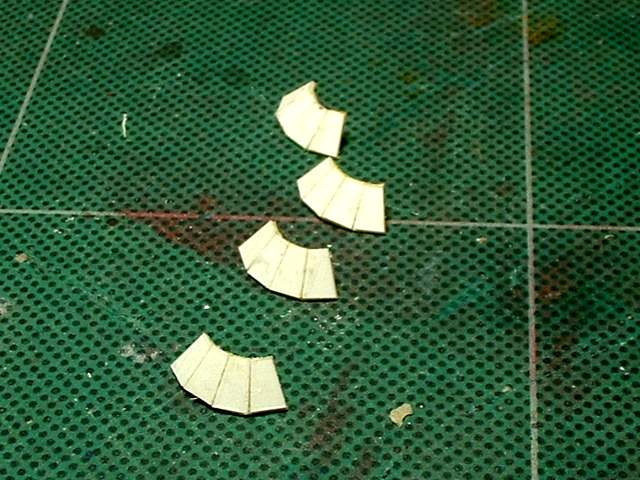
4 sets of 4 segments glued together
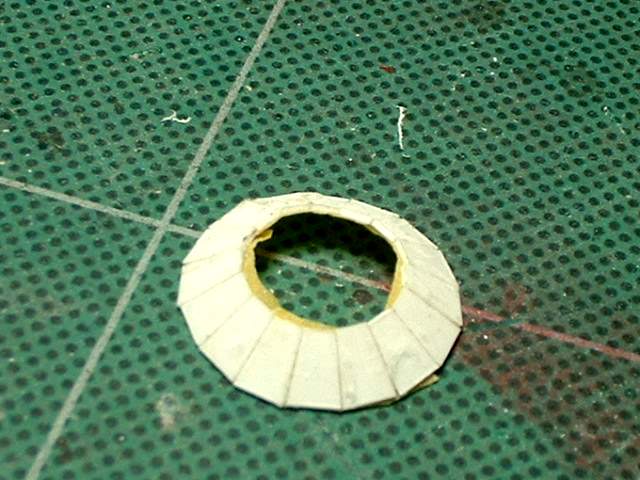
everything glued together. I did notice that it does not sit straight or flat or whatever
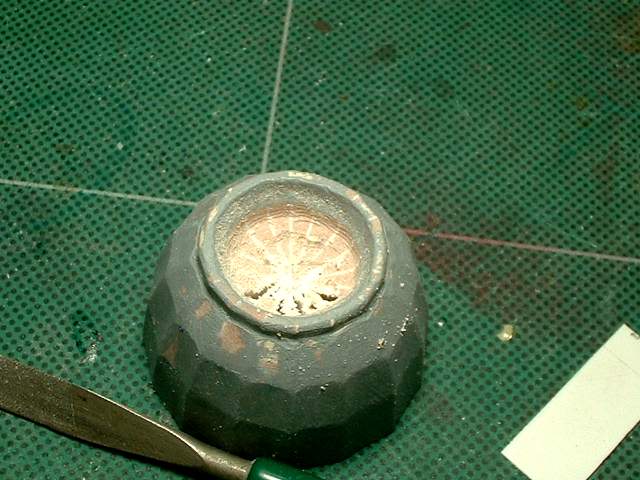
The inside is carved away to hopefully receive a shiny new neat part
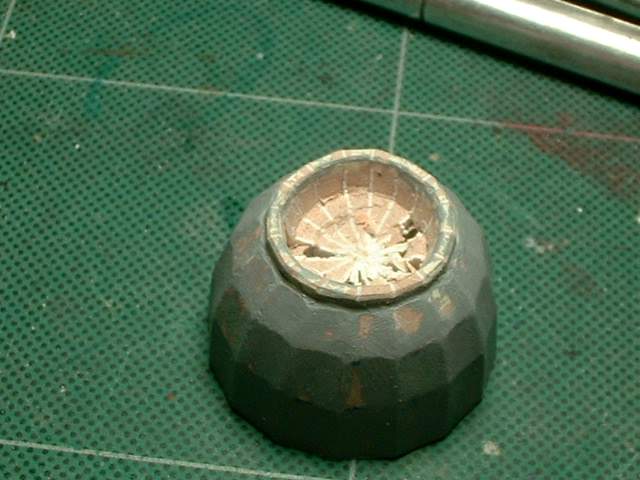
More carving and then I noticed again that the intake is not round. This has bugged me quite a bit but I was not sure how to fix it
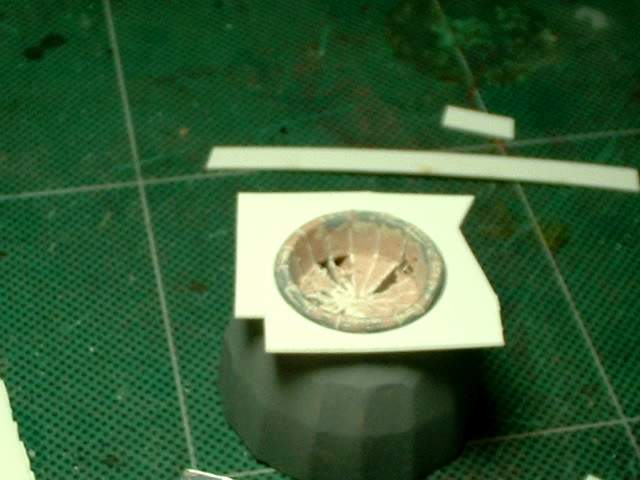
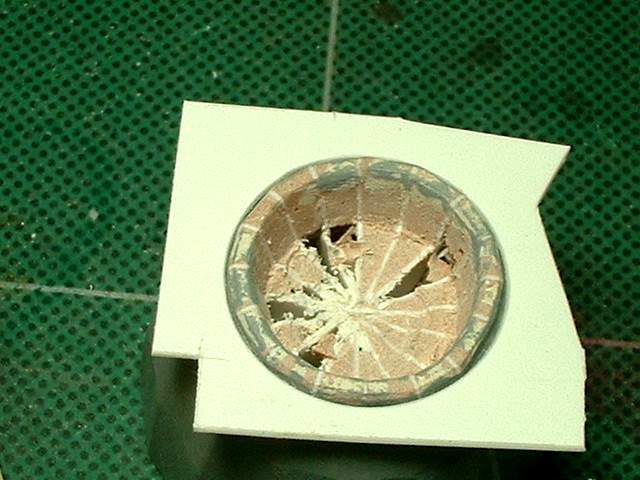
After several tries I made a circle cutout that fit into the intake.
In the close-up you can see that some sides are not as accurate as t should be. They might me out by fractions of a mm but it is enough to the eye to pick out

Using the cutout I will be slowly modifying the intake to make it more round.
Holidays and food and relatives so not much done actually
Later on I am watching the Ep 3 extras and documentary of the amount of people involved in getting one scene on screen. The amount of manpower they have is incredible. The amount of control the George Lucas has is mindboggling.
I then recall the Serenity commentary with Joss and the scene in Mr Universe's room when Mal returns and the scene starts with the fish bowl. Instead of hundreds of people making sets and working on green screens and digital manipulations Joss solved his problem of no elevator doors for Mal but starting off with a fish bowl.
Well this part of the model has been going slow. My anal retentiveness has not allowed me to move beyond the engine intake until I am satisfied. I did manage to finish one model that I said I would do for a friend so I accomplished something.
List of things to do.
1. various vents all over the body
2. Finish the docking ports for the shuttles
3. Finish Shuttles
4. Cast shuttles
5. Finish engine intakes then cast
6. finish rear cone raised details
7. rear thruster assembly
8. tail
9. nose tip detail
10. panel lines
12 finish skylight
13. neck vent details
14. finish the 2 hatches
15. head fins
16. main cargo area fins
17. neck fins