SERENITY - Dec 11 2005
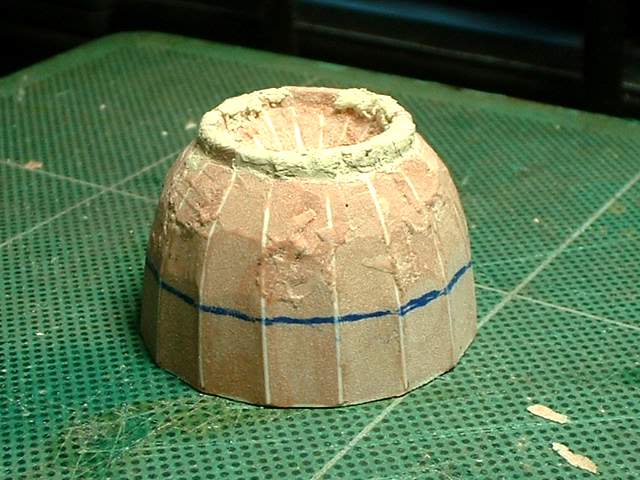
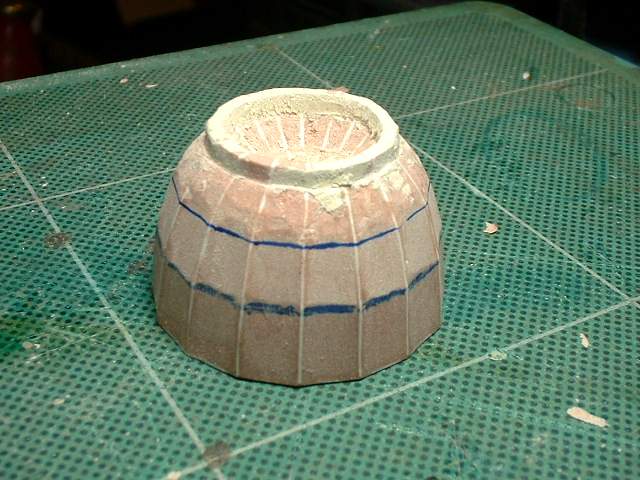
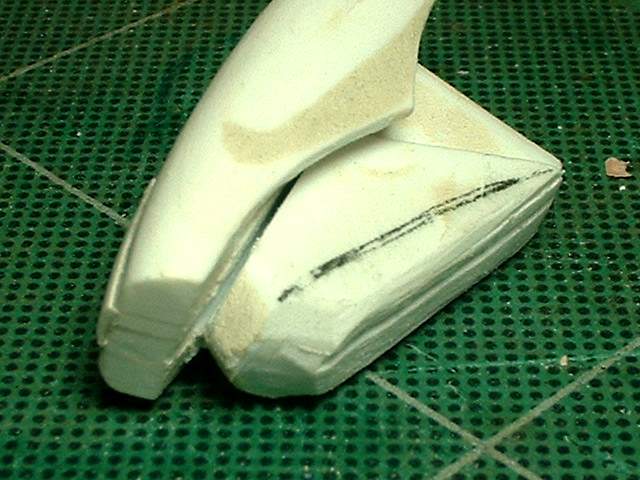
Now that the first layer is done I had to figure out how to make the next layer even with the first one so it didn't look terrible. I decided to draw a line around the part and then use this as a guide to sand up to when I work on the second level. Sometimes I surprise myself
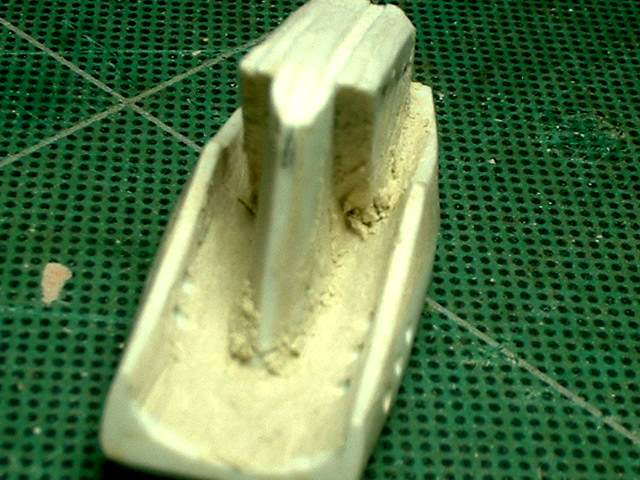
Oh yeah I also used hobby putty at the top. This is the second application
More putty and more sanding
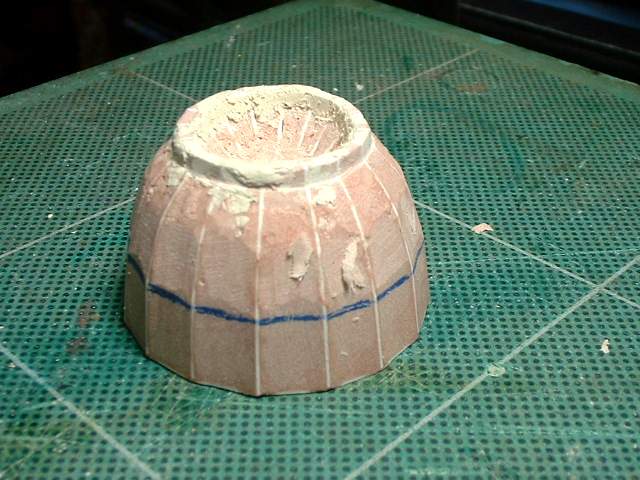
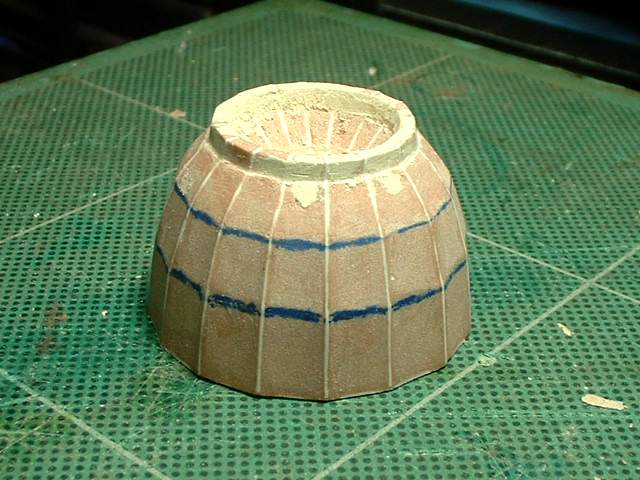
All done the second layer. The top step had not been nice as things are slightly out in a couple of areas and I am trying to fix it with the putty. The outside is OK but the inside has been a pain as it has been hard to reach.
Second layer done and line drawn on part to work on the 3rd layer
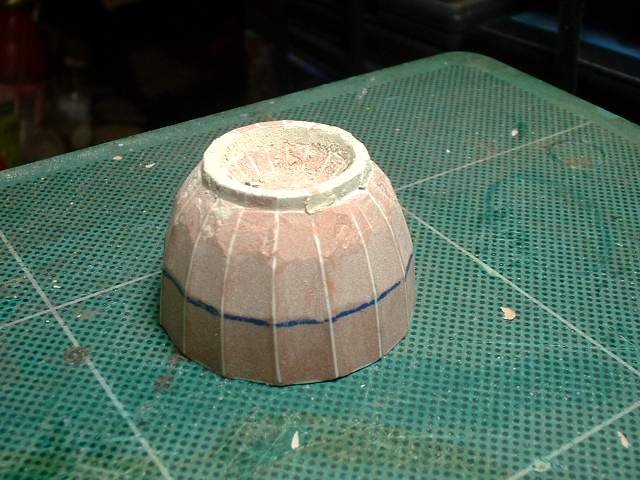
More putty
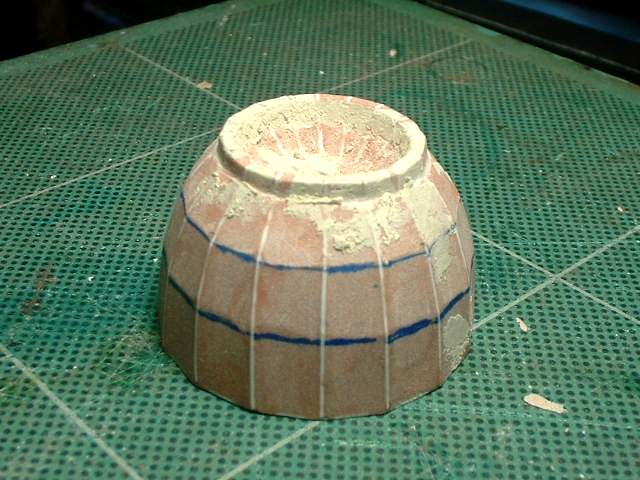
Done the top layer but then there was some holes that needed to be filled so more putty
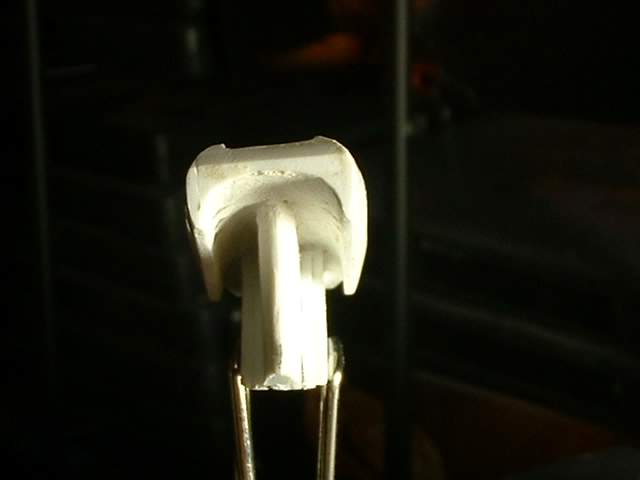
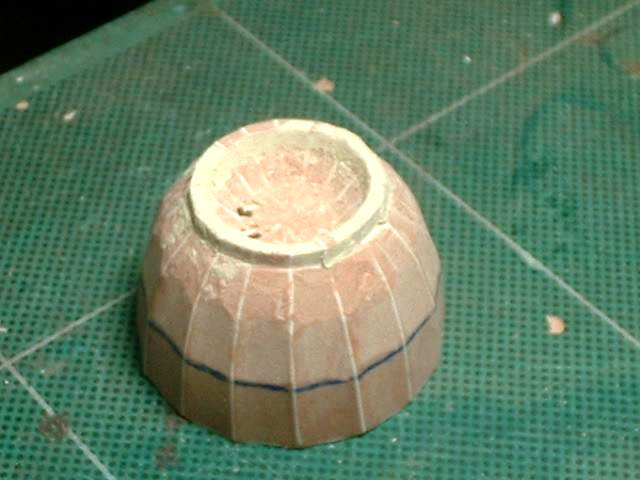
When I was taking the last assembly picture of all the parts I noticed that this part was lopsided. I am not sure if this picture shows the problem. The top is leaning to the left a bit
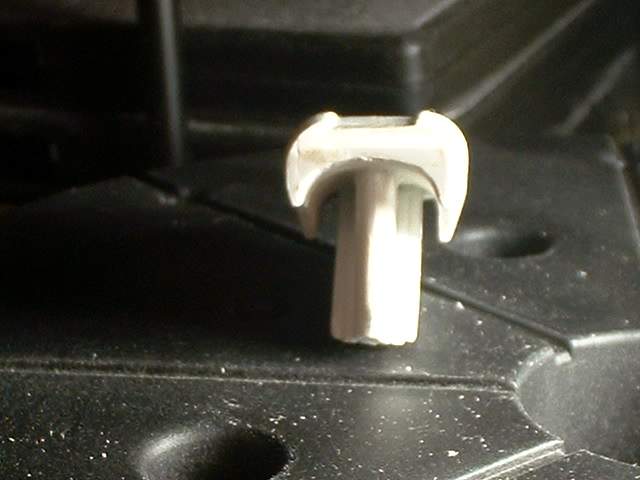
Maybe you can see it here. Well it needs fixing
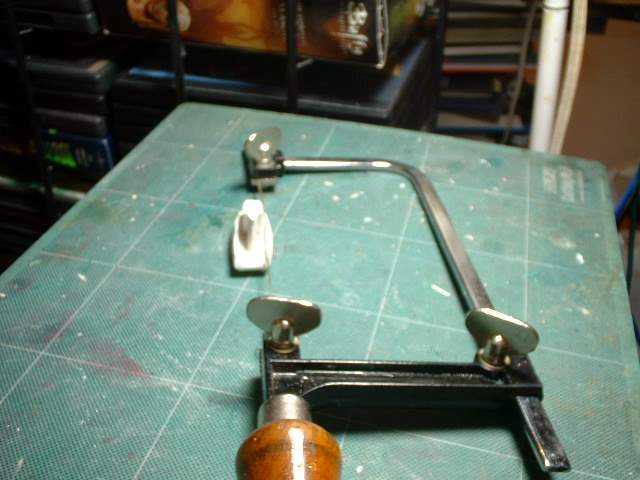
Out comes the saw to cut the part
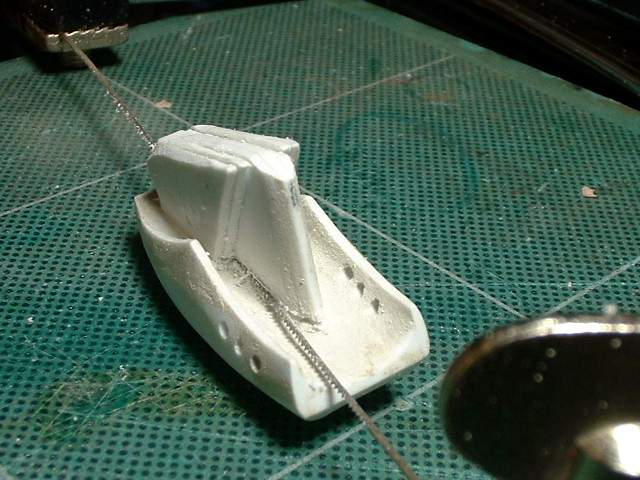
Partially cut through
Mostly cut
The cut
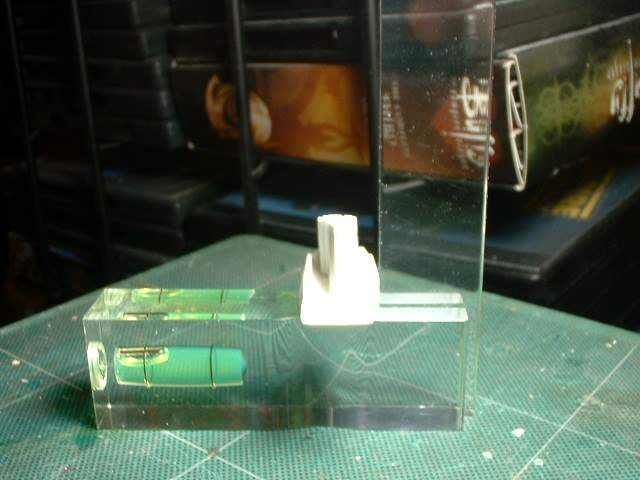
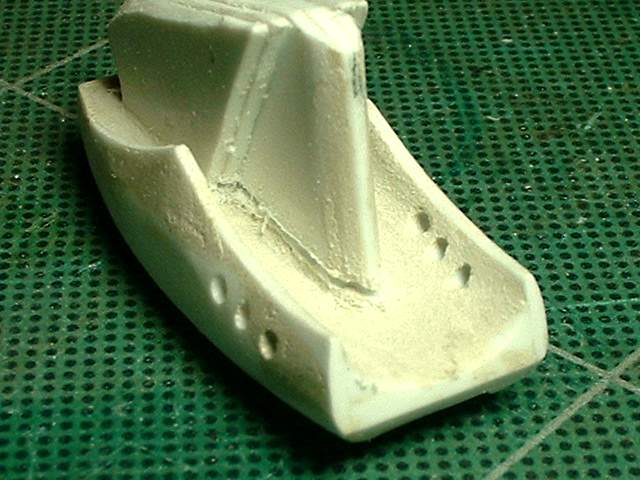
Styrene strips and glue used to square up the part. Here it is being checked against a square to mak sure it is true.
More putty and glue after setting it straight.
The nitty gritty stuff is starting to be added and is going along well. The RTV master I was discussing earlier finally cured. I was not putting in enough of the catclyst and/or putting it in a warm enviroment.