SERENITY - Dec 8 2005

The bottom detail piece wasslightly oversized so I had to trim it down

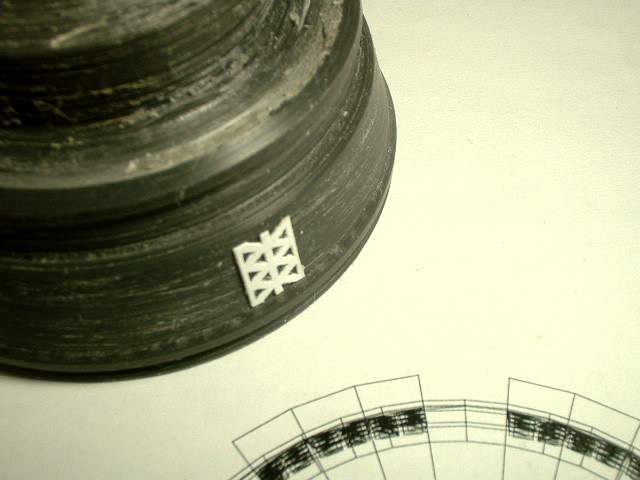
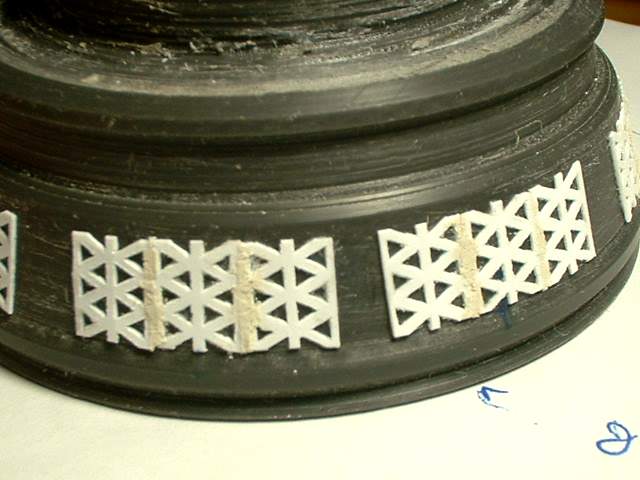
Close up. The far right part has been trimmed but the rest has not
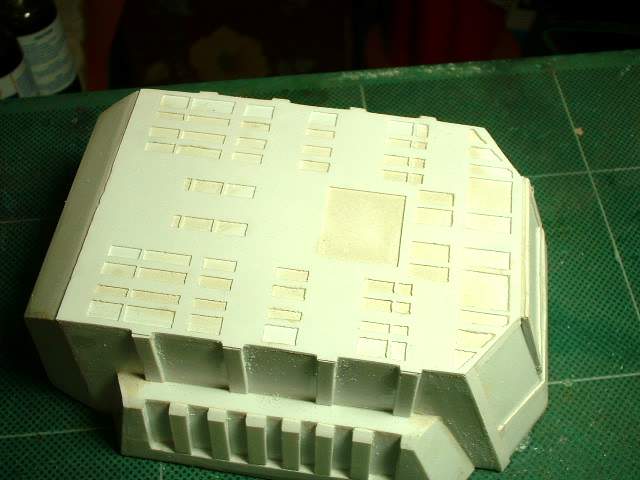
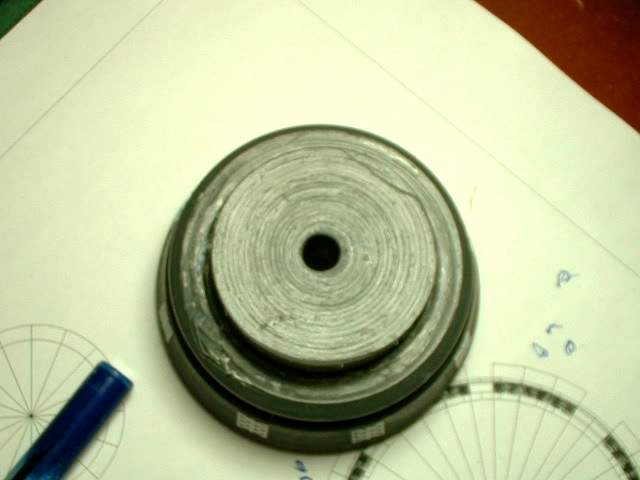
The bottom all trimmed up
Starting the engine detailing

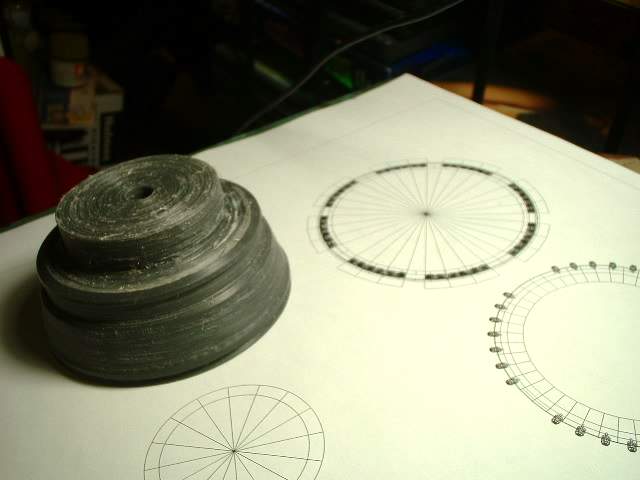
I drew up this template to help my space the parts evenly around the part. This was done in AutoCAd. Even with the template it was very hard to get everything evenly spaced and slight errors are noticeable
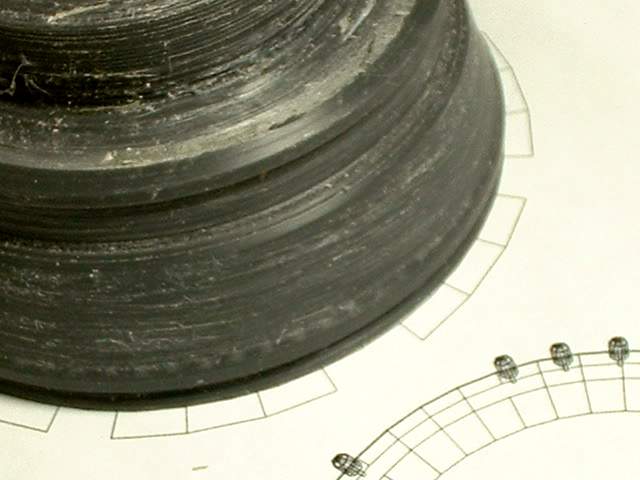
This is the part over the template with the lines showing where I am to glue things
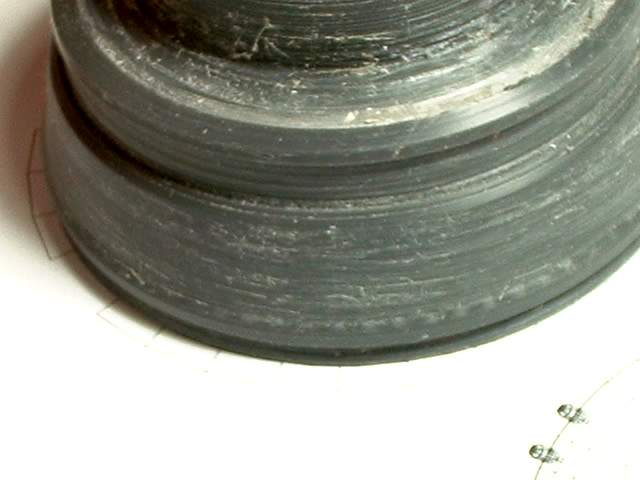
Light sanding of the area that will receive glue
The first part stuck on
3 done
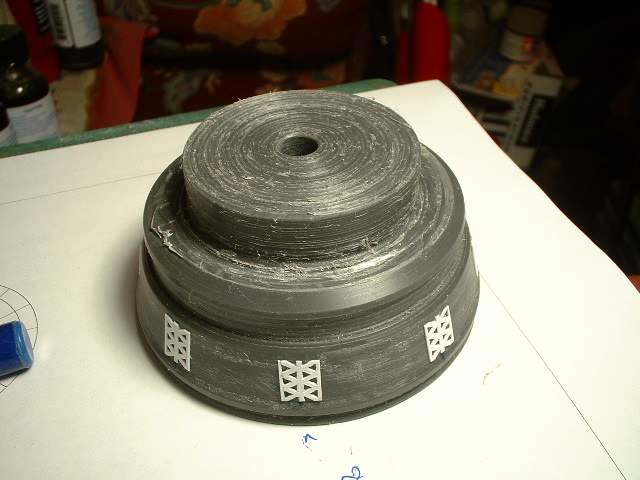
more done and a top view. I was trying to show all of them at once
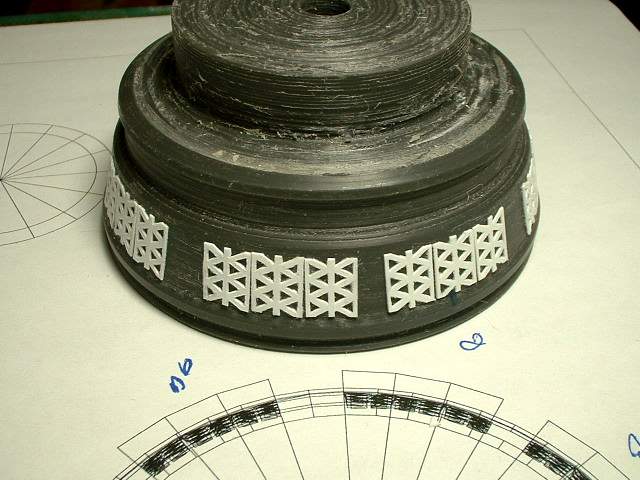
After some work they are all on. Some are slightly out but since you can not see all sides at once I decided to leave it
Now to fill the gap between the parts with putty
I noticed that later images of Serenity had this detail while earlier ones did not. I could have made things easier for me by not including this item but I guess I like punishing myself. I did notice that the detail I added has a slight error to it. I will let the rivet counters figure it out and build their own model.