SERENTY - Nov 13 2005
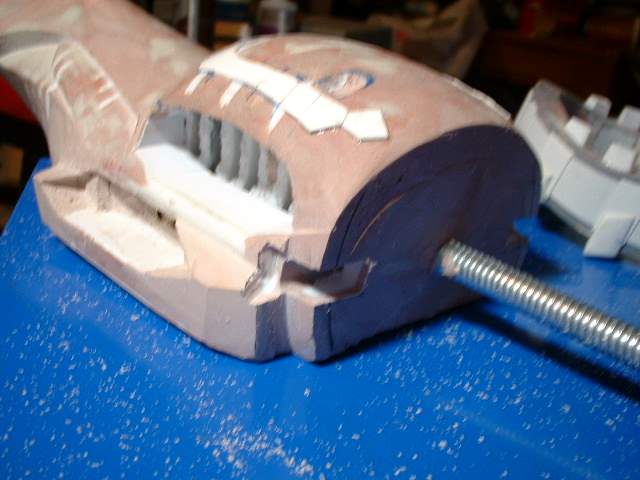
Time to try and mount the rear legs. This required me to mark out the section that I need to cut back on. Using the turned piece as a guideline.
The other side
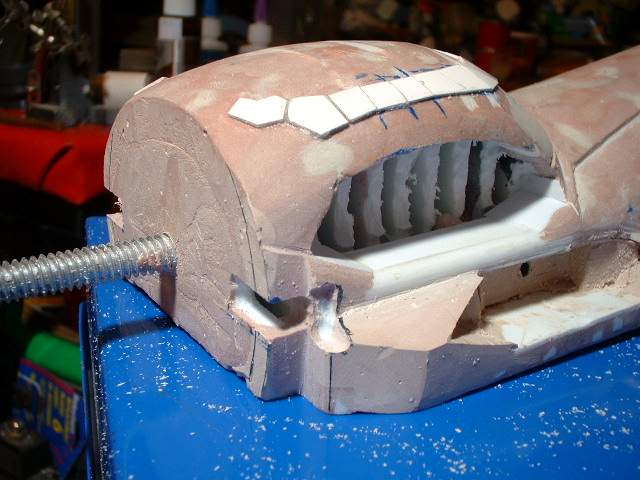
Chopped up
The other side
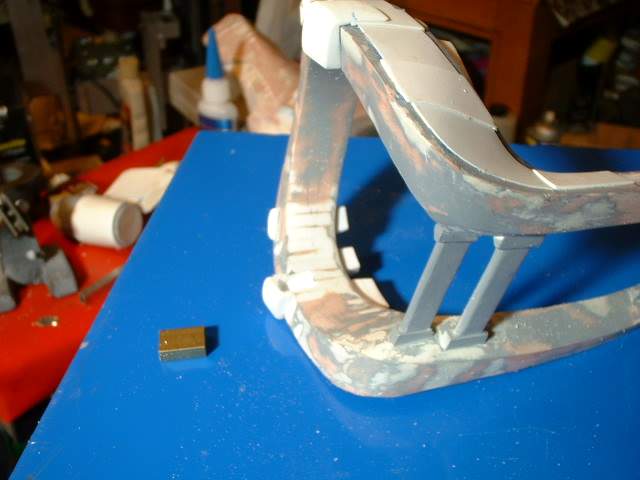
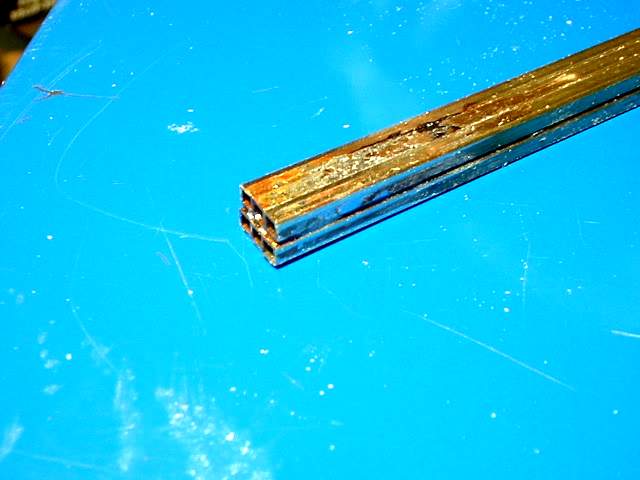
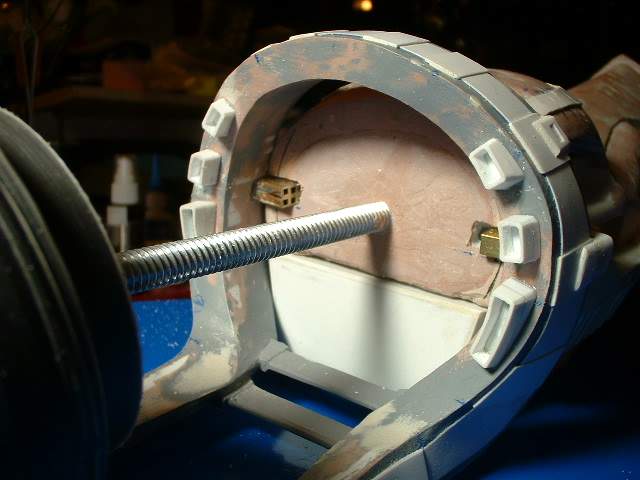
Now to add a mounting tab using this rectangular brass tubing I found in my scrap box. Hard to see but the inside of the leg has been carved out to receive the brass rod
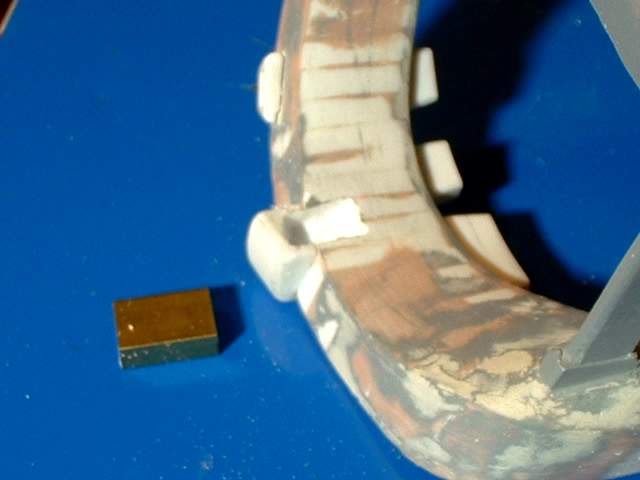
Close up
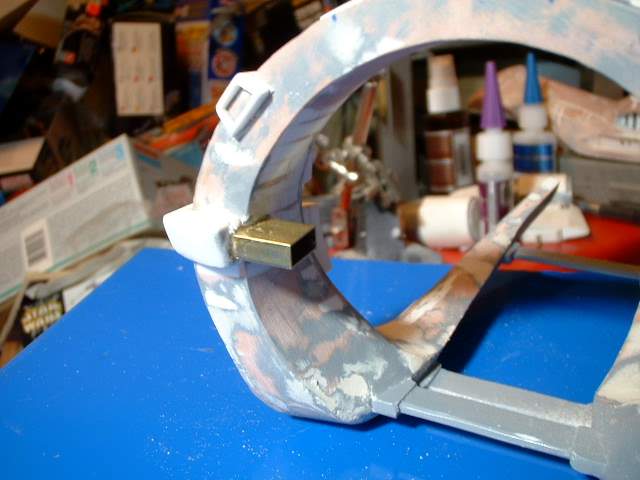
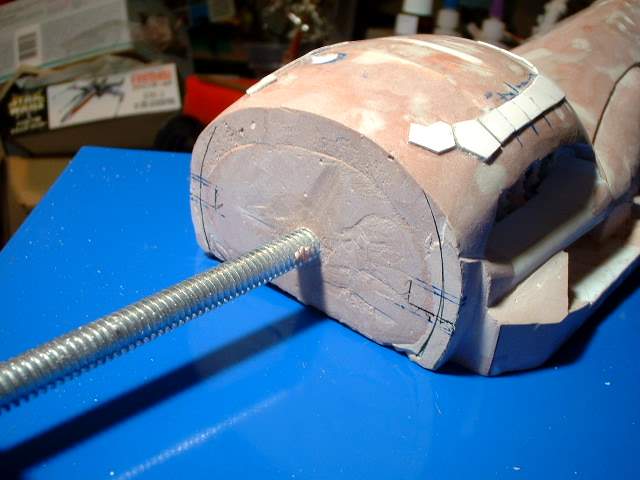
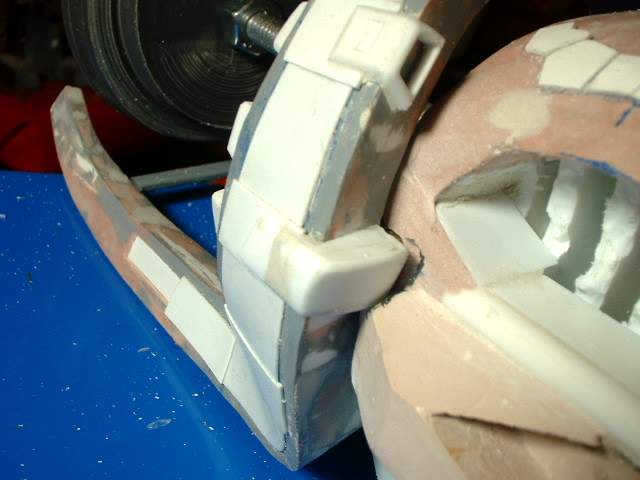
Glued on place. I did my best to make sure it was in properly. It is horizontal looking from the front but the top view will show that it is slightly slanted back. Well it is superglued in now and I do not want to risk breaking the thing trying to remove it.
Back view. Gaps will have to be filled wit putty or something
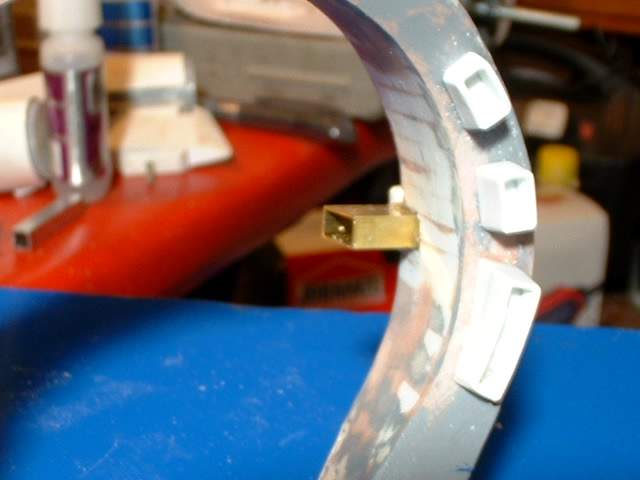
Well I had only the one little bit for the one side so I soldered together some smaller sections to make a shape similar to the first one. I for got to take photos of a section of this chopped off and the other side before I glued in the mounting point.
After careful marking I am fairly sure these are the correct mounting locations. Hey I know I have made errors before.
Start the chopping
Both sides done. Well mostly done as I had to tweak it a bit to get the part to fit
Now there had to be chopping to get some protruding parts of the leg to fit
Both sides
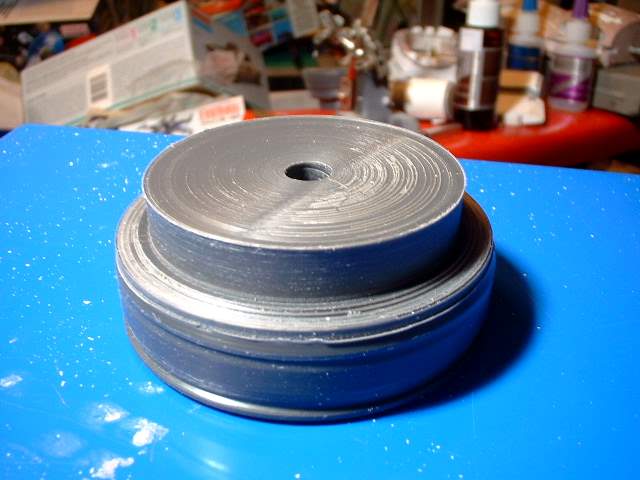
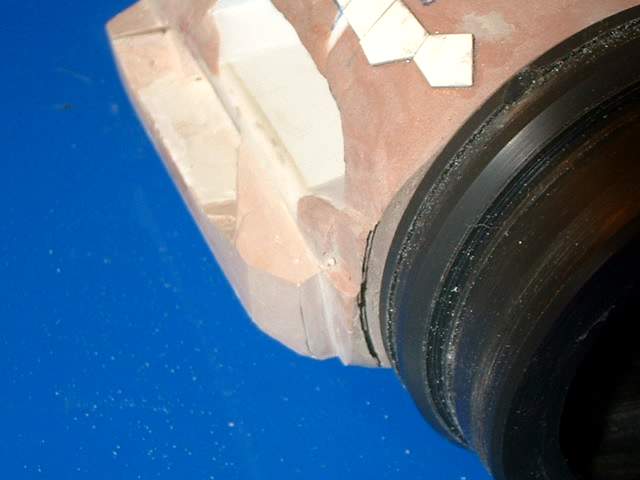
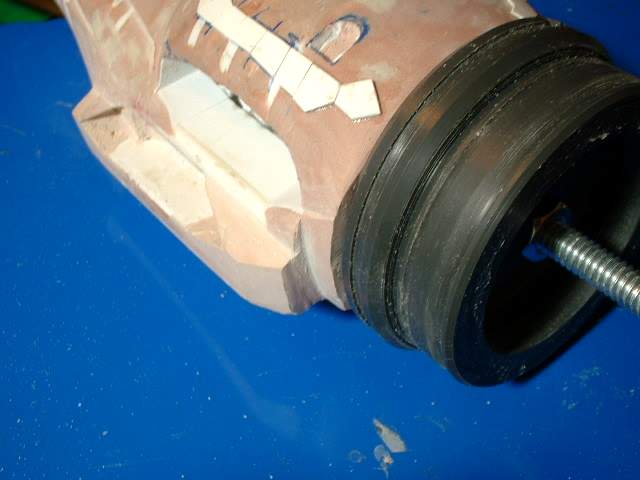
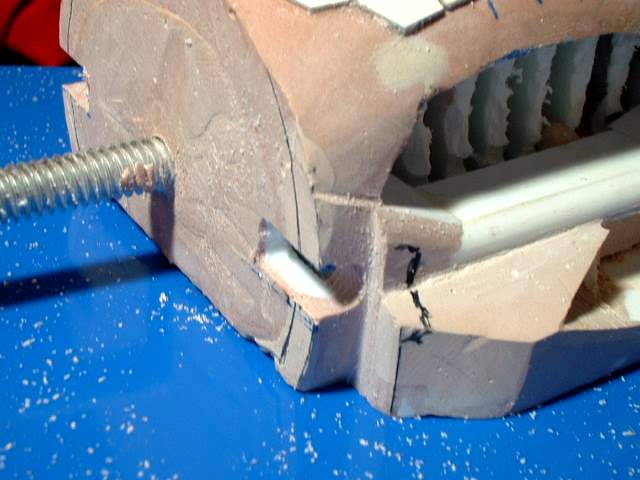
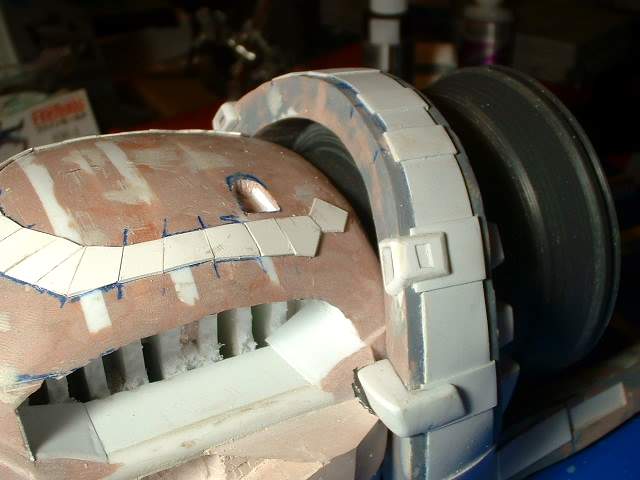
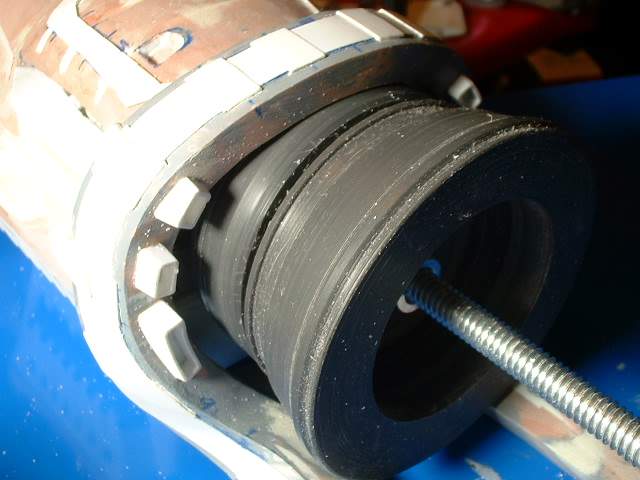
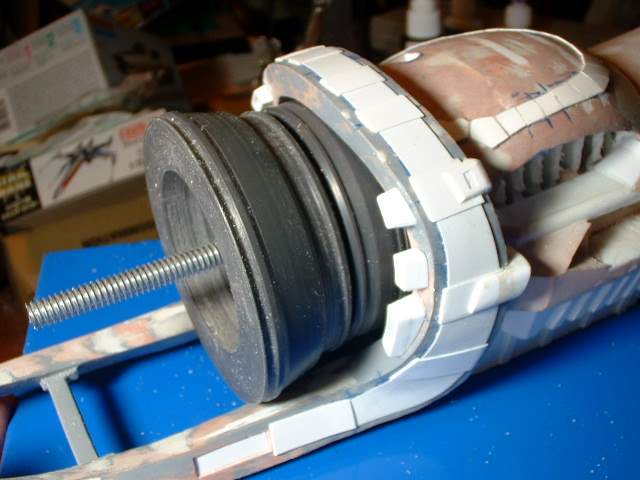
To get the rear section to fit had to turn the part down. I am hoping I can add a chase circuit of Leds in there to get the rotating light effect. No moving parts
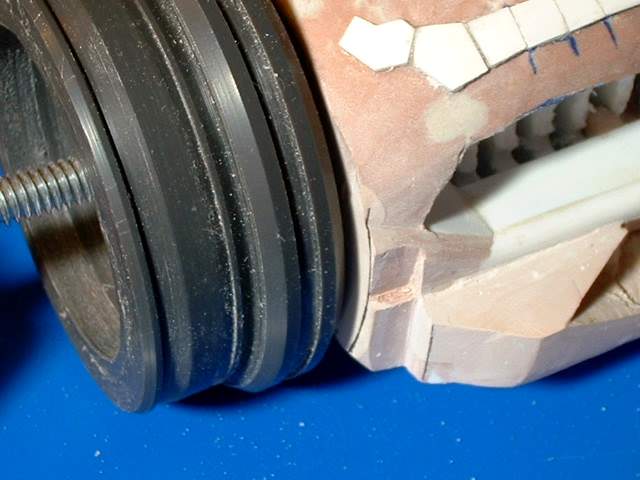
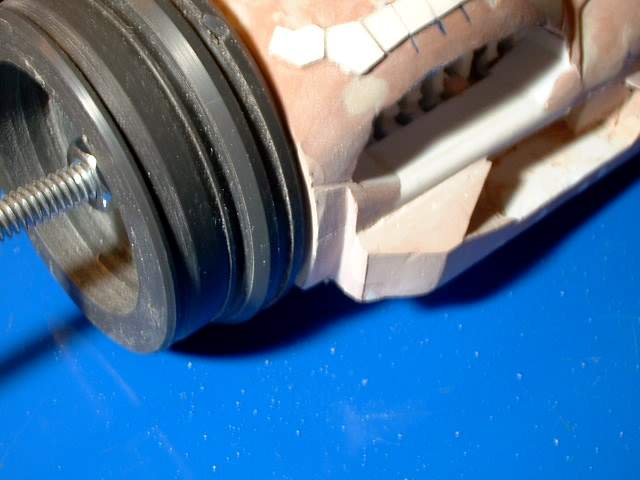
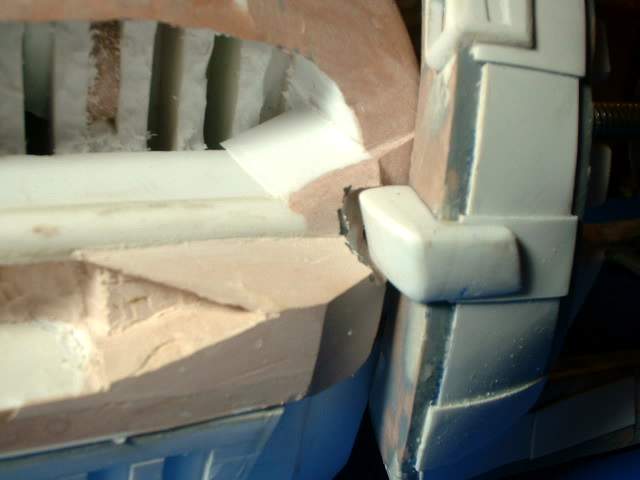
The leg installed. The brass rod protrudes a bit into the rear area. I am going to have to live with it for now.
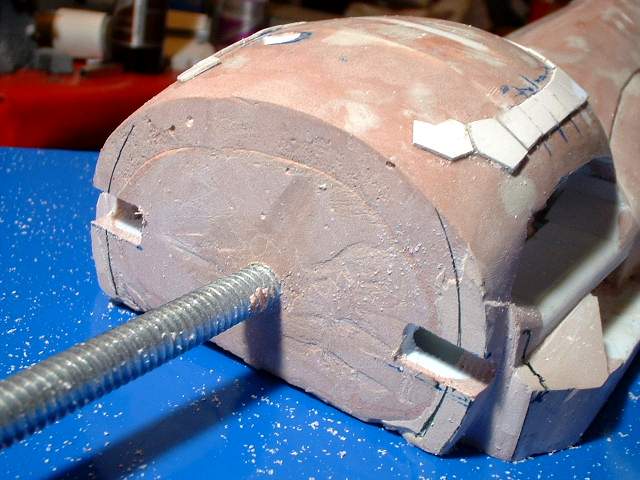
The front section that I had to grind out for.
The other side. I will need to go back in and clean this up
Everything looks like they are lined up and symetrical
This scratchbuilding thing is going along nicely
Raked leaves today and then badminton which left me bushed. Getting into some nitty gritty stuff of the building. This working on it each day is moving along
Stuff to do still.
Finish rear section openings
Finish rear tail
Box in the shuttle areas
Put in the openings on the neck underside
Top neck details
Side neck details
Cargo bottom details
Rear engine mid section details
Windshield detail
Head spikes
Cargo area spikes
Rear head spikes
Skylight detail
2 escape hatch details
Solar panel mounts
Wing top details
Wing leading edge details
Scribe panel lines
Rearmost engine details
Finished?
I guess that is not too bad.