SERENITY MULE - March 23 2008
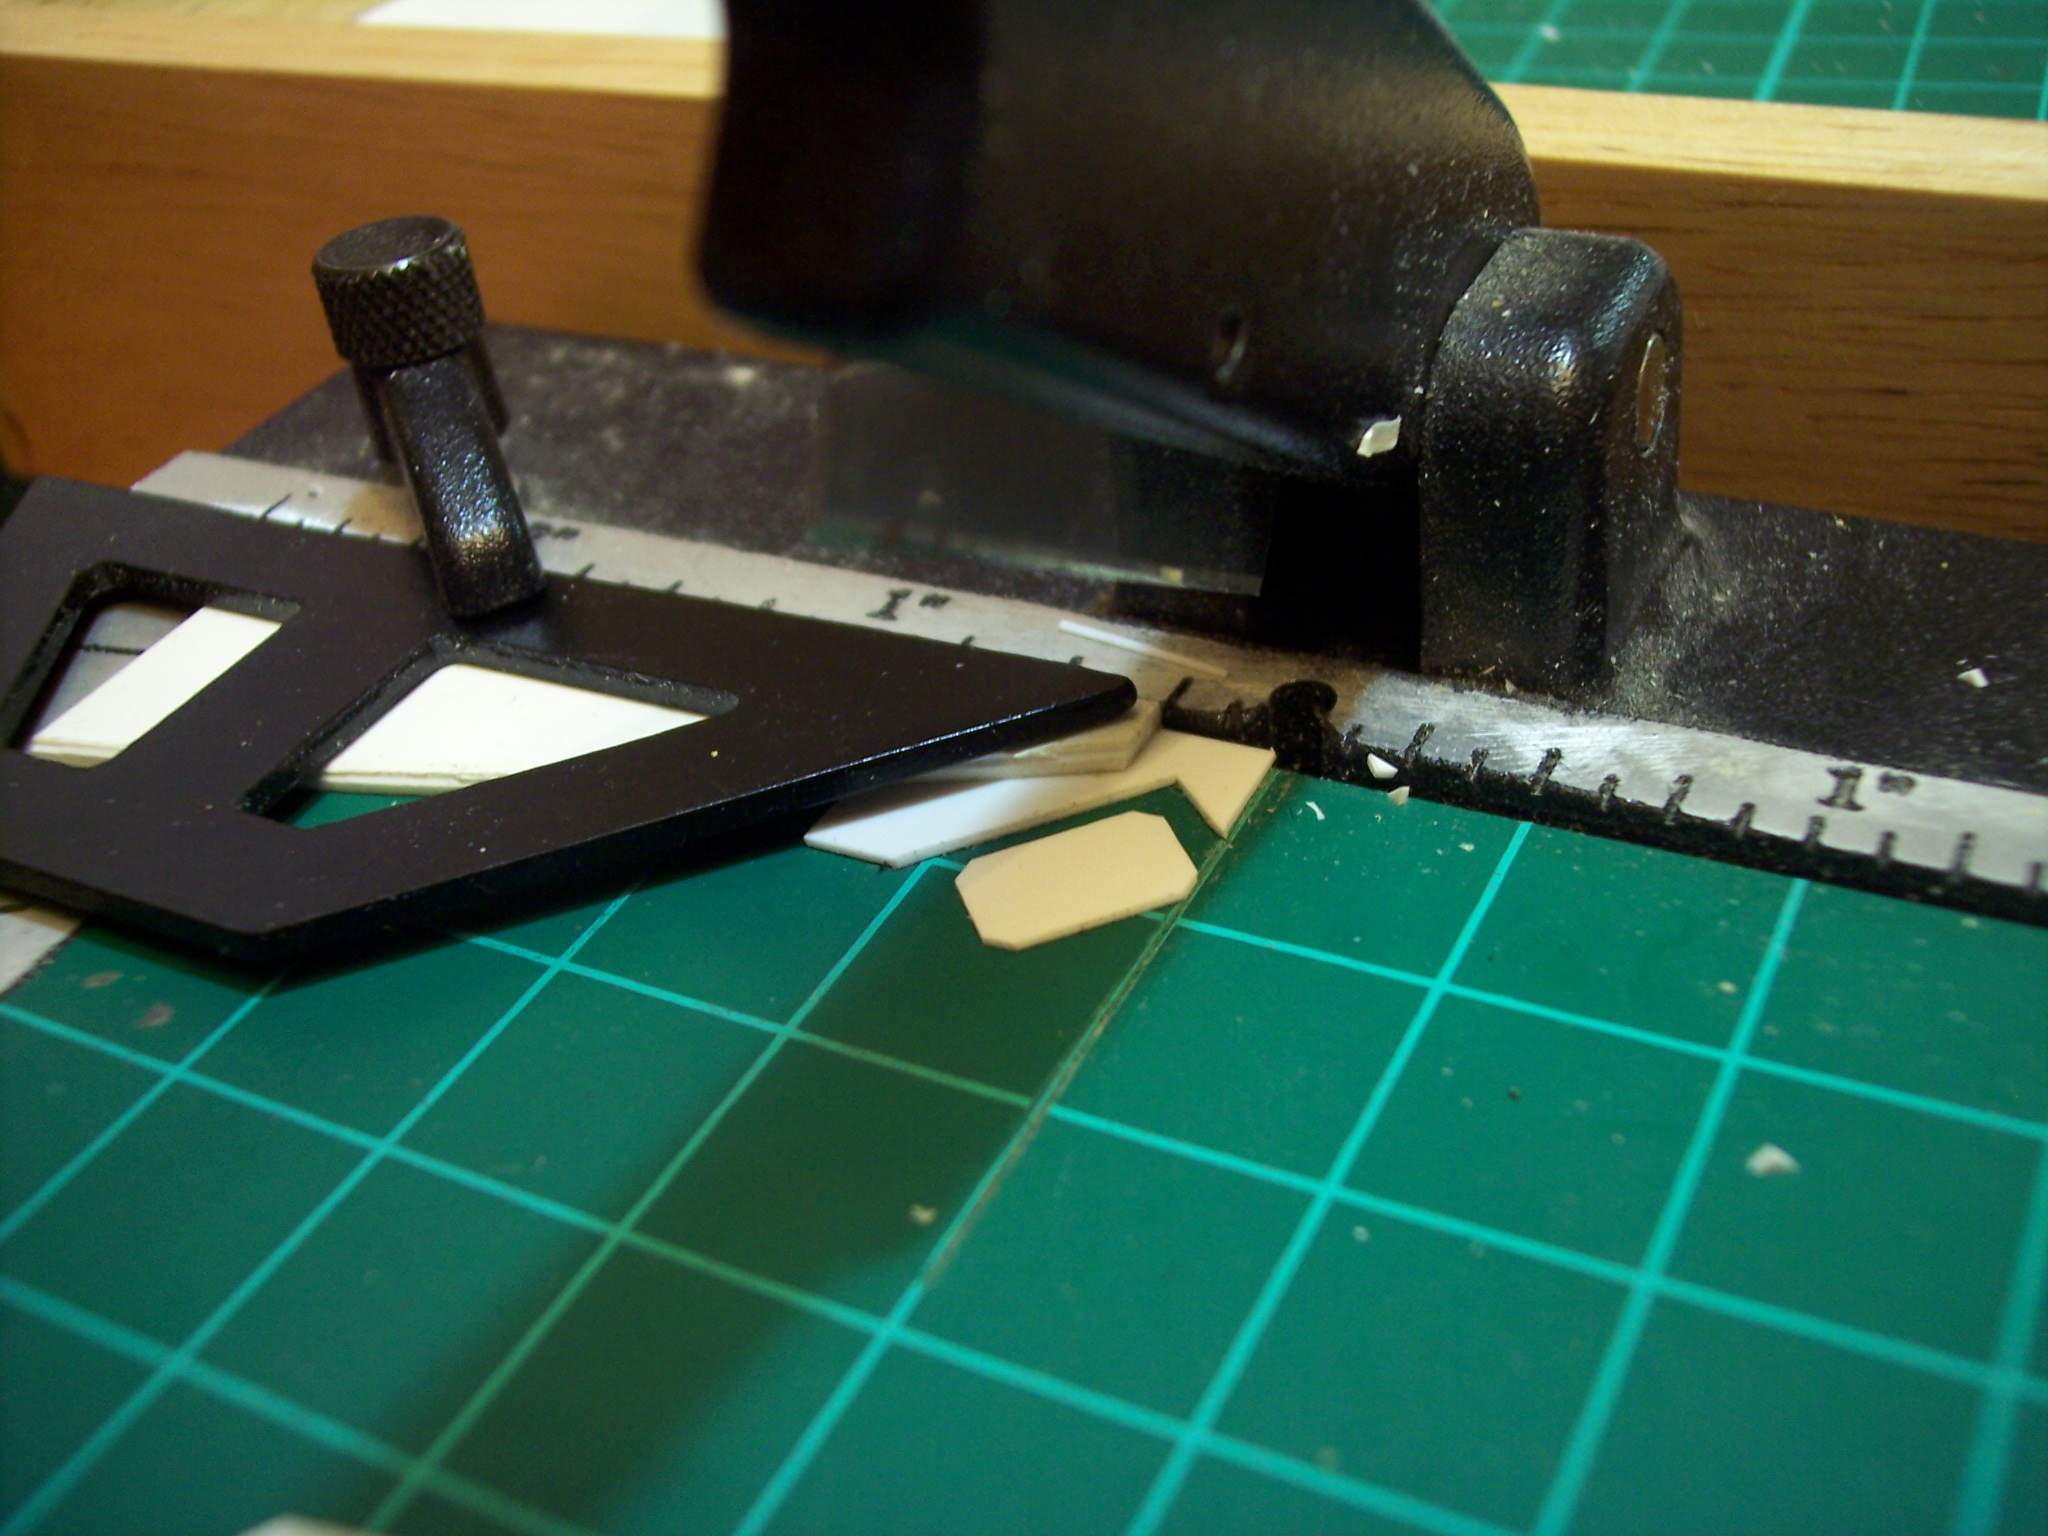
I start again but this time I use my chopper and make a jig to hold the part as I cut the corners
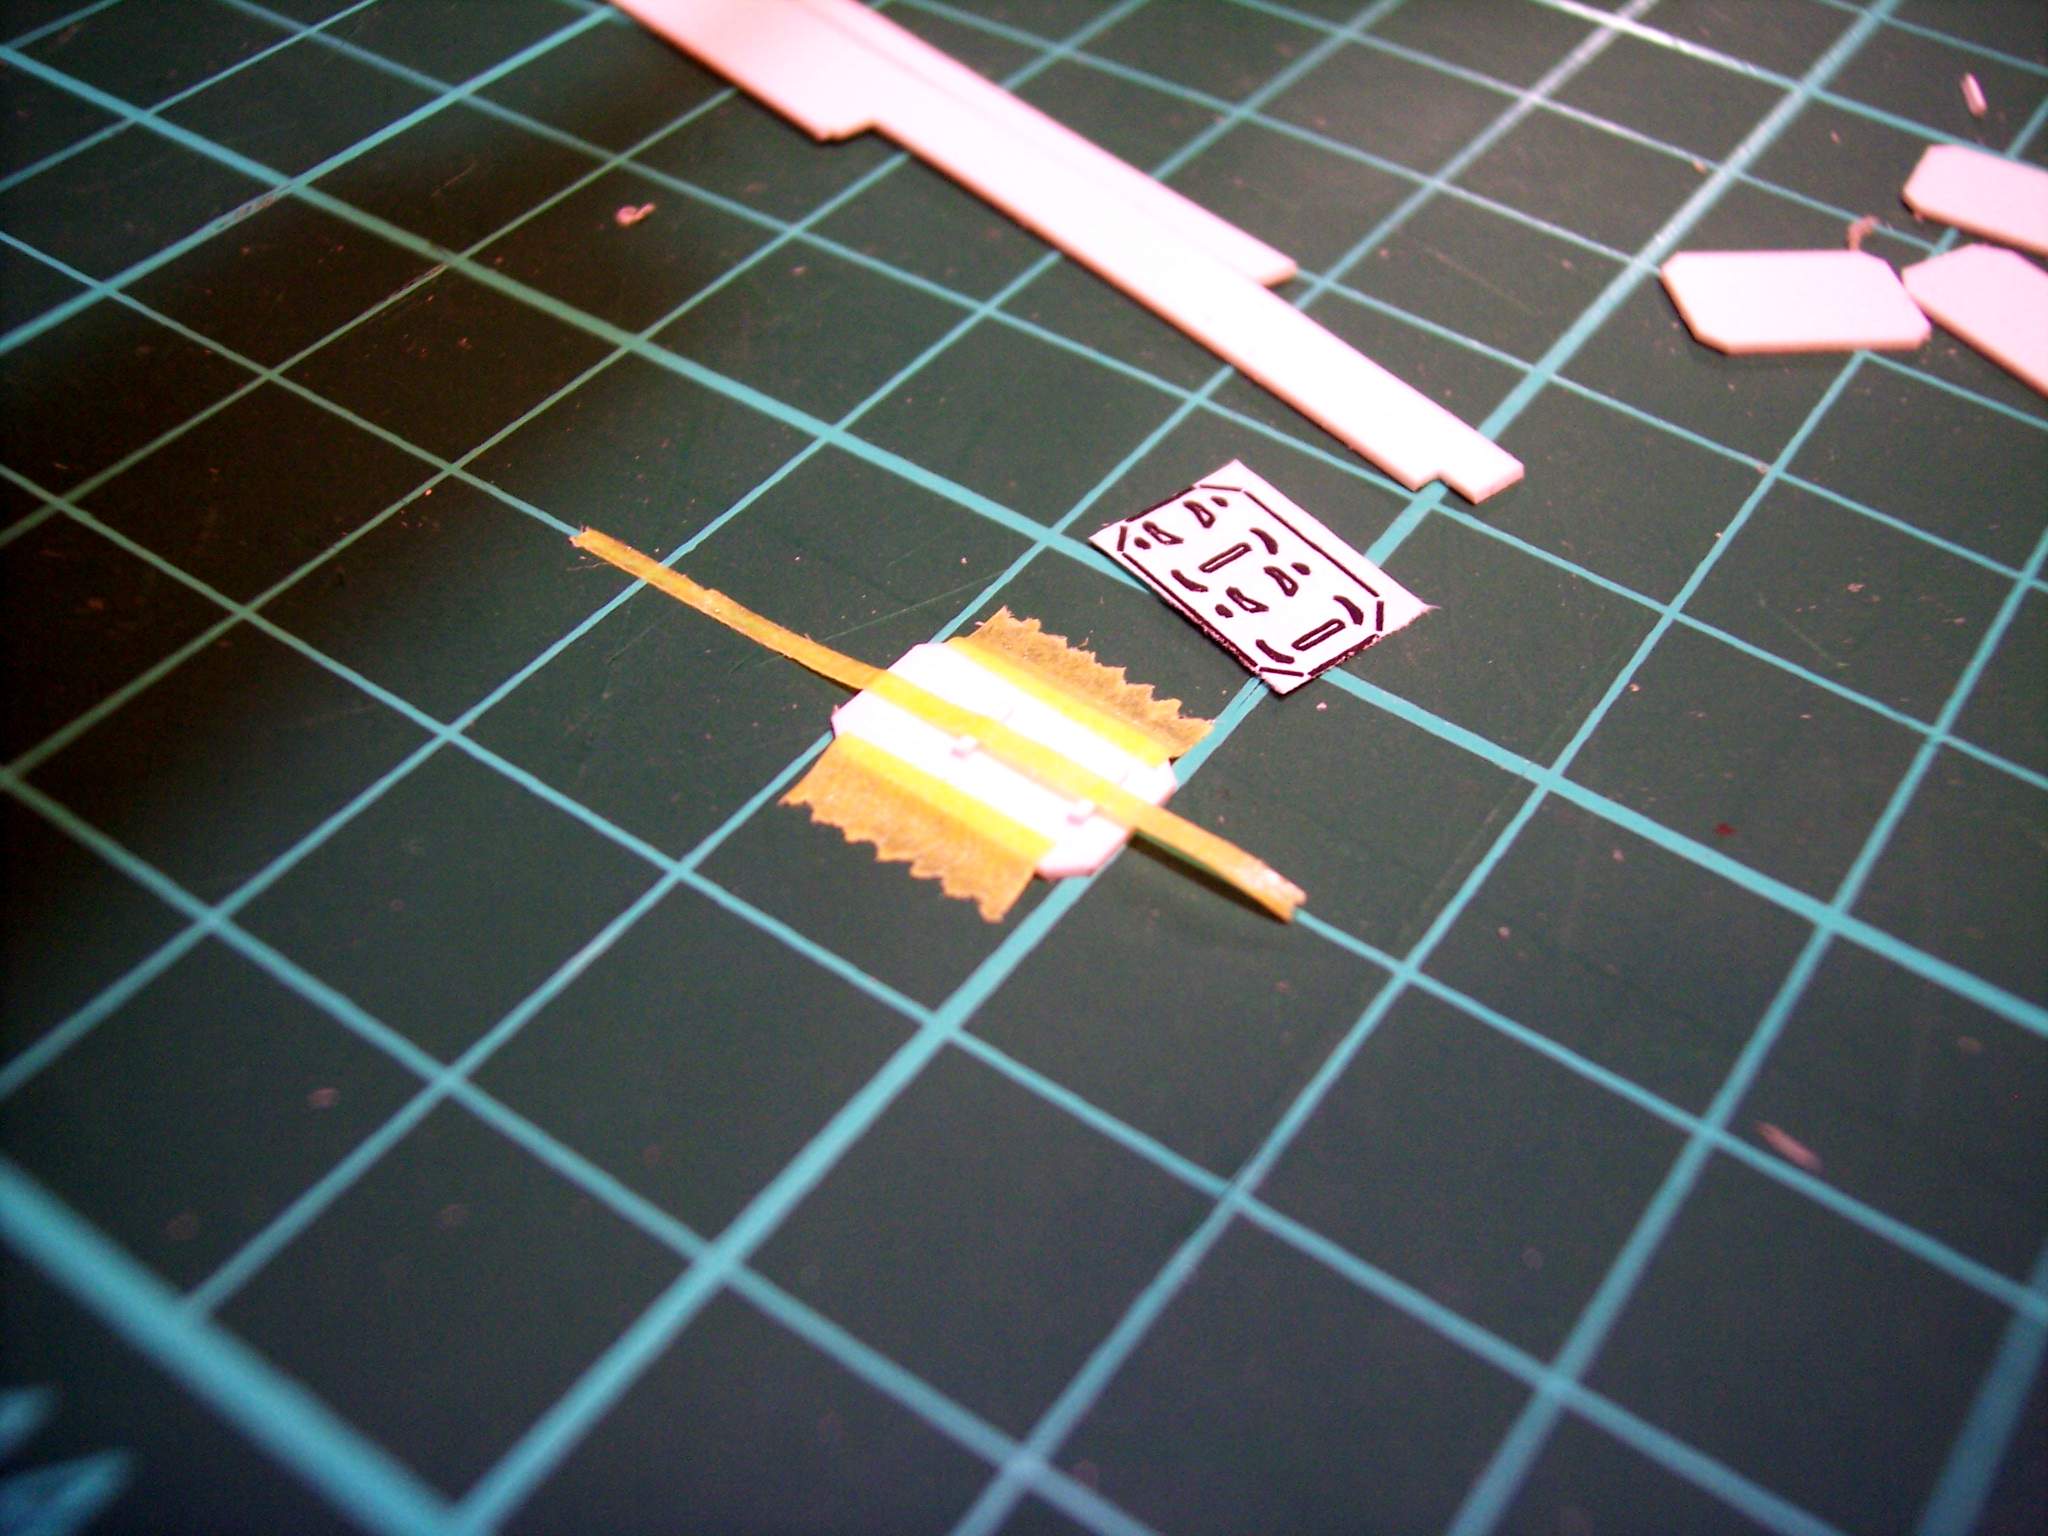
Next I tape the part own and make new parts. They are put in place and some tape is placed above it to hold I in place. The tape sticks to the part and when the tape is pulled back the part comes up. I apply some CA glue to the bottom and put the tape down. In theory the part will be positioned exactly where I want it..
Once the 2 bars are done I do the first set of details
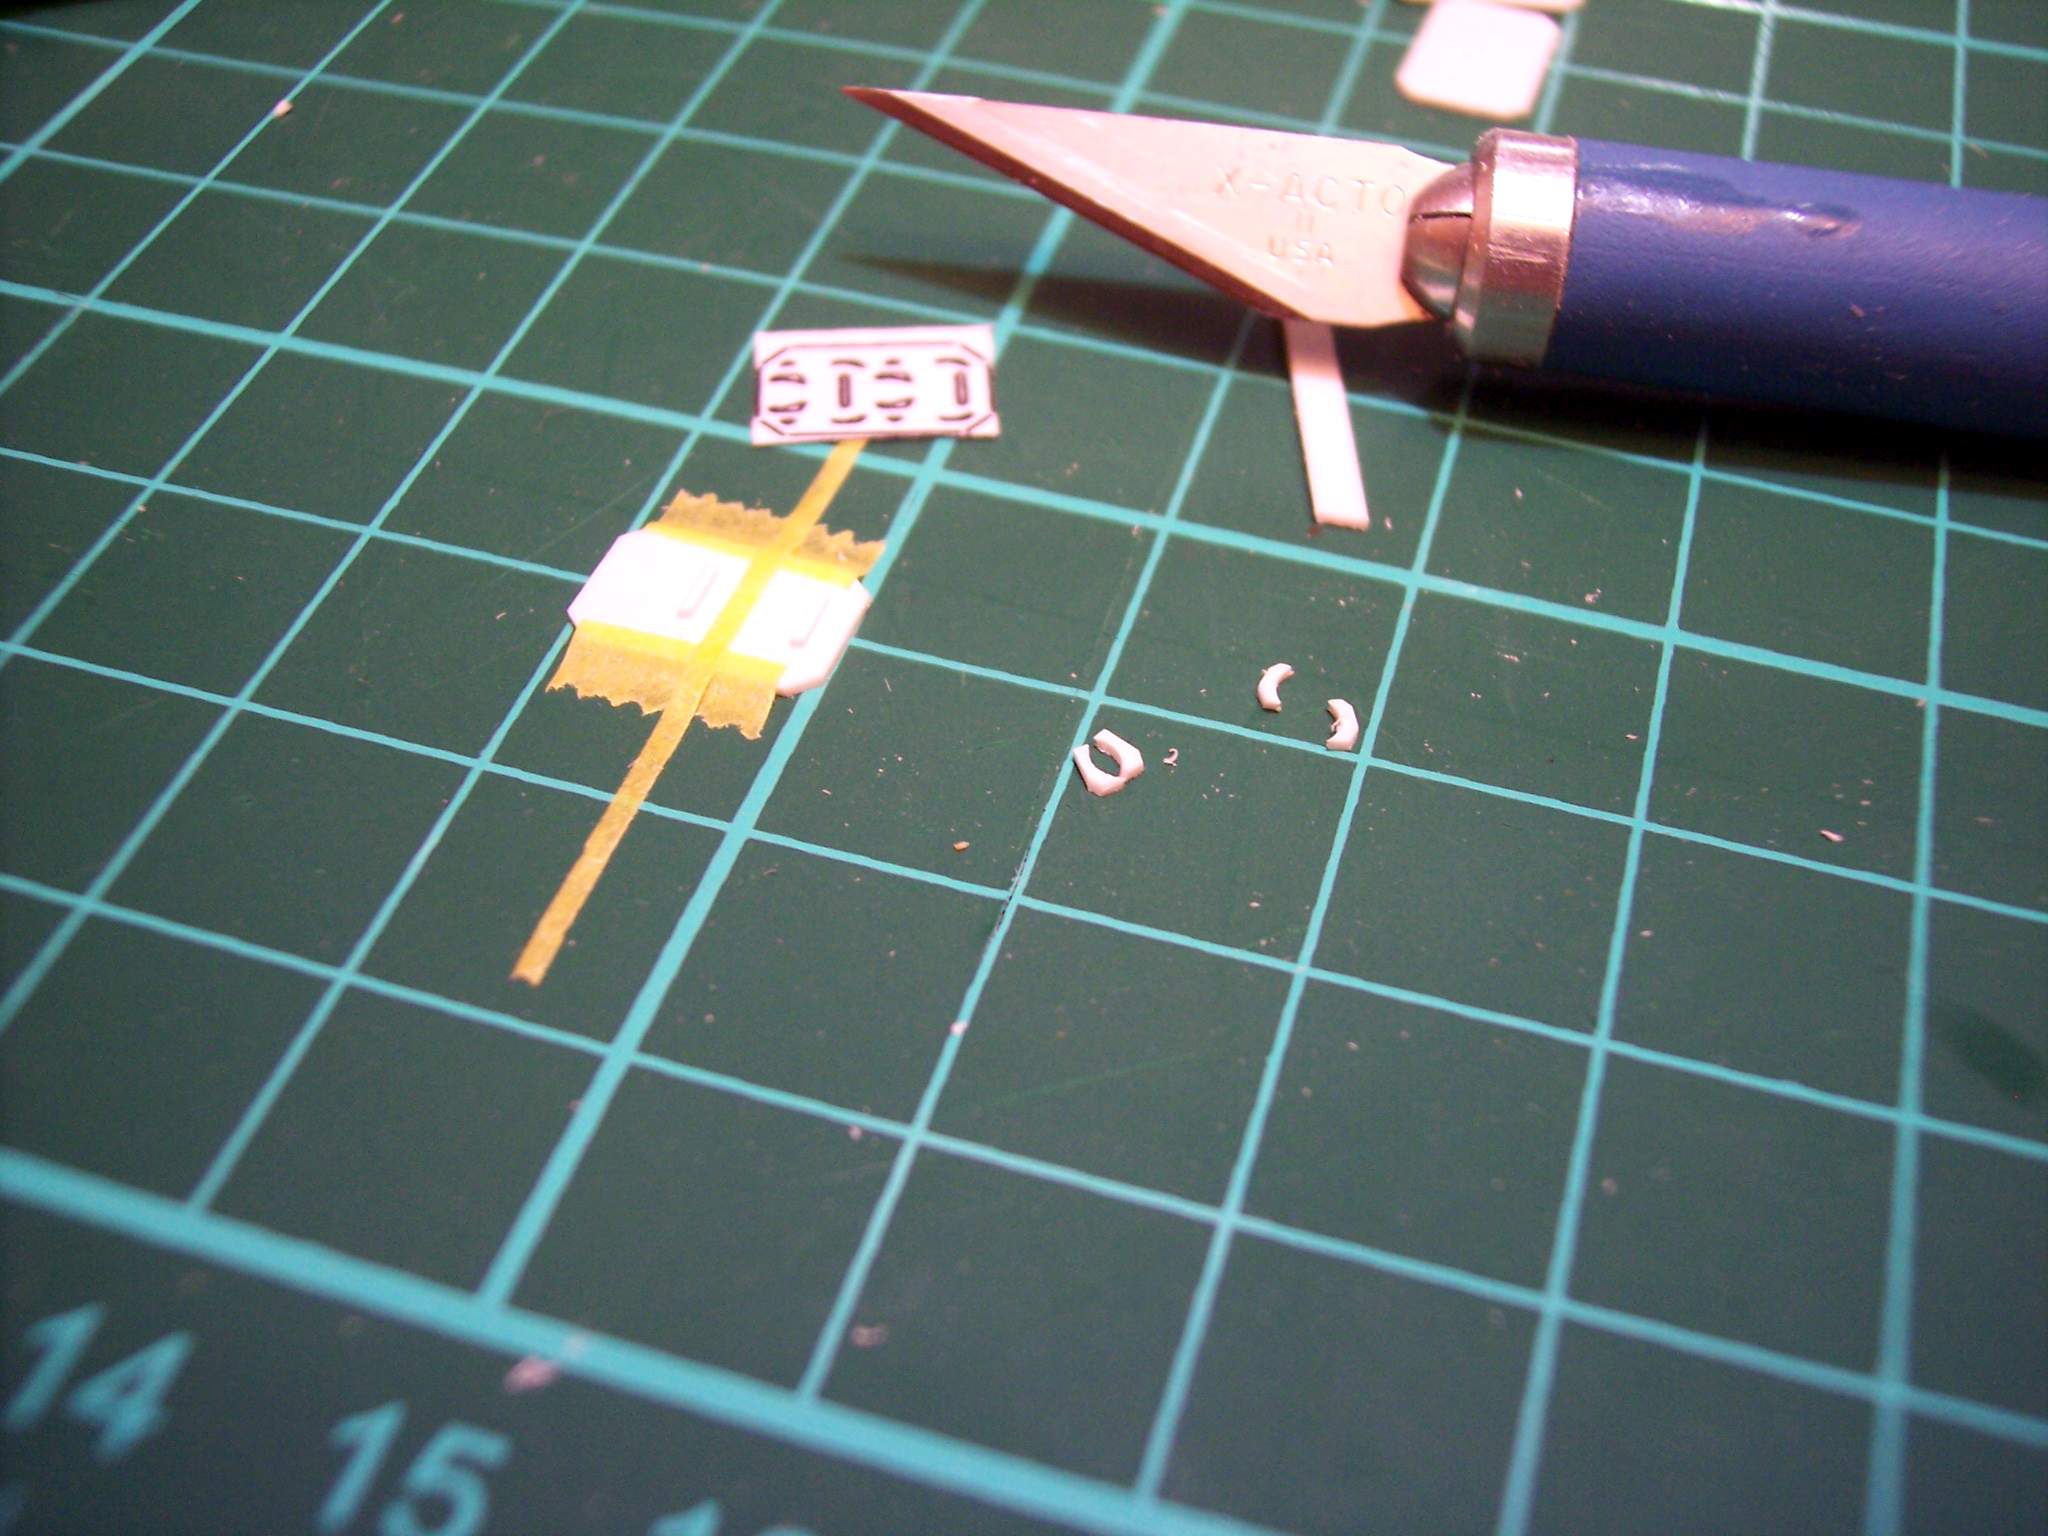
I have just set down the second set of detail pieces and the tape has been pulled back. This piece of tape is wider and should allow more accurate placement of the parts compared to the first piece of tape.
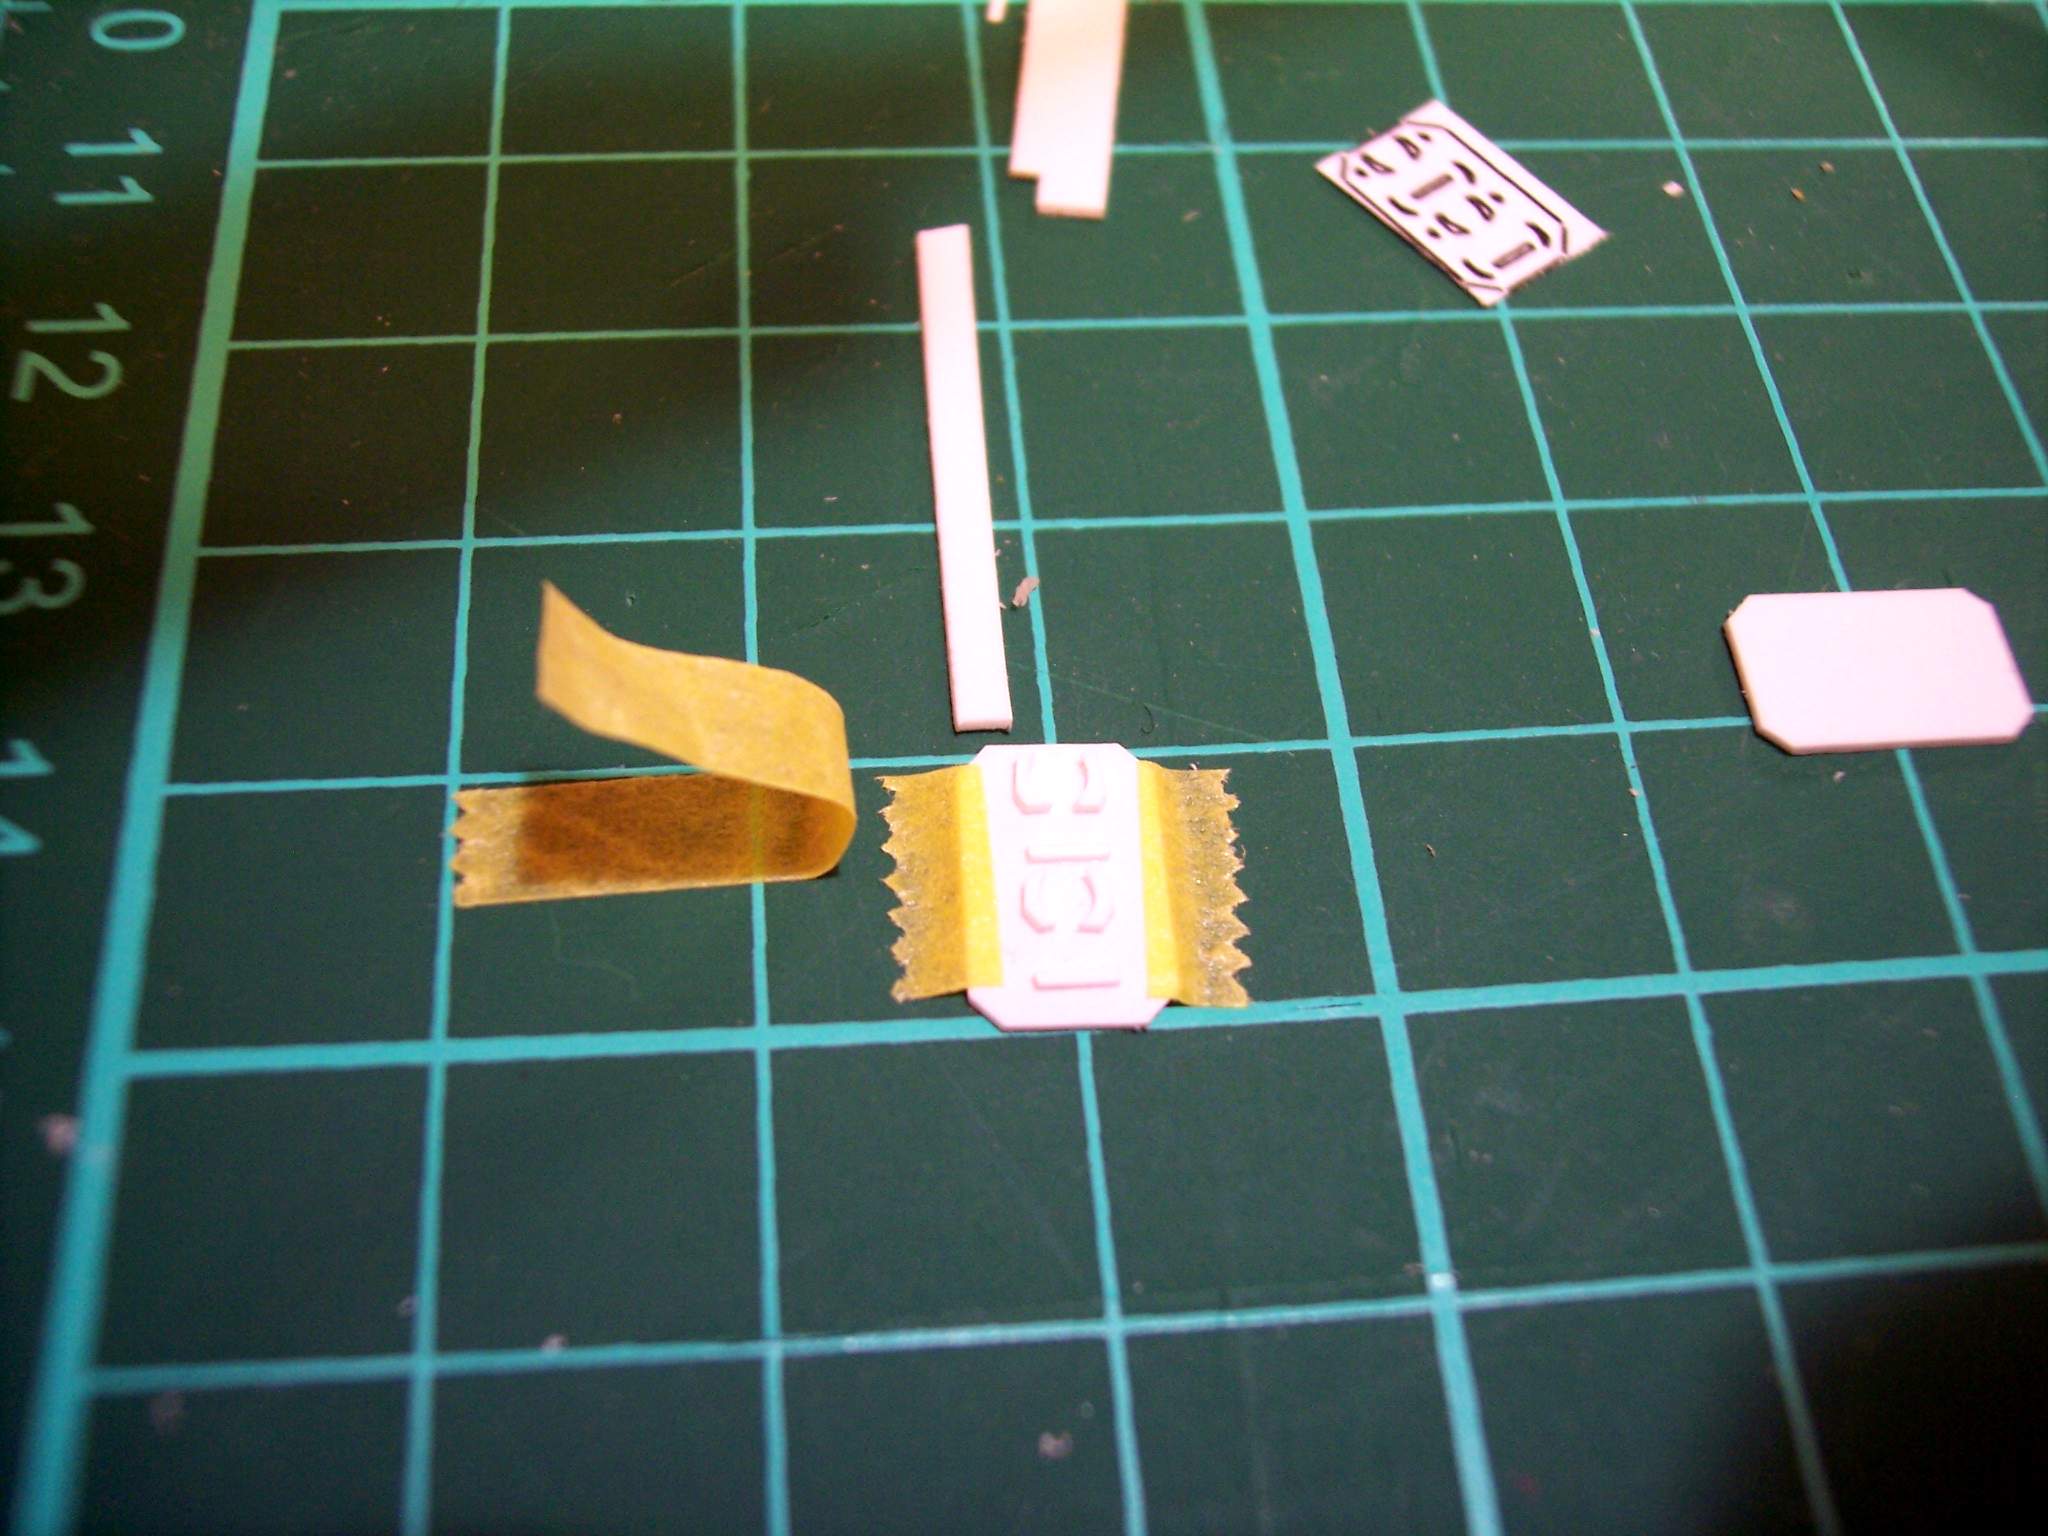
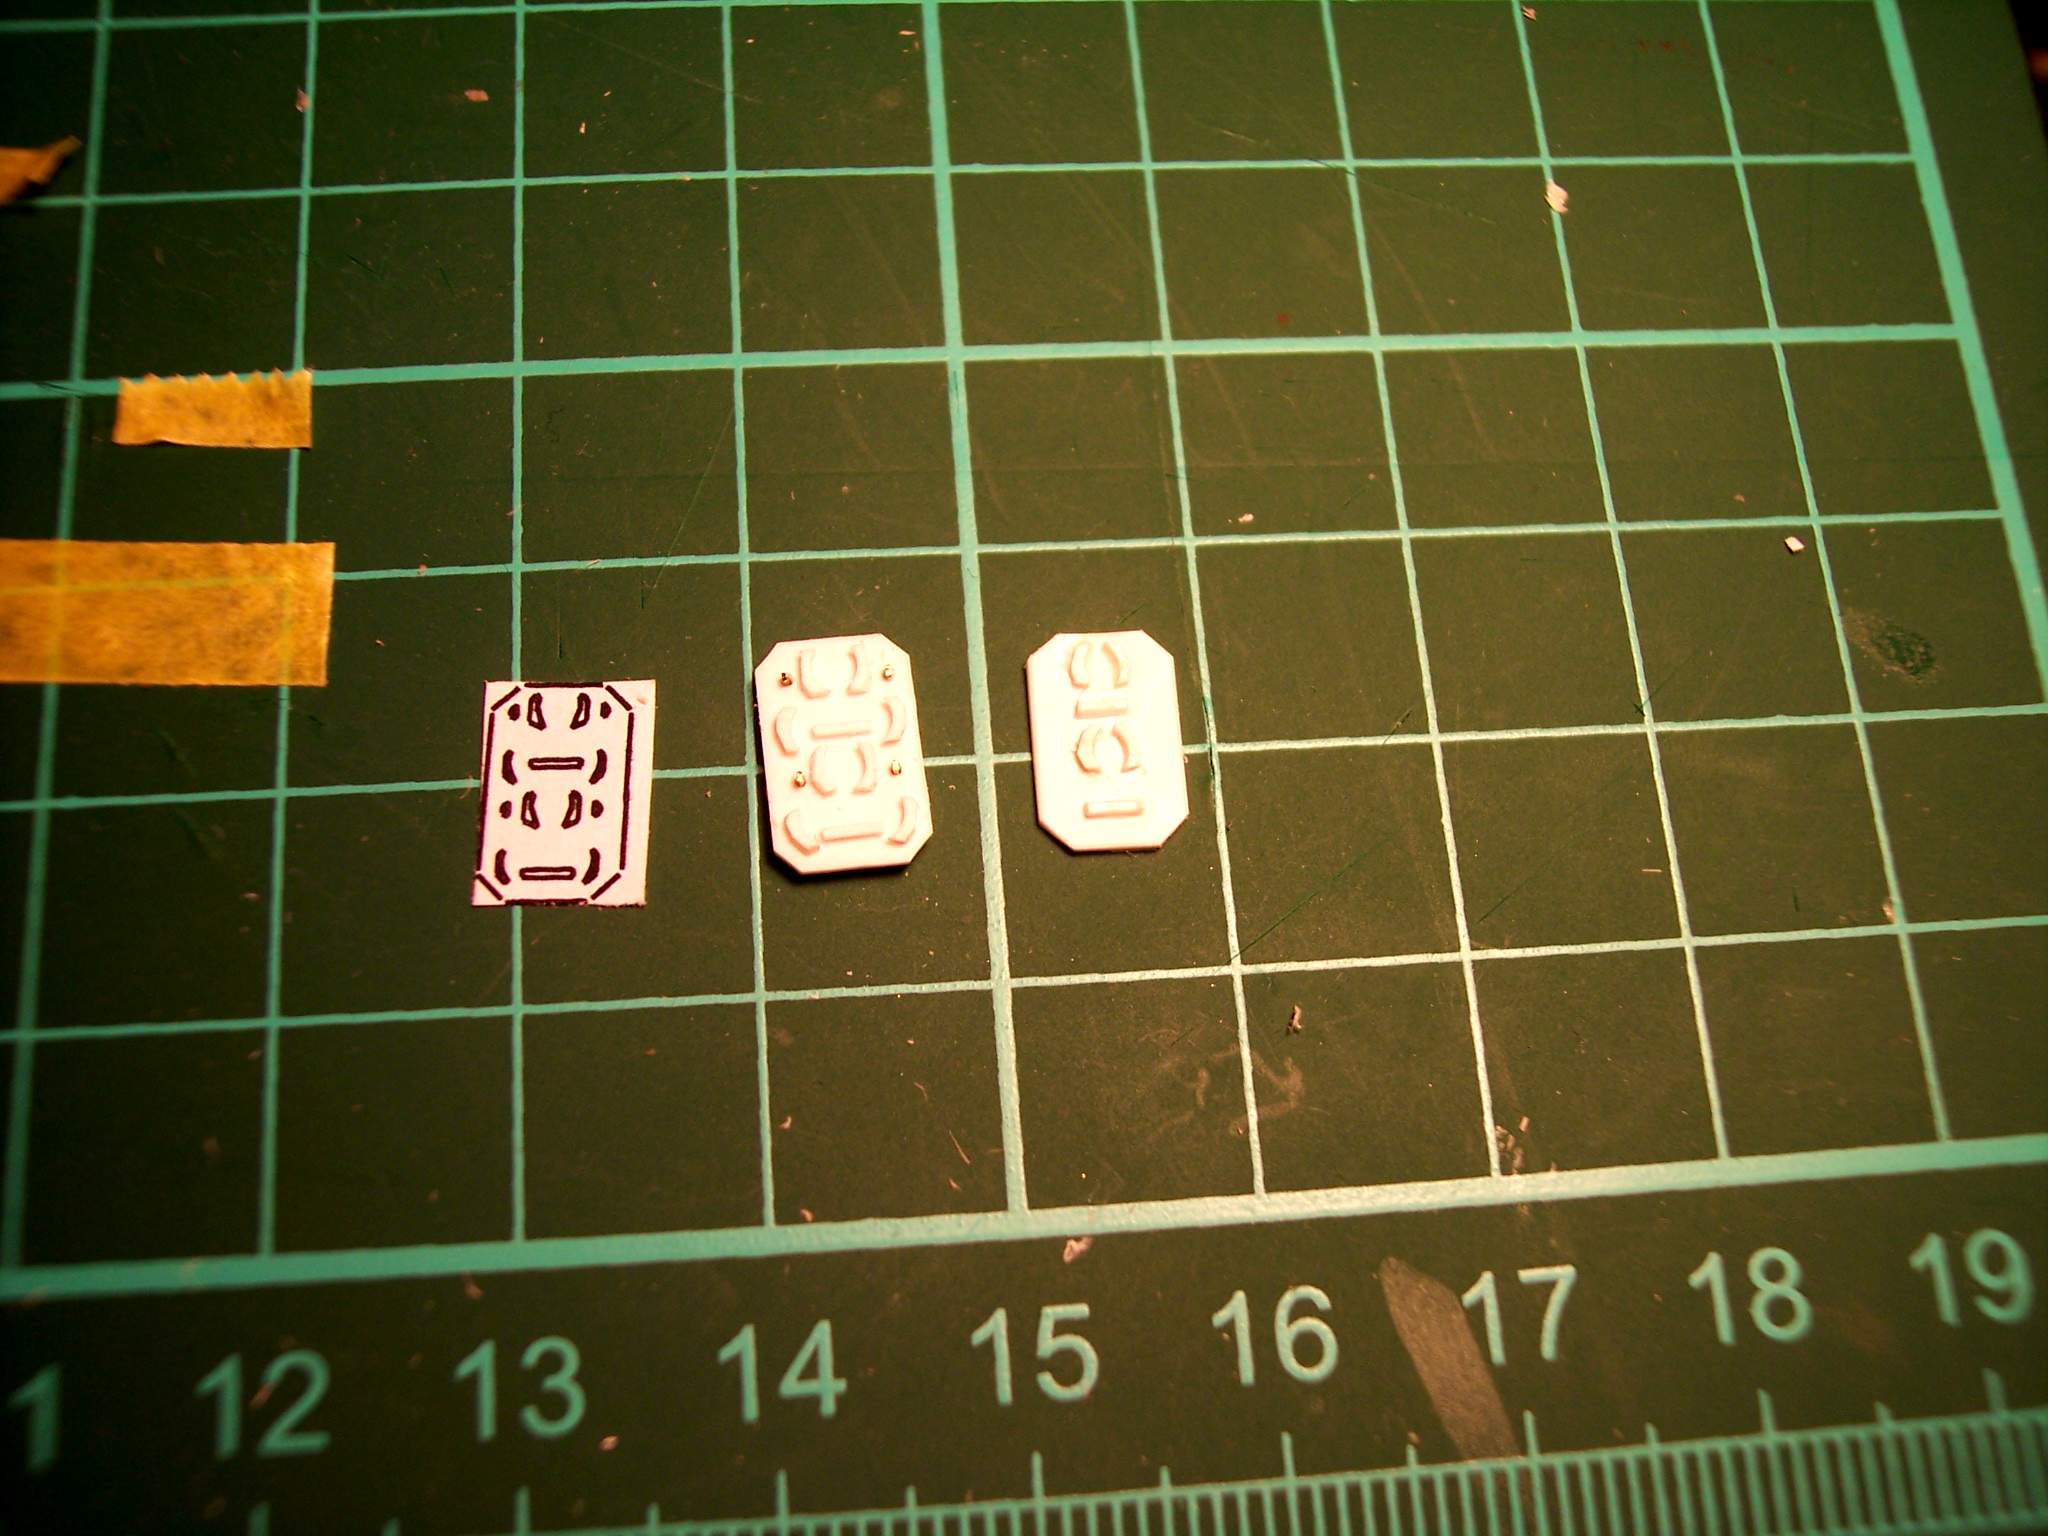
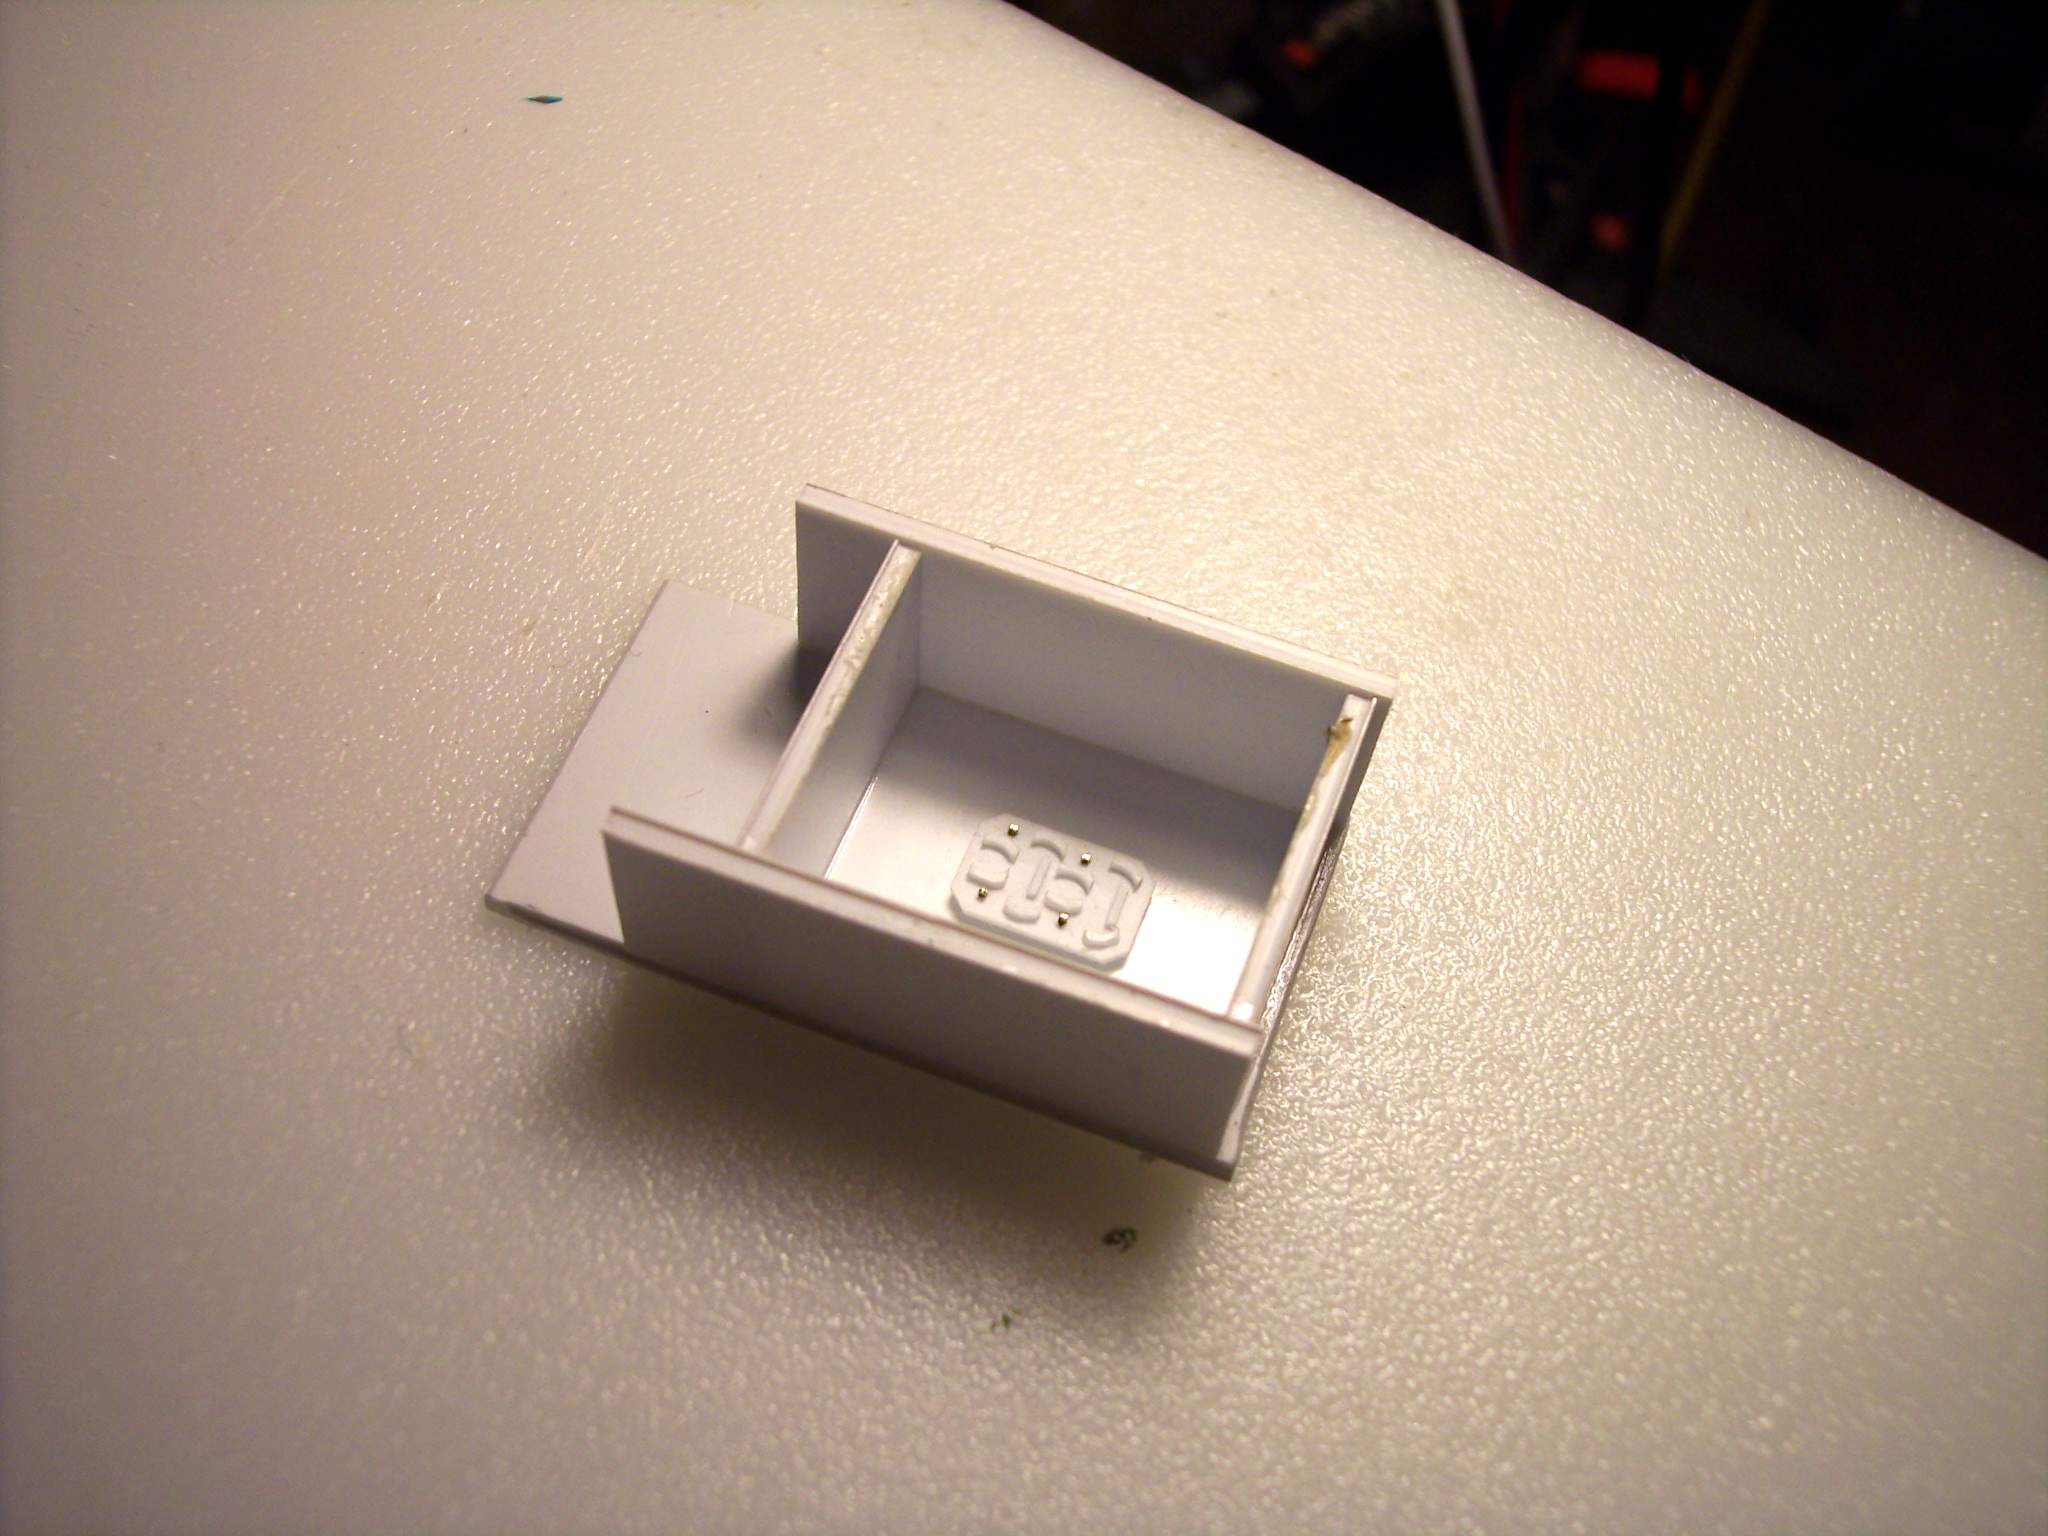
All the detail pieces are made and glued down. The small brass parts are rod that I drilled a hole into the styrene and mounted the rod from behind. When I get a correct height I glue the back and cut off the excess
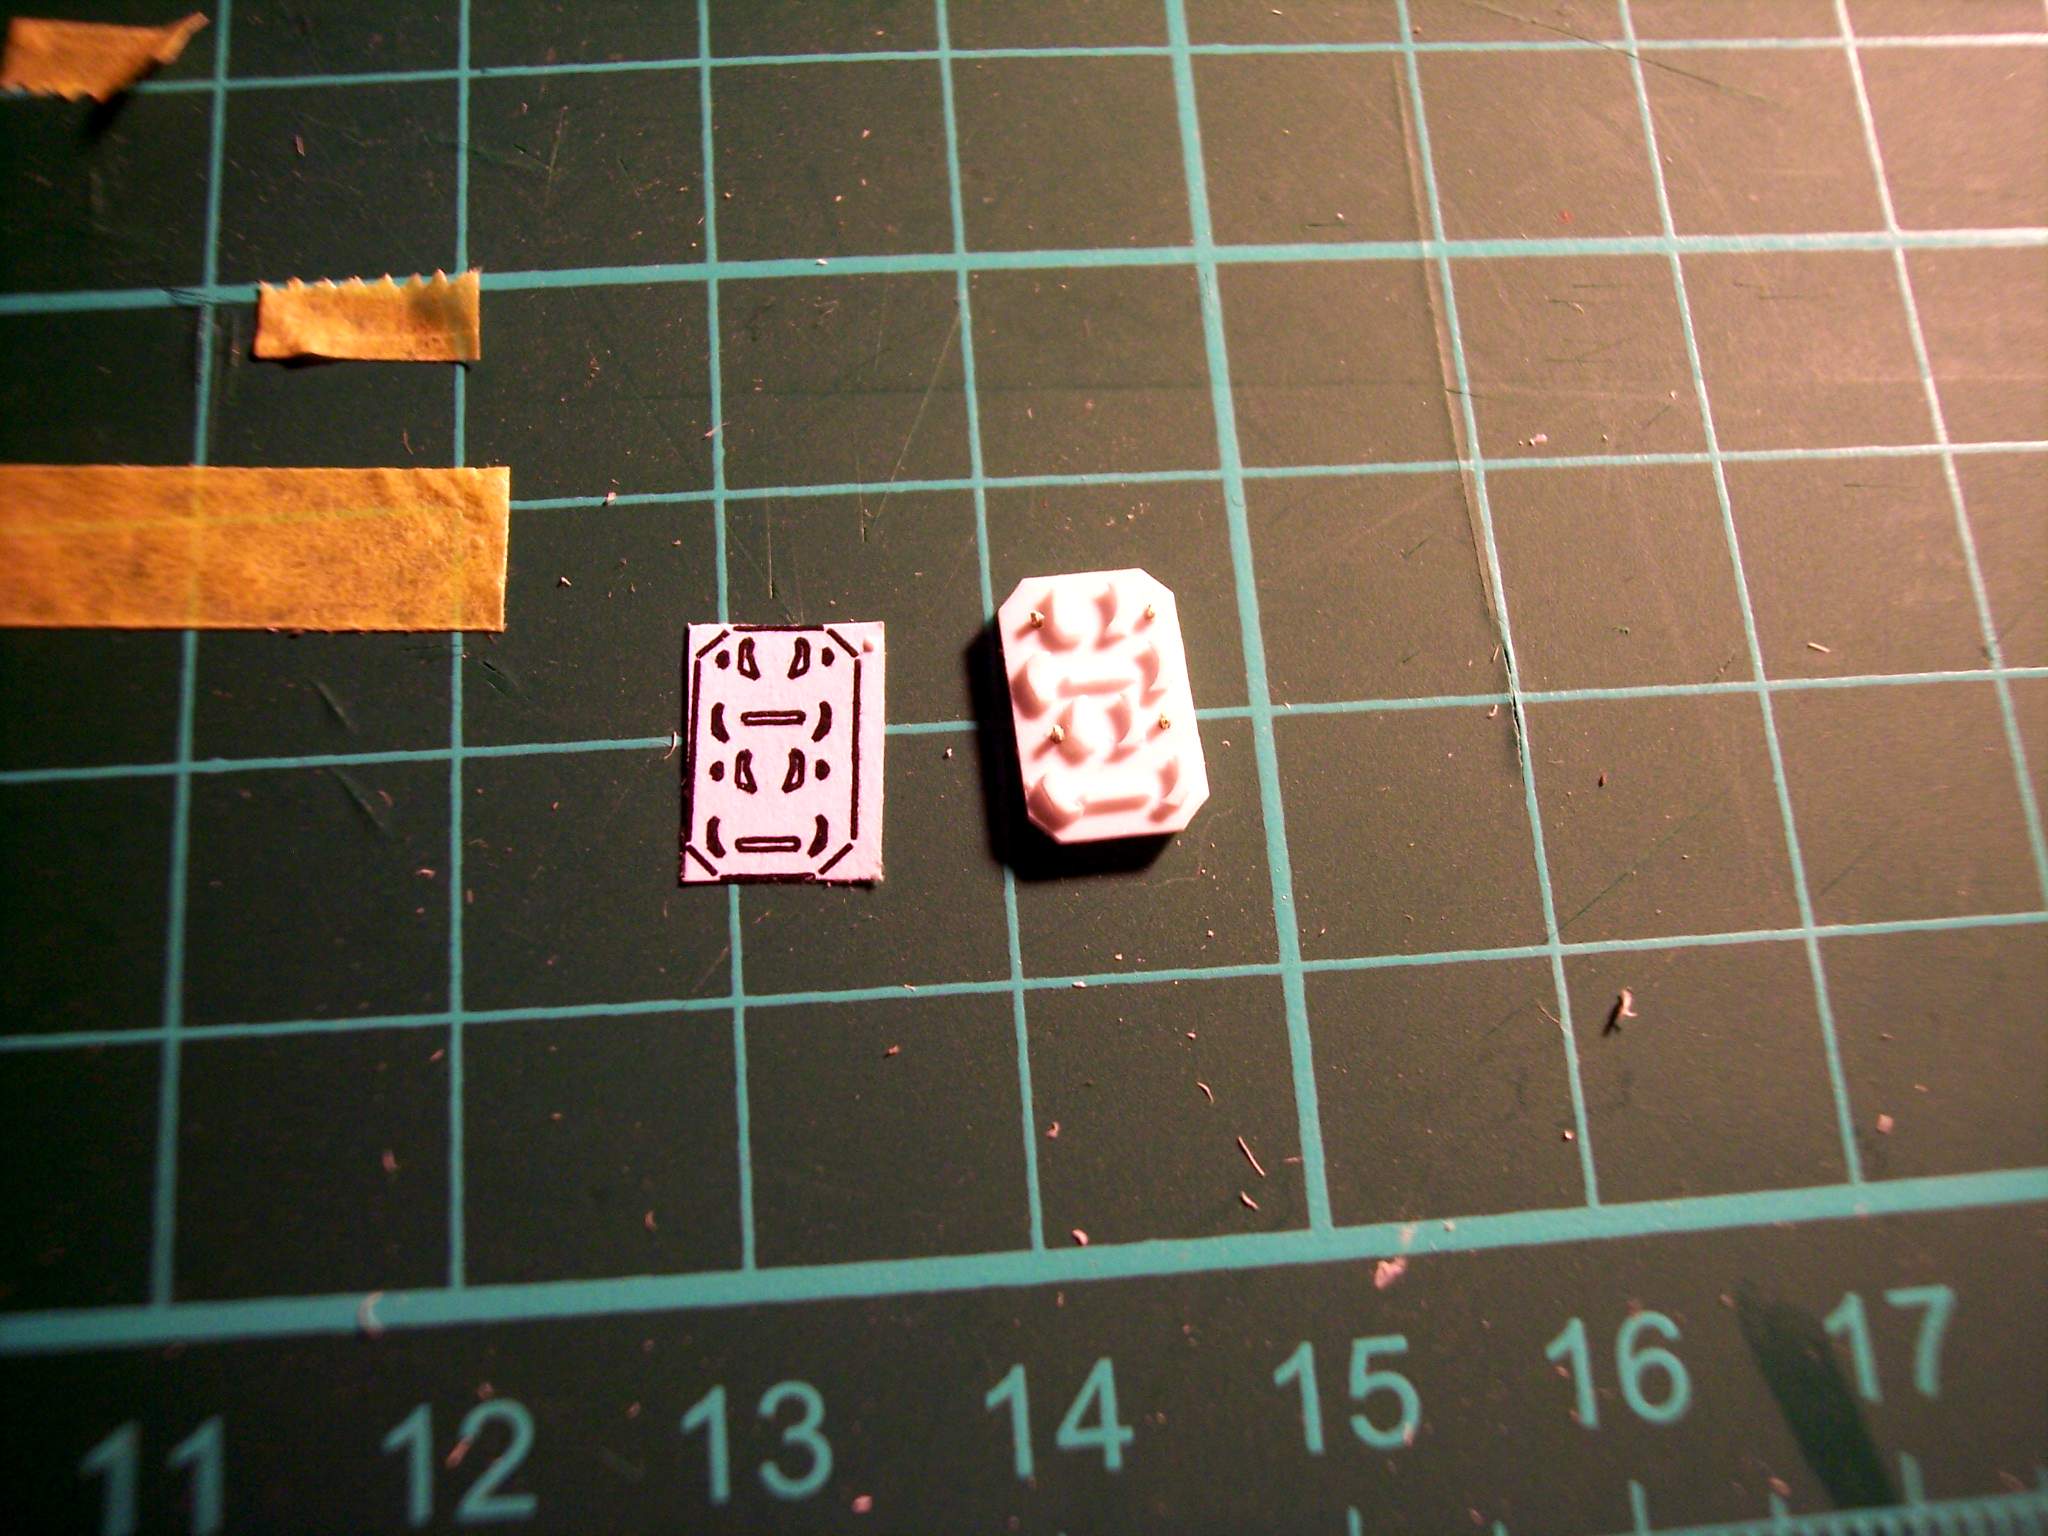
L-R, the drawing, the new part, the old part
Now to make a mould for casting