|
Oct 8 2009 |
|
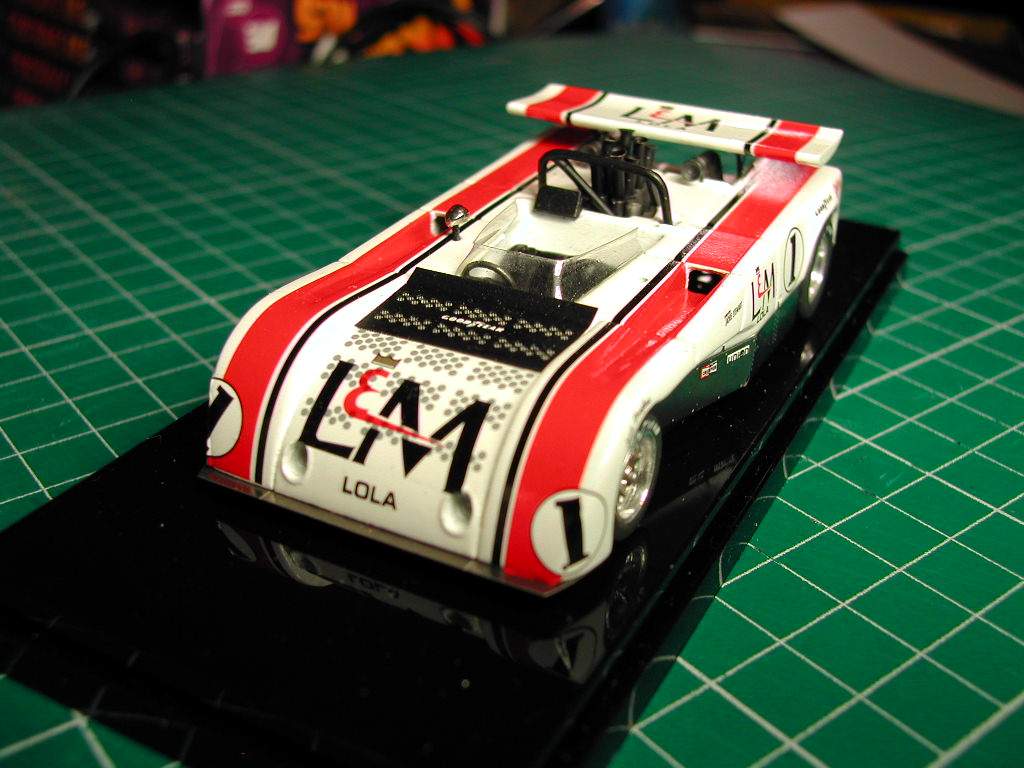
It has been a while since the last update but I have been working on it on and off. I didn't take make in progress shots since the last update but it was mostly decaling.

100801.jpg
|
|

100802.jpg
|
|

100803.jpg
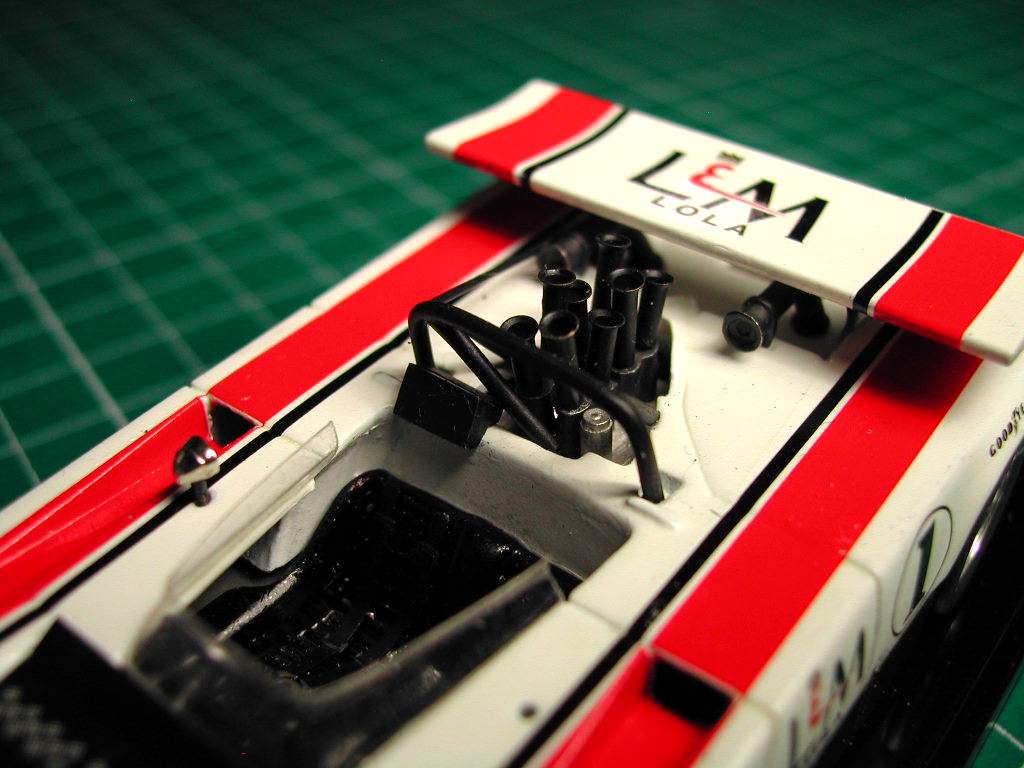
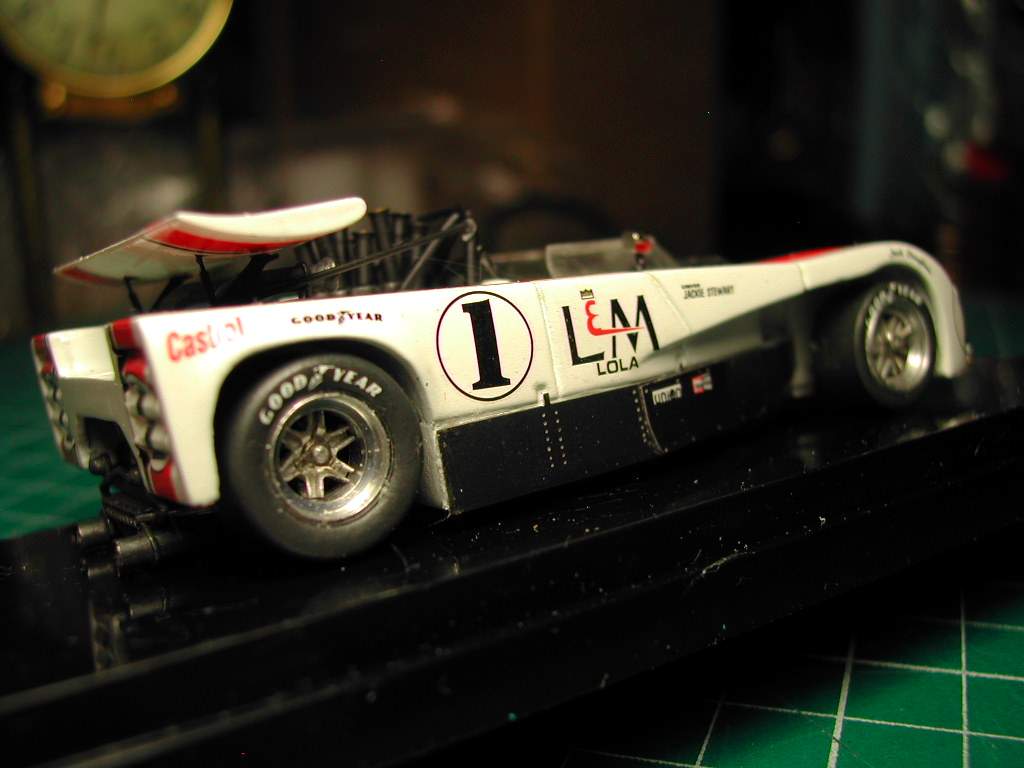
The turned intake trumpets are very nice and do add a lot to the realism of the model. |
|

100804.jpg
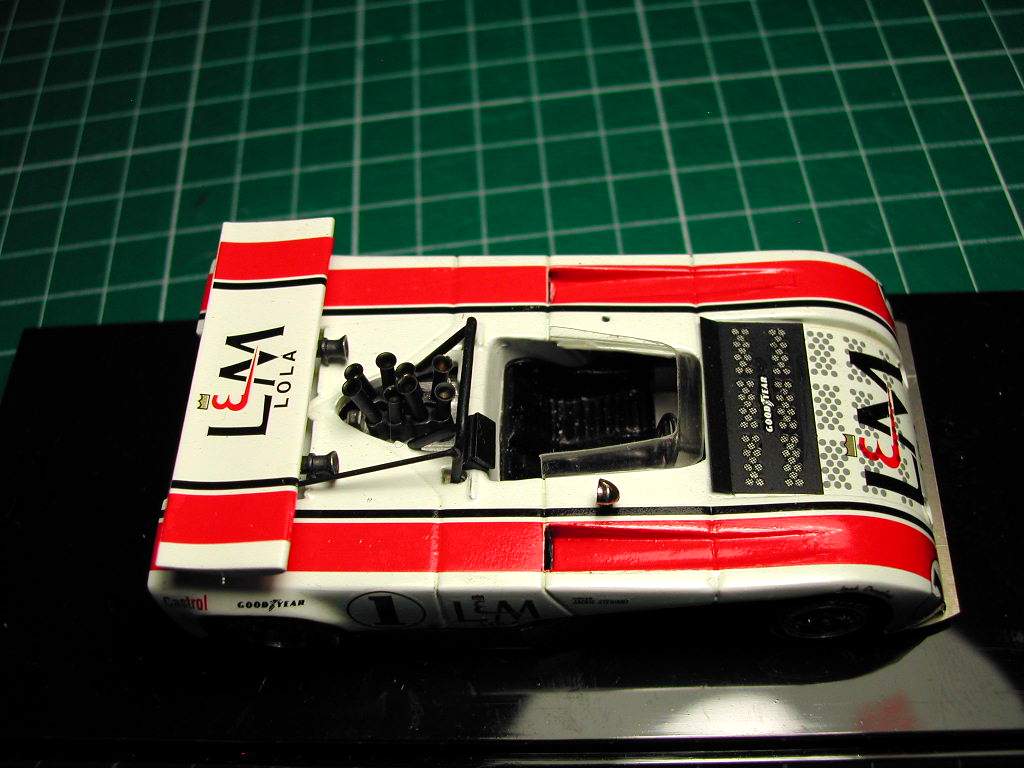
The black photo etched item on the hood sits on a decal so I used white glue to glue it on instead of CA glue |
|

100805.jpg
|
|

100806.jpg
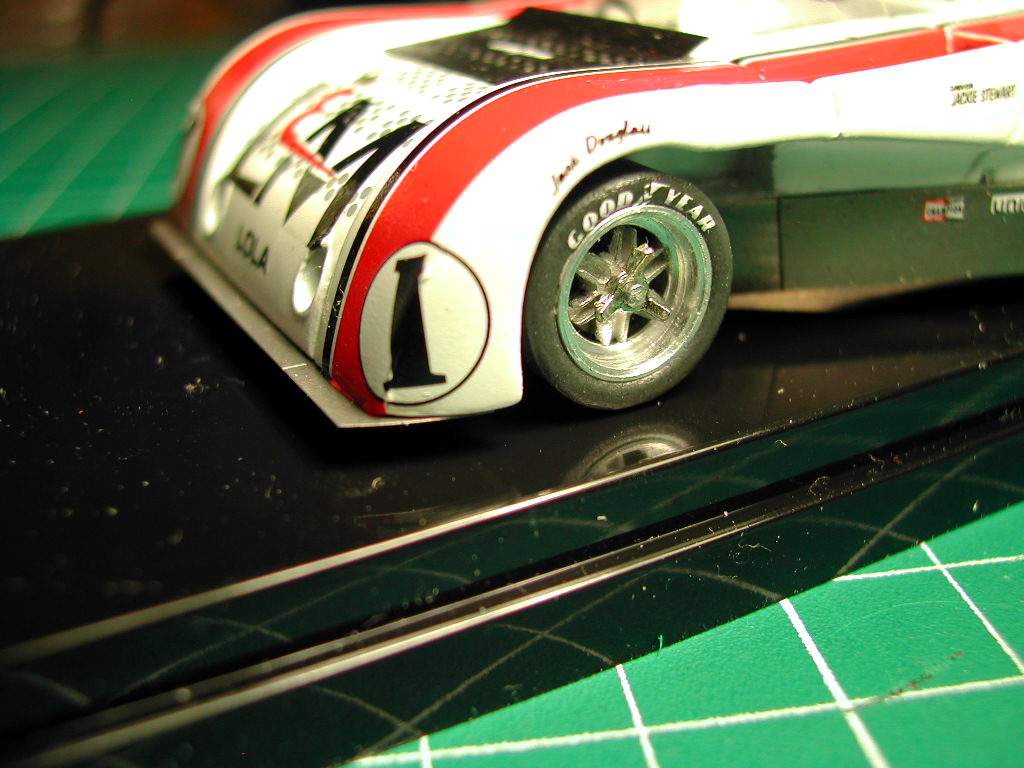
The front wheels sat out too much so I had to do some surgery on parts to get them to fit in the wheel wells |
|

100807.jpg
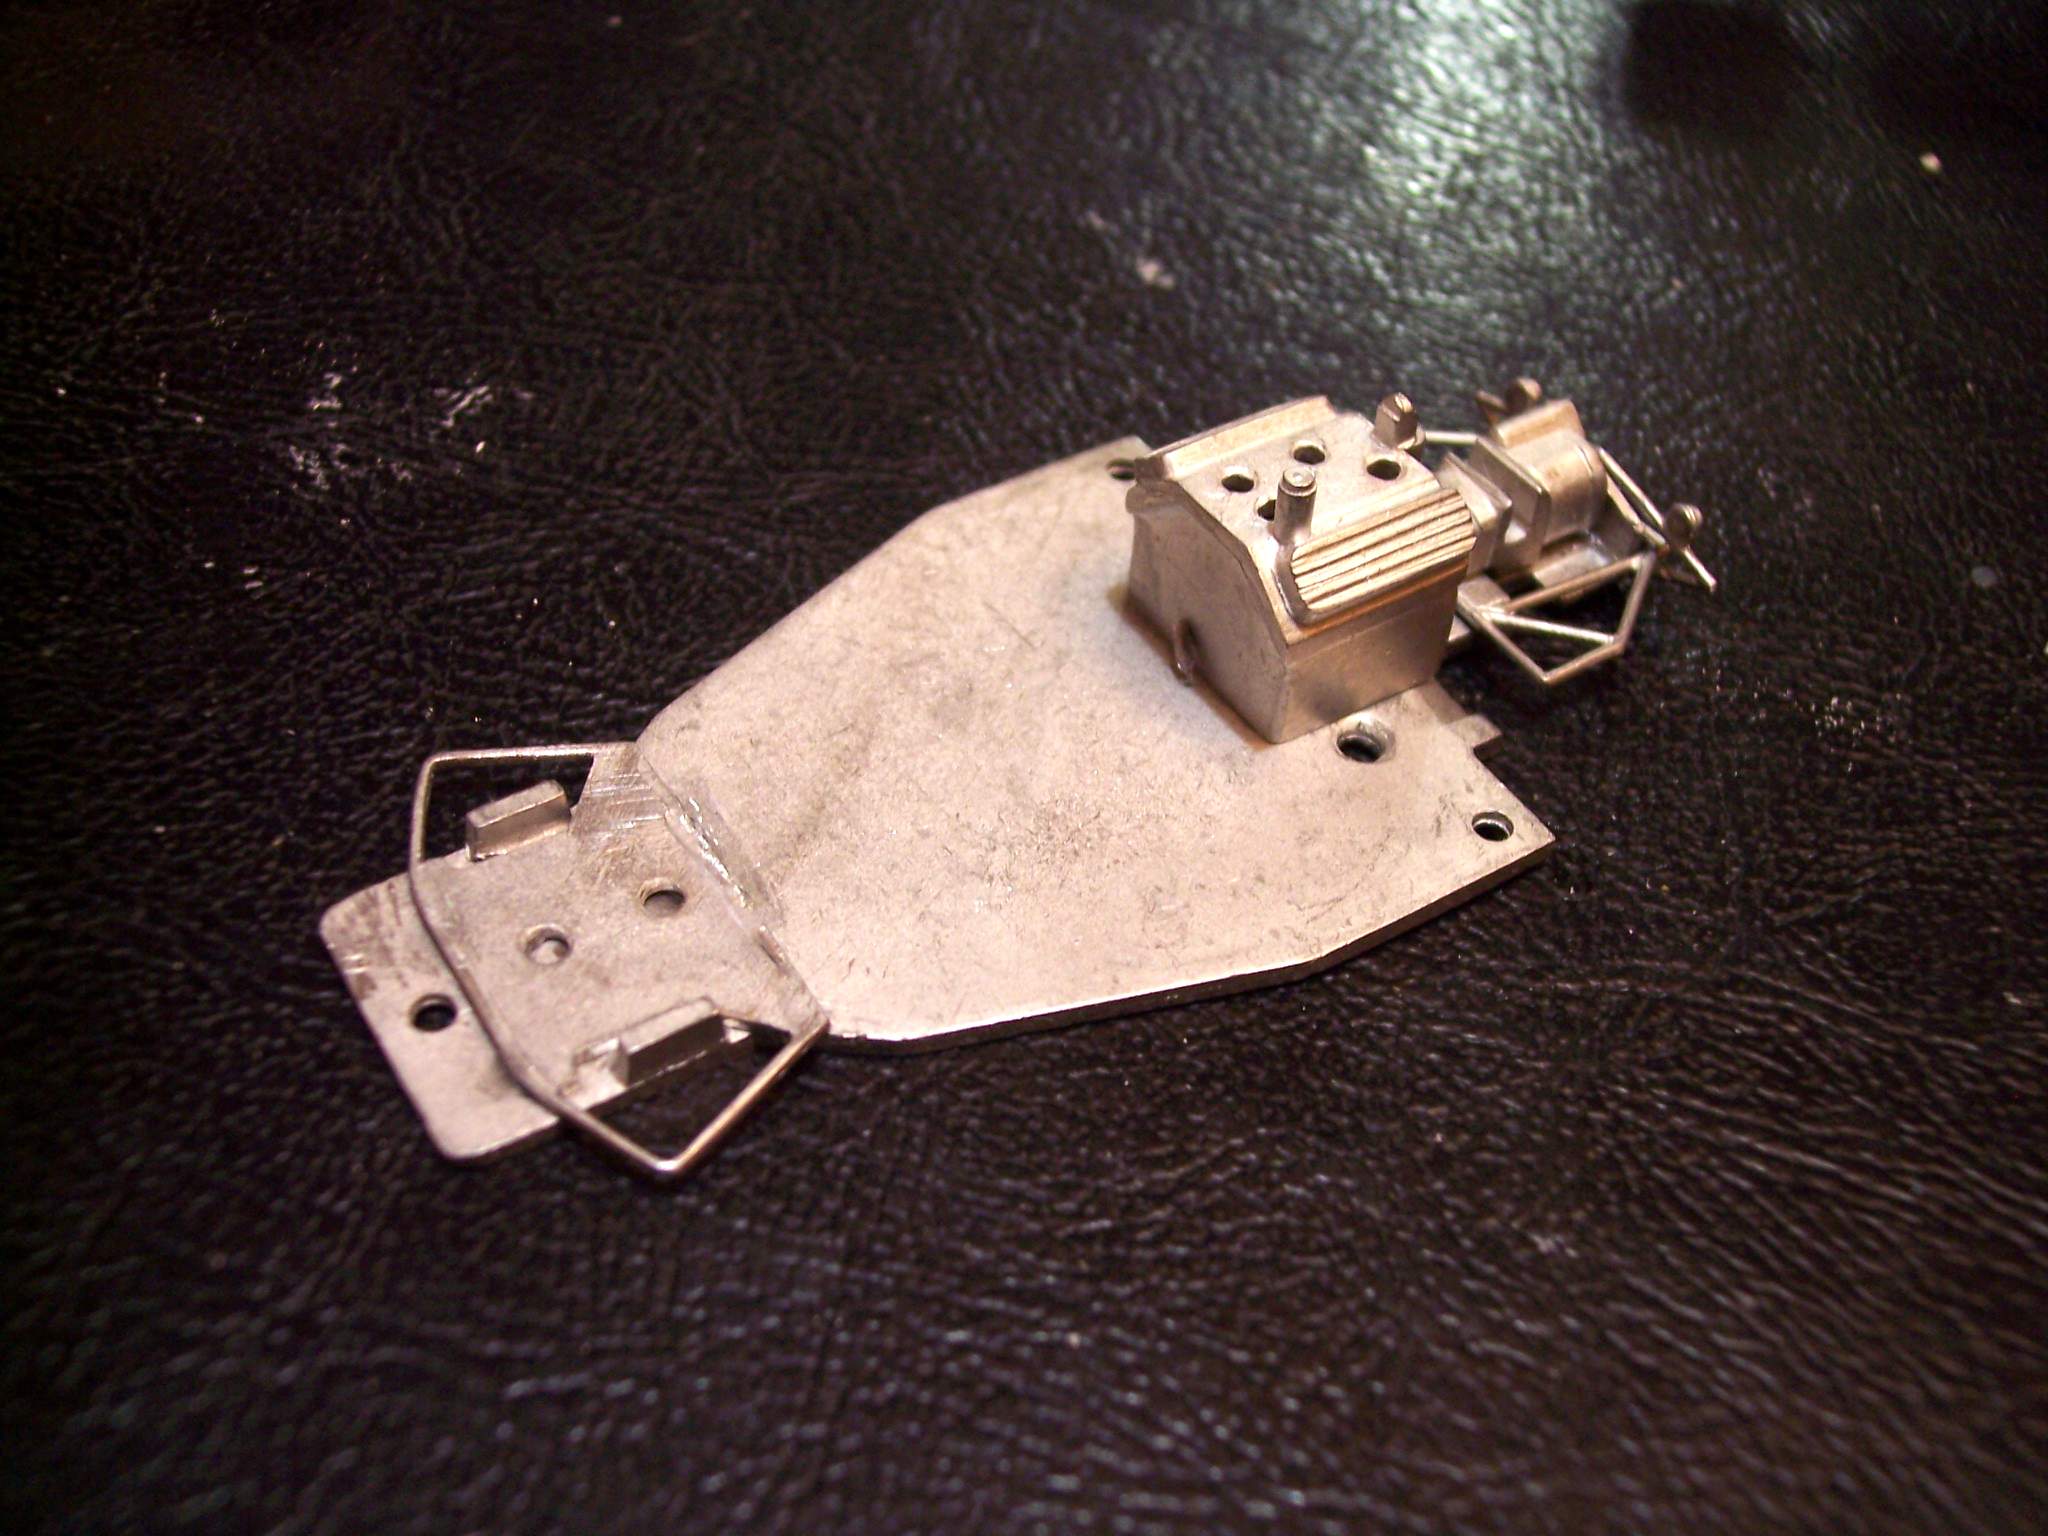
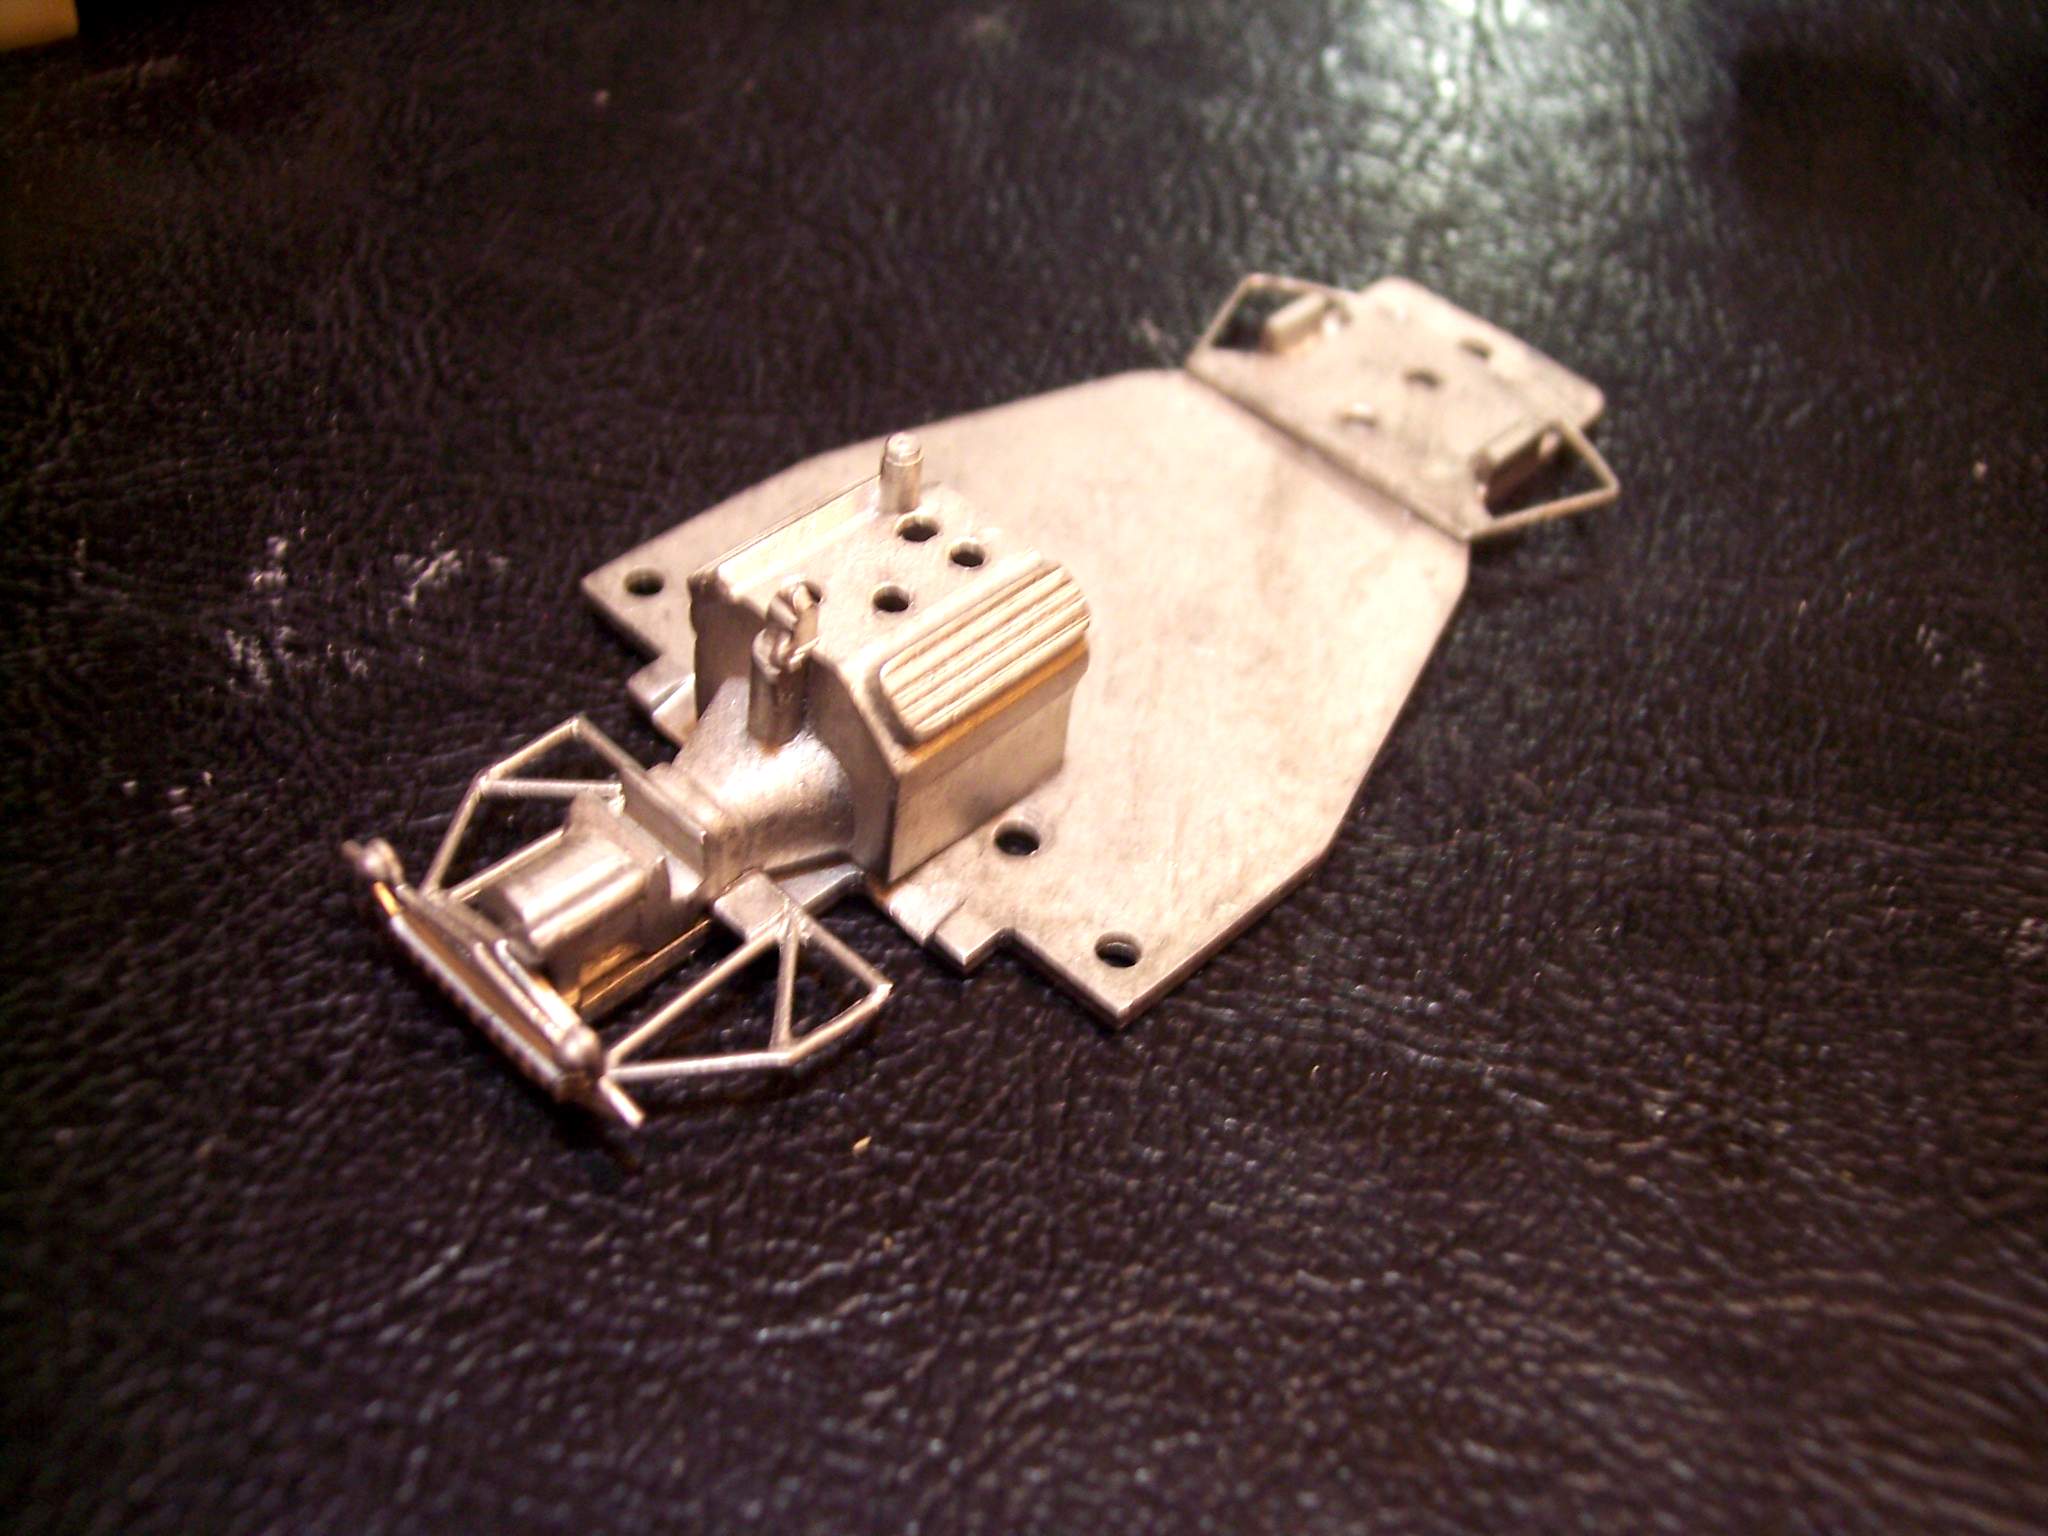
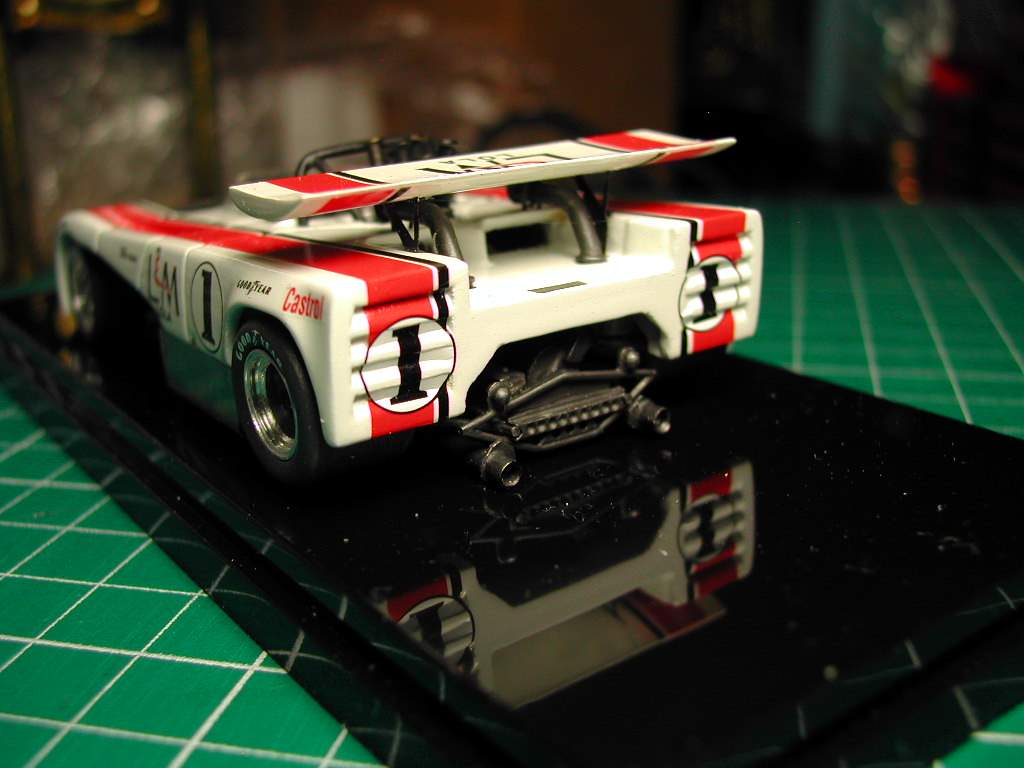
There is a variety of hoses and brackets and braces in the rear that the instructions could be clearer on where things go. |
|

100808.jpg
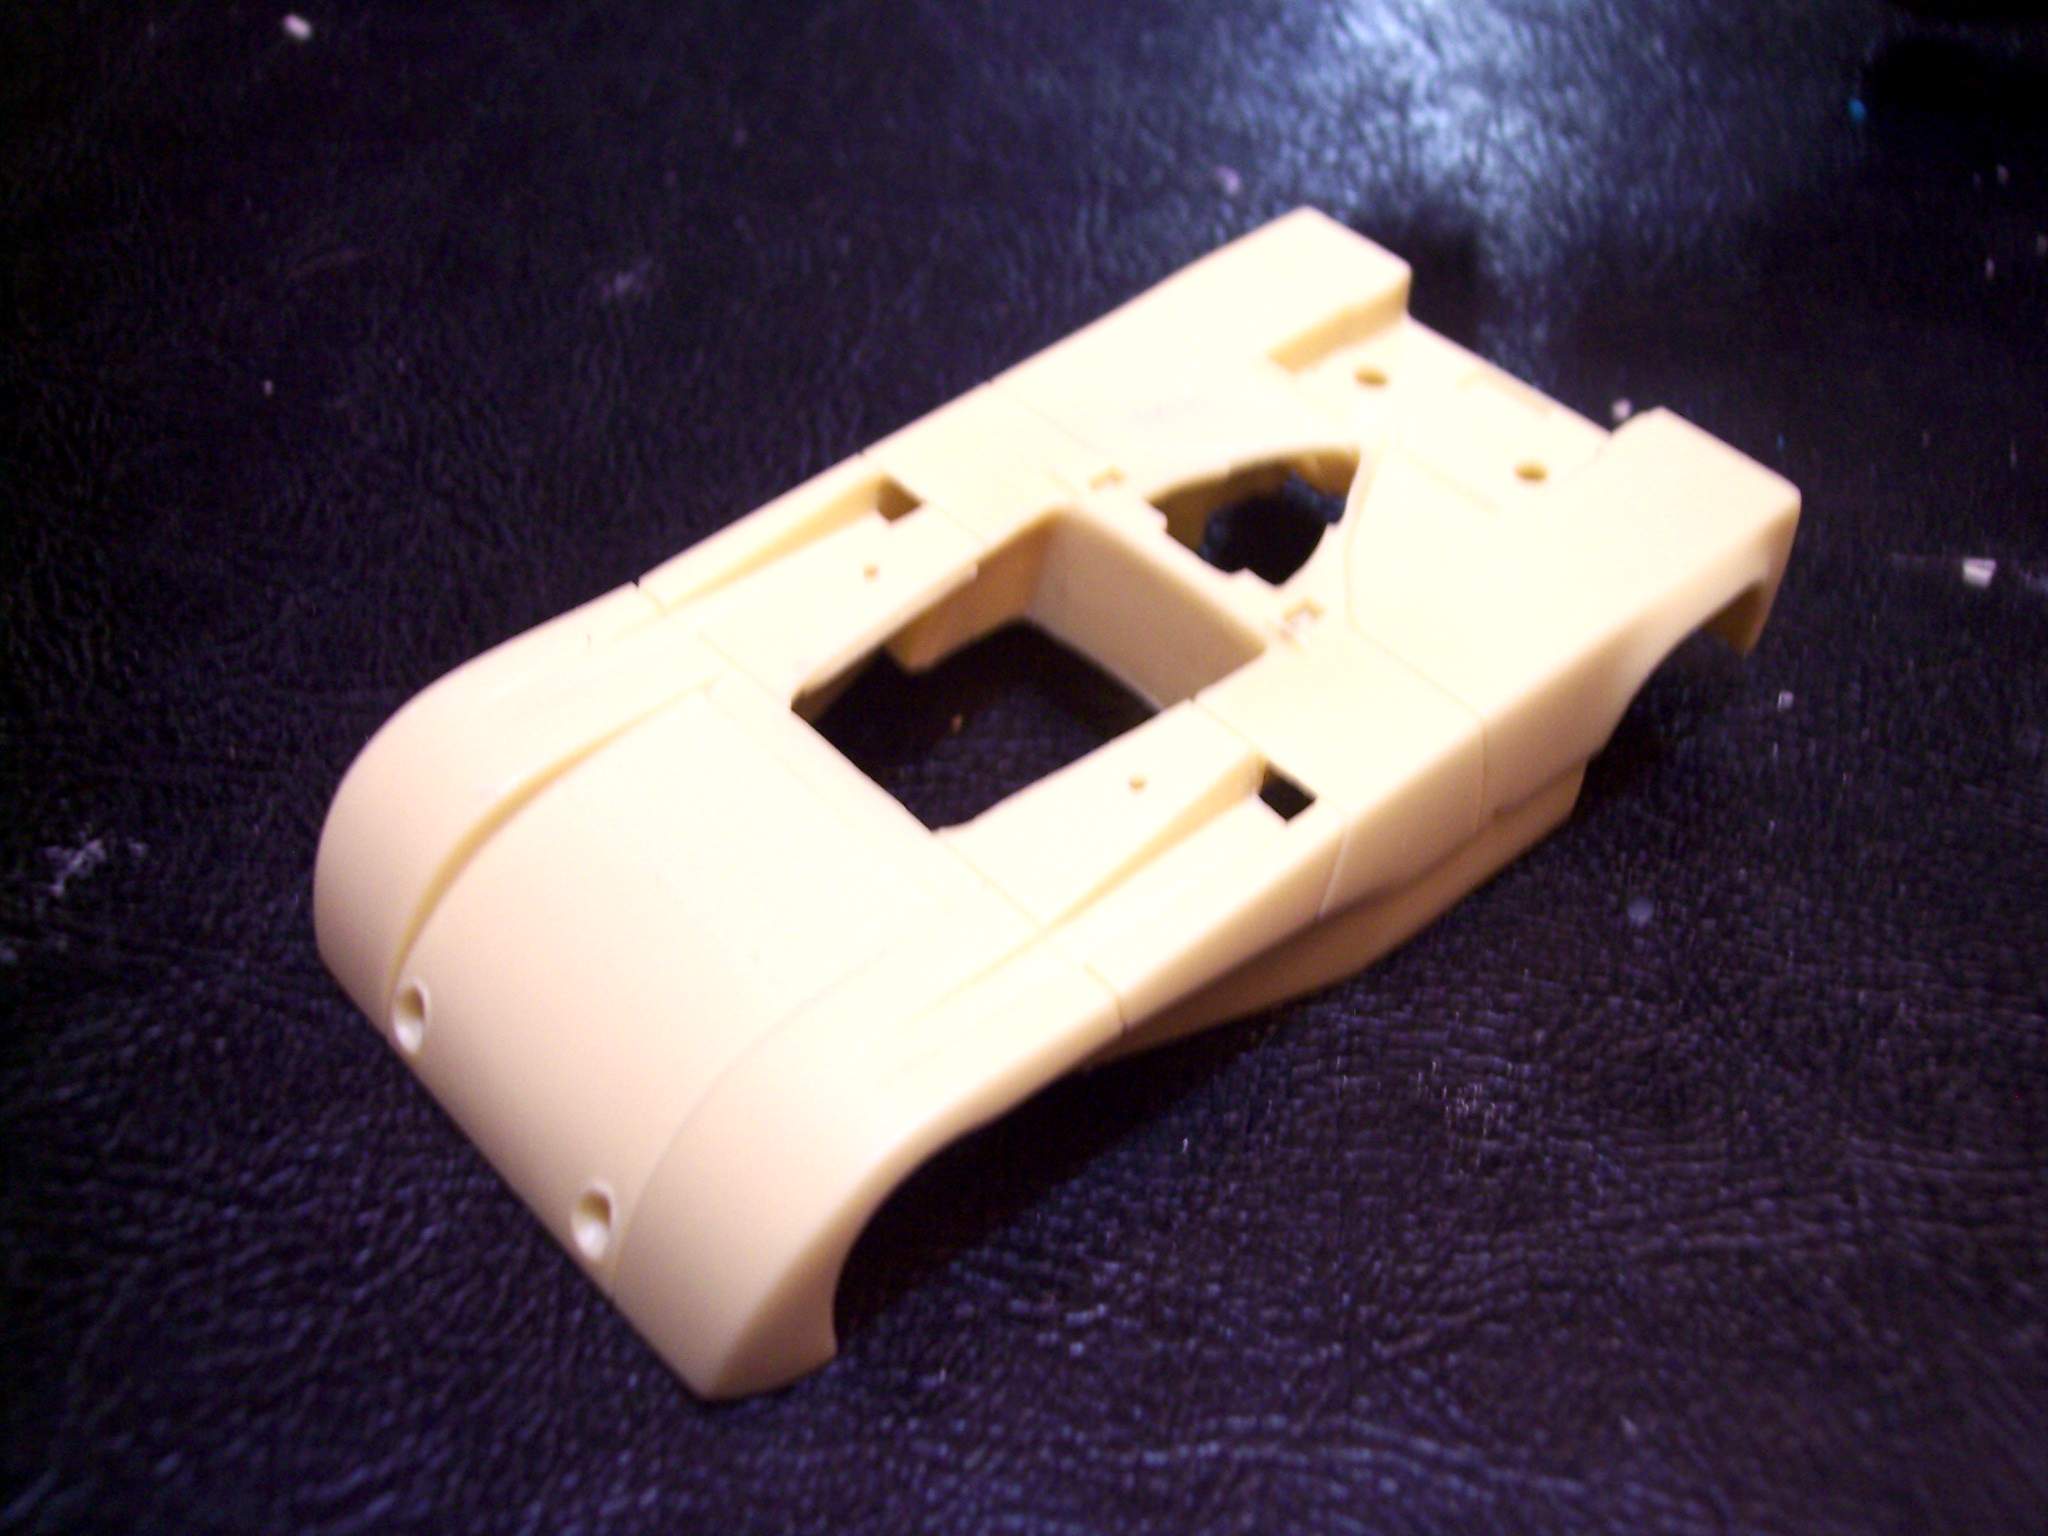
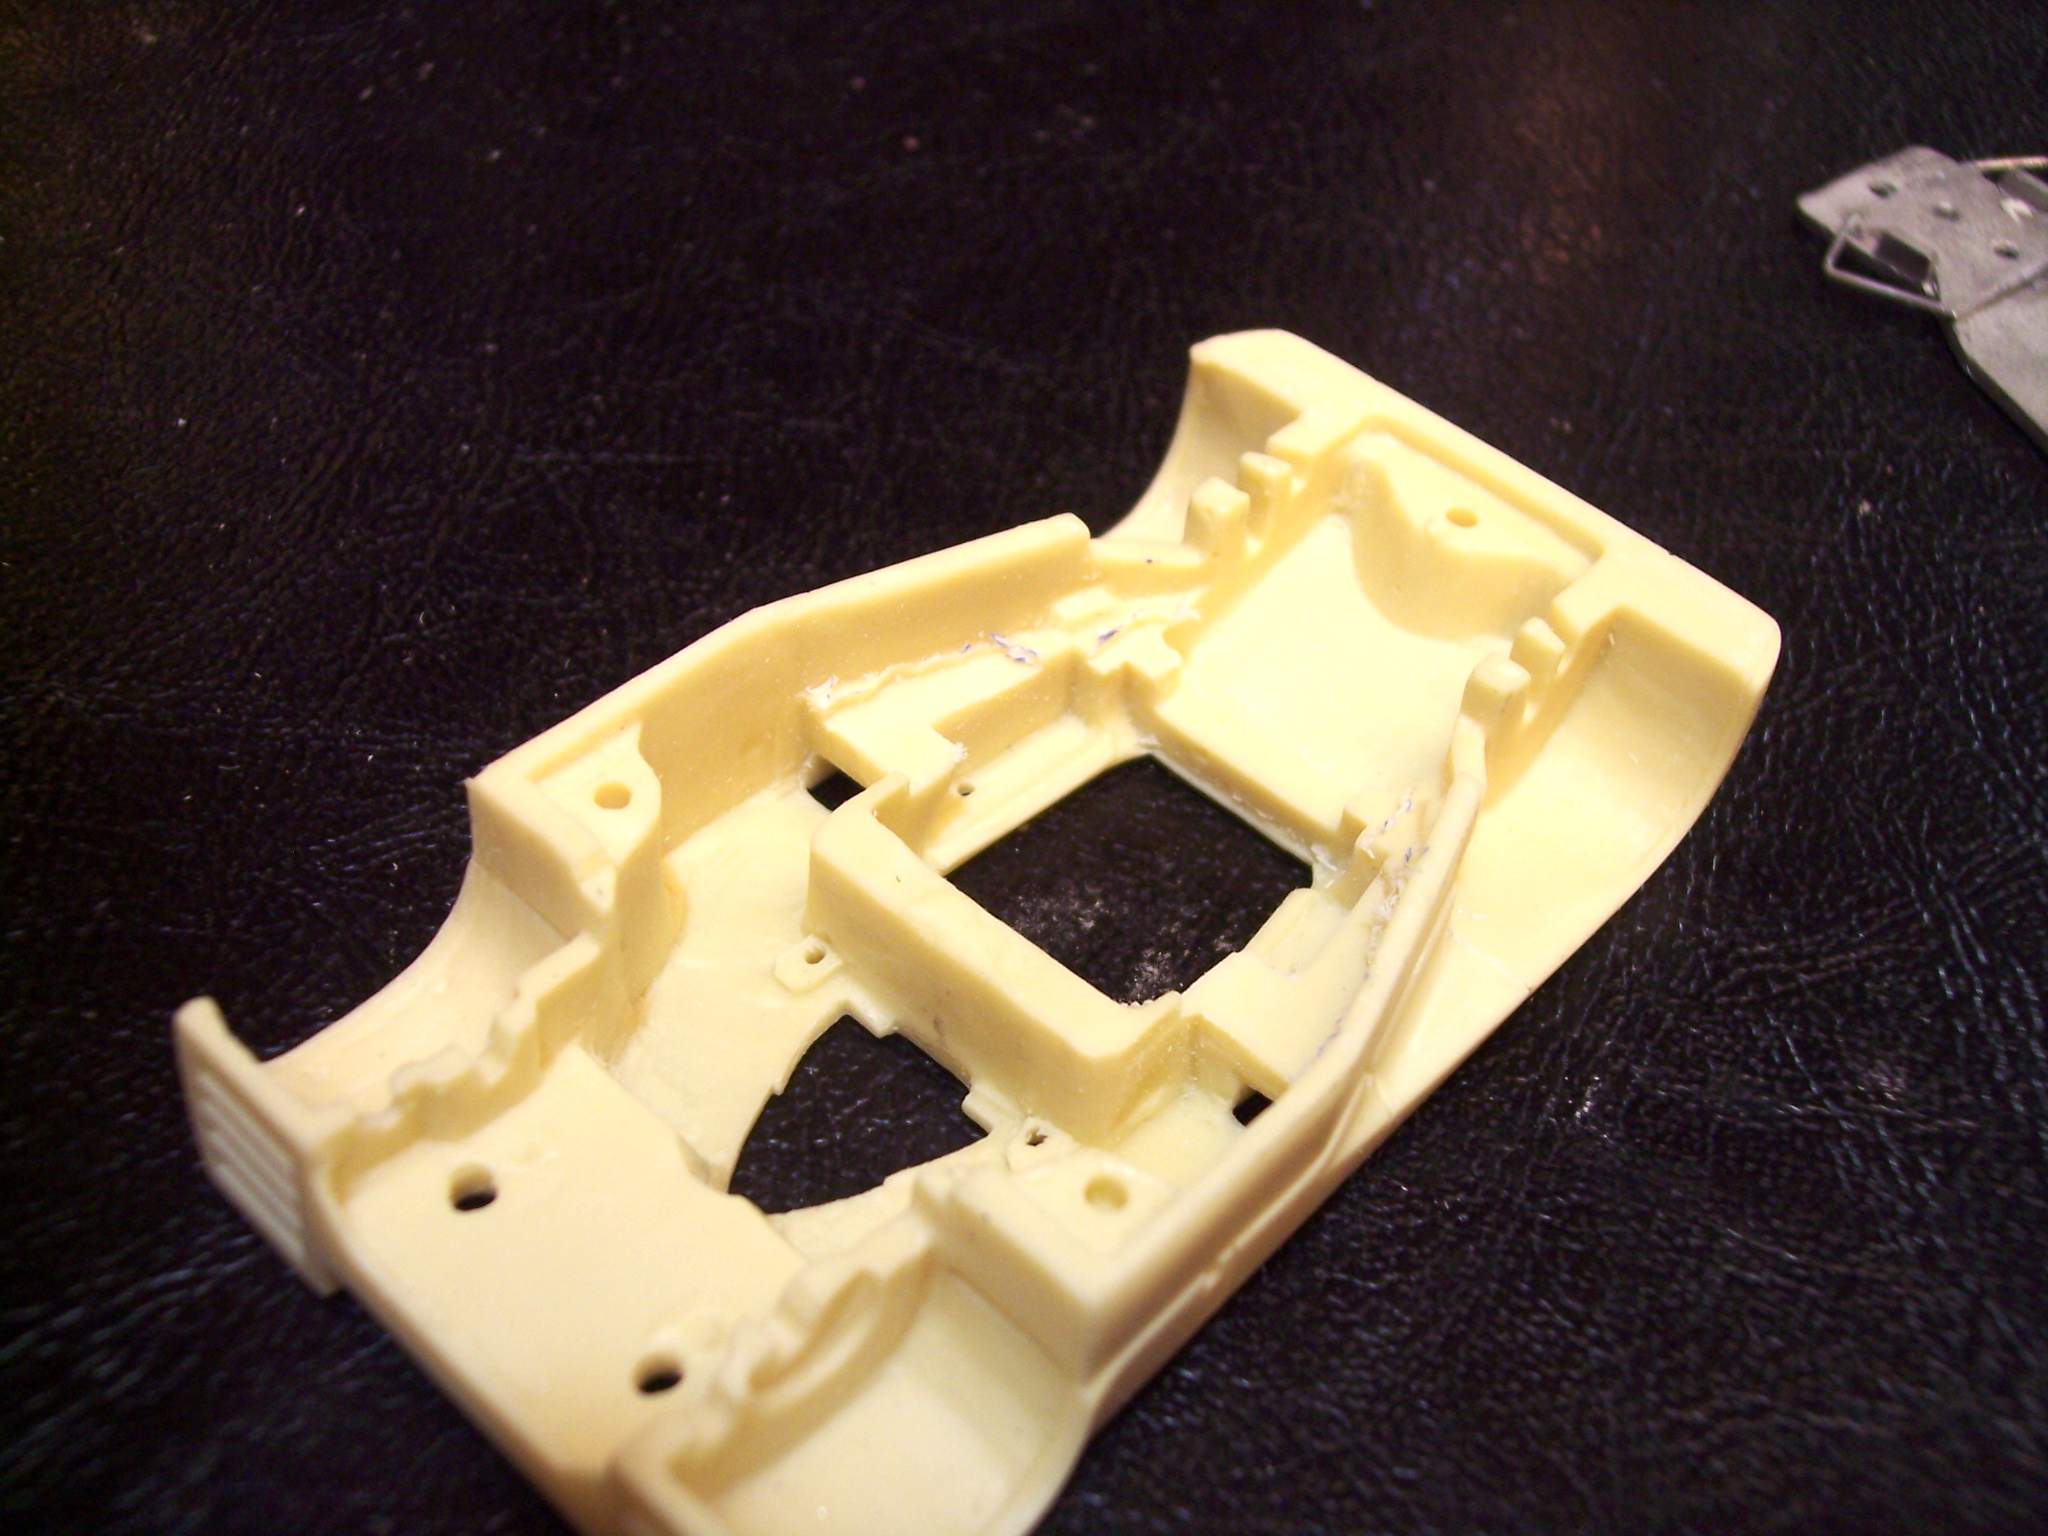
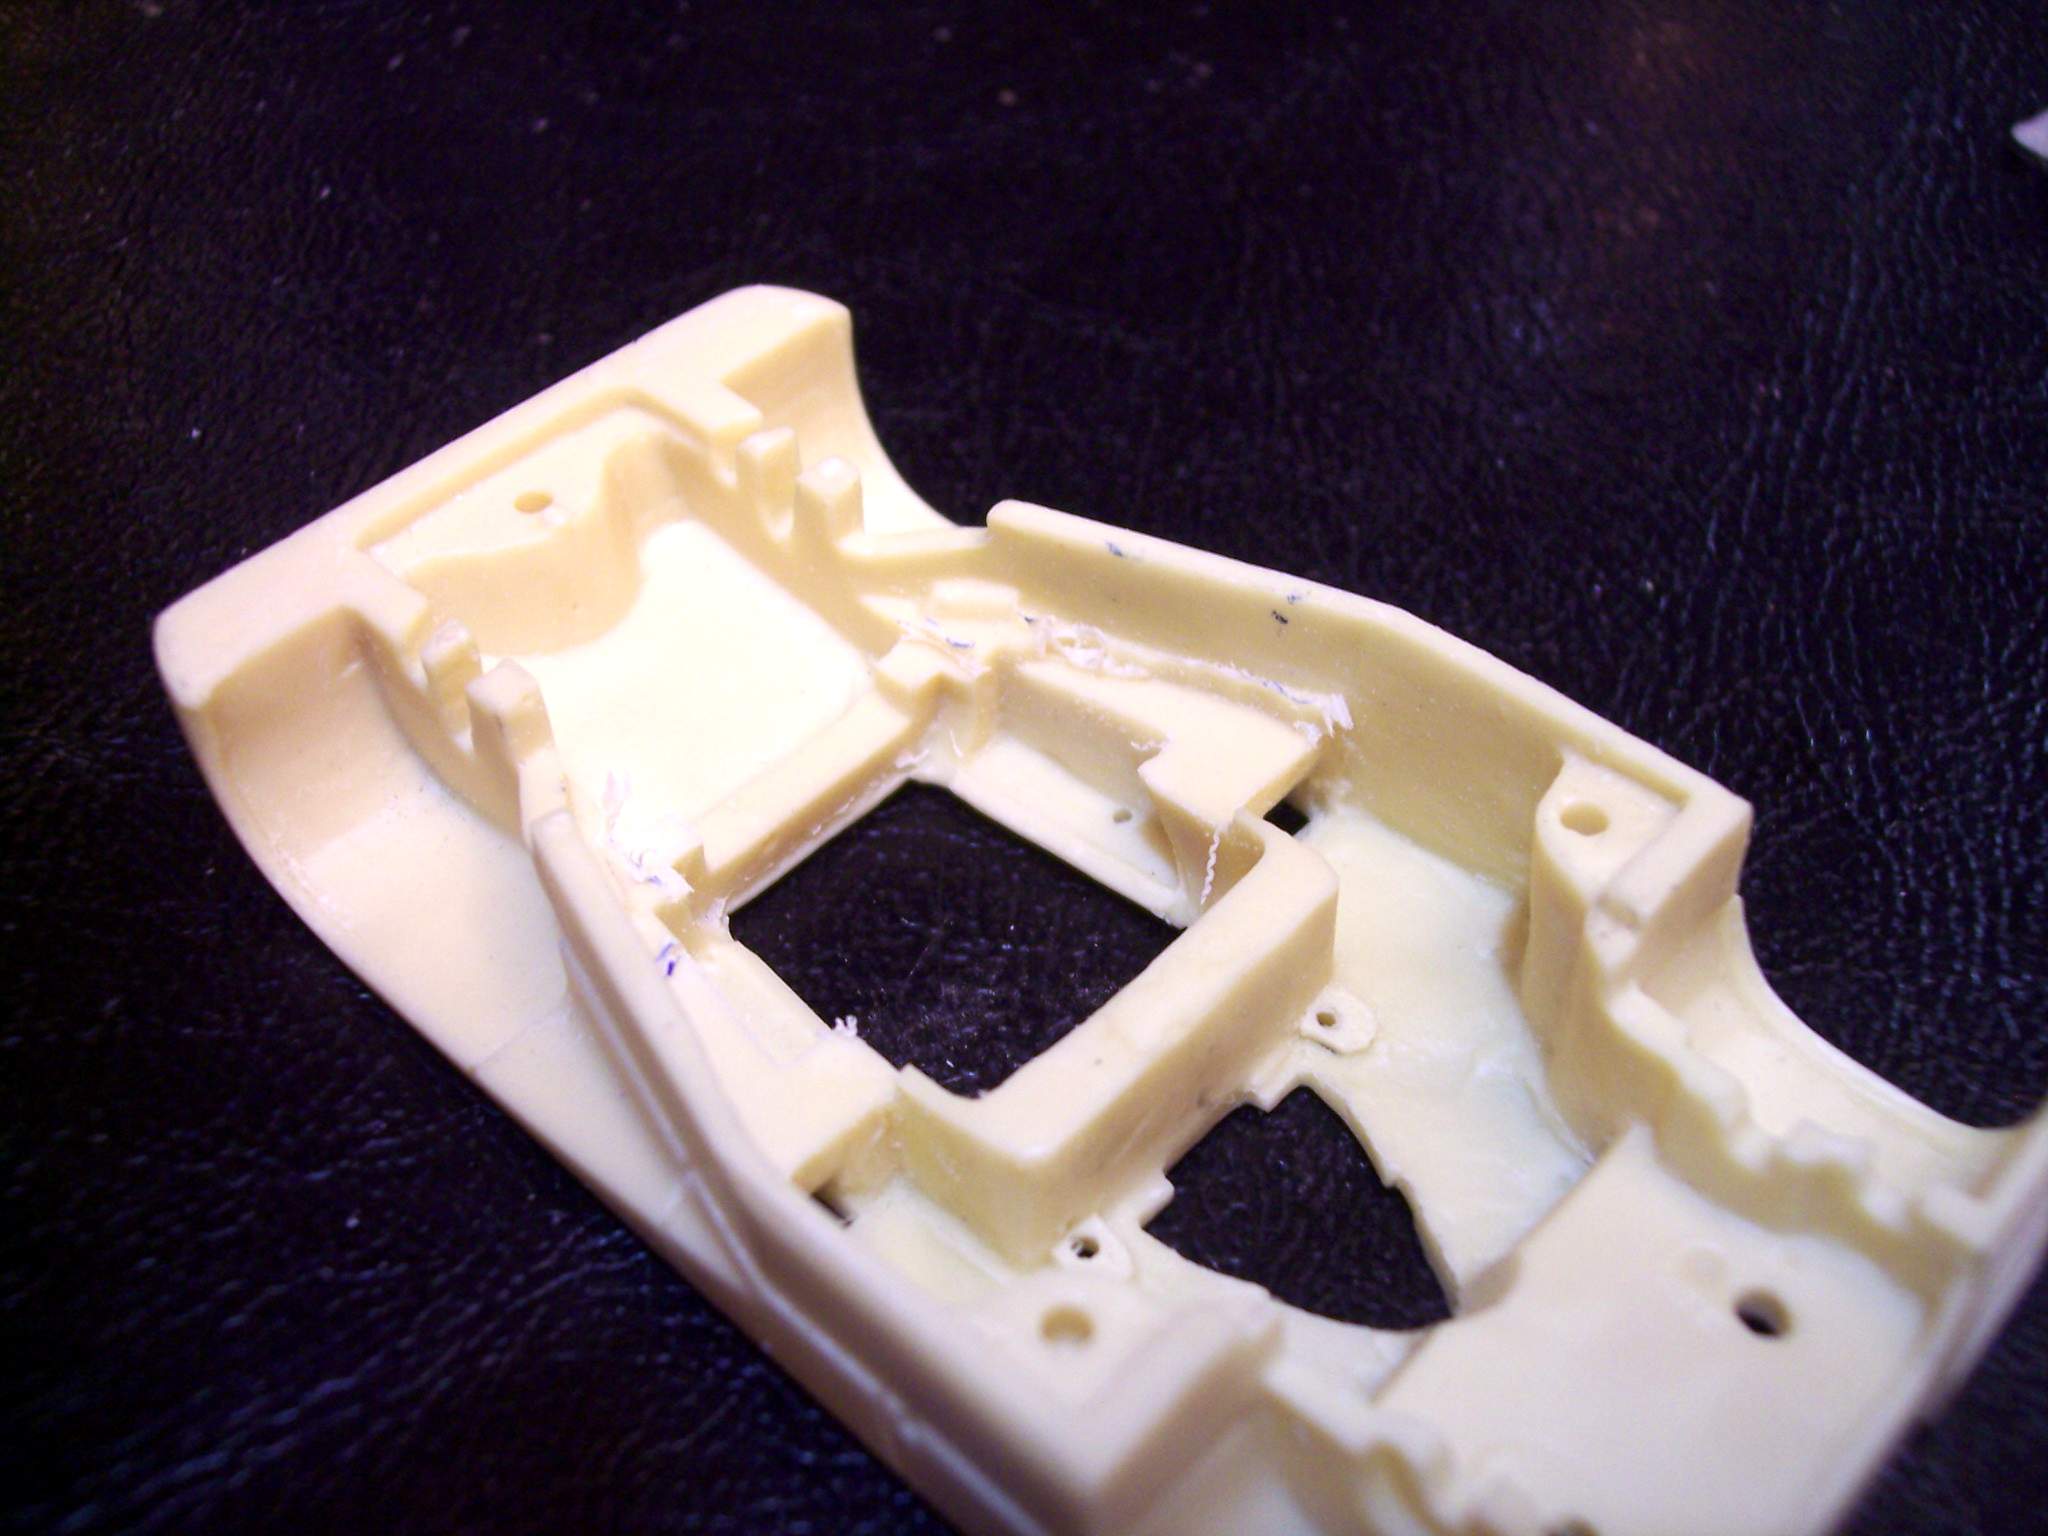
The location of the inner tub was also questionable. Due to the slope of the back I could not glue the tub to the lower chassis and then put the upper body in. I had to screw the lower chassis to the upper body with the tub loose inside. I then had to carefully glue the tub in. |
|

100809.jpg
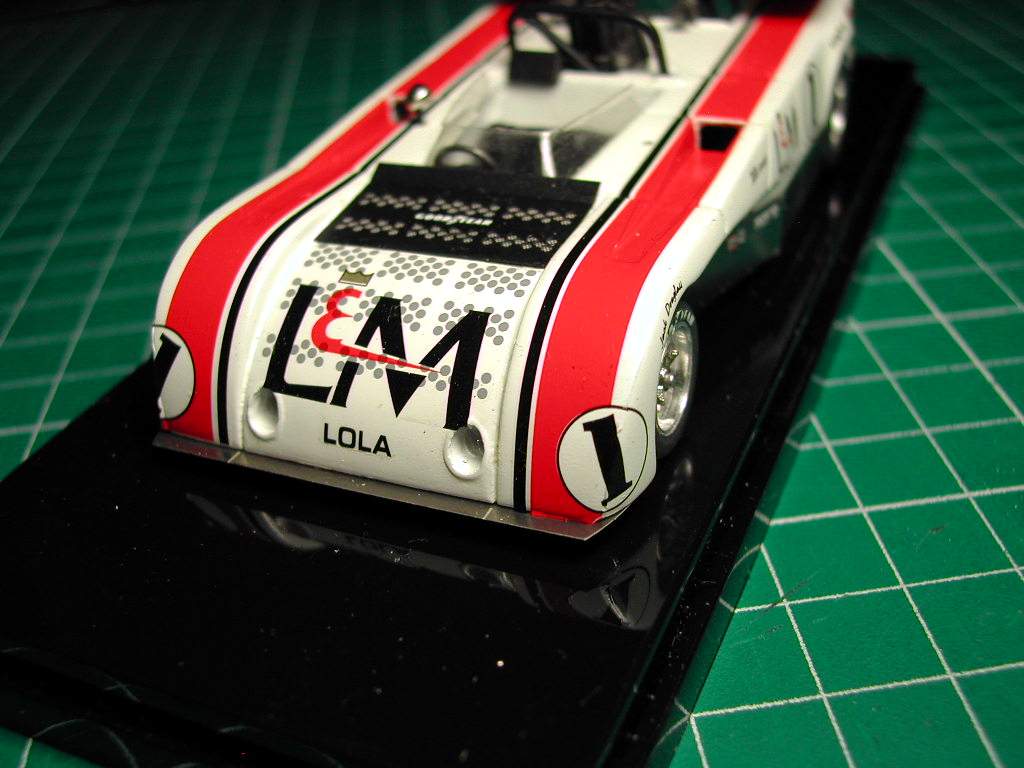
I thought the decals for the grill holes on the front were a bit cheesy. The wind screen was a nice fit after it was cut and glued on with white glue |
|

100810.jpg
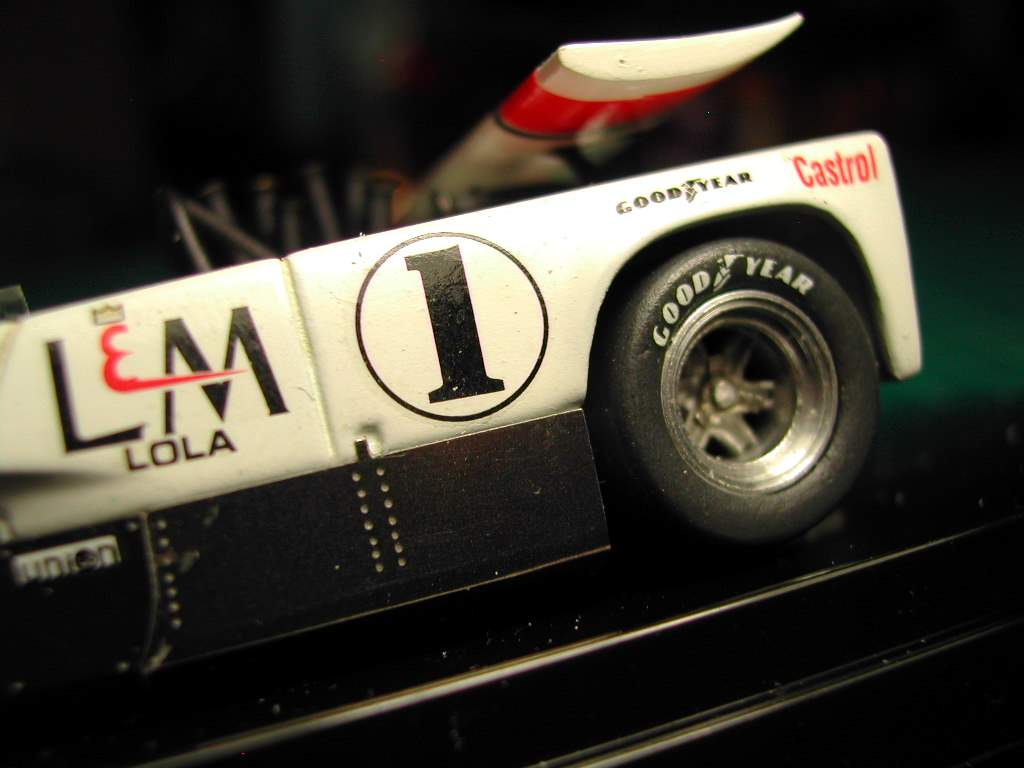
The wheels and tires turned out very good |
|

100811.jpg
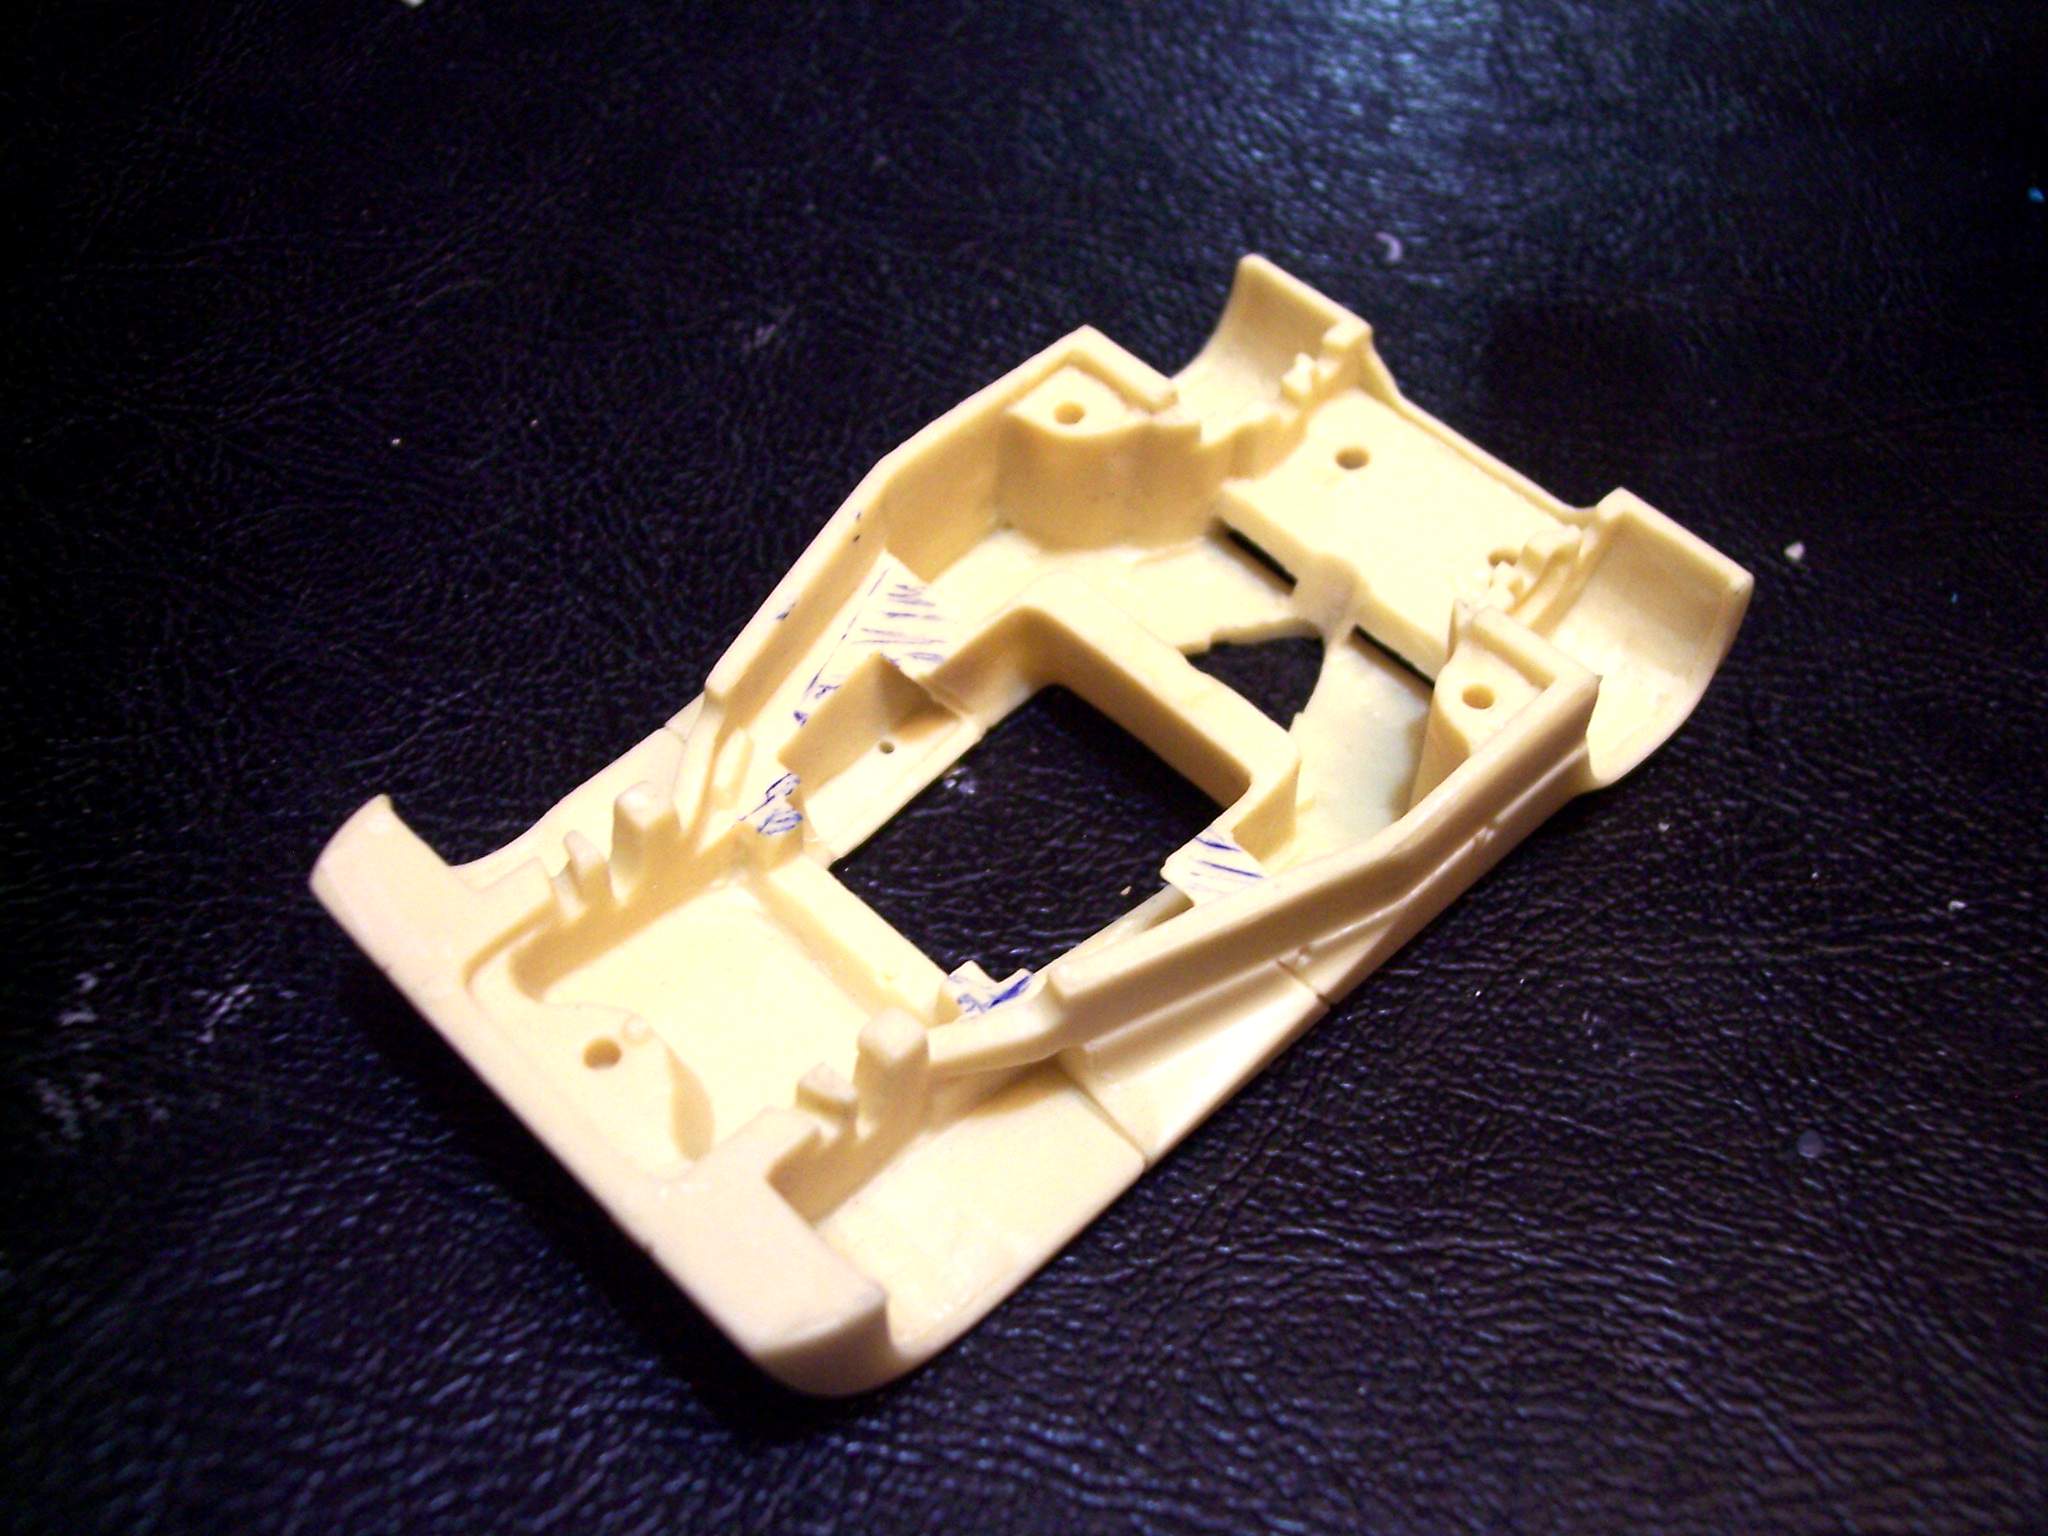
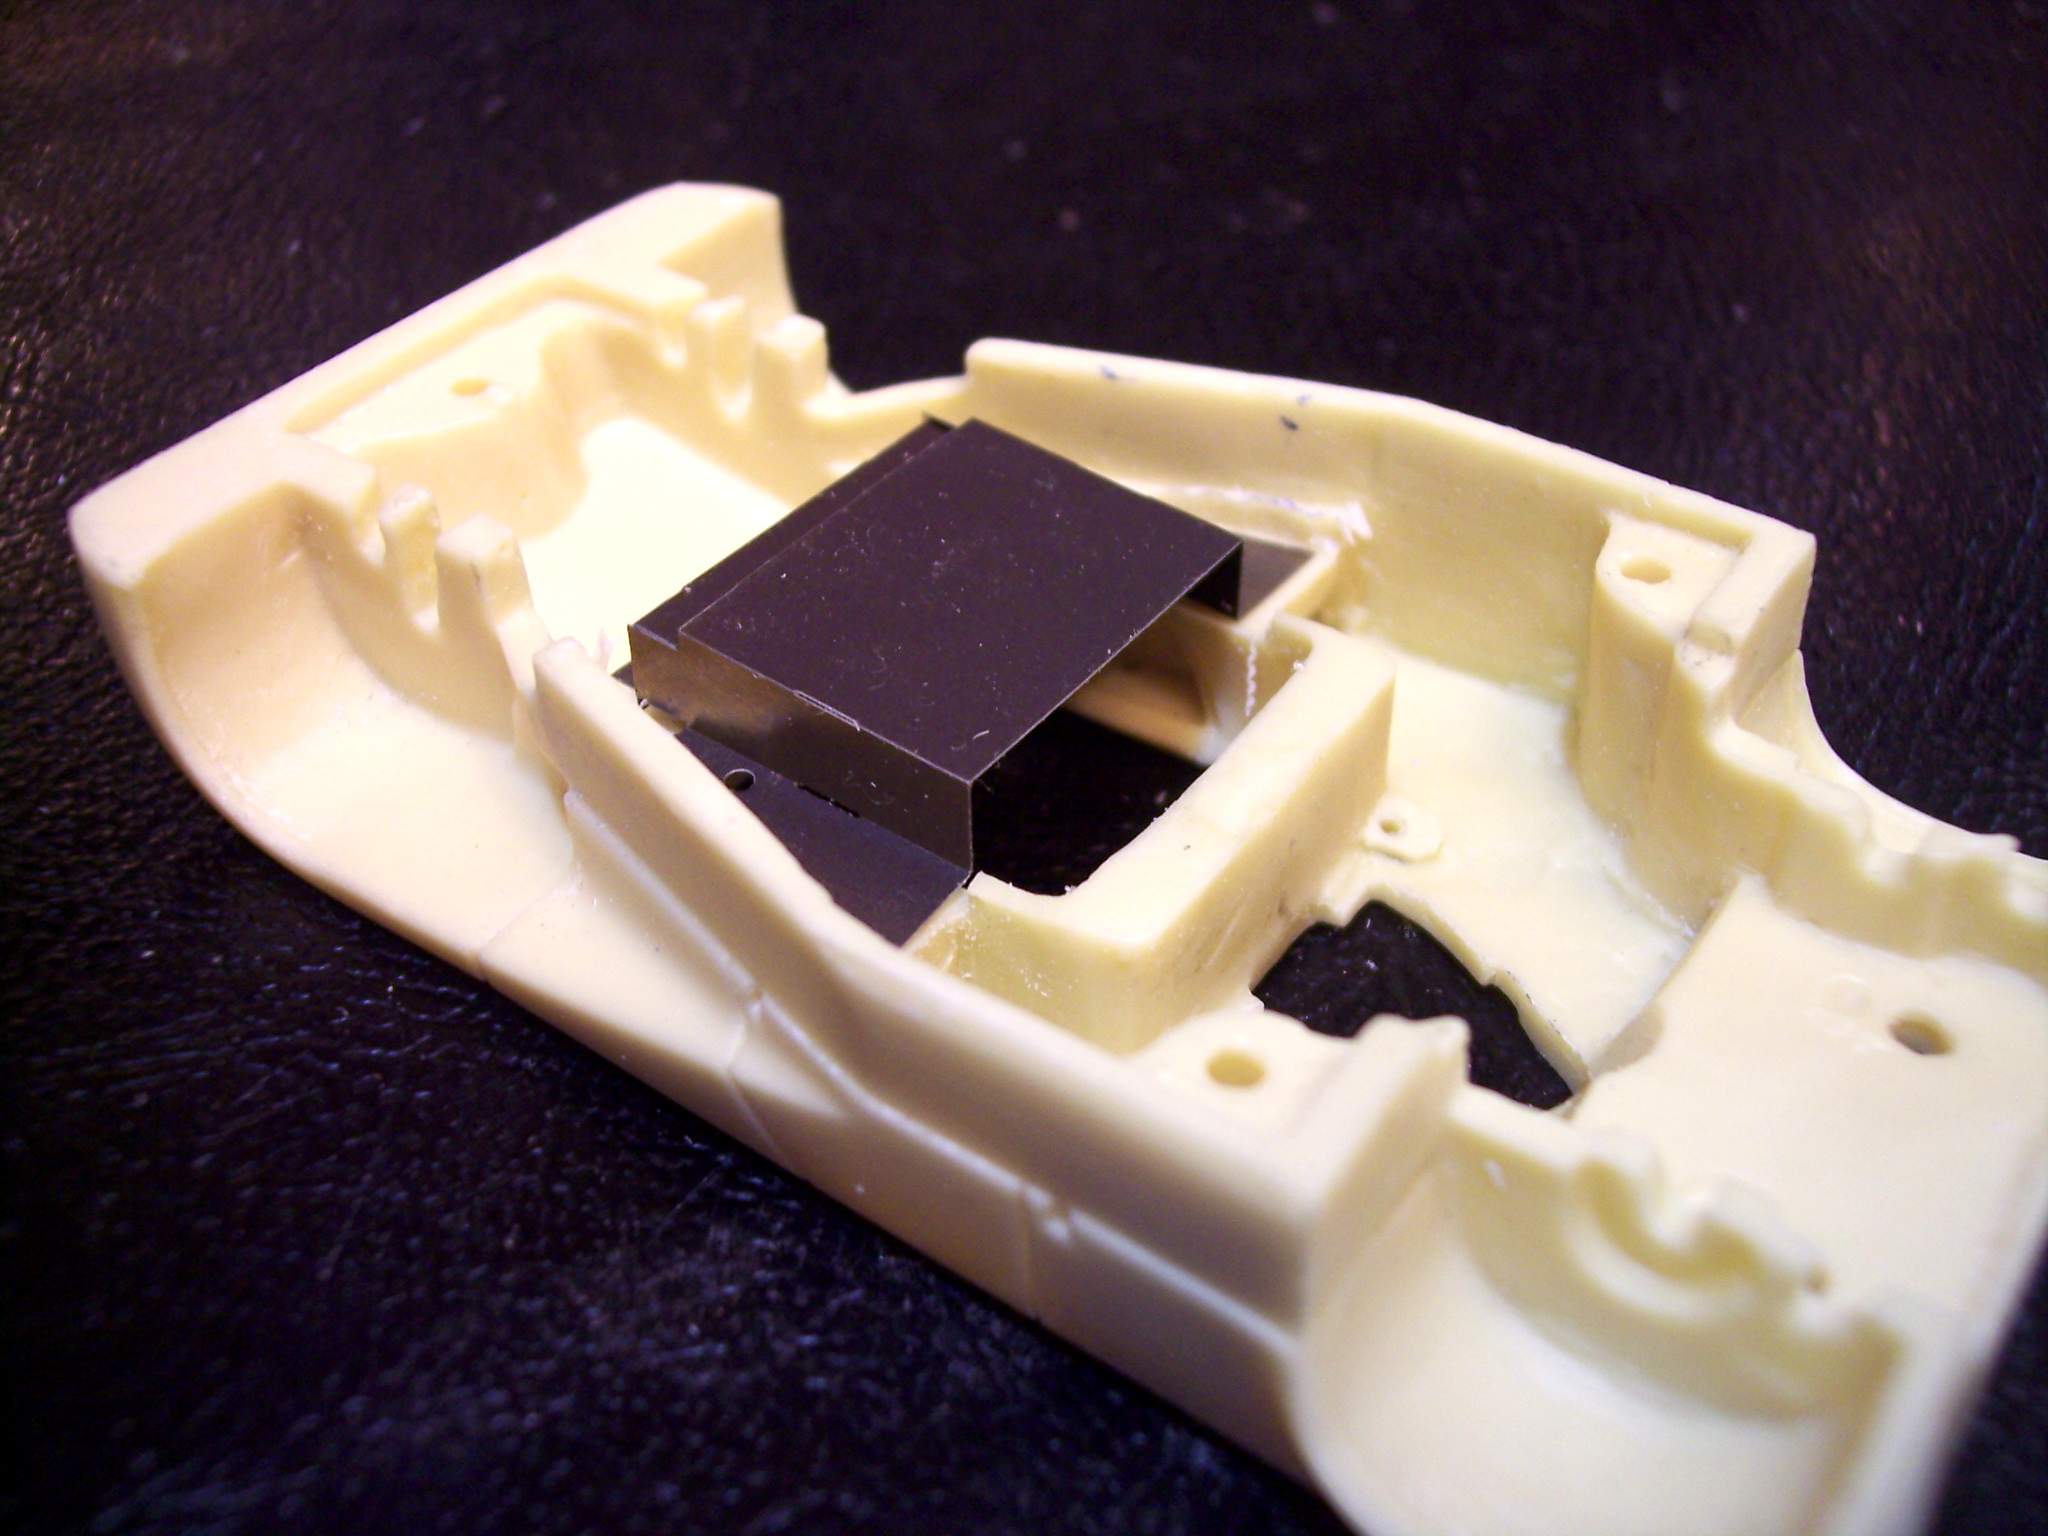
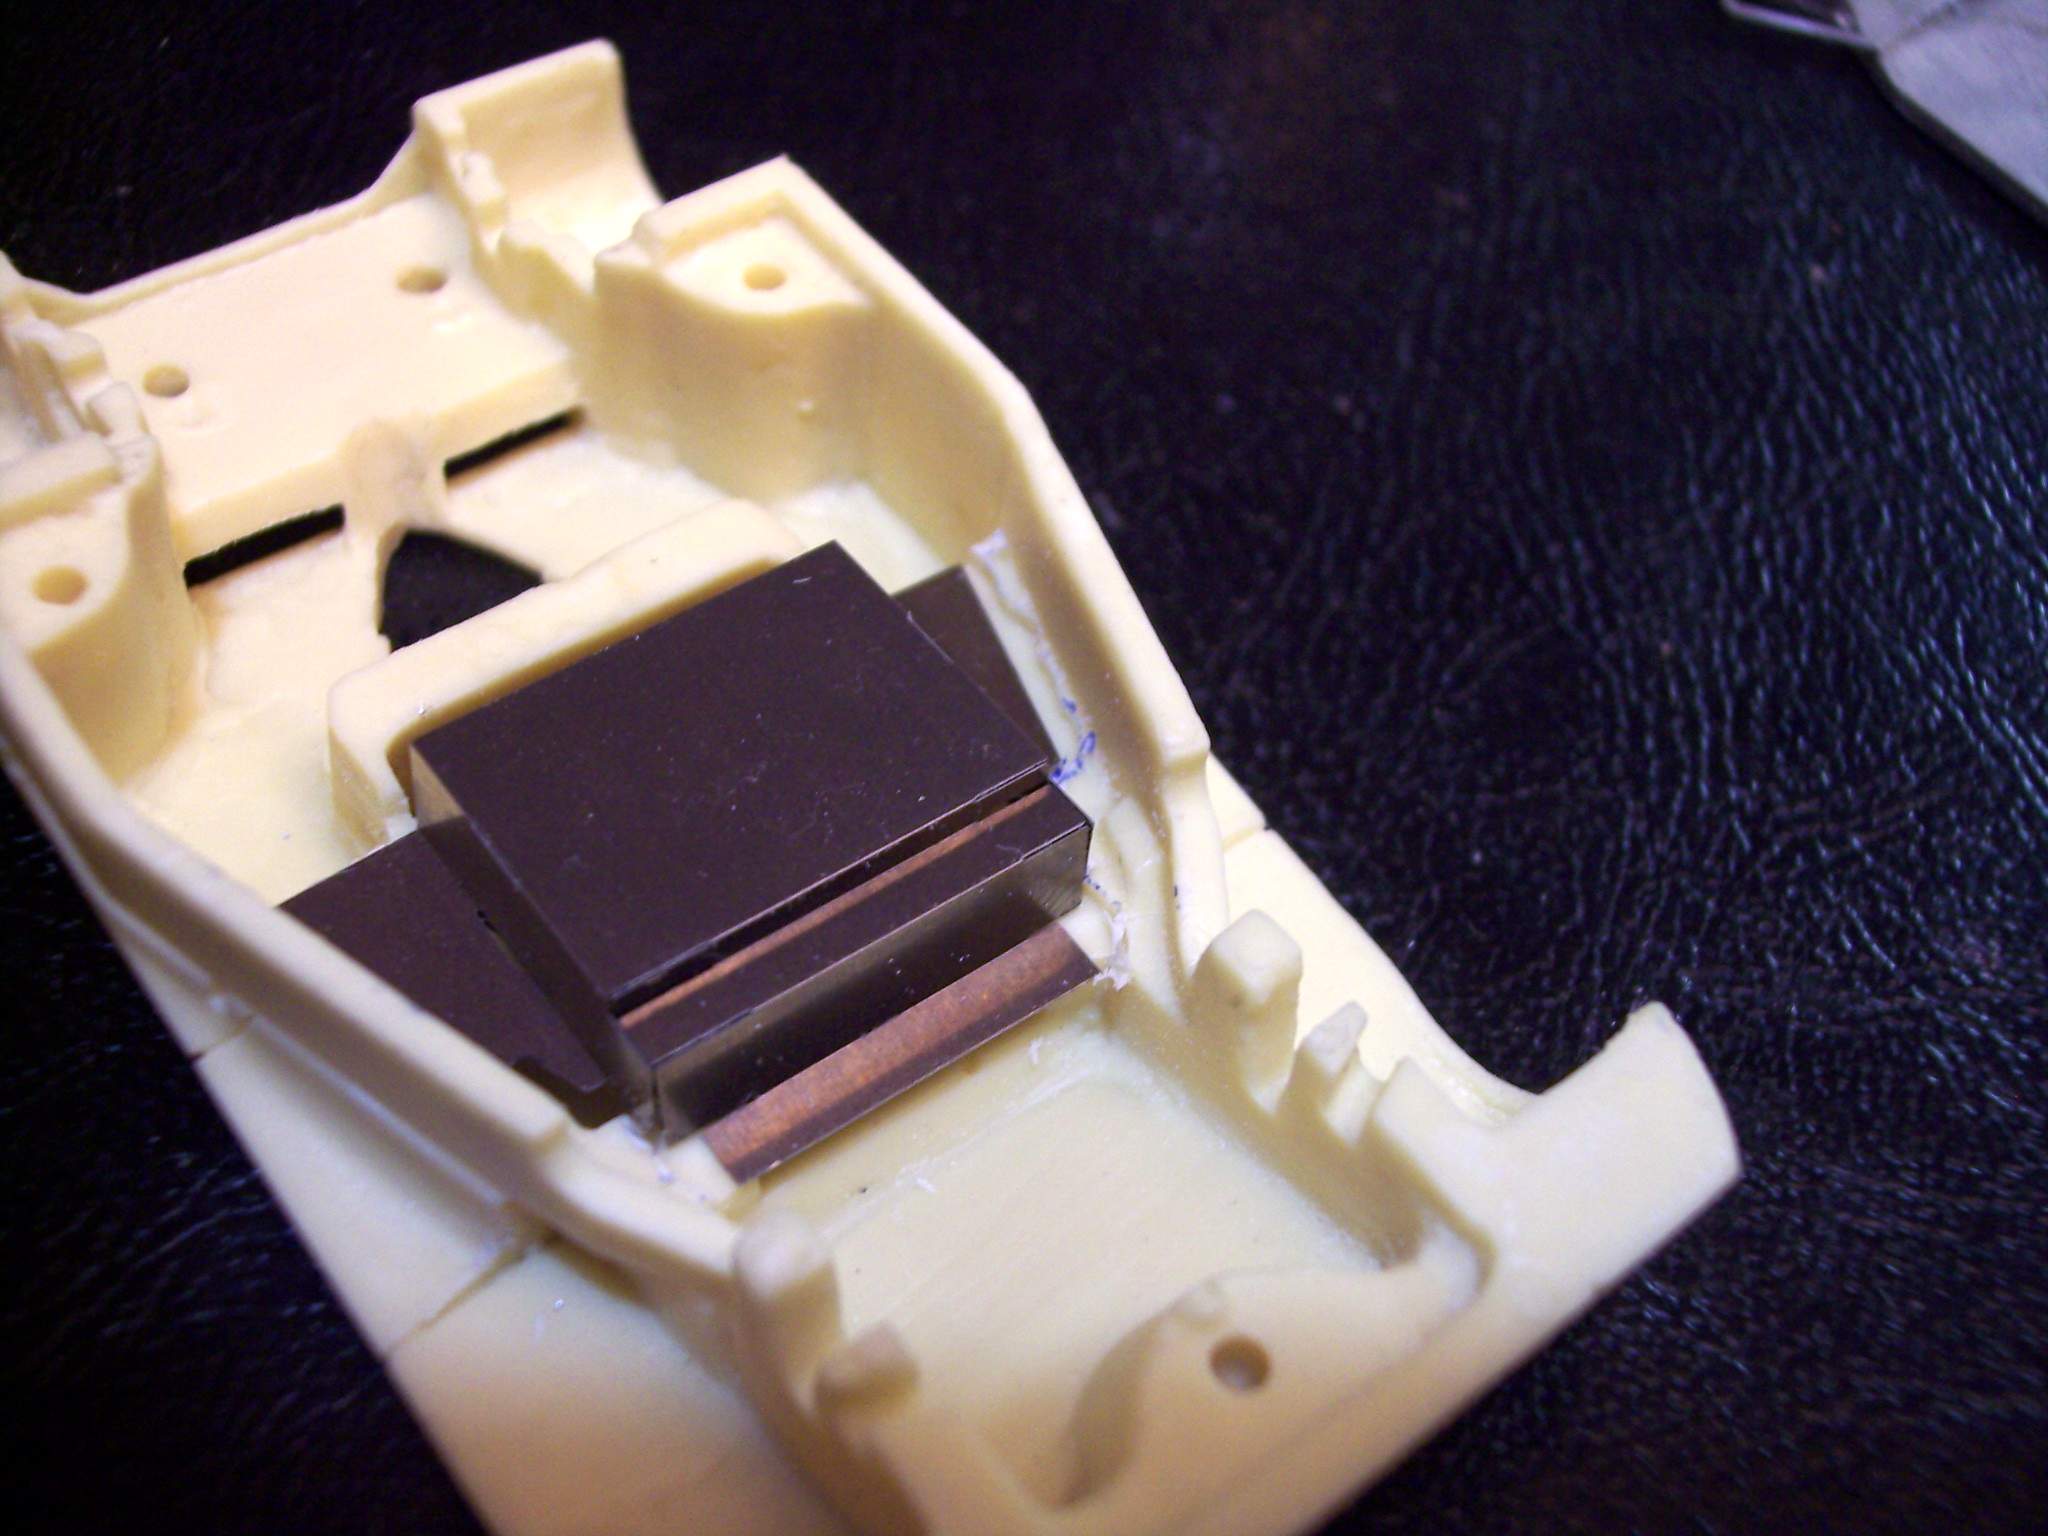
The side pieces are photo etched items and they look nice but the instructions were very vague with where they go and how to bend them. It turns out you have to install the tub and bottom plate into the body before you can install the side pieces as the bottom curls in. |
|

100812.jpg
It took a bit of work and use of decal softener to get the decals to sit in the grills and look nice. |
|

100813.jpg
|
|

100814.jpg
|
|

100815.jpg
|
|

100816.jpg
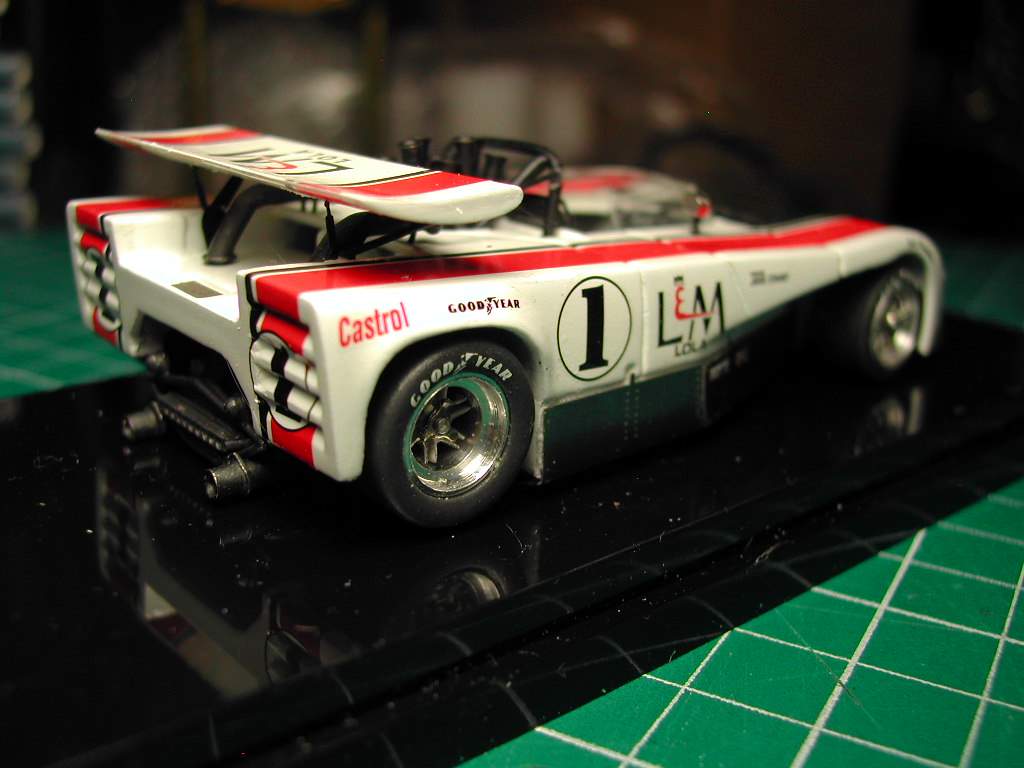
Um oops. There is only one mirror and not 2. I forgot to close the hole on the left of the body. I decided to leave it as is, as trying to fix it after painting could prove disastrous. |
|

100817.jpg
I had no problem with the decals and did only some minor trimming of some before putting it on |
|

100818.jpg
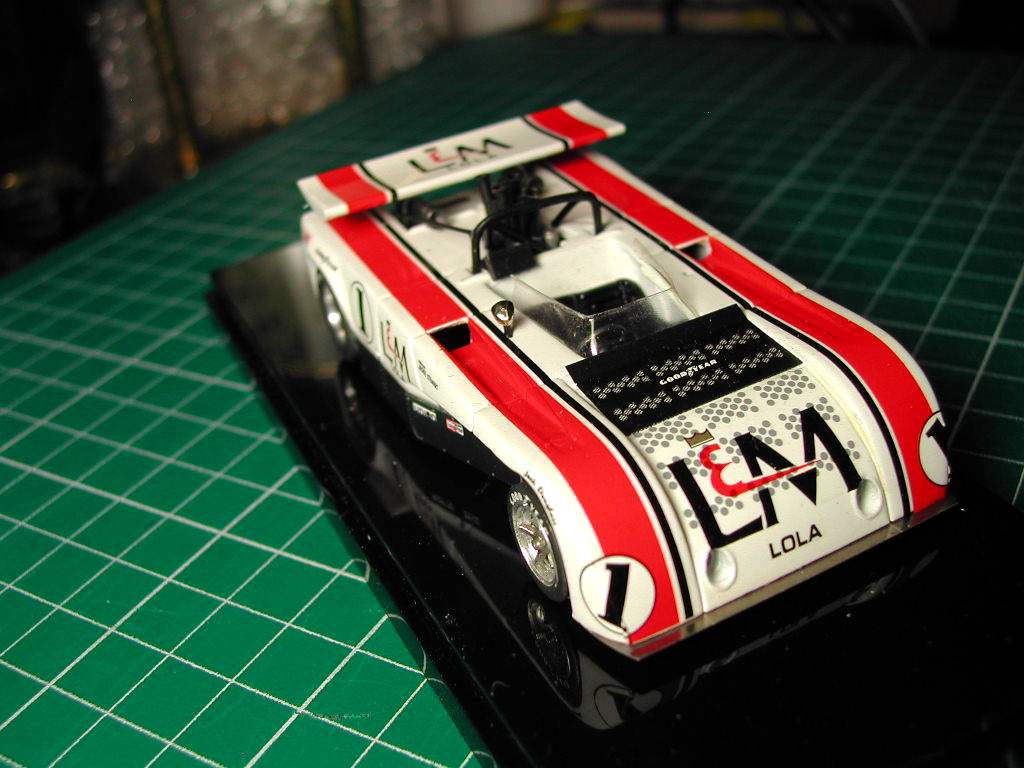
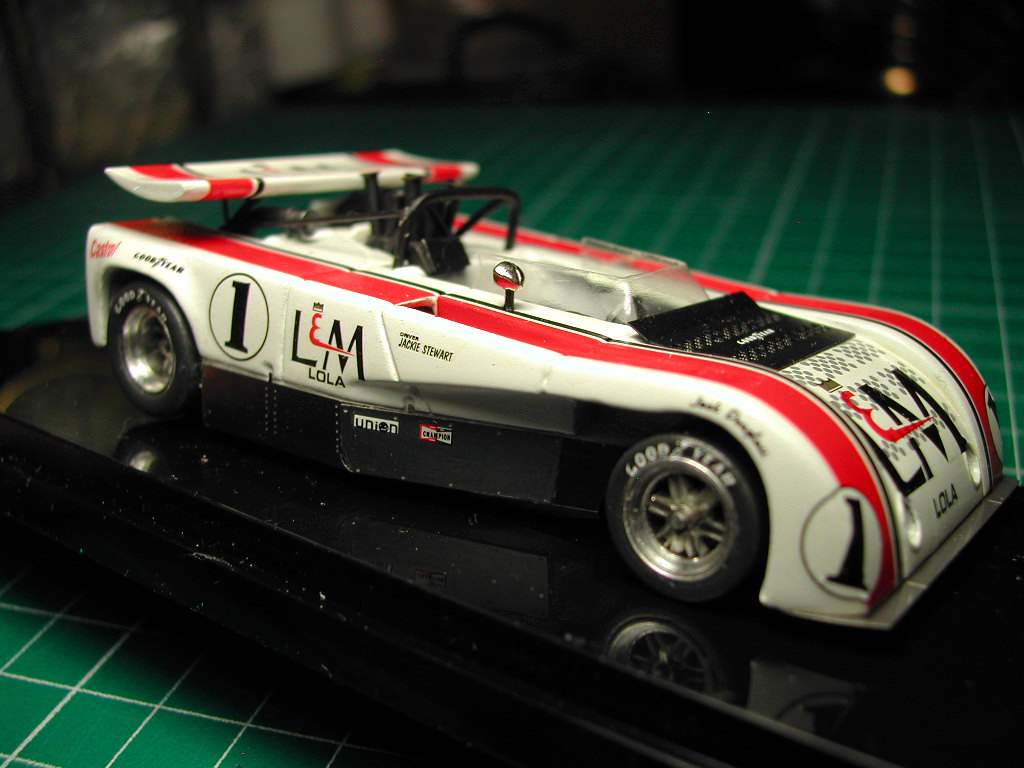
It was a frustrating build at times but the results are very nice. The decals were beautiful and the body is excellent. Everything else is suspect. At times I was wondering what the manufacturers were thinking producing something that had terrible fit of the parts. A neat car for a driver that I like. |
| |
| |