Material: Resin, White Metal, Rubber, Photo Etch, Decals
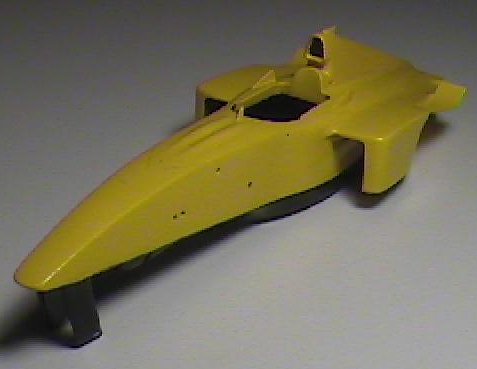
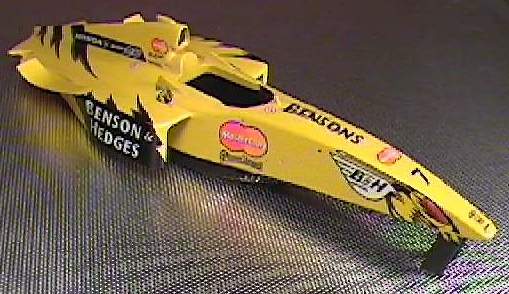
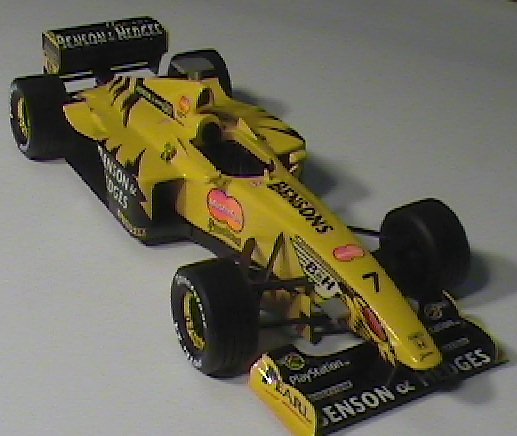
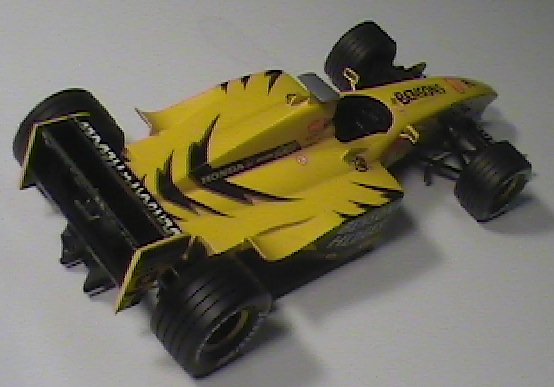
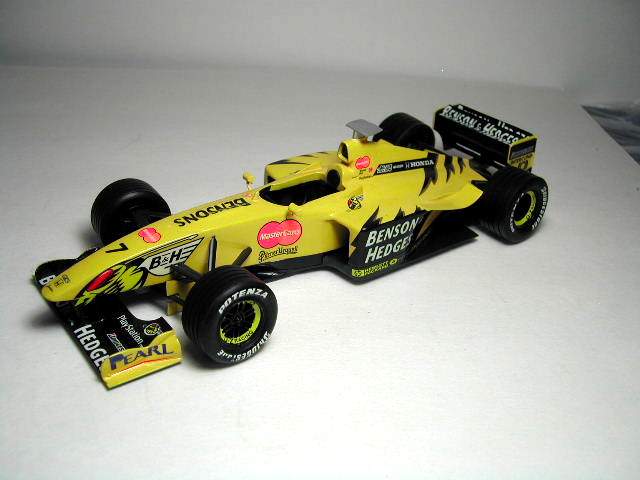
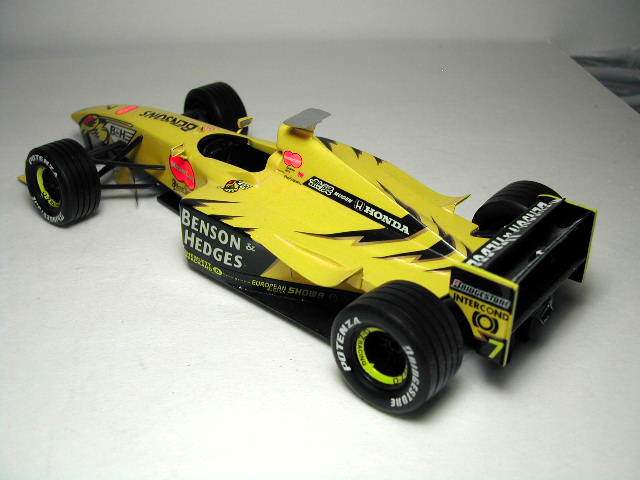
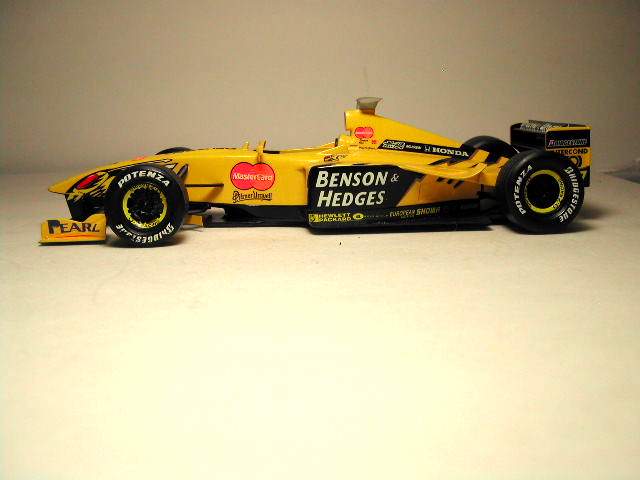
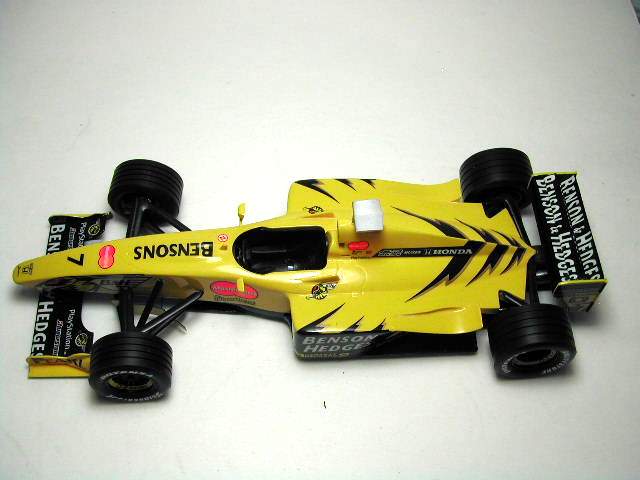
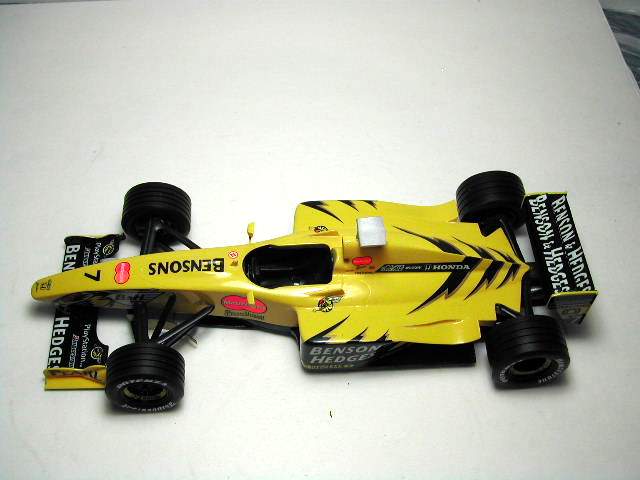
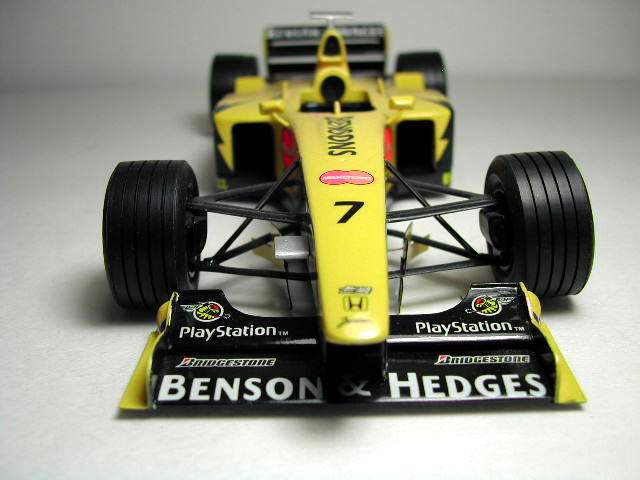
This is the 1999 Jordan F1 car as driven by Damon Hill and Heinz Harold Frentzen. With this car Frentzen drove to 3rdin the drivers championship and 2 wins. This is also the last F1 car that Damon Hill drove as he retired after the 1999 season.
Body: One piece resin with 5 white metal attachments
Floor: 1 piece Resin, 2 piece white metal
Front Wing: 3 Piece White Metal
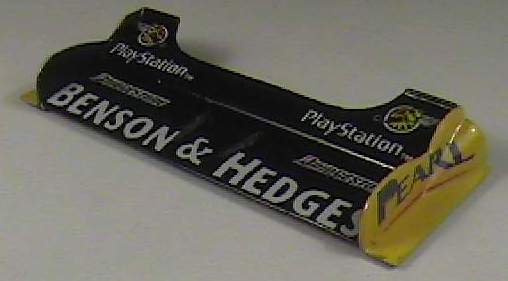
Rear Wing: 5 Piece White metal
Engine: none
Suspension: White metal
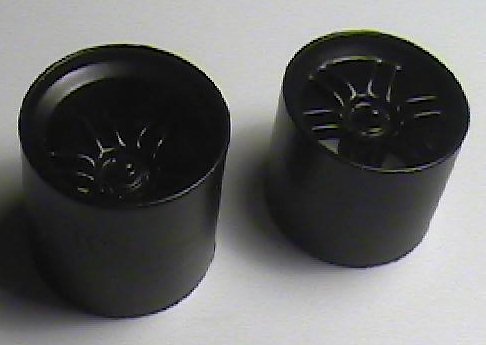
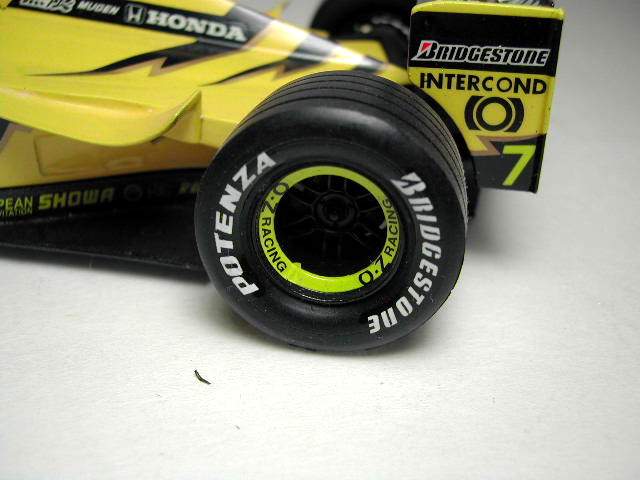
Tires: rubber
Wheels: White metal
Other Parts
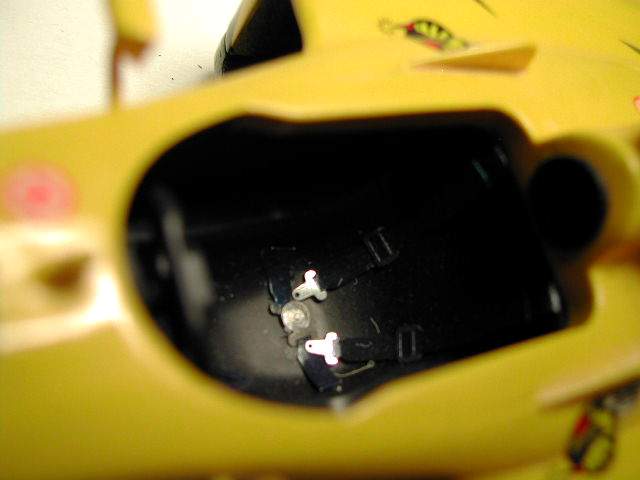
Resin: - seat, transmission block
White metal: steering wheel, dash board, head rest
PE: barn doors, mounts
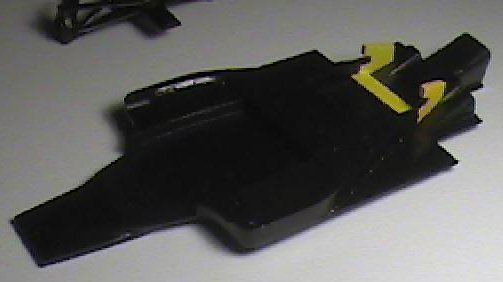
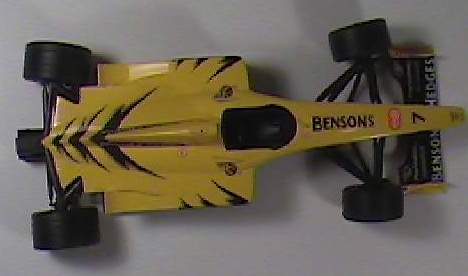
Body
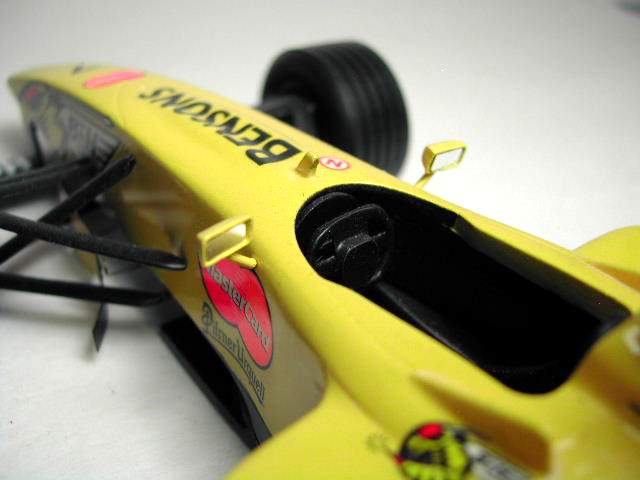
The fit of the body to the floor pan was slightly out and needed a bit of filing and puttying. There are 5 white metal parts with 4 that are to be glued to the body before painting. There are 2 winglets that go in front of the rear wheels. The engine air intake is also a white metal part that is to be glued to the body.
There is one more white metal part that goes with the rear suspension assembly that is installed later on.
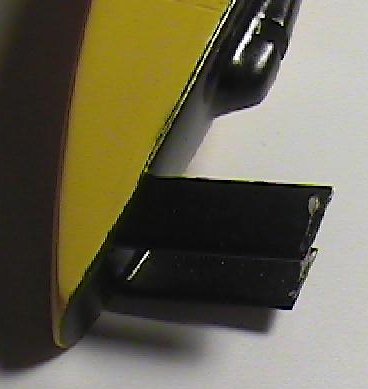
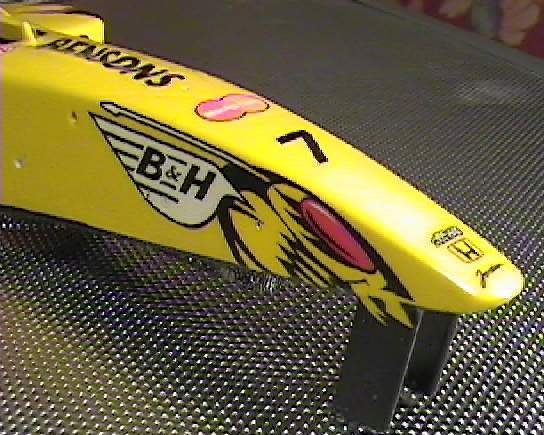
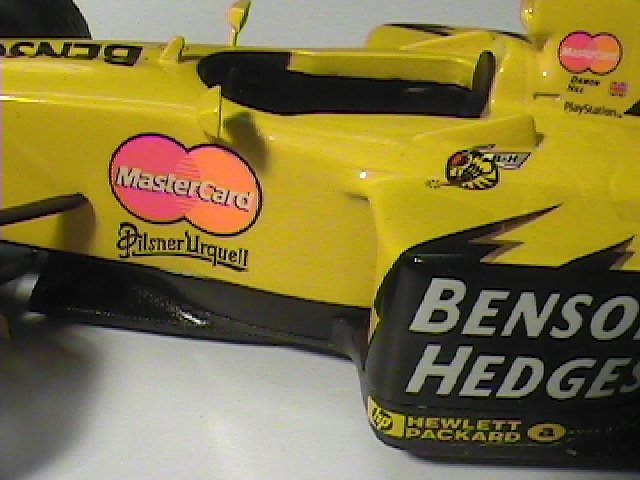
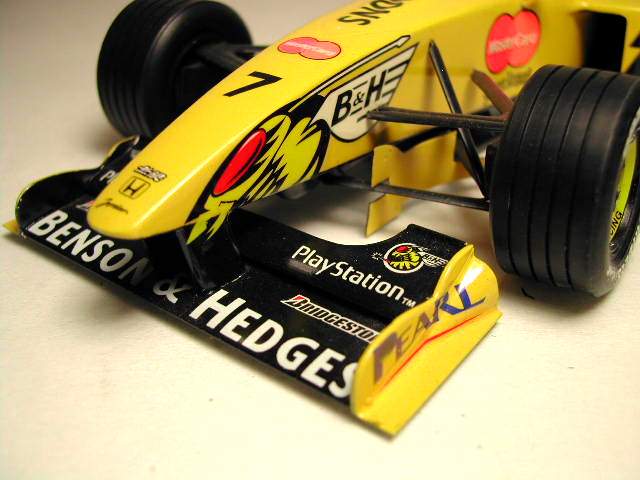
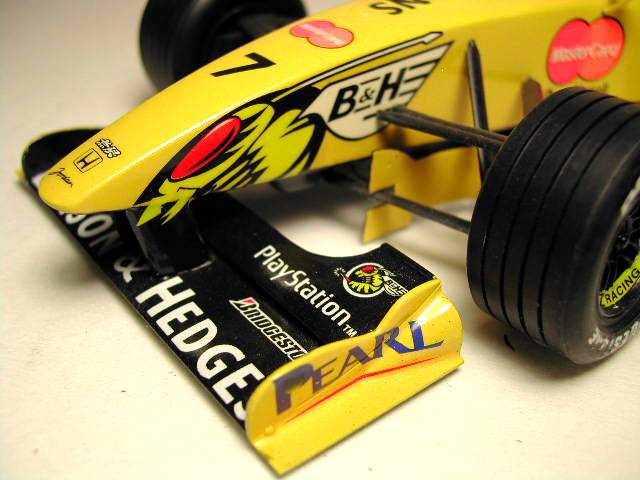
I had the most problems with the white metal part for the front wing mounts. The main reason was that the width was incorrect. The braces that hung down from the body were too wide and stuck out from the body. Checking references showed that these were actually narrower than the body at that point. I had to chop the white metal part in half to narrow them and carefully glue them into position. Puttying and sanding was needed. Check to make sure the front wing will still attach after the modifications.
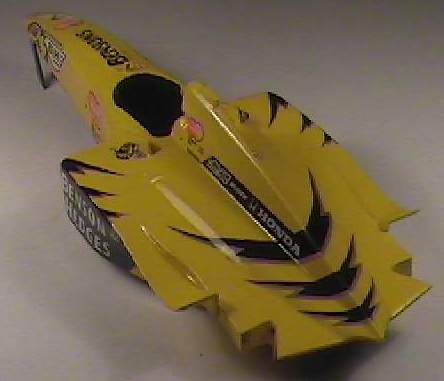
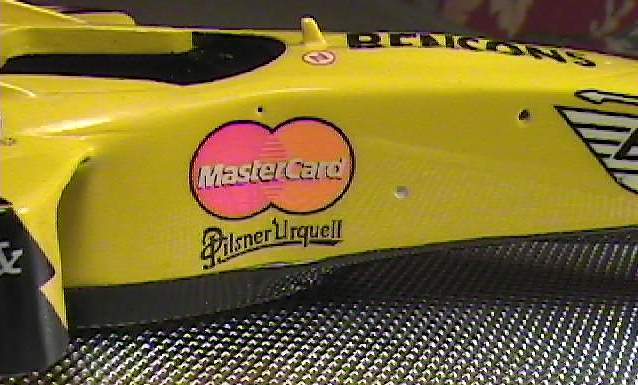
After a couple of coats of Model Master Acryl yellow the panel lines were quickly being filled. In hindsight these should have been deepened before painting. Panel lines were crisp. Just not deep enough. I did lose a panel line on the top front side of the body during the clean up process.
Another item I should have modified was the airbox inlet. In my opinion this was not deep enough and I should have altered it before I installed the white metal item.
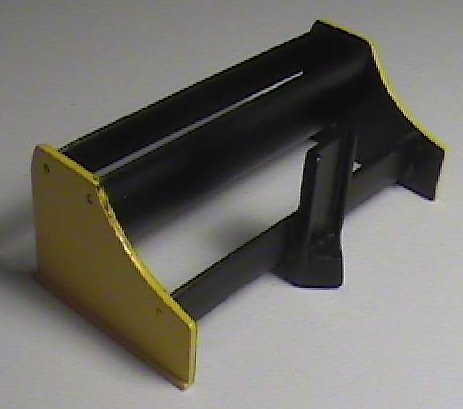
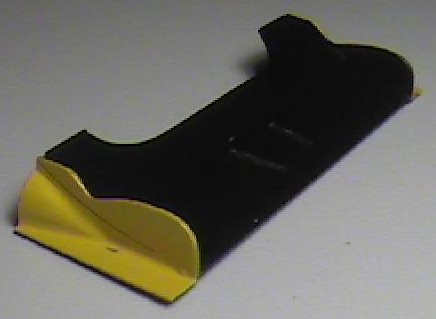
Floor
There are 5 screw holes for attaching the floor to the body. I used only three and filled in the two front side pod ones because they could be partially seen if you look at the model from the side.
At the rear where the tunnels are, there are two white metal pieces that complete the floor. As noted later on I installed this incorrectly and should have a step on the part. If this is not clear just make sure the resin transmission block can be installed with these white metal part installed.
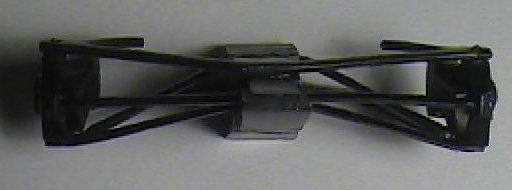
Suspension
Parts are white metal. The surface of these parts aren't very smooth and had to be worked slightly to get a nice finish before painting can begin.
Front Suspension
Even though I enlarged the mounting holes on the body I still should have test fitted the suspension before starting painting. I guess I assumed that the Modelers casting/ engineering would be Tamiya /Tameo like. Well I guess I deserve a slap up the head for ignoring one of the basic modelling rules.
Nothing really earth shattering but some minor fiddling was needed to get the front suspension to fit on.
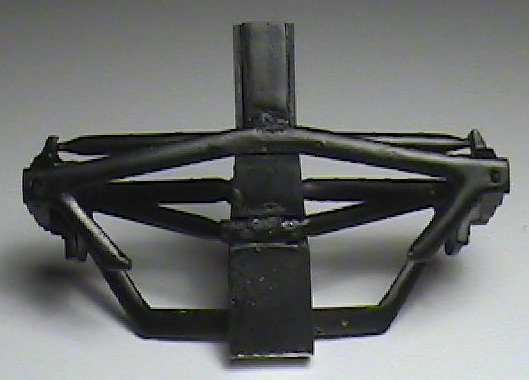
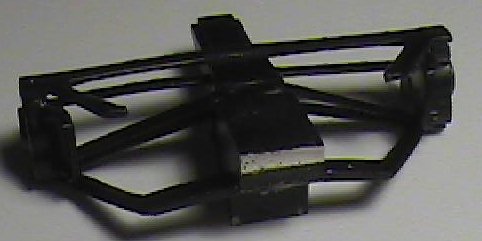
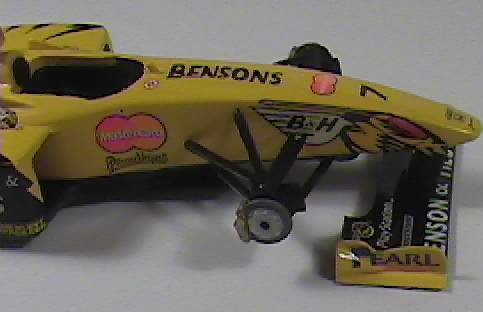
Rear Suspension
Well this was another story altogether. Here Modelers deserves a slap up the head for providing instructions that were very vague. Again I guess I was thinking Tamiya/ Tameo quality.
The rear suspension parts required quite a bit of work to finally come together. The instructions are just a starting point. Without any instructions the rule I followed was to get the wheel hubs to line up with the drive shafts from the resin plug that is supposed to be the transmission.
This will require you to bend almost every rear suspension member to get them to fit. If you don't bend any of the parts you will quickly realize that it isn't going to fit.
So after a bit of swearing, a lot of Ca glue and a spilled bottle of CA hardener I got the rear suspension together.
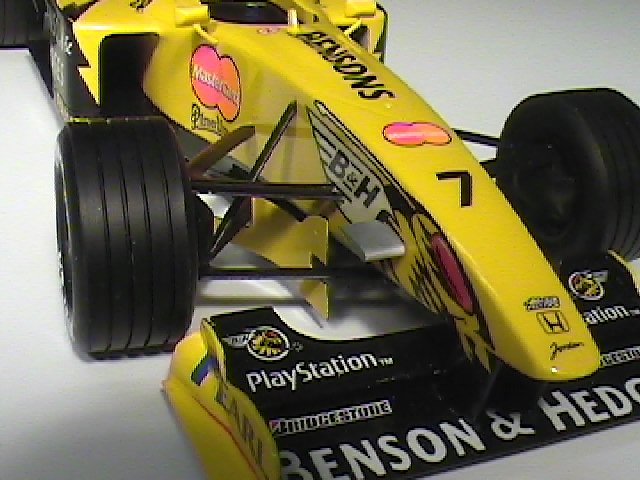
Front Wing
An all white metal affair. No major problems here. Surfaces are a bit rough and do need to be massaged to look better. Wing endplates are regulated to have a certain thickness so even though they look slightly out of scale they are relatively correct.
Assembly went together relatively well with no major problems. One has to check that the attachment to the body fine after modification to the wing uprights.
Only niggly point is the endplates outside surface is really rough and needs a bit of work since this will be a gloss yellow surface.
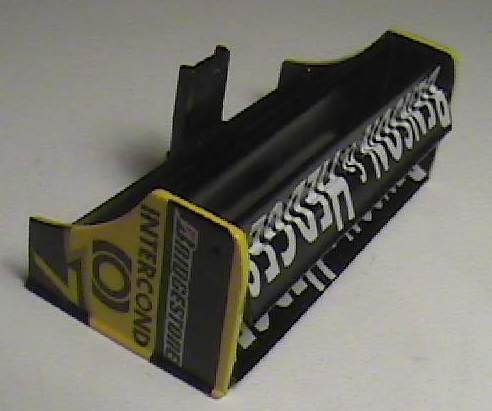
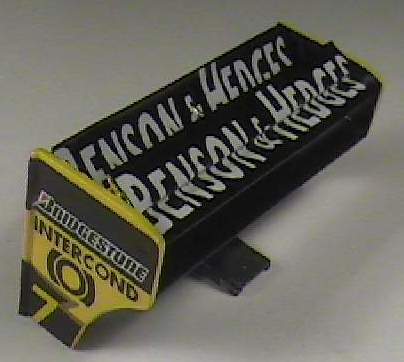
Rear Wing.
This assembly is also all white metal. Wing endplates are a bit thick and should be replaced with brass or styrene sheets. This was supposed to be an out of the box so I did not replace them.
Turning vanes (or Barn Doors)
These items are photo etched. Instructions are very vague about these parts and how to mount them. Some references show them to be bent while others look like they are straight. I bent mine slightly before painting. PE mounting points are also supplied. I found out too late that there are no holes provided in the body for mounting these items.
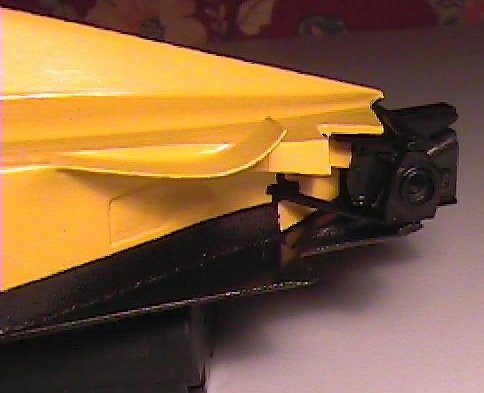
Mirrors
My samples were roughly cast and needed filler to smooth out. I replaced the kit mirror stems with brass rod. No mirror faces were given but this is not hard to scratch build.
Paint
I used Plasti-cote Sandable grey primer as a base for everything. I love this stuff, it goes on nicely and is very smooth and it is a lot cheaper than hobby stuff. I use this on all models (white metal, plastic, resin). It is a great sealer if you want to use lacquer paints.
Since the body was going to be yellow I painted a white base after the primer. Here I used lacquer paints. It dries quickly and is very hard so it can be polished out if needed. Next I painted the body with the Testors model Master Acryl line. I wasn't 100% crazy about accuracy so I eyeballed the colour.
Three coats were applied allowing a minimum of 5 hours between coats. The slight orange peel was slightly rubbed out with 600 grit paper. I didn't do a super job since I was going to apply a clear coat.
The floor, wheels, seat, steering wheel and suspension was painted with Krylon semi-gloss black over the prime coat. This was recommended by a friend and I must say I am very happy with the results so far.