First I have to say this model was a quick build. When I say quick I mean 3.5 hours. Yup you hear that right. It was a club meet project. We were at a member’s house who is well known for starting things and never finishing them. The challenge was to start and finish a model there. Of course the quality and finish will not be the best.
It sort of reminds me of when we were kids and just slapped the parts together. All I had was side cutters, a file and some fast acting solvent glue (similar to Tenax 7) I as in the local hobby store when I heard about the challenge so I bought this kit. Now I normally would not have bought any Revell 1:24 F1 kit but I figured it would be a good way to see how things have progressed. Also the cost was $28CDn which is way below the $45 that other kits used to be.
I so bought the kit and quickly went home to get some spray paint and my tools. Yes I was going to paint it also. I got a Krylon red and flat black. These were not hobby stuff but ones that were cheap.
So the first step was to glue as many body panels on as I could so I could paint the body red and leave it to dry while I work on everything else. This is the only time I wish the sprues were various colours like the body being red and the suspension parts black. Every sprue was white so I felt I had to paint it. A non-red Ferrari F1 car is just not right.
There are a lot of little winglets and stuff that have to be glued to the body. The fit was pretty good for most of the parts. I even popped in (not glued) the under nose section (No 29) so I could paint that at the same time.
The only body part I had a problem with fit is Parts 25 and 26 which are the side pieces that are glued to the main body. They were out by just under 1 mm at the front which is huge in 1:24. The main priority was to make sure the bottom parts would mate up to the undertray. There was no time to break the tabs and correctly position the parts. The little winglets are a bit chunky and can be thinned or replaced with something thinner for a more scale appearance. The shape of the body does look good.
As I was gluing the body parts I realized that I should also paint the majority of the rest of the parts flat black so I had to prepare those also.
The body (No 1) had these massive ejector pins on the underside where the side air intakes were. It was as if the ejector pins didn't deploy in the mould and left these ejector pins at least 0.5 inches long. They get in the way of the side air intakes I found later on.
I struggled a bit with Part 42 of the engine assembly. It is the part under the airbox and didn't positively drop into place between the cylinder heads. I had to fiddle a bit with it. The exhausts were OK. They could have been a more positive placement. There was a bit of play in there and any slight misalignment means the upper bodywork might not go on.
So all the body panels end plates were painted red and the rest flat black. Due to all the nooks and crannies of the body I had to put on a lot more paint then I wanted. Since I did not prime the paint was flowing a lot and pulled from the edges. No time for light mist coats and allowing them to dry I was on a deadline. Also the flat black did not dry thoroughly before I had to start handling the parts so the black did rub off in some places as I handled them. Rear suspension part No 47 can be installed backwards. Ask me how I know. This affects another suspension part No 49. Different pin sizes that they have in other locations would be nice here to make sure the parts go in correctly. No other issues I can think of for the engine and rear suspension.
Location of the instrument panel to the seat is not clearly defined. It looks like it goes further into the seat when looking at the arrows provided but it is installed at the end of the seat. Moulded n seat belt hardware. Good for the beginner but a pain for those who want to super detail the thing.
Step 11 shows you installing the engine and rear suspension into the upper body. Now the engine is not really needed as there is no way you can remove the rear body. Well you could but there is nothing else in there. No rear monocoque, radiators etc. The box art is a bit misleading them showing you a photo of the kit engine that will be hidden away.
Front suspension. Yes you can also install this backwards since the installation pins are not different sizes. Twice on the same model. In step 13 it is a bit tricky installing the suspension arms. It is even more trickier when the parts are not completely dry.
Front wing was no problem with fit but does suffer from being a bit thick. It would be a bit trickier replacing the kit parts with thinner stock.
The side pod internals were not bad but a bit chunky. I found the forward locating pin to not help so I cut them off to make installation easier. Here is where I ran into the ejector pin from hell. After trying to install the side pod internals and failing miserably I realized I had to cut the ejector pin marks off.
Rear parts of the undertray were no problem and fit well
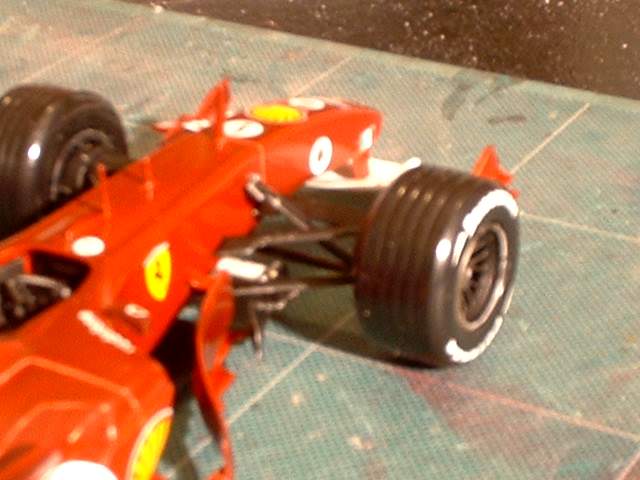
Now the wheels to the tires seem to be hit and miss. 2 went on beautifully while 2 just didn't want to go on right. I had no time to fiddle with the wheel or tire to get them to fit better. Wheel are just a press fit onto the car. Undertray and engine to bodywork was not bad. I had a bit of a fit problem at the very back. I probably could have forced it down into place and glued it but with the drying paint I left it. Assembling the rear wing was no problem but it was slightly out of alignment when viewed from the top. The fix would have required me to modify the locating indents on the endplates. The wing on the body was fine and lined up and all the other elements were lined up. Odd
The larger barn doors went on easily. The little ones were a pain to install.
The mirrors seemed small and too low. The mounting hole was also not positive as there was a bit of play in there.
The decals were first rate. For this build I didn't use any of the carbon fiber stuff so I can not comment on the fit of those parts but I would think they would be bang on.
Tires are very shiny and took the sidewall decals well. I didn’t have time to sand them down or dull the finish. All other decals were nice and opaque and went on well. The only problem location was the rear wing endplates. Decal setting solution would be needed there for sure due to some bumps that the decal has to conform over. No tobacco marking of course.
Conclusion
A simple curbside model. Forget painting the engine. Quality was not too bad. It is a better value then before when it costed $45CDN each but I consider it still a bit high priced.
The chunky parts distract from the finished product. Beautiful decals. A couple of fit problems but nothing that a modeler could not fix. More positive location of some parts could be better. Some wing endplates are complex shapes so replacing them with thinner items will not be easy. Barn doors could be replaced with flatter items also. Tires seem to be hit and miss.
I would consider this a beginner type kit. It would take quite a bit of work to improve this model.
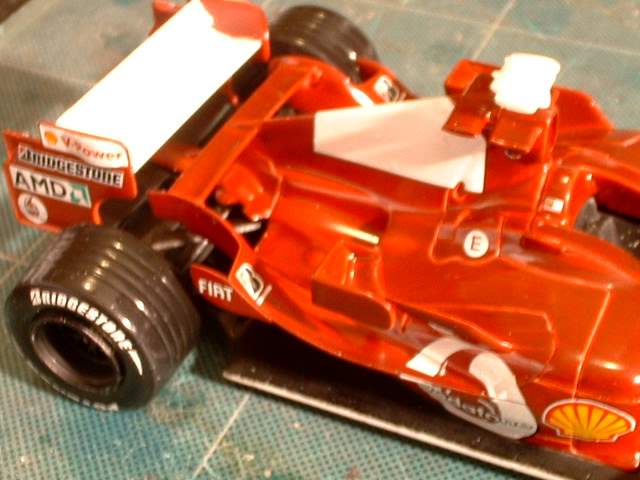
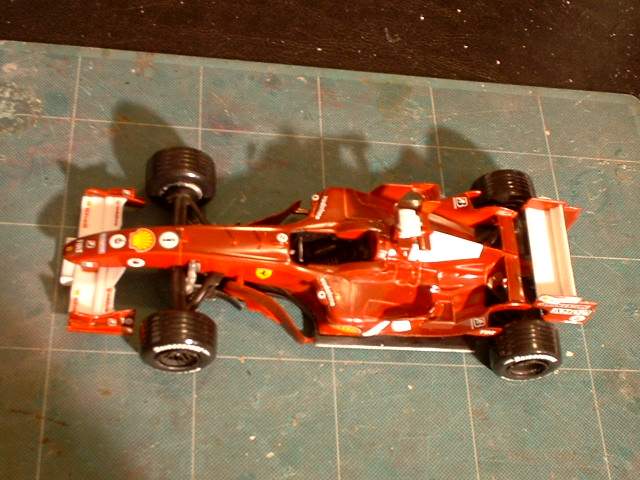
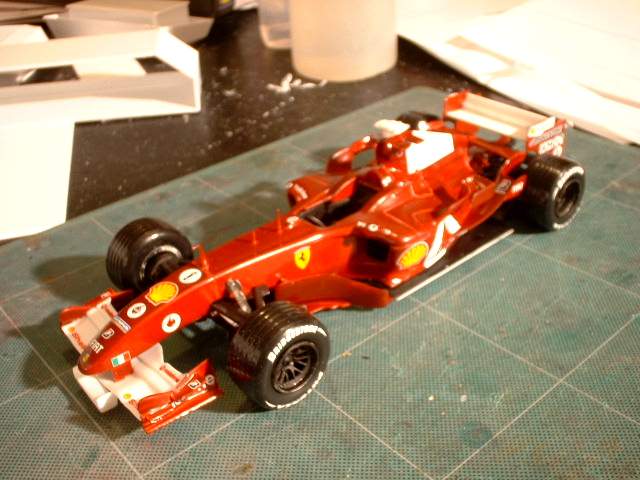 f0501.jpg Not bad for 3.5 hours. The paoint is a bit dark as the paint cap was a lot brighter |
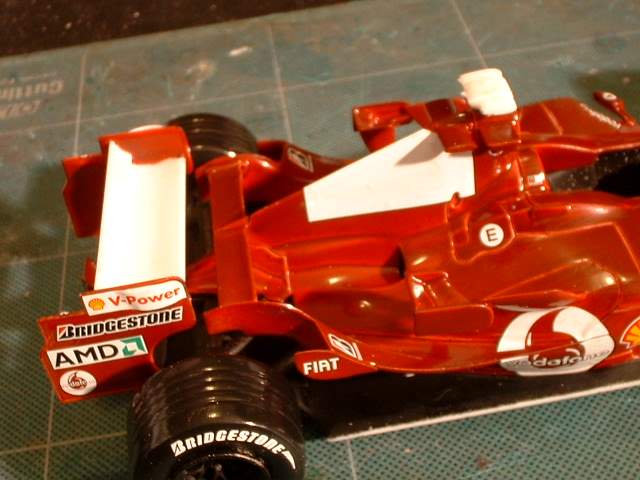
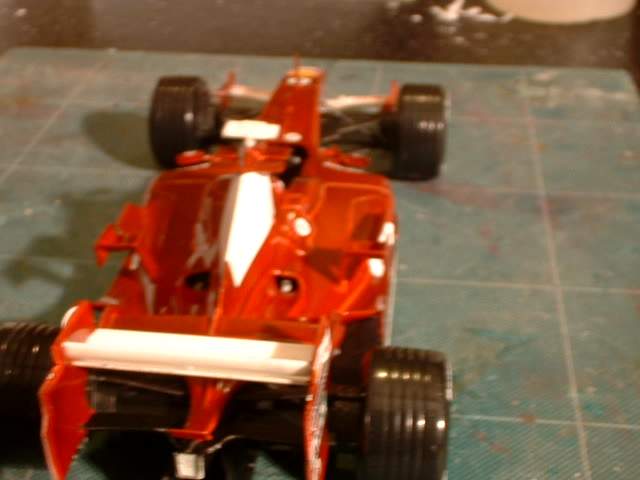
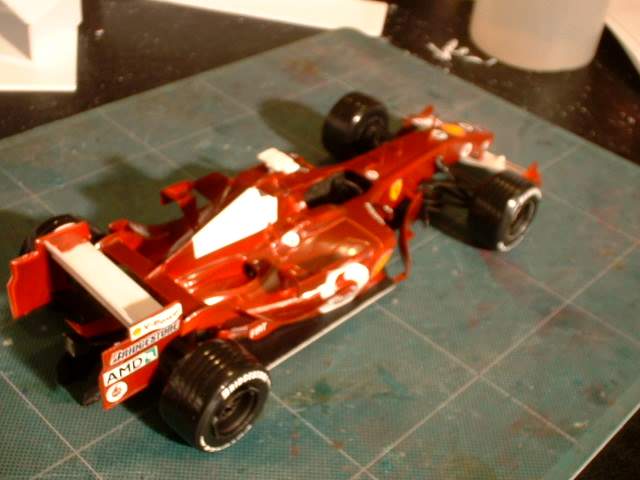 f0502.jpg Um sorry for the fuzzy pics |
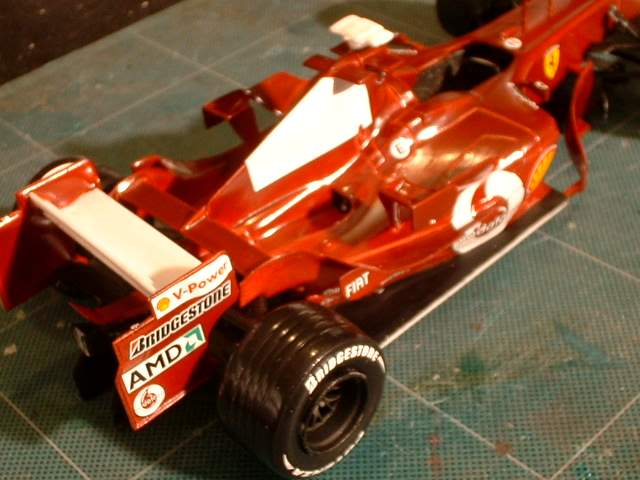
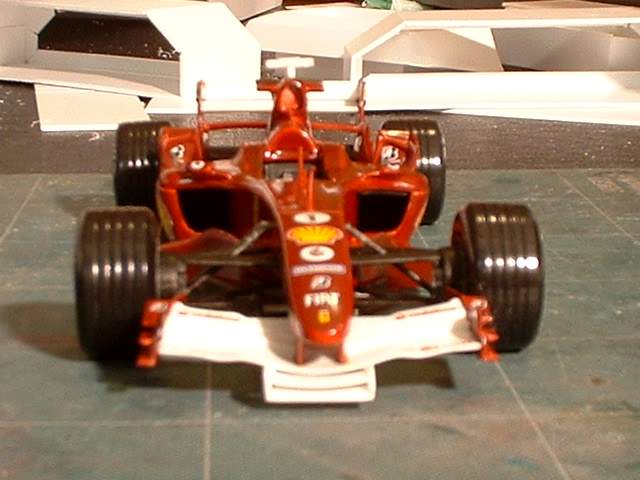
 f0503.jpg |
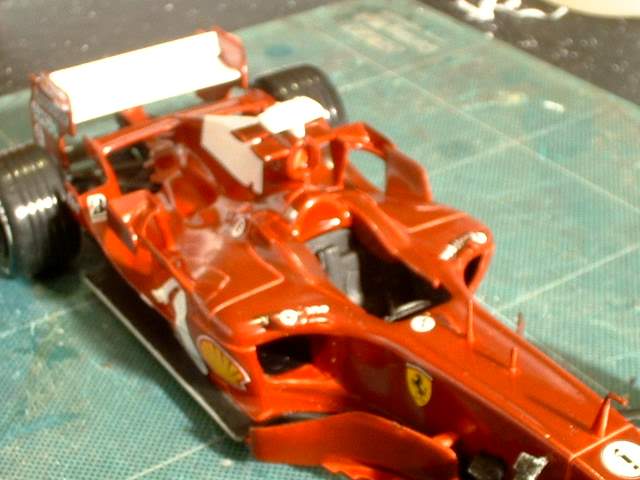
 f0504.jpg Super shiny tires with soft detail. On the plus side the decals went on well. |
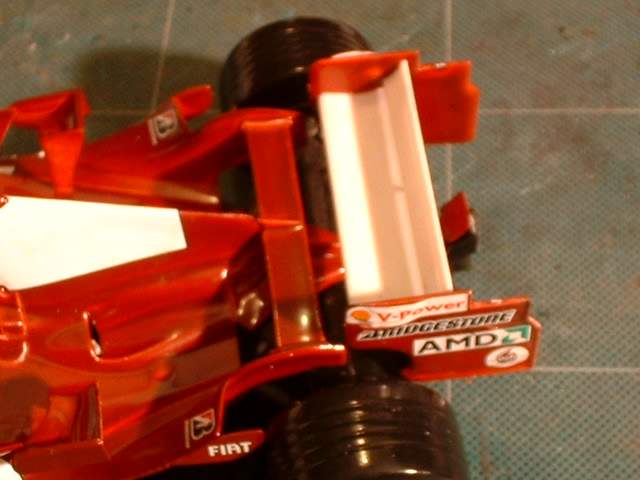
 f0505.jpg Chunky barn doors |
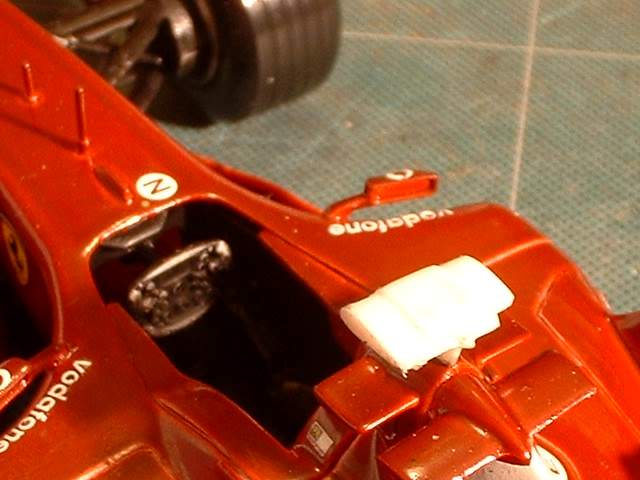
 f0506.jpg Vodafone decals do not cover completely. Painted pulled from panel lines since it was all painted in one heavy coat. |
 f0507.jpg Lots of littel winglets all over the place. |
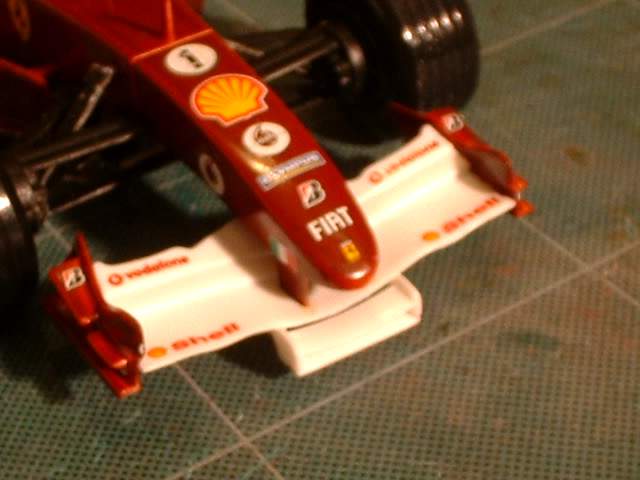
 f0508.jpg No Marlboro decals provided. Look for aftermarket items |
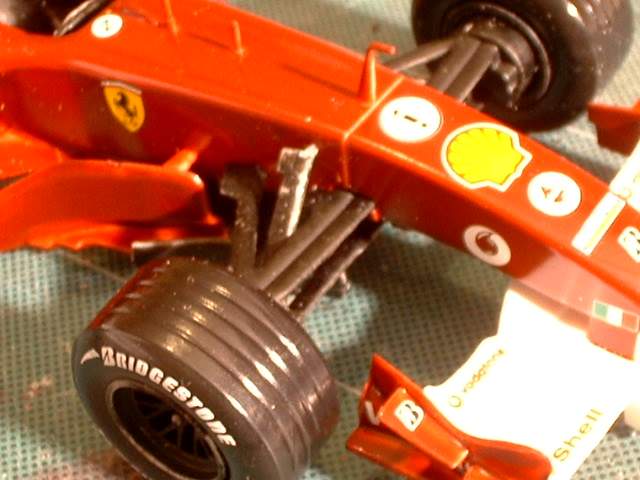
 f0509.jpg If you look just above the Shell logo on the side pod you will see the fit problem of the lower side part with the upper body part |
 f0510.jpg |
 f0511.jpg Chunky wing end plates |
 f0512.jpg |
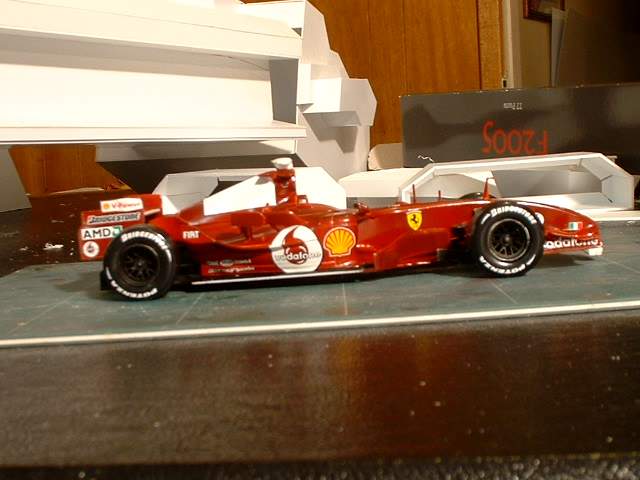
 f0513.jpg Not too bad looking |
 f0514.jpg |
 f0515.jpg |
 f0516.jpg Slight wheel/tire fit problems |
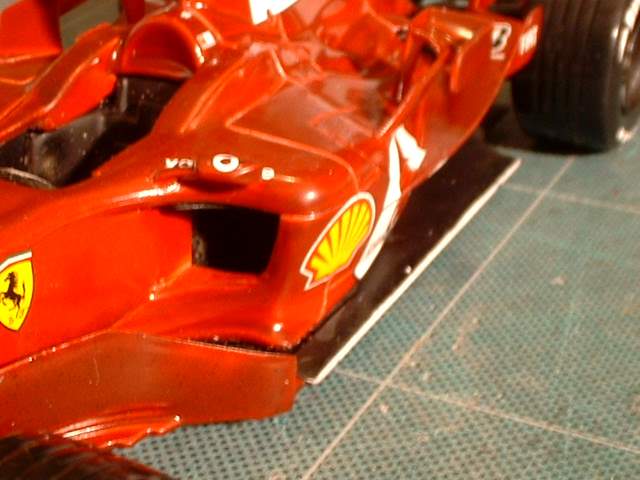 f0517.jpg Again above the shell logo is the slight fit problem |
 f0518.jpg The air scoop and area around the drivers head is multi piece item but actually turns out nice. |
 f0519.jpg hard to see here but the rear wing is slightly out |
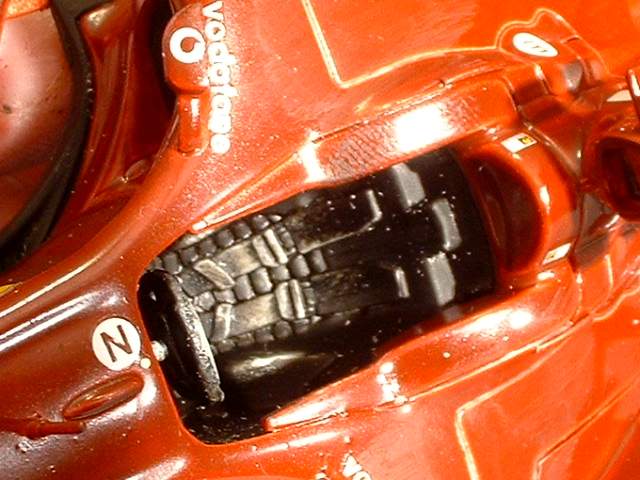 f0520.jpg Moulded in seat belt hardware and a fingerprint |
 f0521.jpg Windscreen not installed and the side mirrors that I thought didn't look right. I also forgot to paint the camera red. |