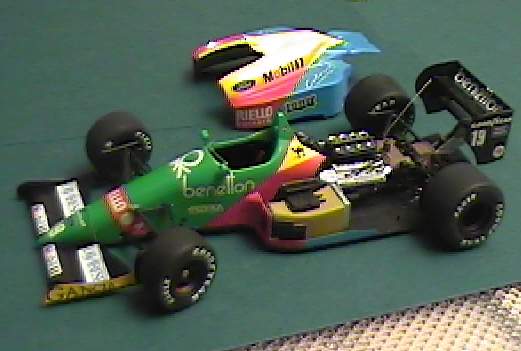
Tamiya 1:20 Benneton B188 Kit No 20021
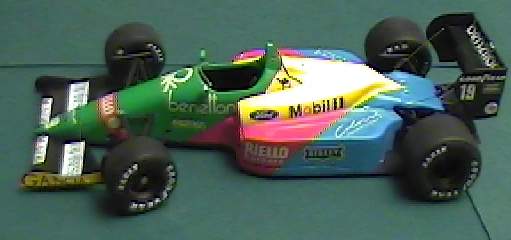
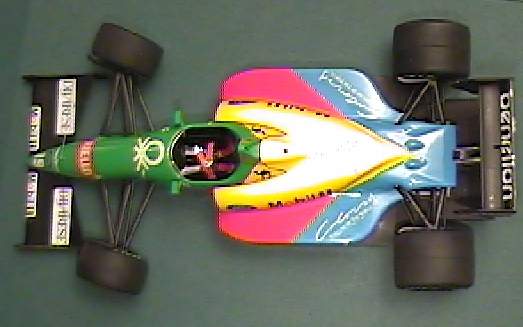
This is the 1988 Benneton F1 car driven by Nannini and Boutsen. It never won a race as 1988 was the year that McLaren with Senna and prost won almost everything.
This kit is being built out of the box and is part of a model build off. A couple of friends and myself wanted to have an incentive to build and complete some models quickly so we picked this kit and set a deadline of the end of February 2000. We chose an F1 subject that was a current available kit and one that we knew we weren't going to superdetail. This rules out most of the Ferrari and McLaren kits.
When done they will be displayed at local hobby stores. Hopefully this will encourage more modellers to build F1 subjects.
Problems
1. Front suspension is assembled with a obvious seam line in the body that would be hard to cover if the instructions were followed.
2. The fit of the front and rear bodywork needed some filing at the right sidepod. You will have to test fit these items before and after painting.
Paints
I used the Tamiya recommendations for the body. For all the semi-gloss black parts I used Krylon semi-gloss black. The engine was painted with a mixture of Tamiya and Testors Metalizer paints.
Notes:
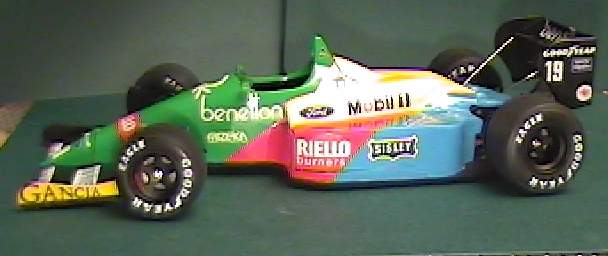
1. This multi-coloured paint scheme is not the easiest to mask and get sharp lines. I used Tamiya tape and bare metal foil but there was a bit of paint seepage . I painted from light to dark colours with a white coat before the next colour. There are light separation lines in the body to aid painting but they can quickly be covered up with the first coat of paint
2. I didn't check references thoroughly so I can not confirm that the wings and brake cooling ducts were make from carbon fiber kevlar. Box art is no help.
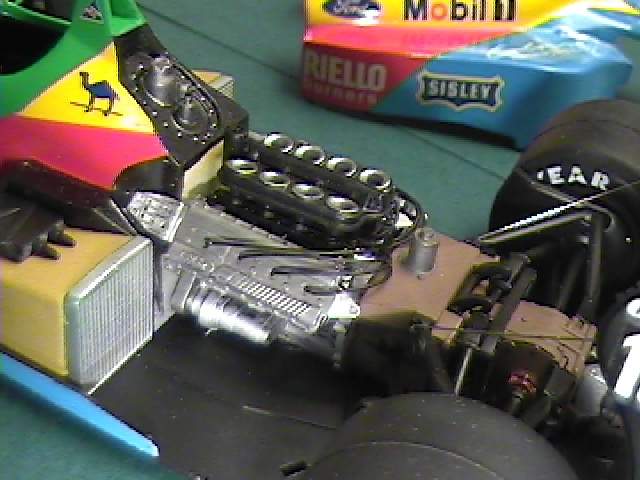
3. There is quite a bit of detail painting that has to be done in the engine area.
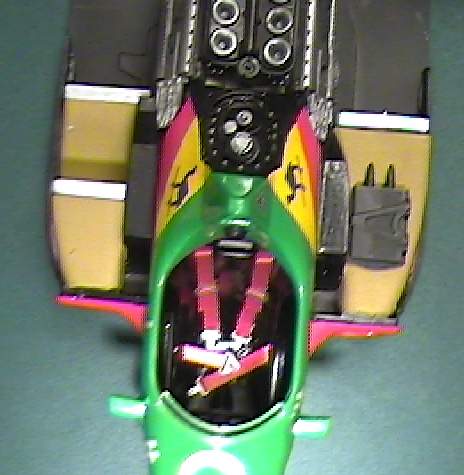
4. The seat belts are moulded into the seats.
Here are the engine halves glued together.

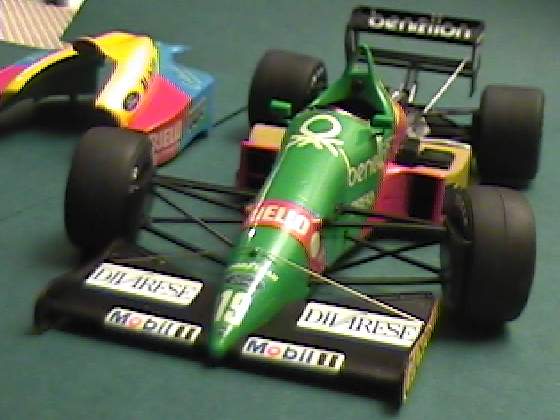
The front body work after painting

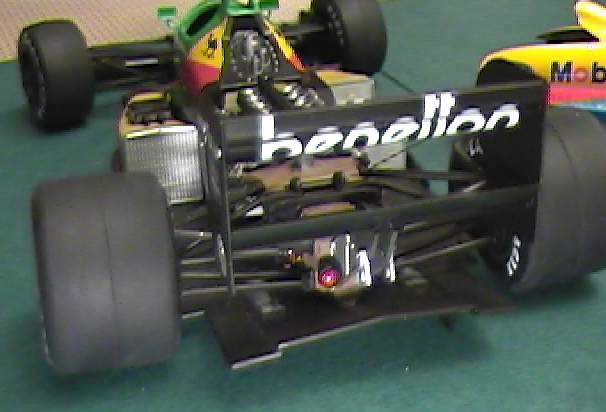
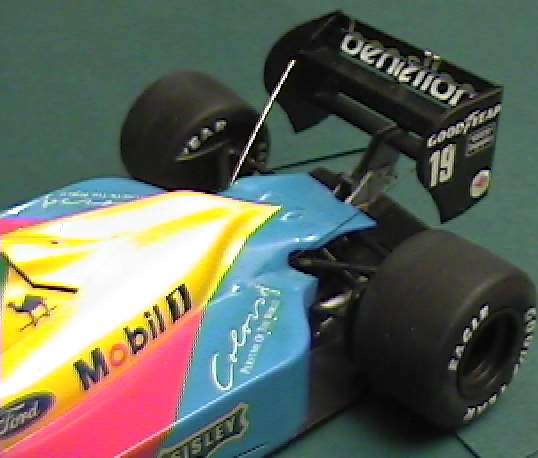
The rear bodywork after painting

Close up of one of the engine covers

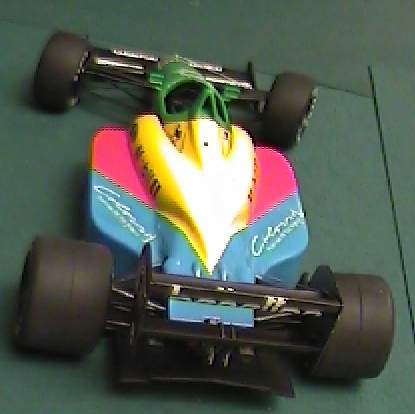
The underside of the front nose with the extra styrene suppose structure for mounting the front suspension later.

The modified suspension parts that will go into the mounting holes near the end of assembly

The two body parts test fitted together.
Click on the pictures below to enlarge. Use the back in frame button to return here.
The Kit
I didn't have too many problems with the multi-coloured paint job. Problems started when I tried using the Testors Acryl clear. After a couple of coats it started to yellow some of the white decals. Then it yellowed slightly in a couple of places. It also cracked one of the decals that had white in it. Without a second decal sheet there wasn't much I could do but live with it.
I placed an after-market seatbelt harness over the existing kit one. This was ribbon I got from a sewing store and PE hardware from Modellers. I prefer this PE hardware over the PE set that is the hardware and the belt material.
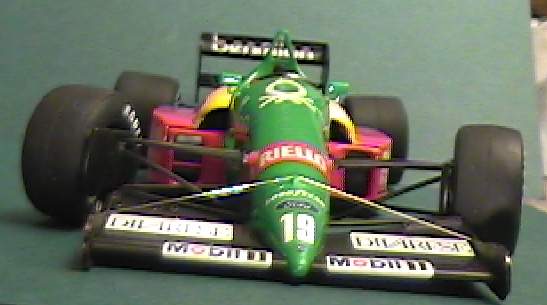
There were some fine hard wires included in the kit for the nose and rear wing. These are supports that were needed on the rear car to prevent flexing of the wings. These are very hard and can be cut with a Dremel tool and cutoff wheel. Trying to use a cutter may damage them. I use some fine pliers to bend the wire to shape.
The wheels and tires are installed with a screw into a polycap. This allows them to rotate but is completely out of scale. Newer kits have a different system that looks more to scale. You would have to replace the kit item with something scratch-built to fix this problem.
The kit includes some wiring but it is obvious that the little electrical boxes should also be wired as they just sit there.
Tamiya were also not as accurate with their paint chart. Check references for correct colours of the engine and sidepods. When this kit was designed they were no CF decals or widespread use of bare metal foil. These new tools will greatly enhance the look of your model if you decide to use them.
I painted the body entirely with Tamiya acrylics. With enough drying time and a good clear coat the model should look excellent.
With no additional engine wiring added the area looks absolutely bleak. Th box art has a couple of pictures that show how busy the area is. Unfortunately you will need more references to plumb and wire this model.
I didn't use the kit supplied tire logos but used a PE stencil to airbrush the Goodyear logos on. I did not sand the tires but left the seam line on the tire to represent a brand new tire.
The rear bodywork installs with two alignment pins in the front and some hooked insets in the back. This does a nice job of holding the body down. I had problems with the front pins. The paint on the part made the pins too large for the holes and they broke off.
I built two of these kits at the same time and I had the same problems with the wheels on both of them. Out of the box the rear wheels have massive camber in. brute force helped fix this a bit. The front wheels have terrible toe in. It appears to have something to do with the steering rod being too short. It is for this reason that I posed the car with the front wheels turning. If I built only one kit I would think this is only a mistake by me but for two kits I find it odd.
Conclusion
A nice looking kit for it's age. A very unique looking car. Fit of parts was fairly good except for the wheel problems. With some references you can do a bang up job of super-detailing this kit.