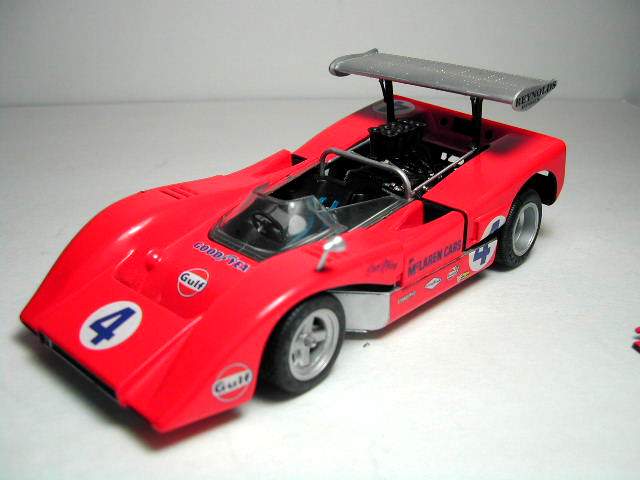
Overall shot of the car almost done

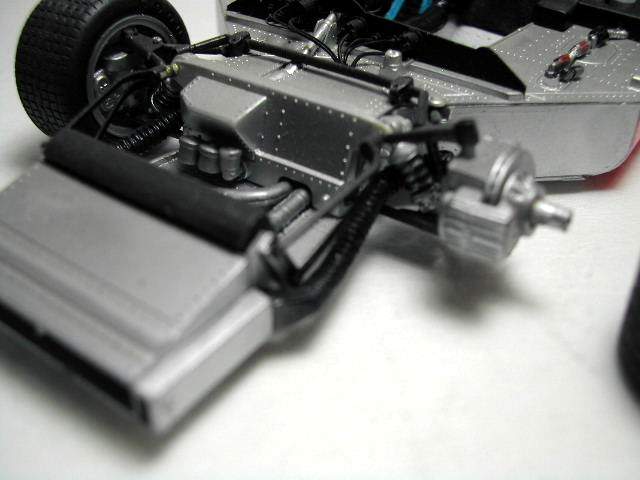
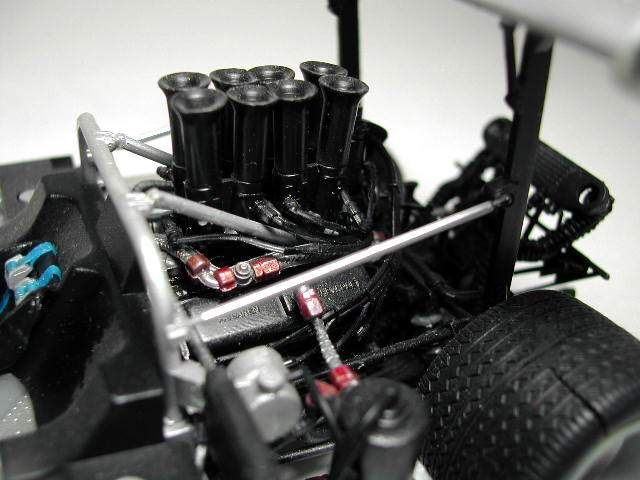
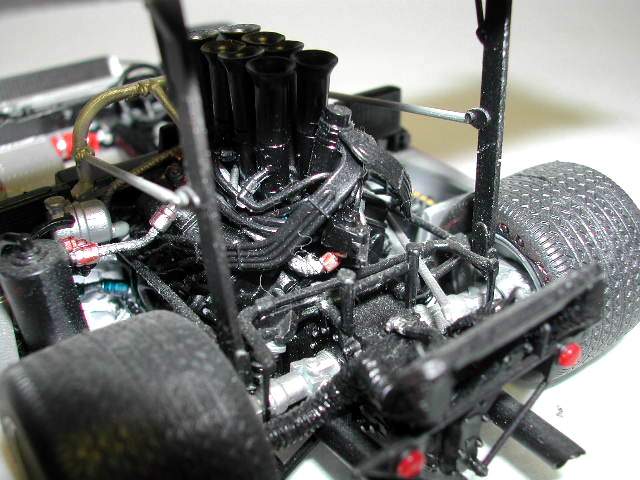
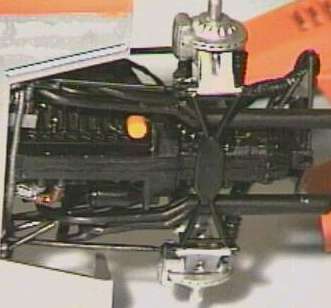
Close up of the engine. Brightness of the picture increased so you can see contrast between the black parts.

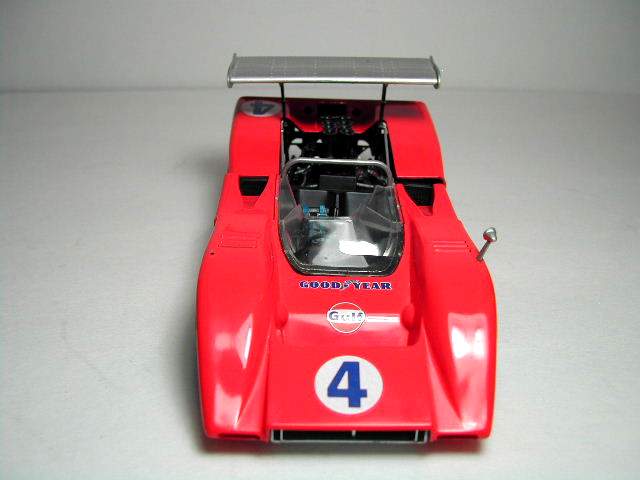
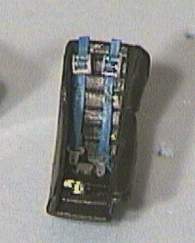
Fornt view of the almost completed model. Seat, stereing wheel and seat back not installed yet.

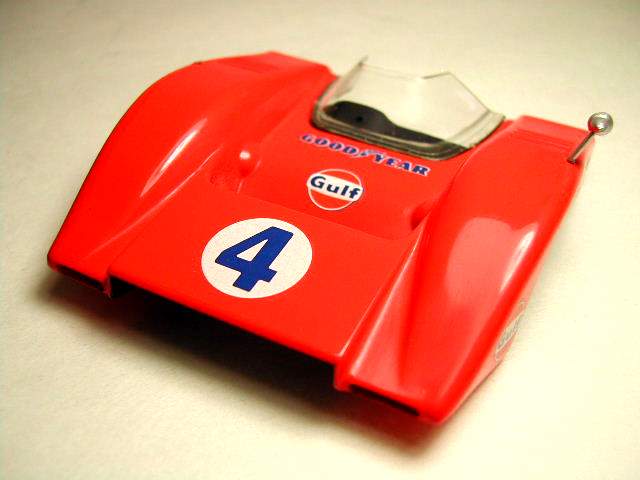
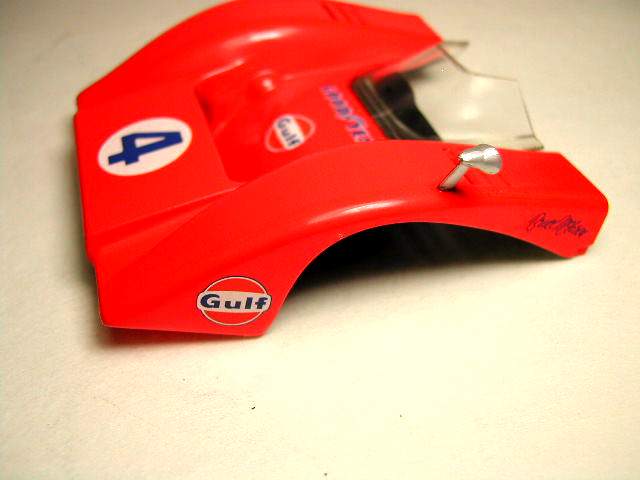
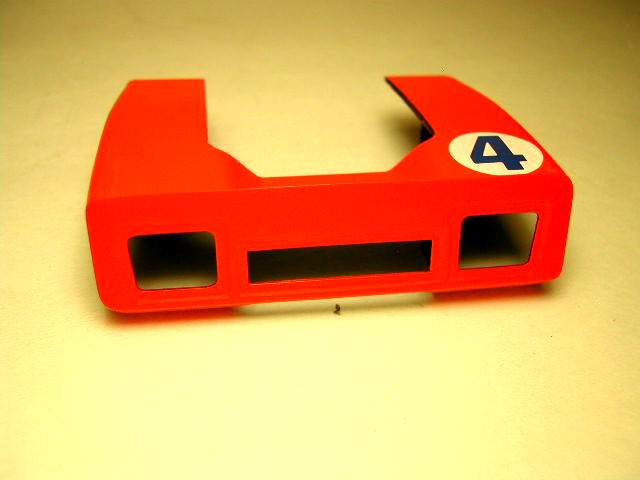
Front of car
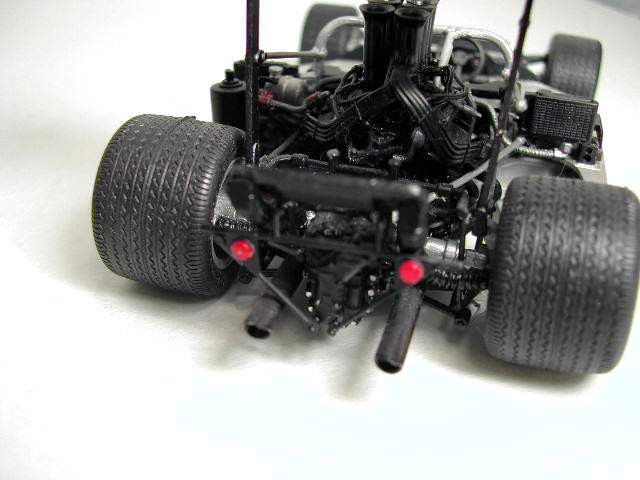
Bottom of engine. There is a seam line down the middle because I thought this was going to be covered in the finished model. The orange thing is the oil filter. You can see the lower engine brace glued to the exhaust pipe.

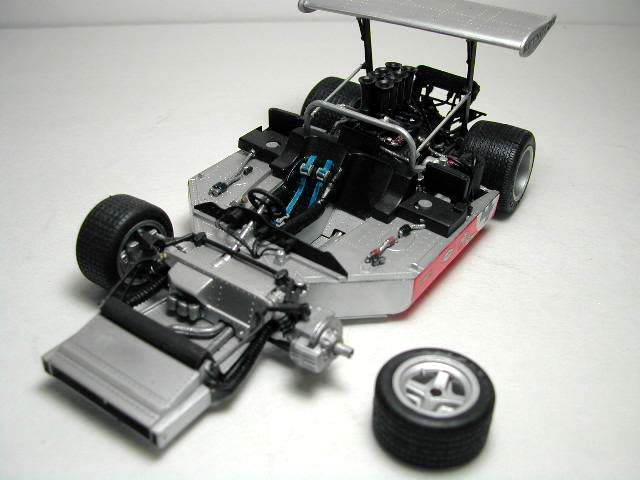
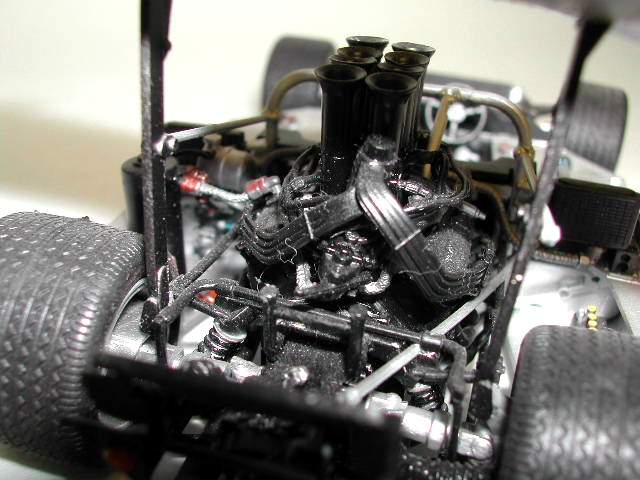
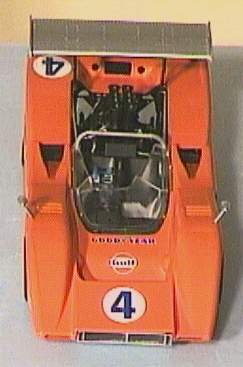
Finished model. I decided to leave the bodywork off above the engine to show the wiring. With the wing on this body panel will not go on
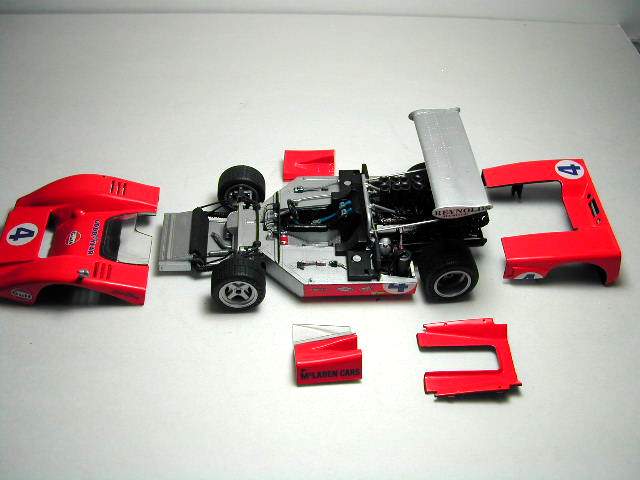
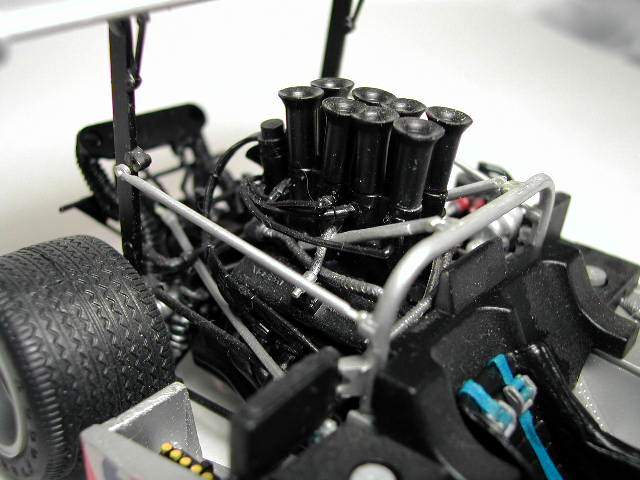
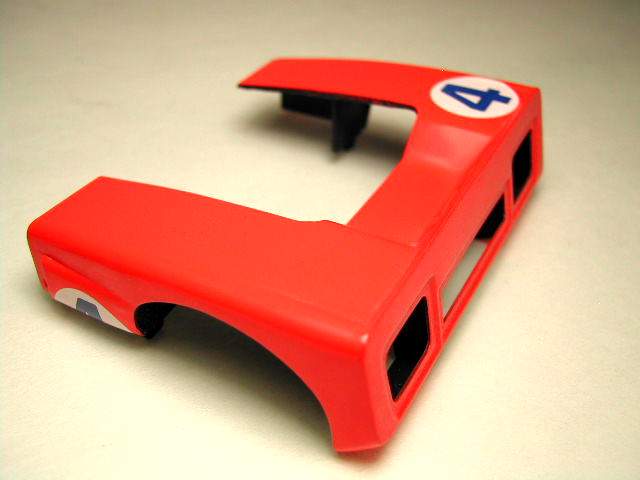
Front view with 4 of the 5 body panels on

Built out of box.
Plastic, rubber, Vinyl, Decals, Clear plastic $47Cdn
This is the much anticipated Accurate Miniature car that we have been all waiting for. Accurate miniatures is well know for their excellent aircraft. Their first automotive subject is the Corvette Grand Sport. There has been mixed reviews there but I can not comment since I haven't built it yet.
Instructions
These are very thorough and detailed. They are intimidating and do caution you that this is not a simple kit. Don't try and follow the diagrams like I did or you will sometimes build out of sequence.
Step 1
No problems here. Part G144 does eventually hook up somewhere. I started to wonder if they forgot about them.
Step 2
This step was the worst for me for the entire kit. Unfortunately the experience here sort of soured my taste for the rest of the build. I spent over an hour trying to get this assembly to work. I first tried it following the instructions but I could never get the pipes on. I then tried to install the pipes first then the engine supports but this was a no go. The third time I tried to install the entire assembly as one with no luck. The final solution for me was to cut the bottom support in half. The top engine brace was installed then the pipes. Then the front half of the brace was glued to the bulkhead and wherever it touched the exhaust pipes.
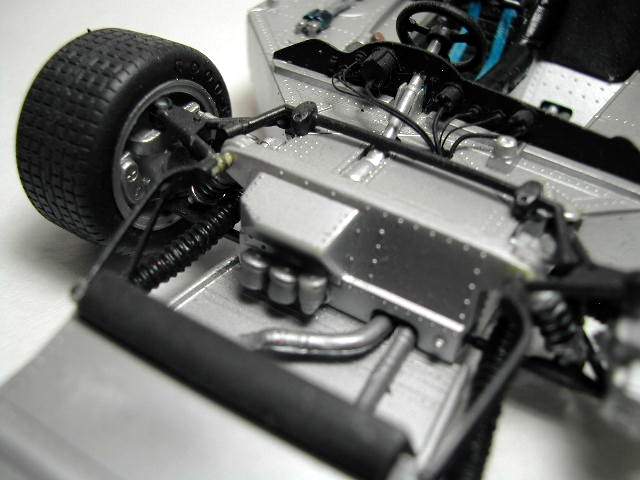
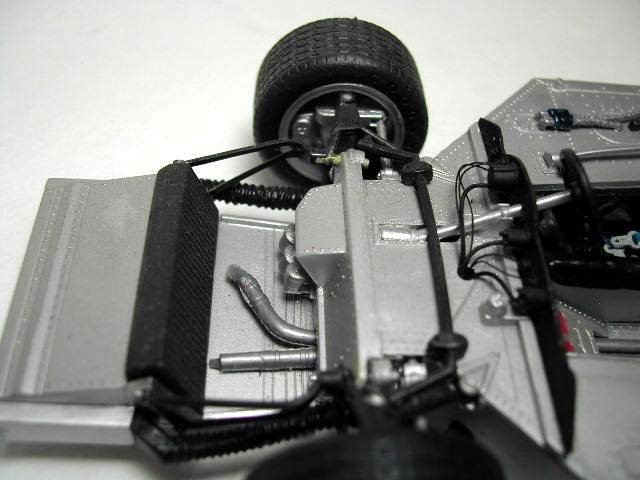
The locating pins for the exhaust pipes to the engine block was not positive. It took several tried and a bit of head scratching before I got it where it looks good. Viewing the engine from below helps position the pipes so that both sides line up. Do not angle the exhaust pipes too far out or they will interfere with the suspension later on.
Step 3
There seemed to be quite a bit of flash for a new tool. The half shafts and disc brakes look beautiful. Front and rear disc brakes are supposed to be able to rotate freely. The rear ones were a bit loose so I glued them to the upright. The front ones assembled very well
Step 4 & 5
If you can, install Parts H161, H157, G141 and G142(from step 6) onto B28 + D65 before installing the B28 assembly.
Step 6
Alignment pins for injector stacks not positive so make sure they line up. Check references to make sure you get the angles of these stacks correct.
Step 7 & 8
No problems
Step 9
Radiator hoses too short. Cut them were they wont be seen and move them forward so they connect up with the radiator.
Step 10 - 12
No major problems
Step 13
Patience when gluing the top of the tub on. Any gap will be very visible and look bad.
Step 14
D70 & D71 can be a bit fiddle when trying to sandwich the parts B24 and B25 into part D68. Do not force these parts or they may beak. One of the holes in part D68 was a bit small and had to be opened up.
Step 15 - 17
Step 18
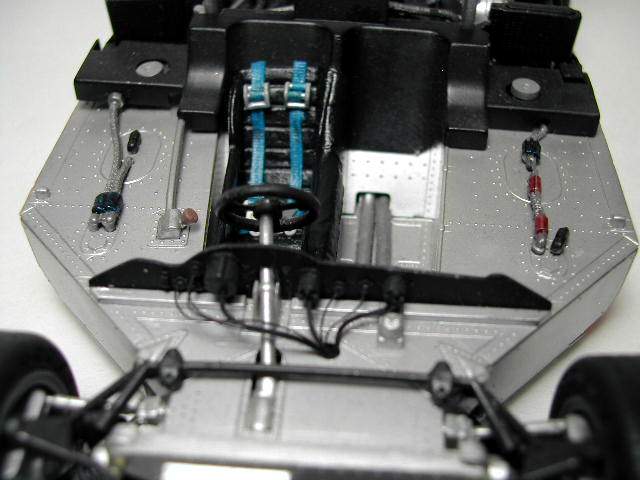
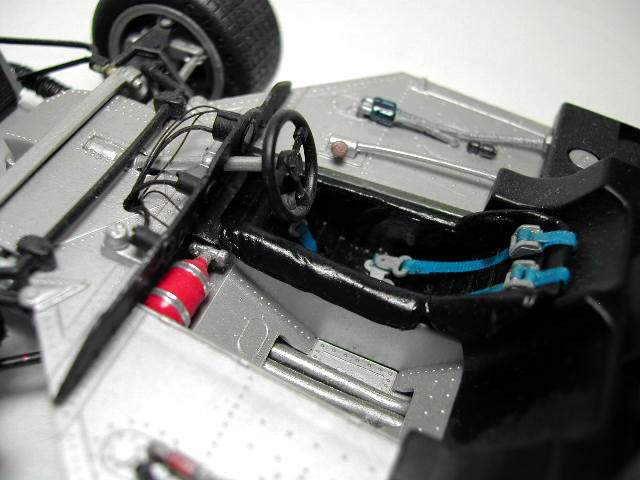
The kit does not include any wiring going from the instruments into the car. Since this is very obvious it is advised to add your own wiring. Any will do and it would look 100% better.
Step 19-20
No Problems
Step 21
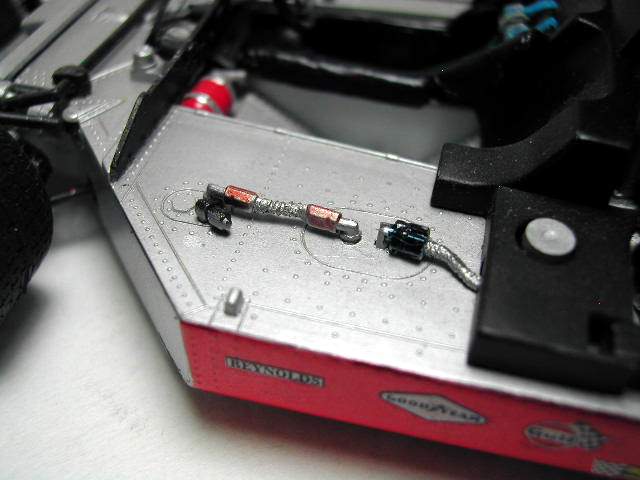
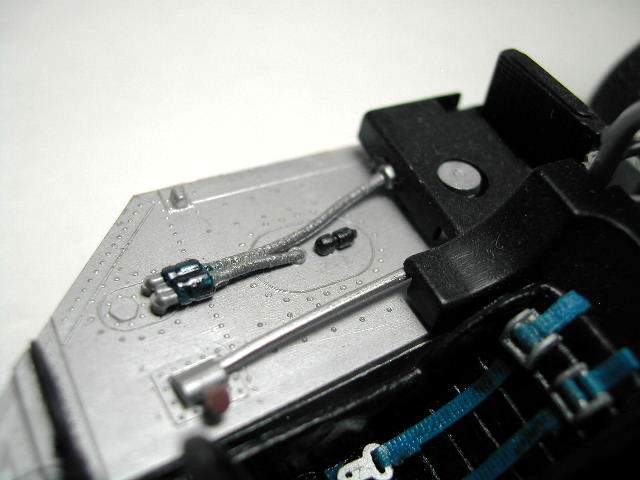
Those rear brake cooling hoses (parts G138 & G139) didn't want to stick to the bracket D69.
Step 22
No problems but boy is this plastic translucent. A coat of flat black inside can be seen on the outside of the car body.
Step 23
The lugs inside the wheels (Parts F124 and F125) sure are heavy. Care has to be taken removing these so you don't damage the rest of the wheel.
Decals
These items went on very well. I used Micro Sol on a couple of decals that went over curves. The Decals were very sensitive to the decal solution and it wouldn't take much to destroy them. Be careful here.
Seat Belts
The kit supplied seatbelt hardware is very nice for styrene. It is great that AM included the belt material. This stuff looks very good. With a little work the seatbelts and hardware can look really sharp.
My vinyl seat was bent out of shape. Hot water and pulling did nothing to straighten in out.
Paint
I used Testor Orange 1127 paint from those little glass bottles. I have never seen the cars live so I can not comment on the accuracy of this colour.
Conclusion
Step 2 turned me off of the kit for the longest time. Initially I would have given a negative review but with some time to reflect I would say this kit is very good. Kudos to Accurate Miniatures for trying something different with the great instructions and the vinyl. Besides the exhaust pipes and the engine brackets the rest of the kit fit fairly well.
I am not sure if it would increase the cost much or at all but I would recommend also including the AN fittings in plastic. This way the modeller could construct the model several ways.
1. use the vinyl as is
2. use the plastic AN fittings and cut the Vinyl AN fittings off and use these hoses.
3. Use the plastic AN fittings and aftermarket hoses.
Recommended for experienced modellers only. The small thin parts can be frustrating to assemble. I think the price is a bit high but maybe the reason for this is it isn't my favourite subject (F1 cars). I believe the MSRP here is $55CDN. I paid $47CDN + taxes.
For those who love Can-Am cars it is a bargain and you should buy them by the caseload.
Photos added Dec 26 2010