Revell 1:24 Ferrari 458
July 29 2014
This was to be a quick out of the box build of the Revell 1:24 Ferrari 458. I was not planning on purchasing any more 1:24 kits as my pile is quite large and I have not been impressed with the new Ferraris coming out. However a friend purchased this kits and showed it to me at a club meeting and I was impressed with the quality of the body and parts. Unfortunately this kit was recently discontinued so the price of them is starting to go up. This model was finished in about 2 weeks so parts of the build process was not photographed.
The box art is not too bad looking
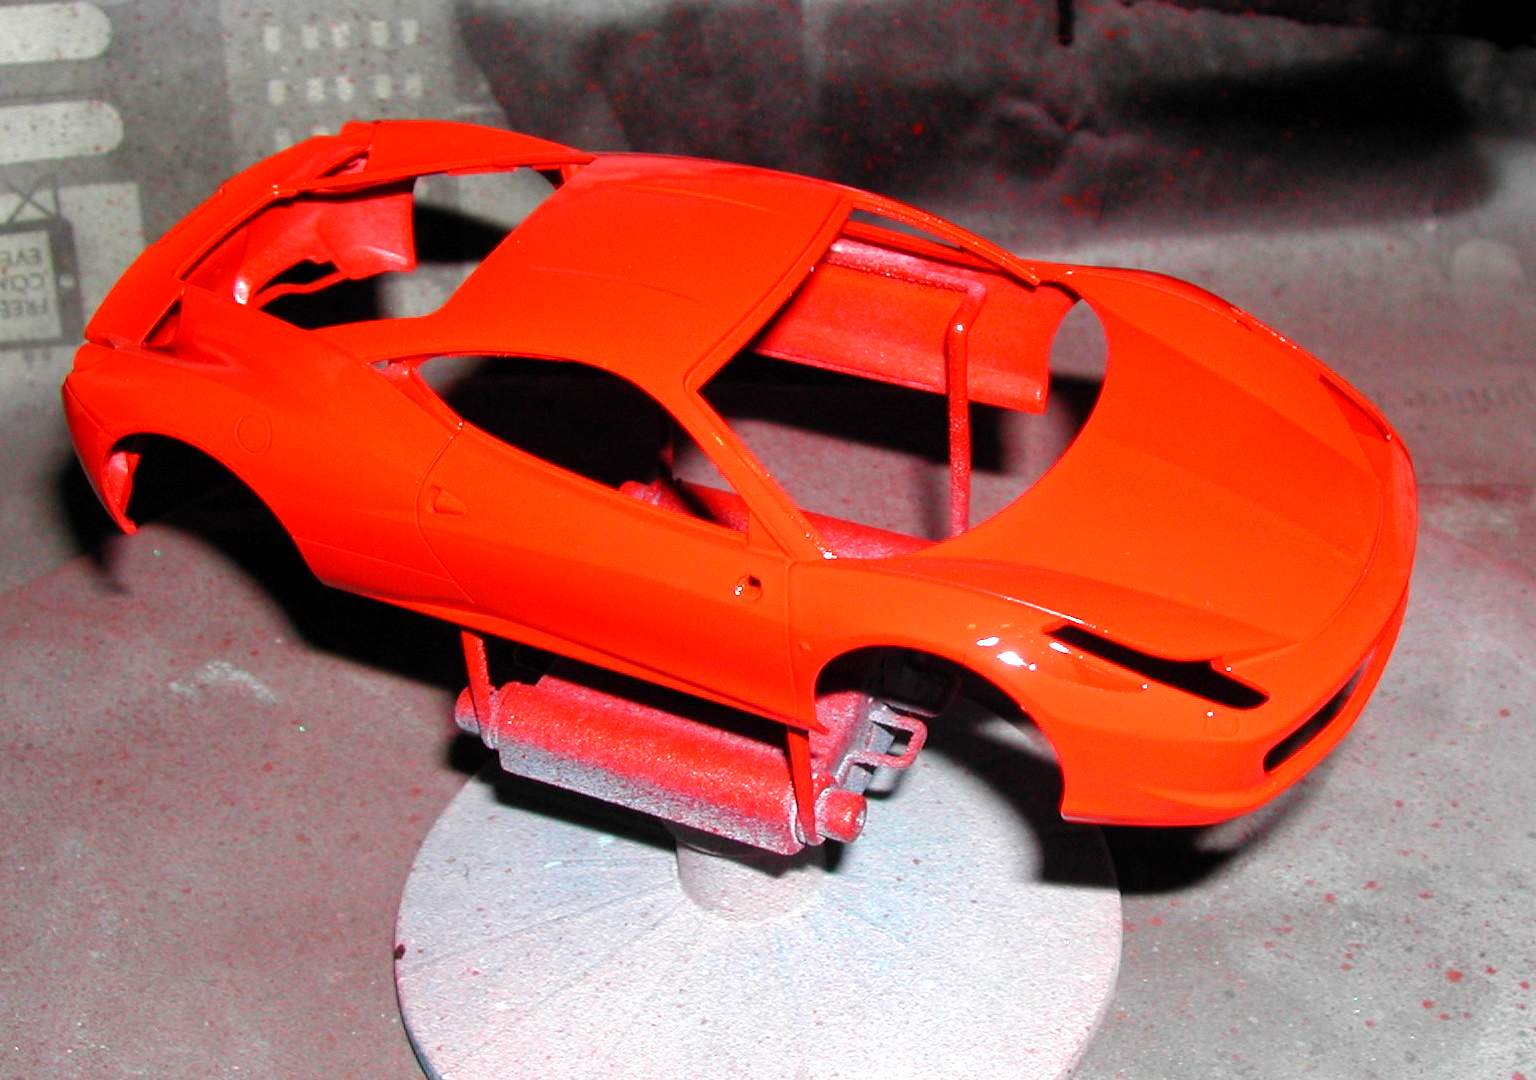
In person the body shape looks very good. It was primed with PlastiKote grey sandable primer. A quick sand with 600 grit sandpaper to smooth out the primer before several coats of Tamiya Bright Red TS49 was sprayed. I thought the red would be too bright but spraying over the light grey primer produced a result I was happy with. The photos make it look brighter then it is in real life.

The seats were 3 piece items that was glued together and sprayed Tamiya acrylic Tan. The front was taped off so I could spray the back black. Of course most of this will not be seen on the finished model.
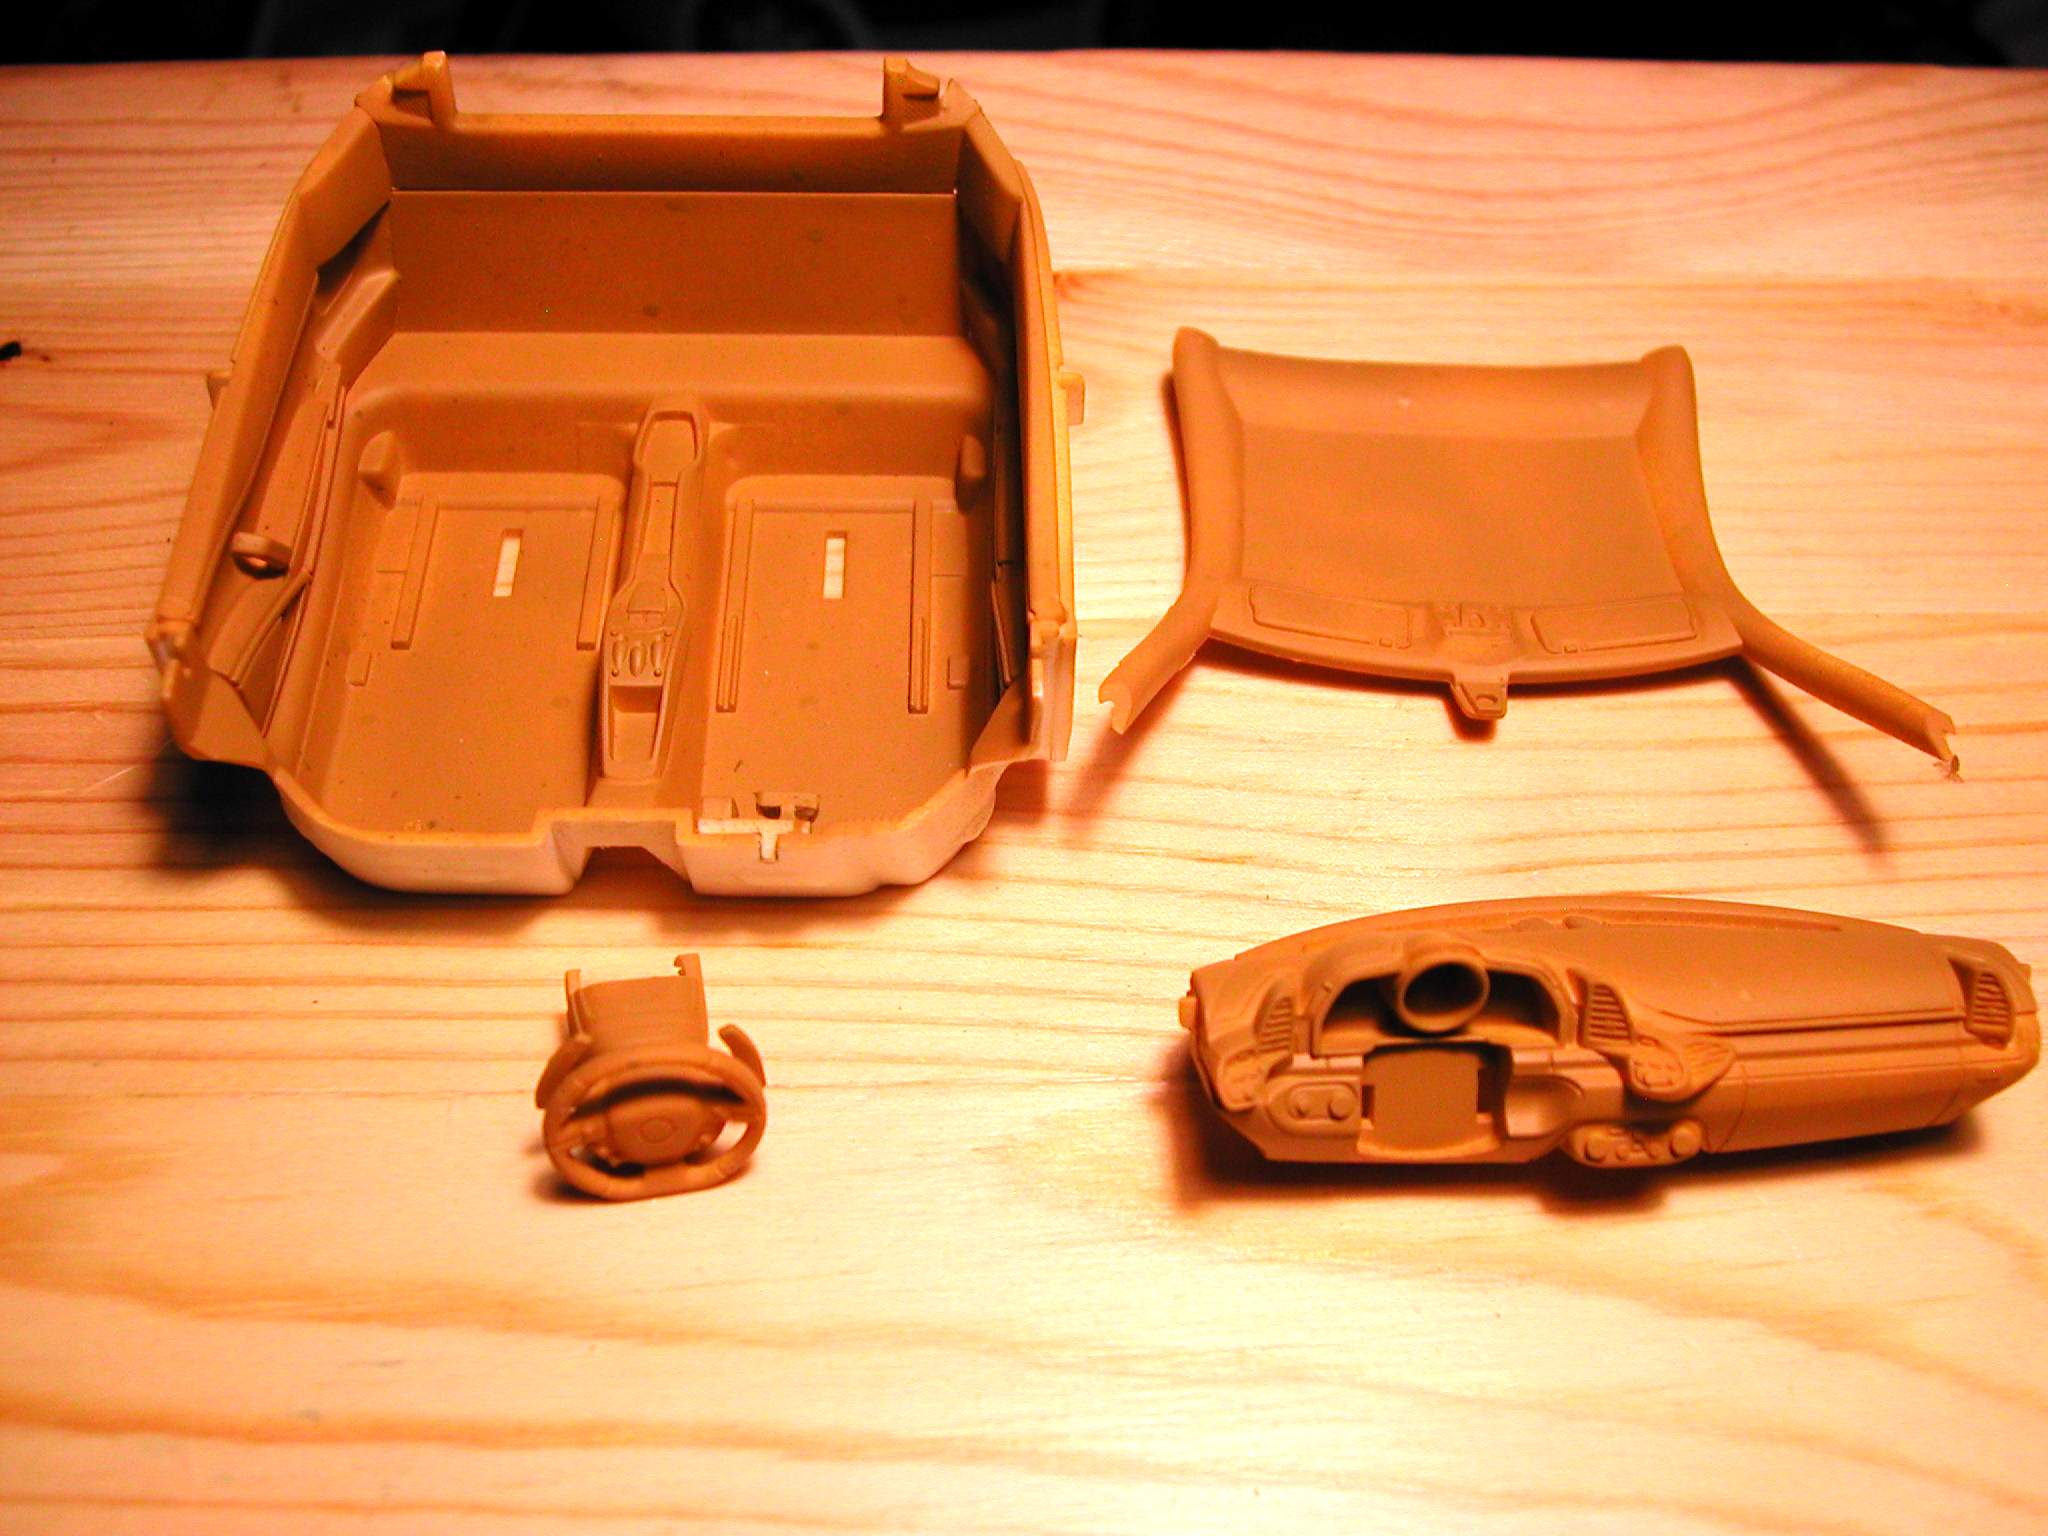
Here is the interior pieces sprayed Tan before I went in and picked out detail in black and before the decals were installed. There were several choices of decals for the instrument panel. The ones I chose went on fairly well.
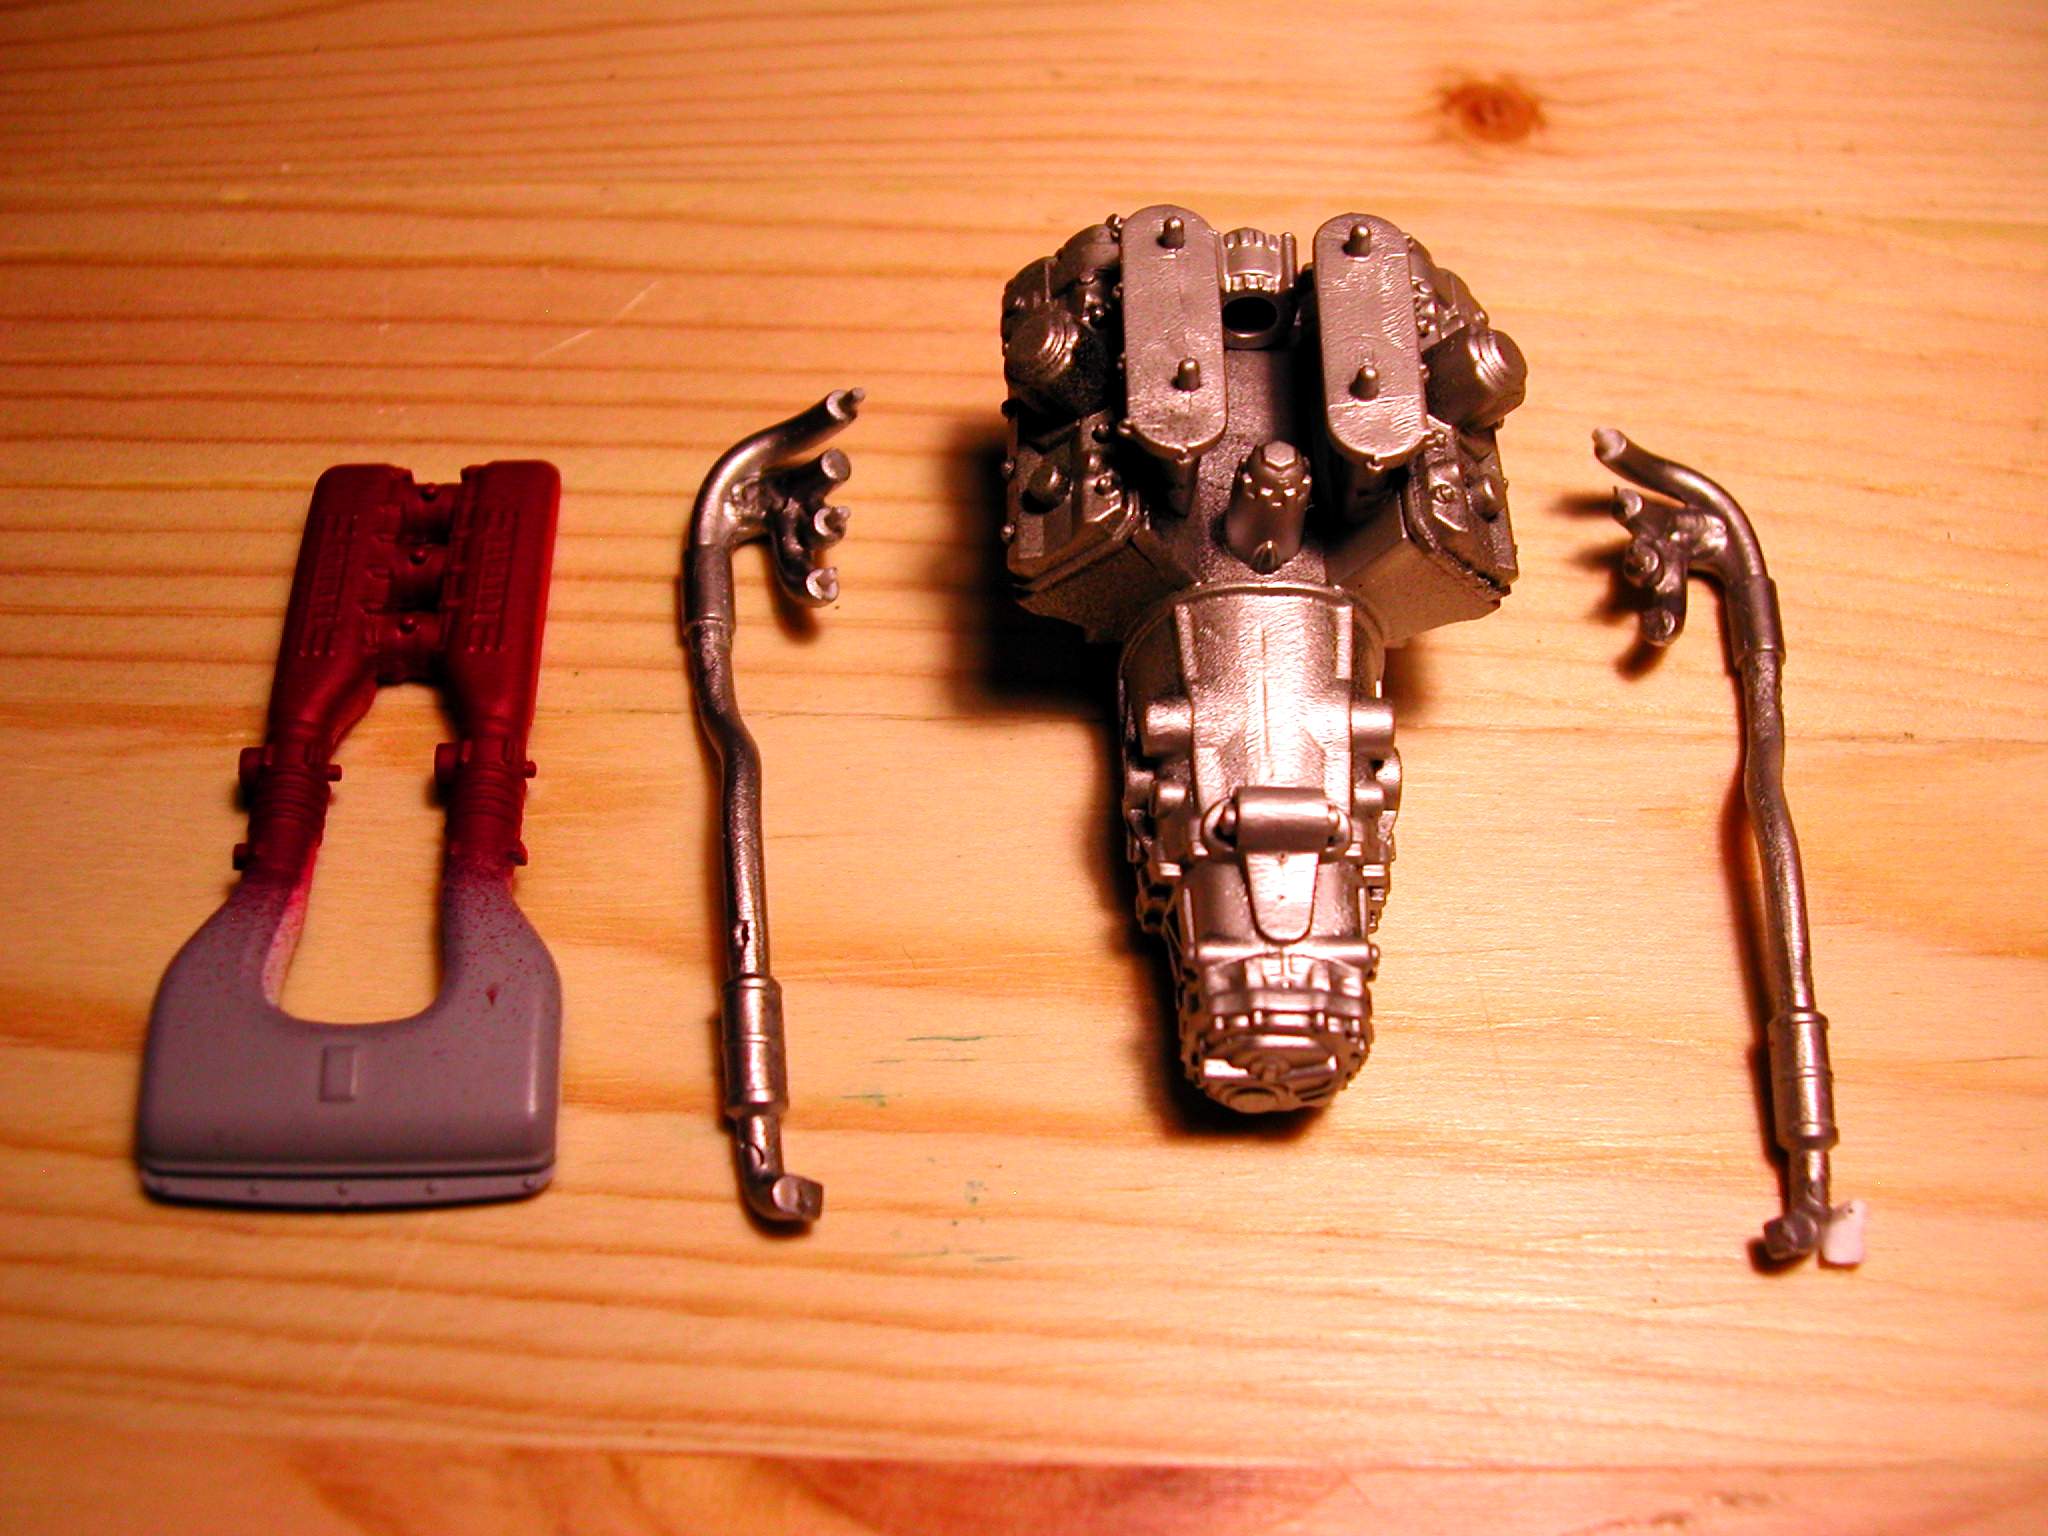
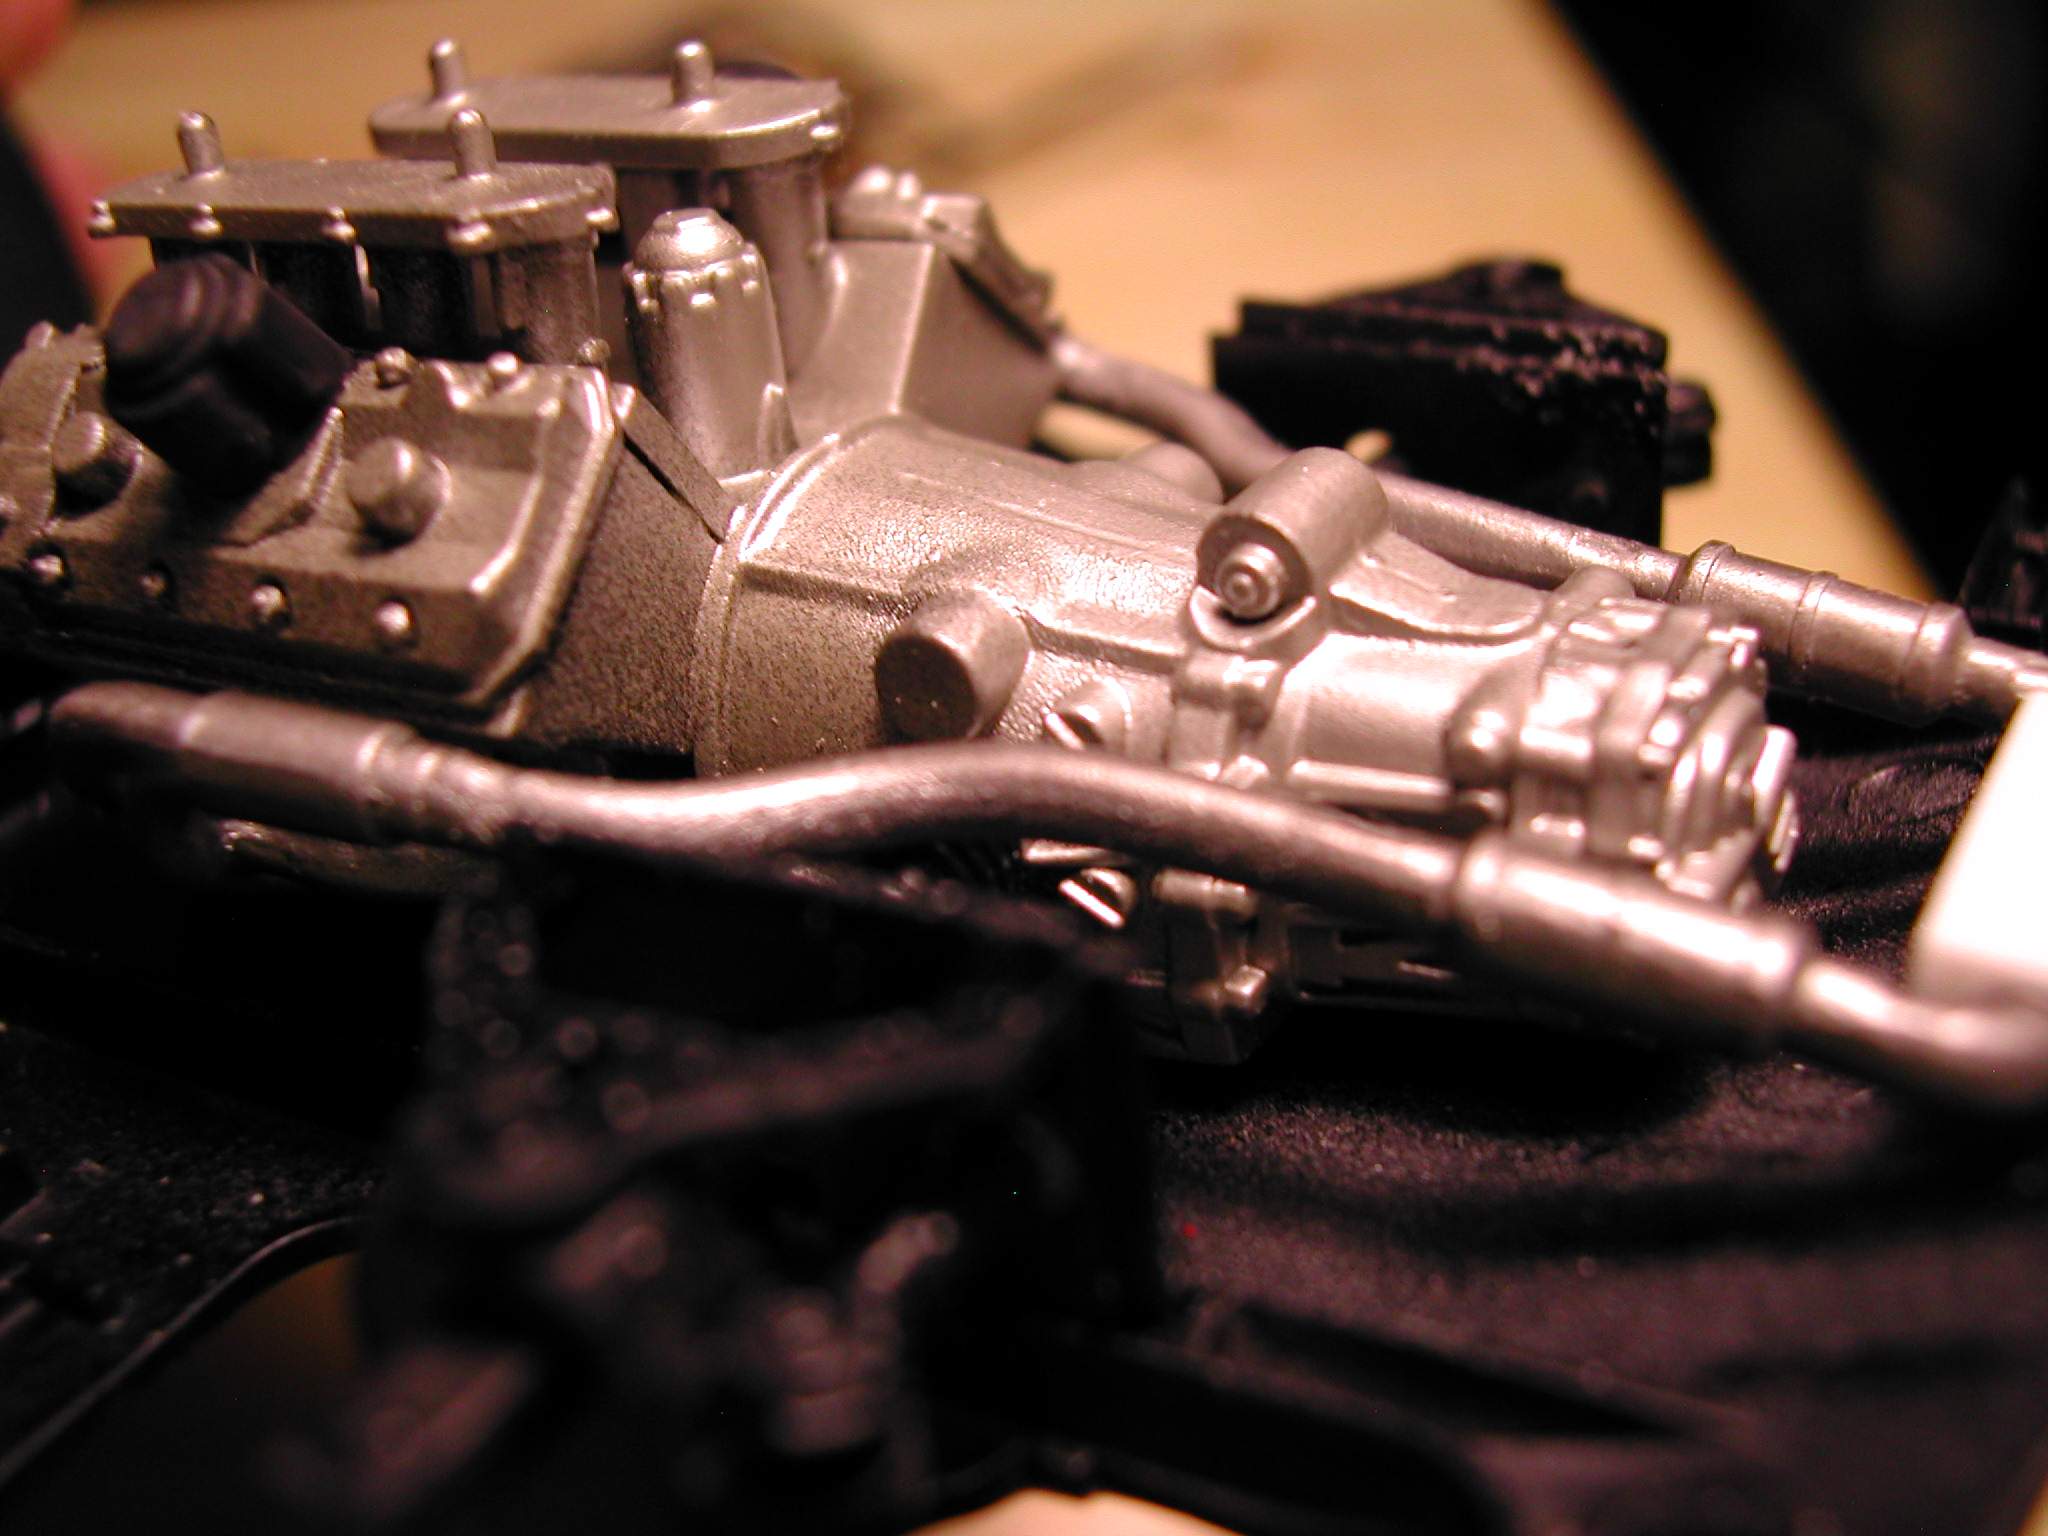
This is most of the engine parts. Nicely detailed and the fit was pretty good. Unfortunately about 95% of this will be hidden once the model is assembled. For this reason not a whole lot of effort was put into detail painting the engine parts.
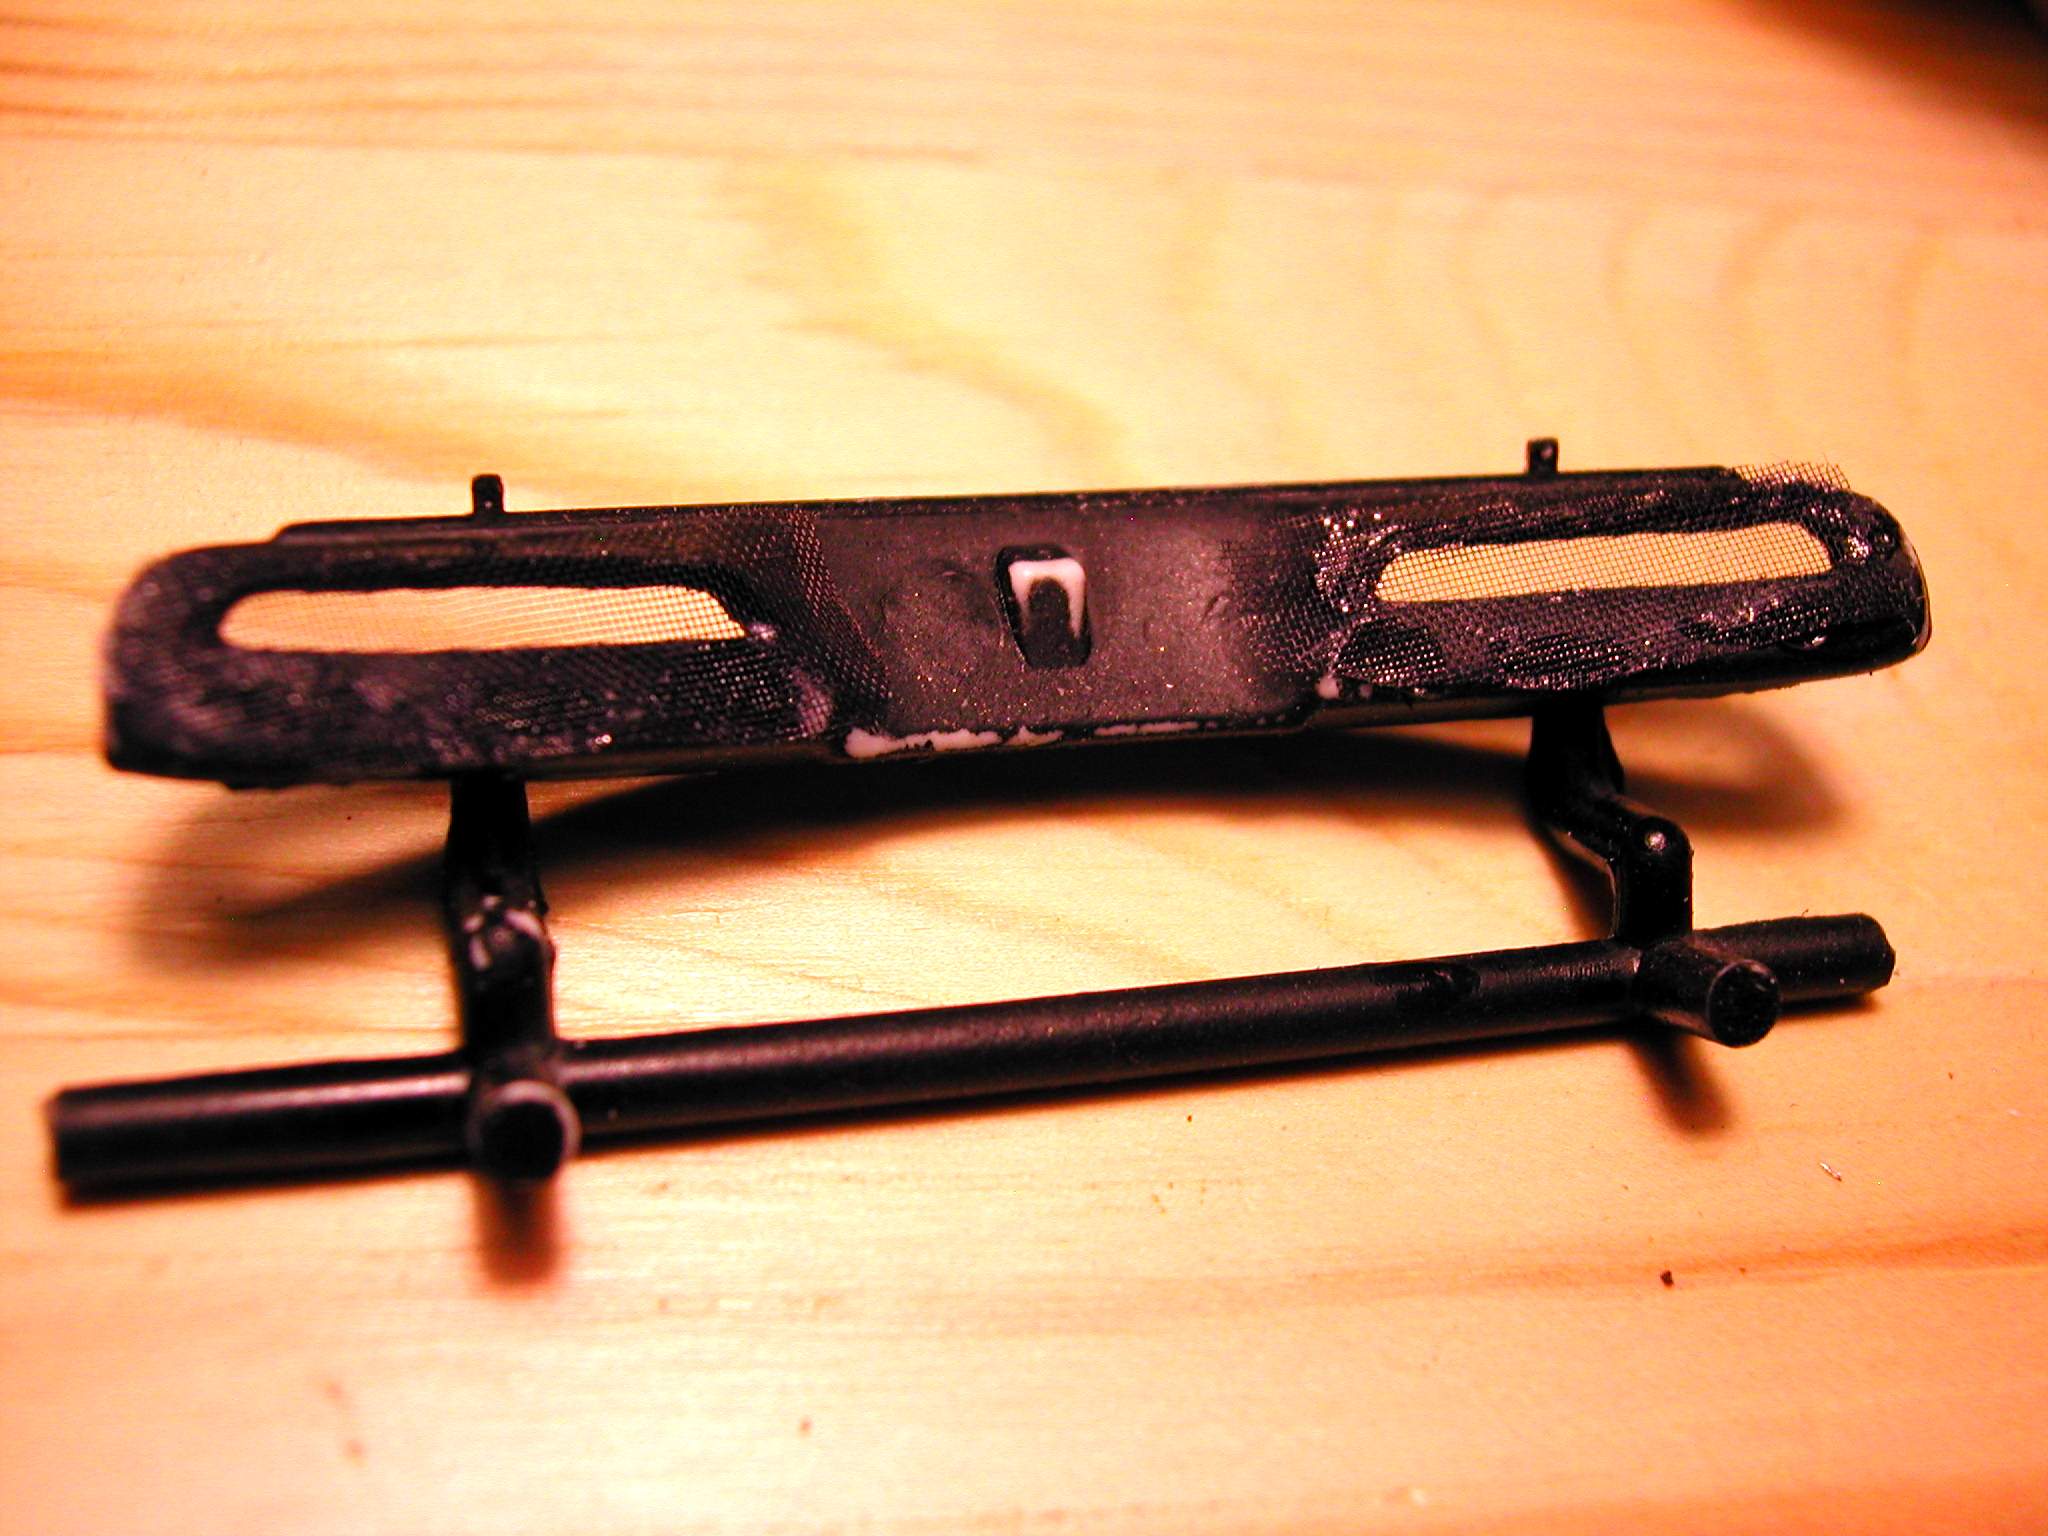
Here is where the out of the box went off it's rails. This is the front grill area with the openings cut out. Looking at it close up it looks a bit rough and I do with it was cleaner but in the end it is hard to see. The grill is represented by decals, which I did not like. The plan was to replace the decal with some sort of mesh material. I find the decals is a dead give away that it is a model, hence my reason for replacing it.
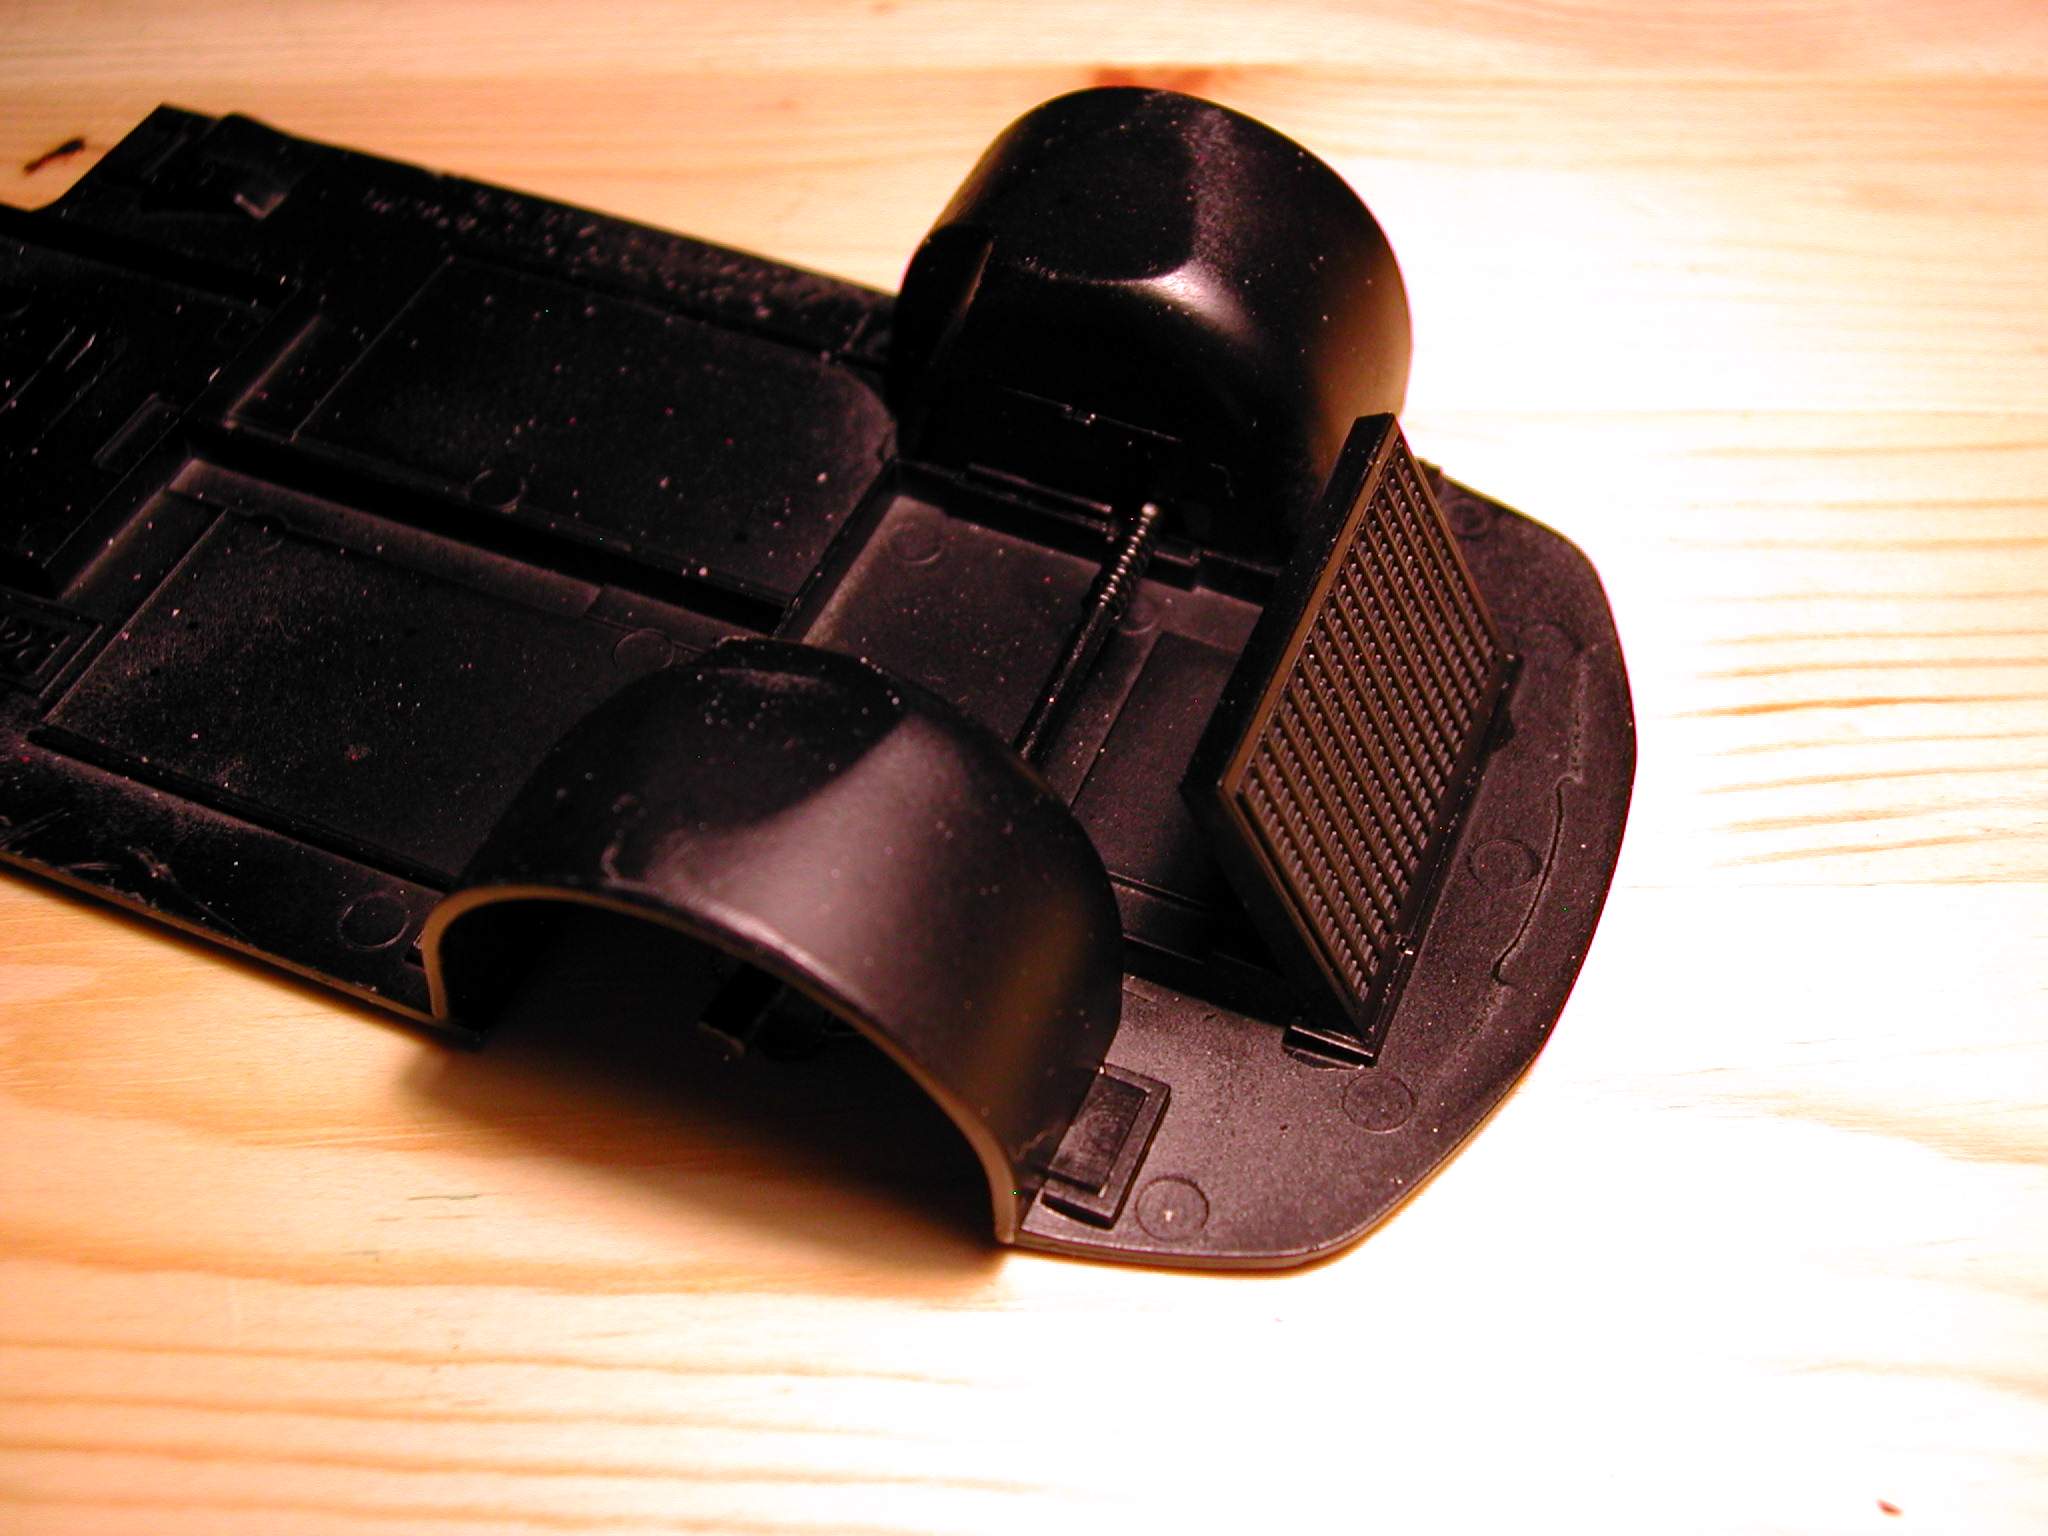
Chassis with the front radiator. Mostly hidden so quickly assembled and sprayed flat black. The build goes well when detailed painting is not needed.
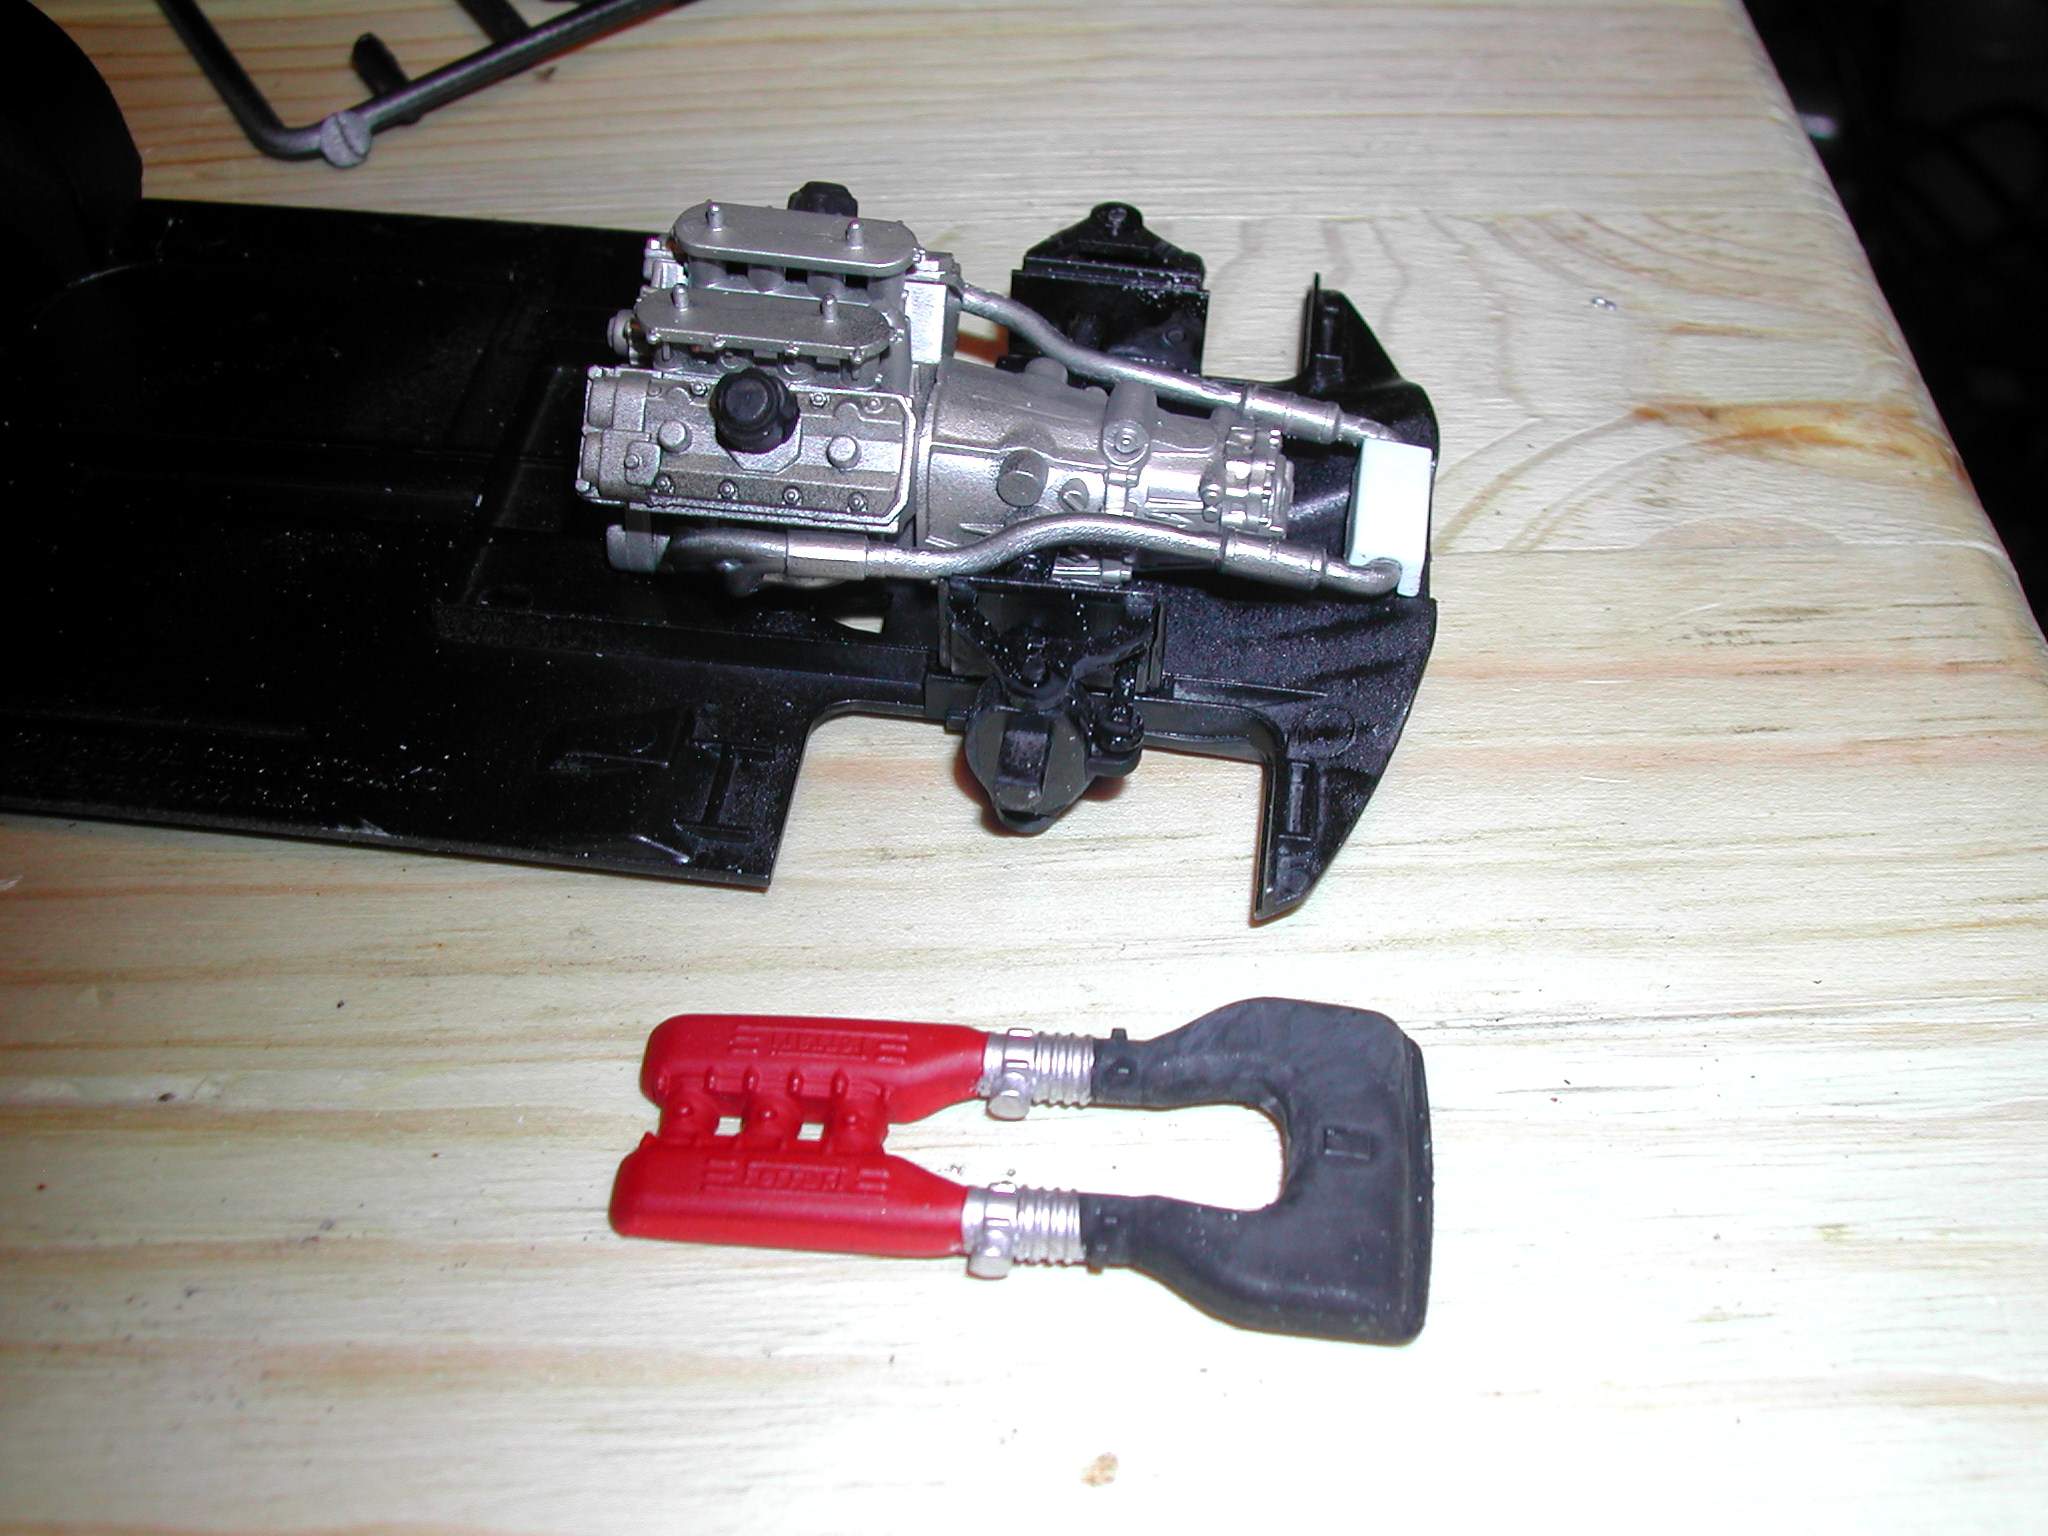
Here are the engine pieces finished and in the chassis. Most of the paints used were Tamiya acrylics. The metallic painted were Testors Metalizers for the airbrush.
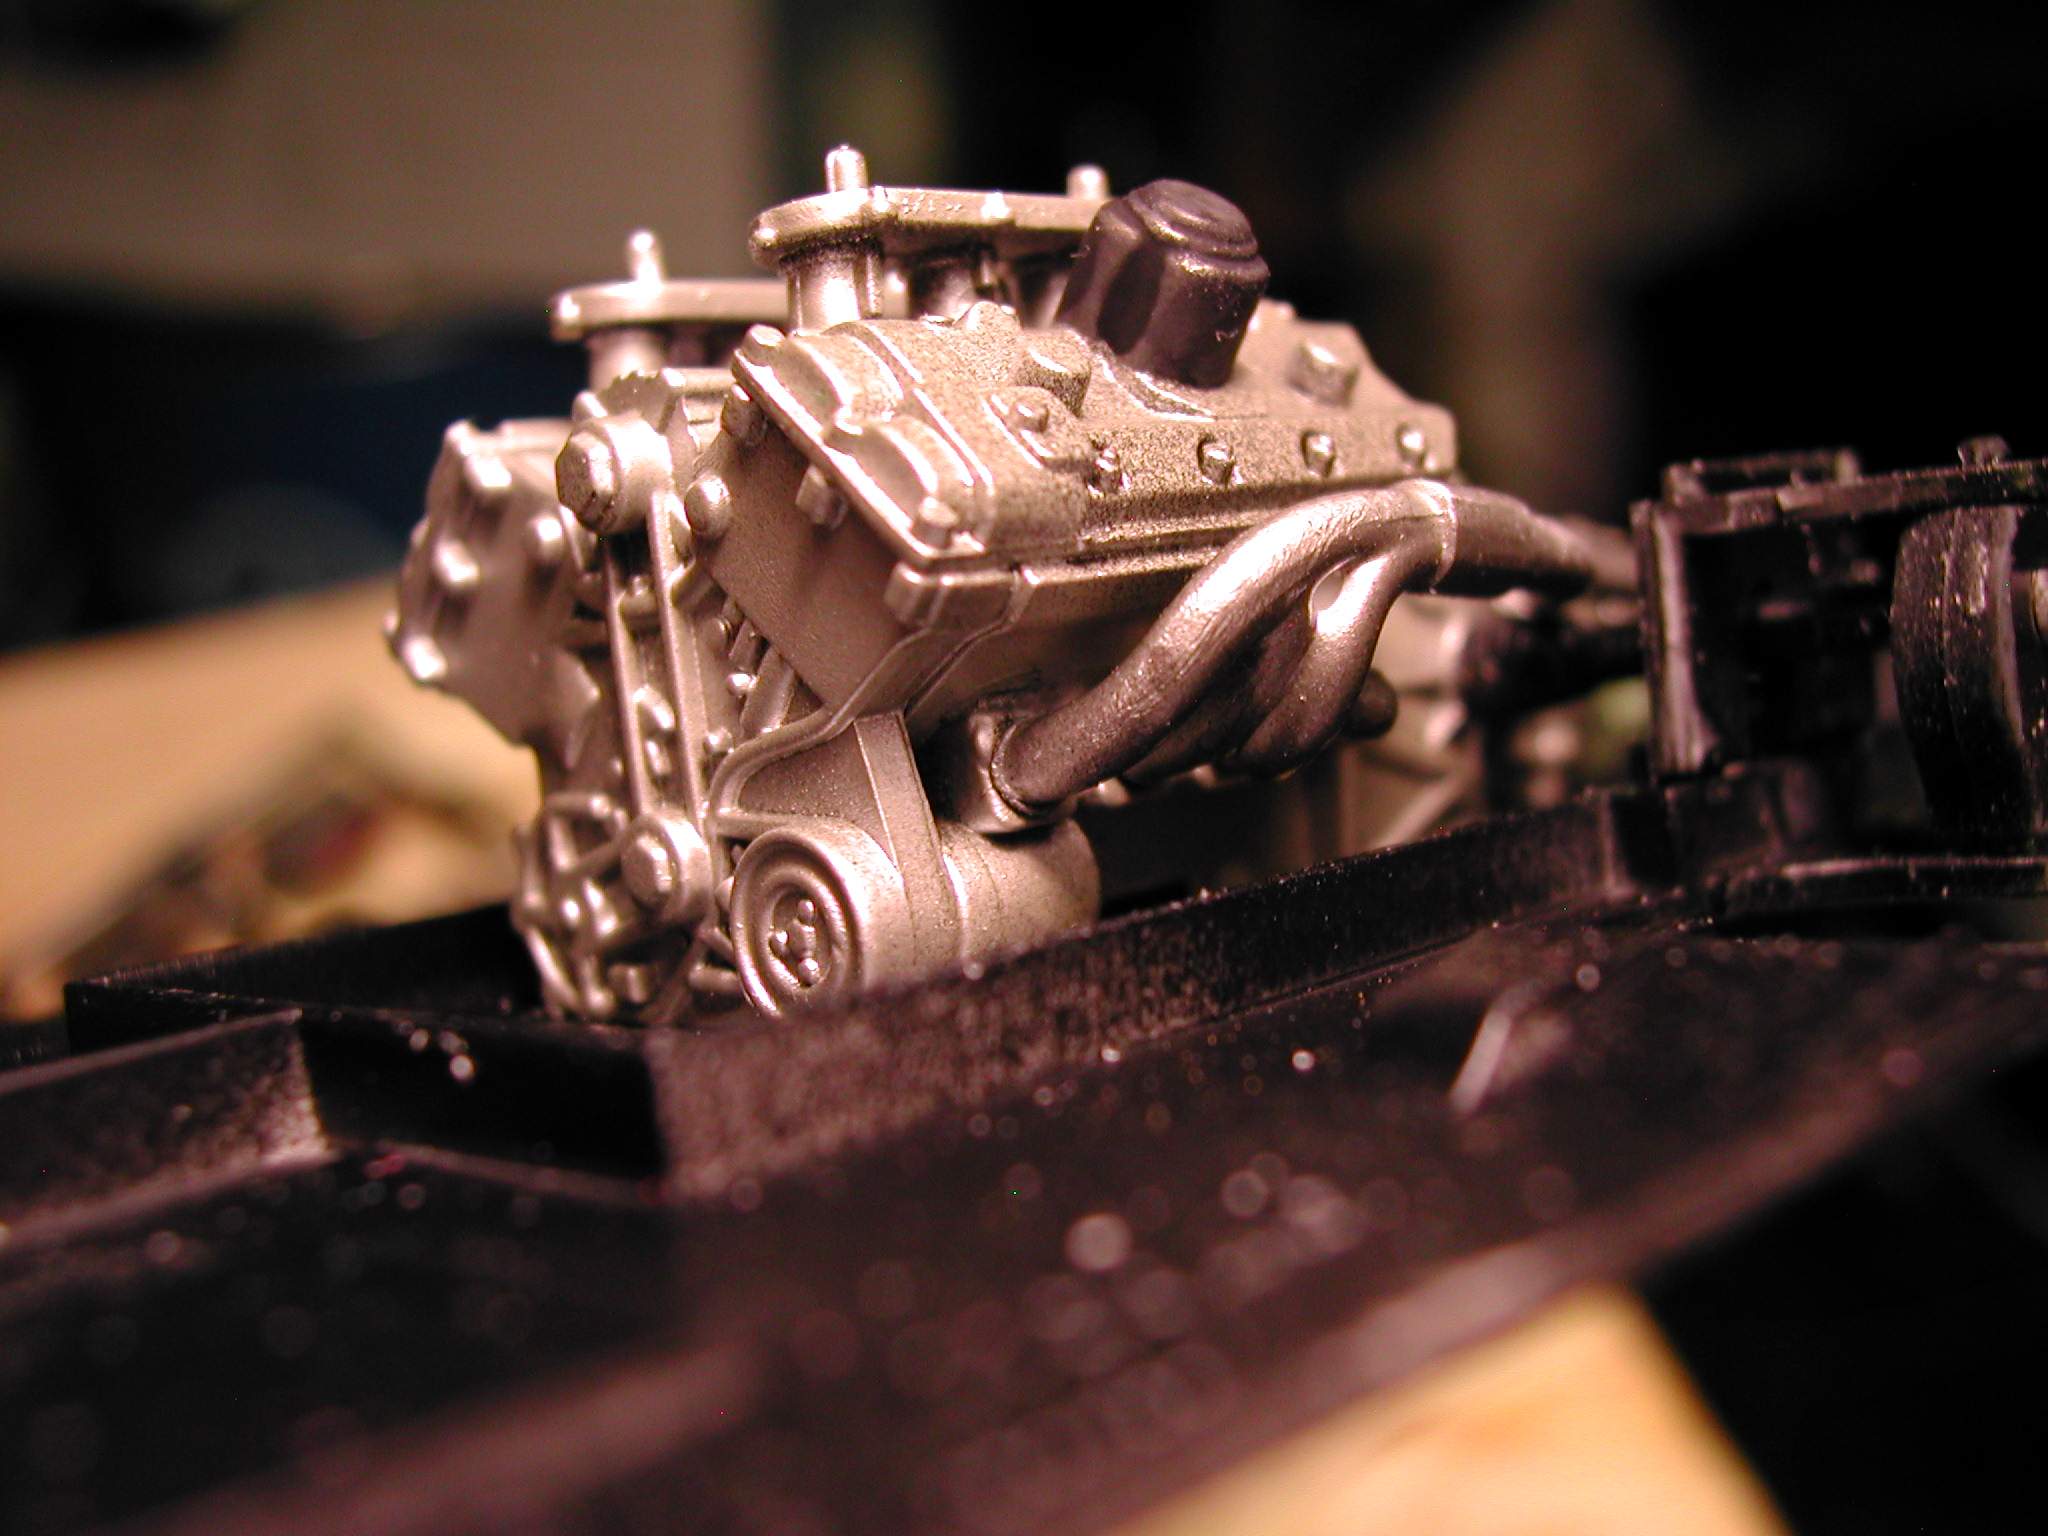
The engine installed
Not a bad looking engine. Too bad most of it will not be seen
[ Prev ] [ Next ]