BBR 1:20 Ferrari 310 (1996)
Revised April 11th 1998
Main: The F1 car of Ferrari for the 1996 year driven by Eddie Irvine and Michael Schumacher. Car depicts the Brazilian race which was the first race of the year. There was a modification to the nose section later in the year. This option is not available in the kit but there is a separate kit withthis feature.

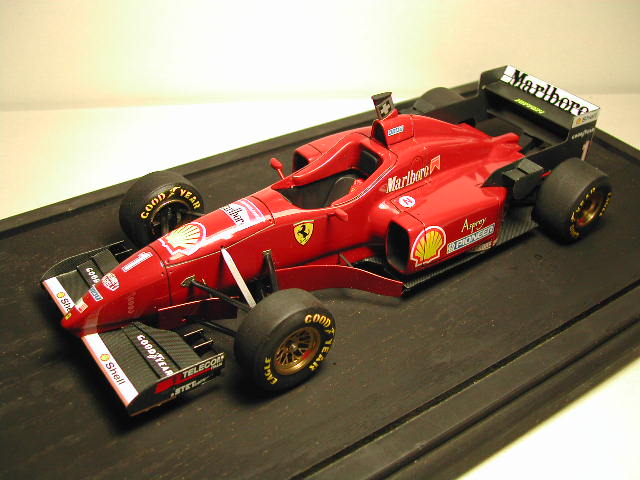
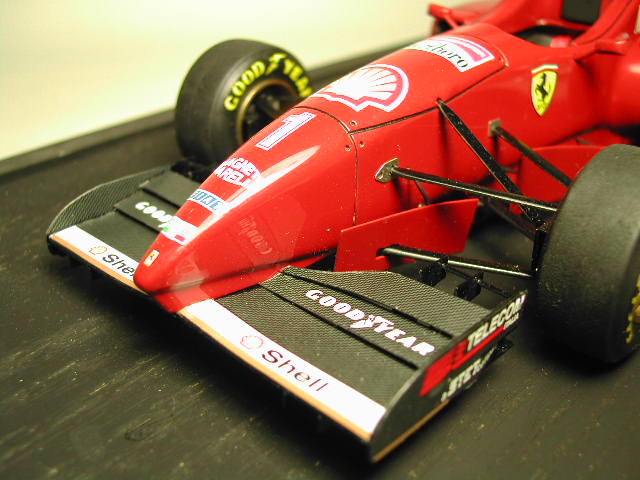
Overall view of the finished kit. Photo etched wings and barn doors a pain but look god when done.

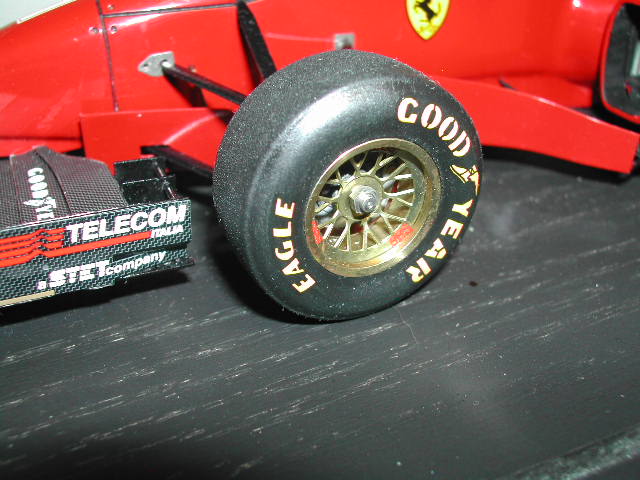
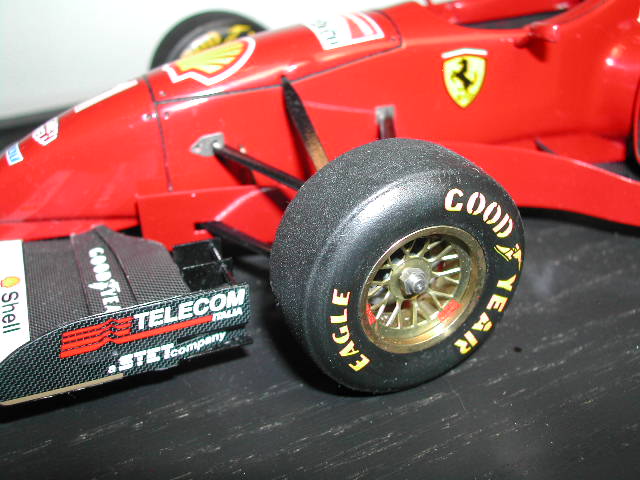
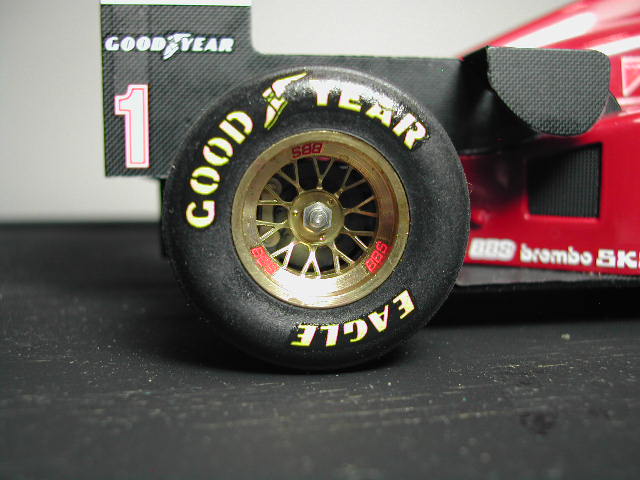
Close up of the tires and beautiful wheels. Tires not great so I sanded down the tread area.

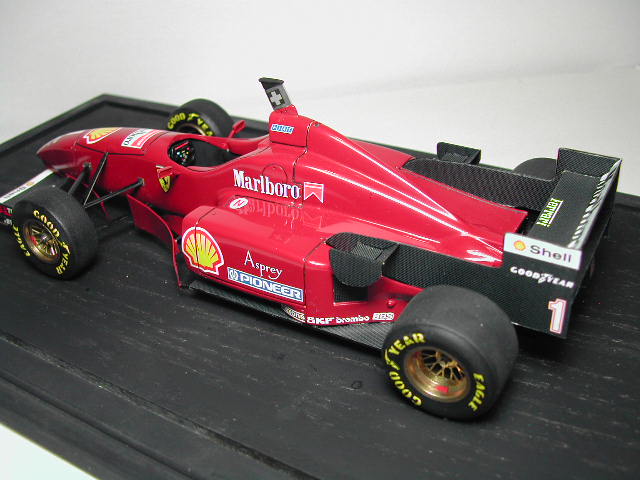
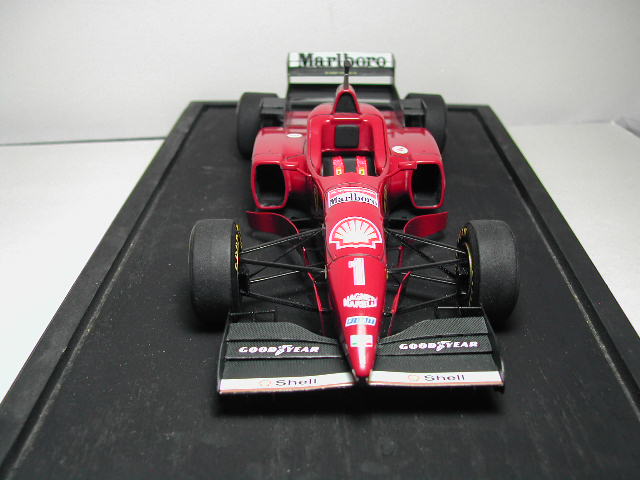
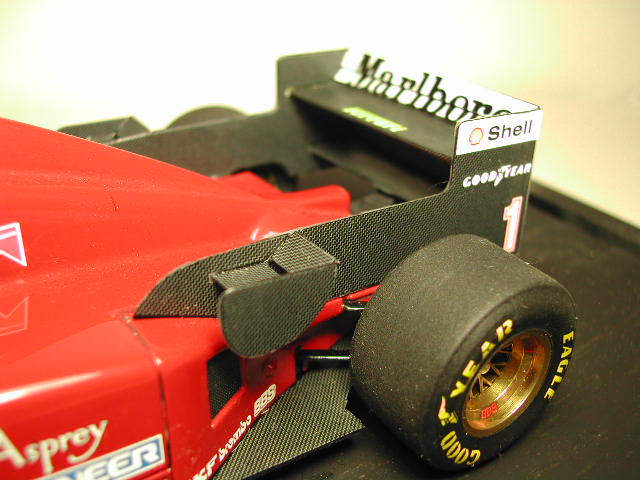
Front top view showing the barn doors and the front wing with the (hard to see) carbon fiber decals

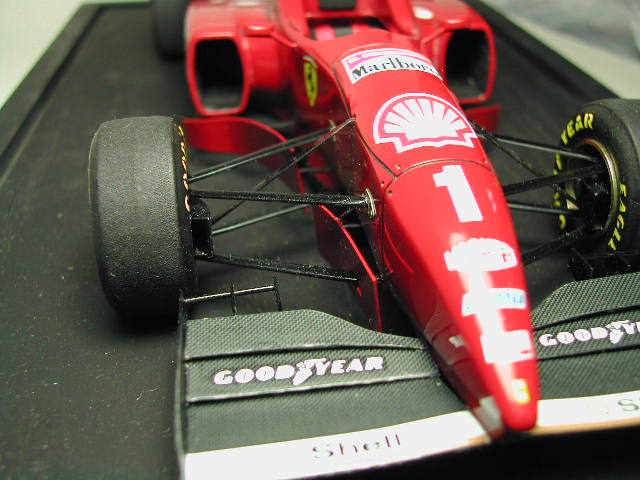
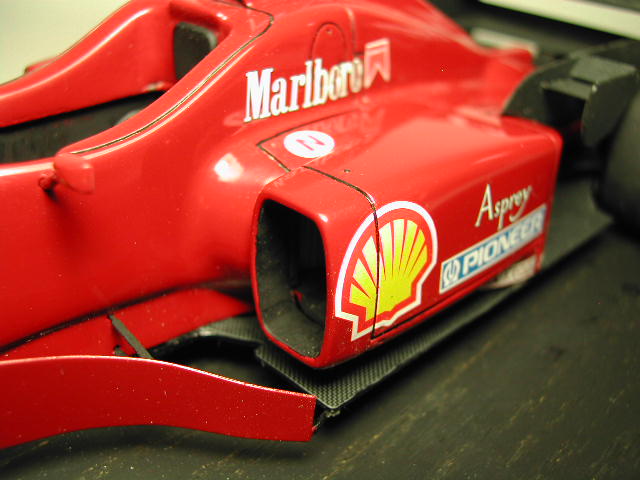
Front view of this mean machine. Note radiators inside side pods.

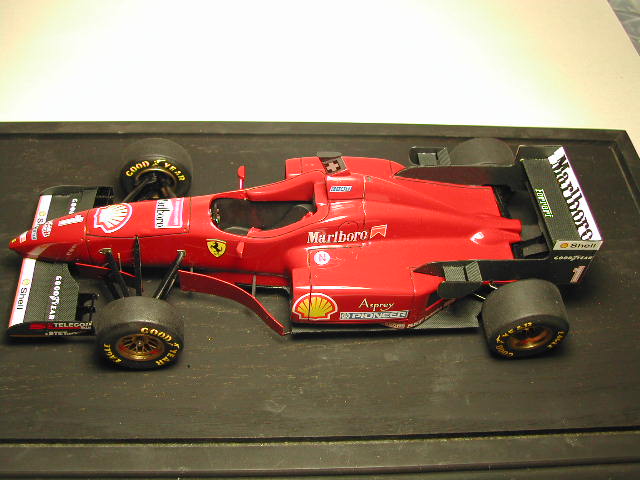
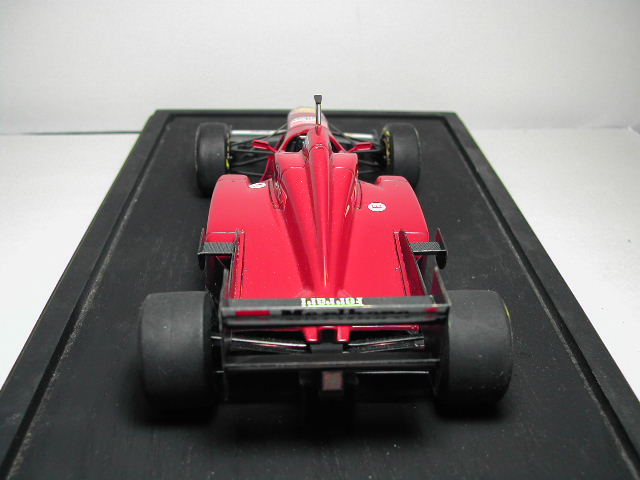
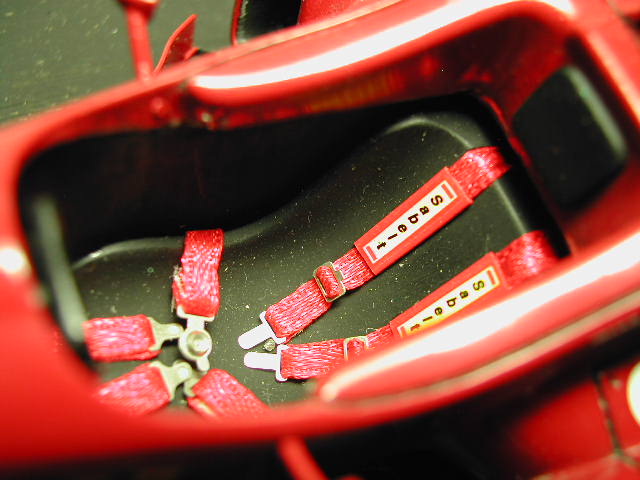
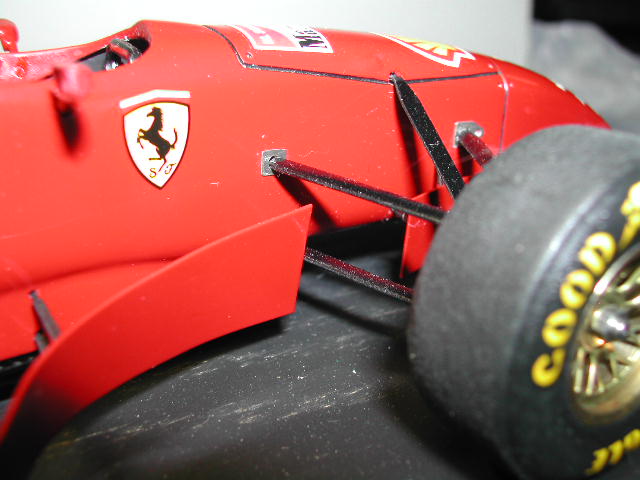
Top view of the overall car. Kit seatbelt material replaced with ribbon. Solid body really lets you polish out the paint job
KIT BREAKDOWN
RESIN
-three piece body
-undertray
-transmission insert
-seat
WHITE METAL
-mirrors
-main front and rear wing elements
-suspension
-steering wheel
-car camera
-exhaust pipes
TURNED PARTS
-wheel rims
-fuel filler insert
-wheel nuts
-antenna
RUBBER
-tires
PE PARTS
-front rear wing endplates and elements
-turning vanes
-some suspension parts
-disc brakes and calipers
-seat belt hardware
-radiators
PLASTIC TAPE
pre-cut seat belt material
Building Impressions
BODY: Excellent body shape. Resin is brittle so be careful during cleanup of some parts. A couple of spots needed putty but overall very little cleanup. Only one rather large pinhole found in the end of the nose where it meets the wing. It was so huge I though it was a mounting point for the wing. Other then that there was no other pinholes. All suspension points locations indented. These areas will have to be drilled out. (size given in instructions) Two smaller pieces under sidepods to allow for insertion of the radiators. The fit of these pieces not good and puttying and shaping was needed. Engraved panel lines are (in my opinion) too deep but are very even. Air intake above the drivers head is very shallow. Trying to deepen this will take a lot of patience and skill. Not recommended. No foot well.
UNDERTRAY: When mated to the body this part was bowed down. No amount of heating and bending would get it to conform to the body. Notch for clearance of rear wheels in undertray is incorrect. I had to cut this back by at least 1/8". I only found this out after the part was painted and glued to the body of course.
TIRES: Solid Rubber, comes with no decals for the Goodyear logos. Fit is ok and some fiddling is needed to get them to sit on the wheel right. Rubber was not good. Sanding made them look slightly better but not by much.
WHEELS: Turned brass rims with PE inserts for the BBS pattern. Turned nuts for the wheels. The rims are assembled from 2 turned parts and one PE insert. The PE part is sandwiched inside the turned parts. The problem here is the second turned insert interferes with the white metal brake calipers. This makes the wheels stand away from the wheel hub.
DECALS: Includes numbers, sponsors logos etc. carbon fiber decals also provided. No decals for helmets or driver suit. No Tobacco markings. Not big deal since most kits do not include these items. Entire wings is covered with carbon fiber decals. Fit of decals very good and little to no trimming needed. You might wonder about putting the carbon fiber decals on the wings but it does look very good. I used Micro-Sol as a decal softener. As I said before there were no tire logos in my kit. Not sure if this is common with all kits but it seems very odd.
COCKPIT: Although the kit seat belt material looked good I replaced this with ribbon. White metal steering wheel has raised detail and this can be painted but decals are also included. I used a combination of both.
ENGINE: None, curbside. end of gearbox present for suspension pickup points. Two exhaust pipes provided made out of white metal. These should be hollowed out or replaced.
WINGS: main elements are white metal while rest and endplates are PE items. The white metal pieces had a lot of pitting in them and was hard to see. A coat of primer brought out the rough surface that had to be fixed. Rear wing mount to transmission part was completely off. I assembled the rear wing as per instructions but when I tried to fit it to the model there was no way it would fit. A lot of filling needed. Not sure if it was my kit only. As with the undertray rear wheel cutouts the only time you would find out is when the wing assembly is completely together.
TURNING VANES: all PE elements. The instructions for assembling these parts is very vague. The problem is you have to be do a lot of test fitting the part onto the model as you assemble it. The problem with the front turn vane is to be sure the front suspension arm has to go through a hole when it is assembled. Some indication marks would be good here to help with the assembly. If you know how to solder it is highly recommended for the PE parts. CA glue and 5 minute epoxy are ok but they will be extremely fragile
MIRRORS: White Metal with PE inserts
SUSPENSION: White Metal & PE
There was some seam lines to clean up but these were minor. Cross section of the white metal suspension pieces are rectangular shaped instead of aerofoil shaped. Took some time to file each one to a more aerodynamic shape. The kit provided uprights for only the right side of the car. In talking with the supplier I got the kit from, it appears that this is a common problem with some of these kits. If you have bought this kit open up the white metal pack and make sure you have the correct uprights for each corner. Front A arms are marked with numbers to correspond to the instructions. A good idea if they were correct. Check references and test fit quite often with the upright to make sure you get the correct suspension piece in the correct place. With the amount of test fitting I had to do, two of the mounting tabs for one suspension piece broke off. I had to drill a small hole in the end and solder in a brass rod to fix it. Rear suspension pretty well straight forward. PE suspension parts are flat and not 3D. Suspension was a very big headache in this kit. A lot of fiddling to get the uprights in a position so the wheels would be pointing straight. Main body for the disc brakes and calipers is one piece white metal items with a couple of PE items to detail the calipers.
INSTRUCTIONS: One sheet instructions pretty clear (except for the suspension pieces) with a second sheet full of pictures. Paint chart refers to Tamiya and Testors paint codes and is very basic. Refer to references for more accurate colours
CONCLUSION
If my kit was typical then I would not recommend it for the novice. A couple of times I was ready to toss this (expensive) kit against the wall. Hopefully if you have read this and want to build the kit, these warnings will make your building experience a lot better than mine.
Main Problems
1. When finally assembled the rear wing would not fit on the body 2. wheels would not fit on car due to fit problems with calipers 3. Undertray interfered with rear wheels and had to be modified
More Photos added Dec 26, 2010
Send e-mail to ask@interlog.com
These pages including all artwork are copyrighted 1998-2011