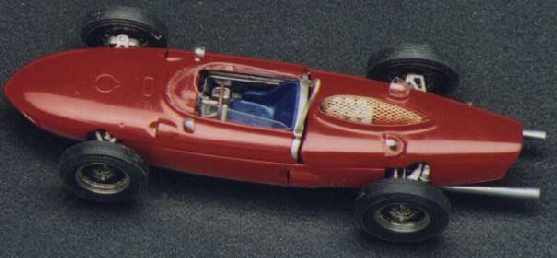
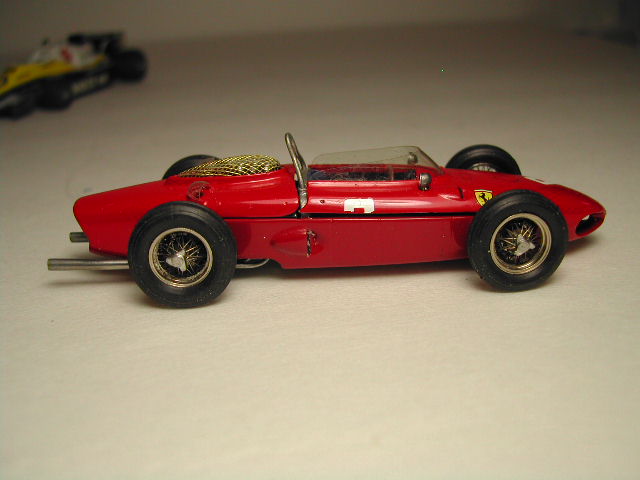
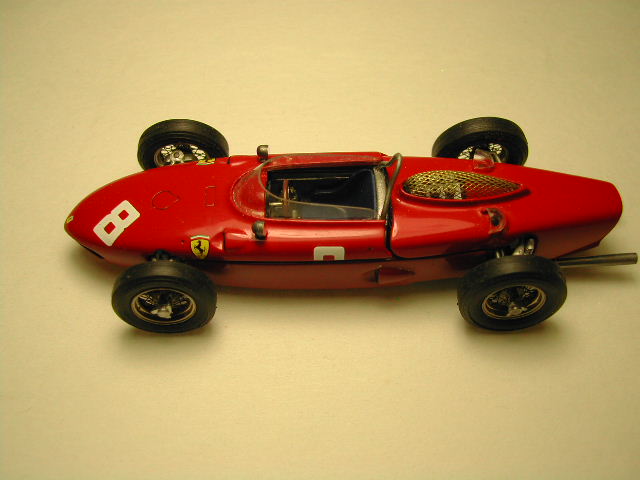
Scale Racing Car (SRC) 1:43 Ferrari 156 V65 1961Material: White metal, vacformed windshield, rubber tires
This is the Ferrari that Phil Hill used to win the 1961 Drivers Championship. There were two different cars this year. The difference was the engine angle one being 65 degrees and the other being 120 degrees. Outside the noticeable difference are the intake bumps on the back engine cover. (one or two). It was during this era of racing that Enzo Ferrari destroyed the cars after they finished the season so there are no remaining cars in the world
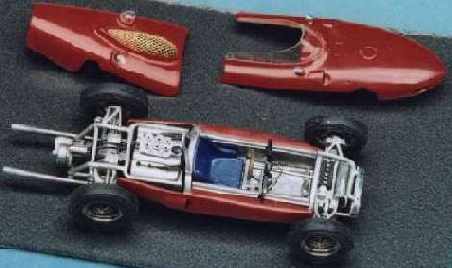
This model is a few years old but the castings were very good. Fit of the parts is excellent for the age. For a kit with no photo etched it is very nice. I have heard that the quality of this manufacturer is all over the place but most of the kits are very good. This kit has the lift off body work to show the engine and cockpit. Other kits from this manufacturer are supposed to have the same features. SRC just brought out another car for the 1963? year. The bodywork is different but it appears that all the insides are the same. The newer kit comes with wire wheels
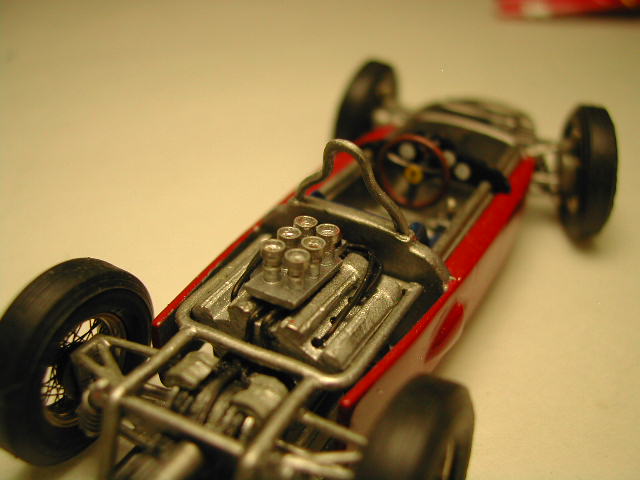
Engine/ Transmission
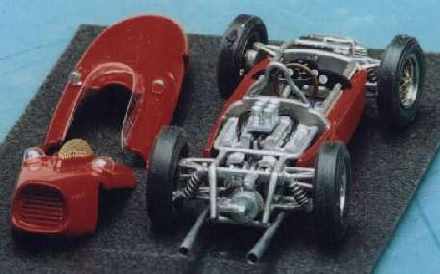
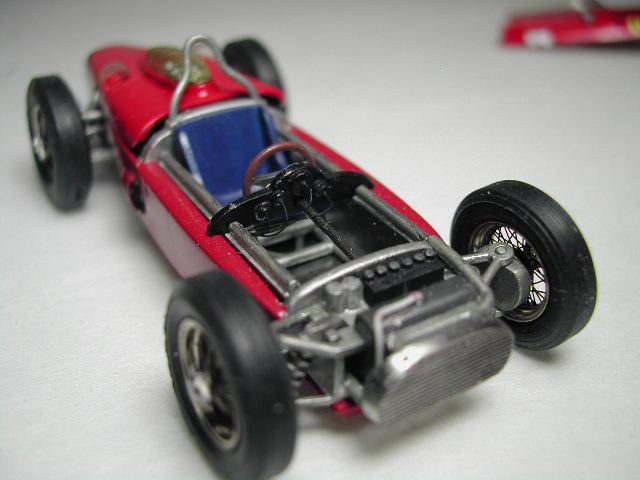
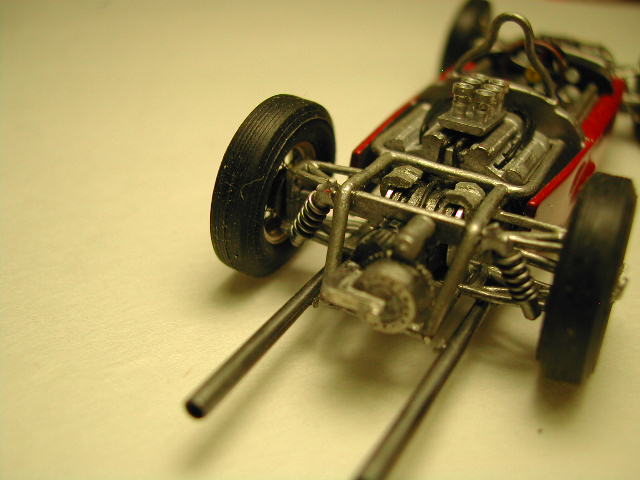
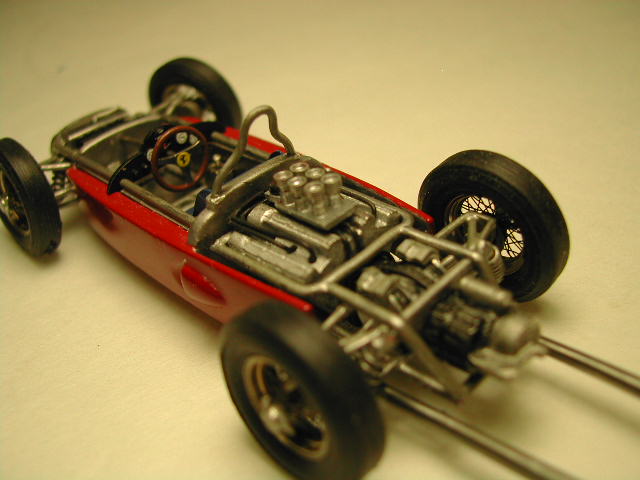
There is an engine area with a cover that comes off to show the detail. Some minor wiring can be done here to make it look even better. The frame that holds the engine can be distorted during transport but this is very easy to bend back into shape. Rear suspension is a but fiddley as the exact location of the shocks isn't clear. The kit come with a spring for the shocks that has to be cut to the correct length. This material was very hard and needed a strong cutter to cut apart. Once assembled the engine area looks very nice.
The intake trumpets in the kit are bad due to limitations of white metal casting. These were replaced with sockets from a circuit board socket (see tips)
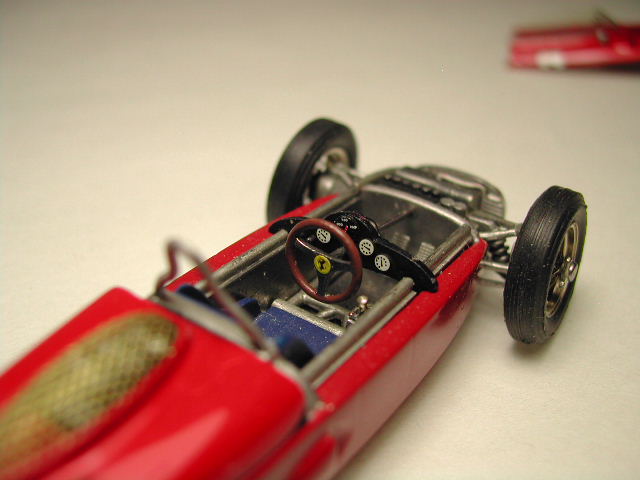
Cockpit
Very nice cockpit (seat, steering wheel, instrument panel, bottom frame). A small Cavalino comes with the decals for the steering wheel and should be put in before installing the steering wheel. The mounting location for the front of the steering wheel isn't clearly defined. Test fitting and making a solid mount will help here. Instrument panel casting had a few blemishes that should be filled. Decals for the instrument panels OK but if you can find better ones it would look better. Rear of instrument panel could use some wiring as it is exposed
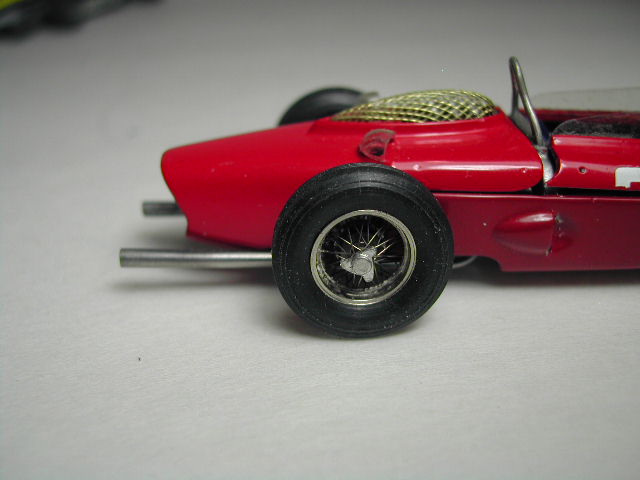
Wheels/ Tires
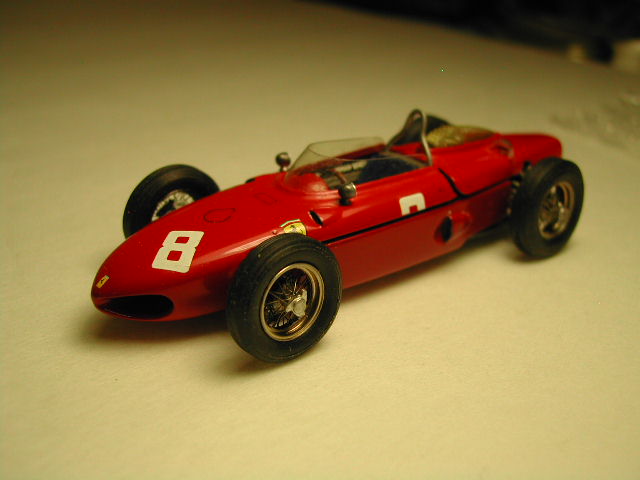
Wheels are white metal and are terrible (they are supposed to be wire wheels). Find some others to replace these. Doing this will add a lot to the finished model. Tires are OK but each one has a mark from the molding process. Make sure this is facing down when you glue the wheels on
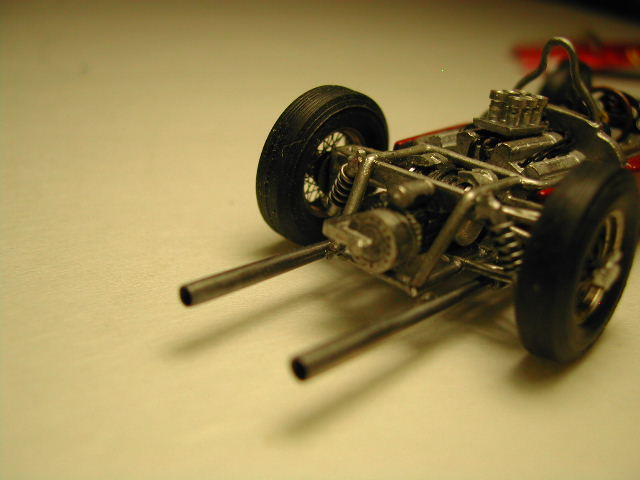
Suspension
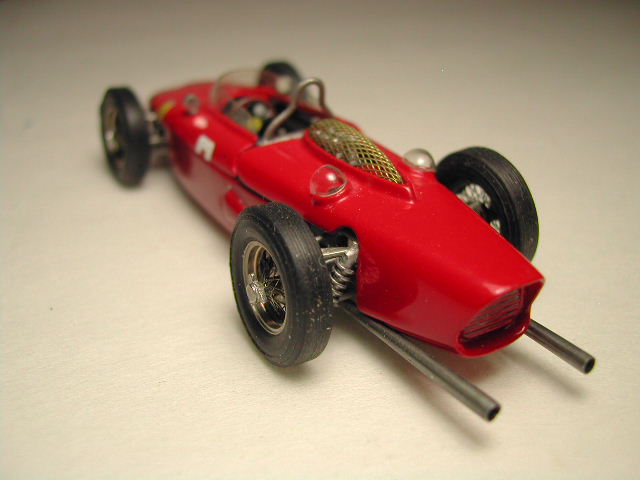
Front and rear suspension are fine and look very nice. Some careful work cleaning these casting up will help the final look. As stated before the suspension comes with exposed shocks and coils. Front shock is easily located. Except for the problem with the rear shock the rest of the suspension goes together very nicely
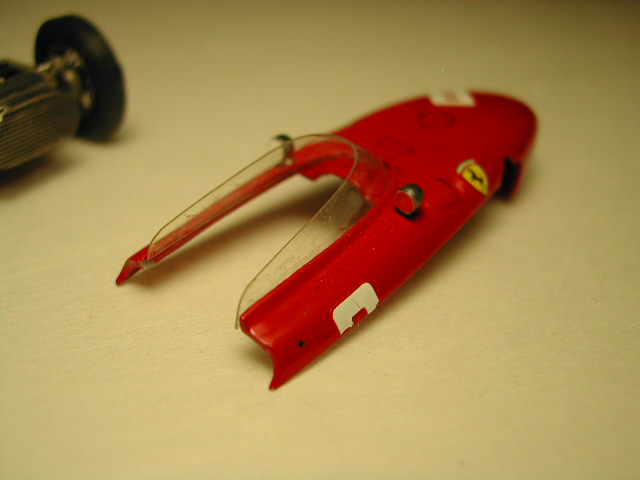
Body
Body panels fit very well. Test fit and adjust before painting. If done properly the body panels should fit together nicely. The bottoms of the nose and rear body work are separate pieces and should be glued on and puttied before painting. The nose add on part had some locating pins that is noticeable on the finished model. I sanded these off and carefully glued the body panel on.
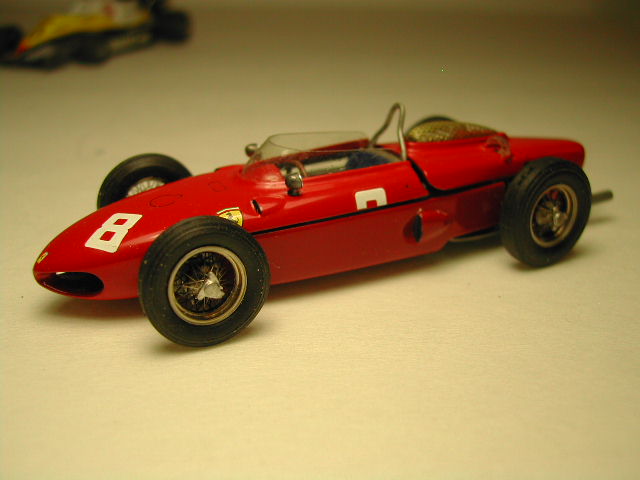
Painted the kit with lacquer paints and rubbed it out with a polishing kit. Body had panel and rivet detail that I picked out with a thin black marker.
The holes for the mirrors were drilled out before painting. The stems for the mirrors were replaced with brass rod for strength. The mirror surfaces were circles punched from some polished aluminum sheet.
The scoops are all vac-formed items. Very careful cutting and test fitting is needed here. It was hard to tell in the references but the main scoop over the intake trumpets in some pictures looks like a Plexiglas type cover. This didn't make sense so I used some fine mesh to for a cover. The kit does include a white metal cover that has a screen patter but instructions make no mention of this
Tips
1. Intake trumpets is one area that white metal can not replicate well. Newer kit usually have turned items. There are aftermarket items but these can get expensive, especially if you are doing a V-12. In computers there is a chip socket that is soldered onto circuit boards. You can find these sockets at dedicated electronic stores. Make sure they are round sockets as there are other types. I placed the socket in a oven to soften the plastic then popped (or pried) them out. One socket has over 50 of these items.
Conclusion
A very nice kit but certain areas can be improved upon. If only just replacing the wire wheels the kit will look a lot better. Some cleanup required but nothing terribly hard. Recommended kit, can be built well by the beginner
More photos added Dec 26, 2010
Return to Home Page http://www.alexkung1.com
Send comments, suggestions etc. to ask@interlog.com