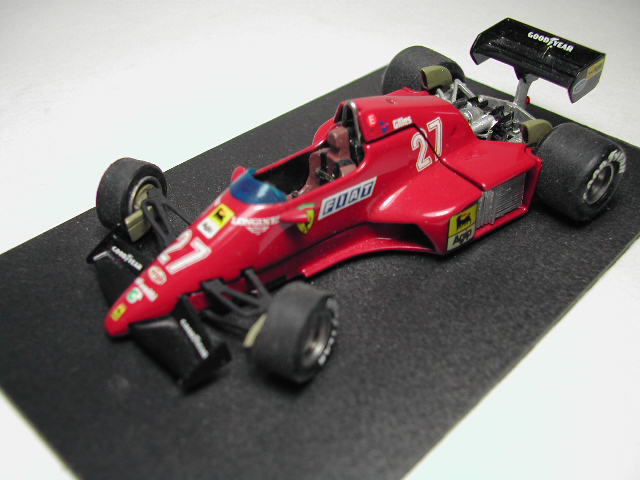
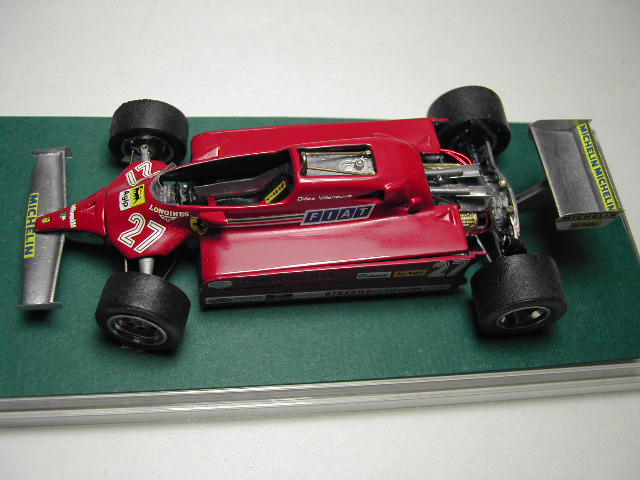
Hi-Fi: Ferrari 126C3 1:43
June 24th 1997: New Pictures Jan 24 1999
Material: White metal, jewel, decals, vacformed windshield, rubber tires
This model is a few years old and the castings sort of shows it. If produced today there will be a few items done in photo etched instead of the white metal. Although it is the 1983 car I placed the Gilles name on the car. Not sure why this was on the decal sheet but I used them.
Due to the limitations of white metal casting several items are out of scale with the suspension and wing endplates being the obvious ones
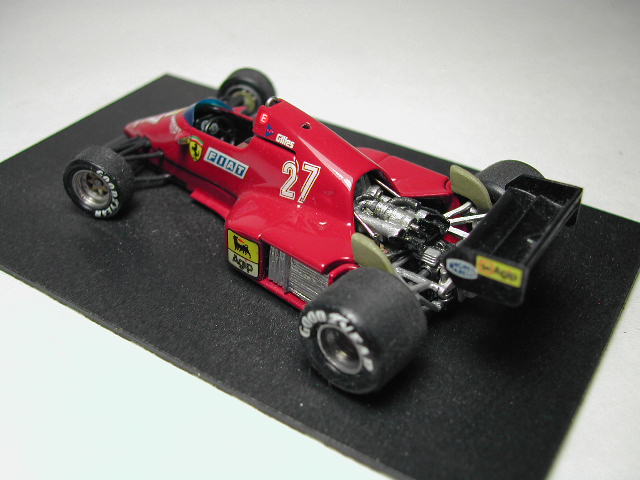
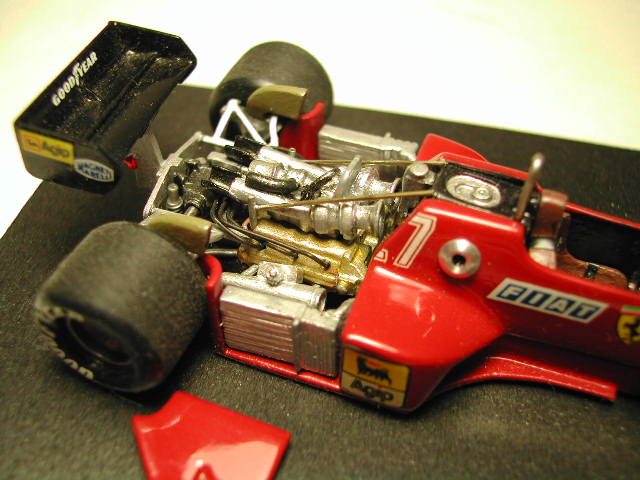
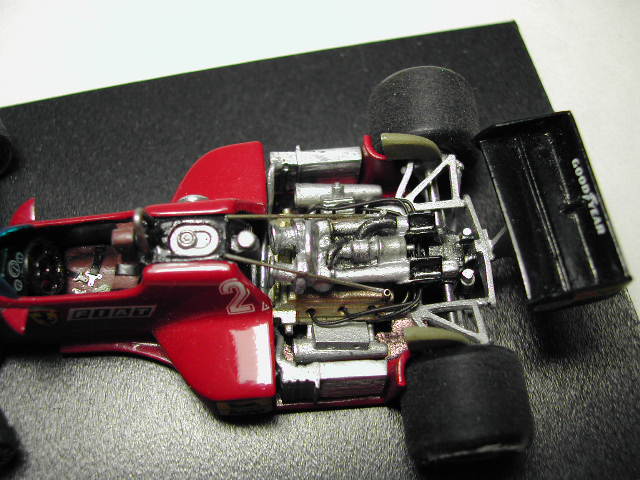
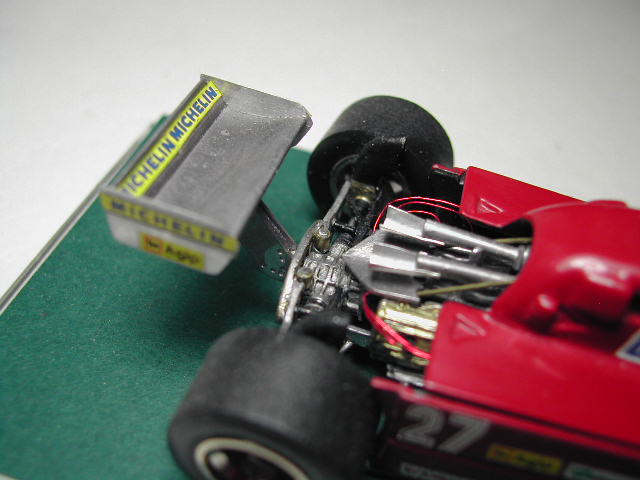
Engine/ Transmission
There is an engine area with a cover that comes off to show the detail. Different references have the cam covers as either red or gold. I painted mine red but changed this to gold. No spark plug wiring is included in the kit but this won't be hard to add. If you wanted to detail the engine more there are quite a few possibilities but you have to have nerves of steel for this scale.
The engine and transmission detail is not the best so throwing detail on it may be a lost cause
The radiators have huge ridges in them to give them detail. Filing the ridges off and placing some sort of wire mesh would be better.
The engine exhausts has some sort of blast shield. These keep the exhaust flames from burning anything below it. Again due to the white metal these are thick. These should be cut off and replaced with something like aluminum foil.
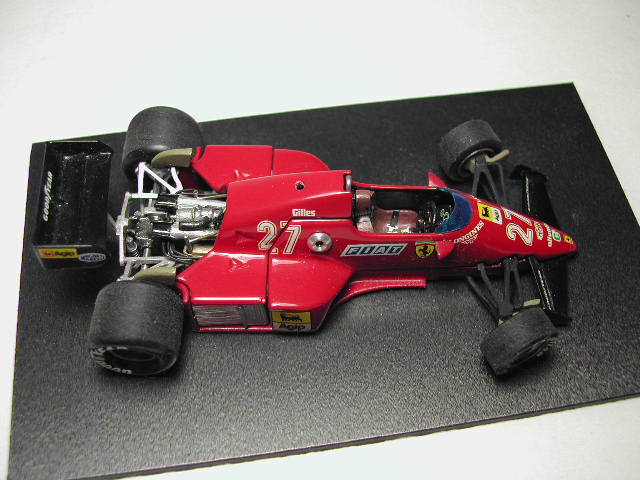
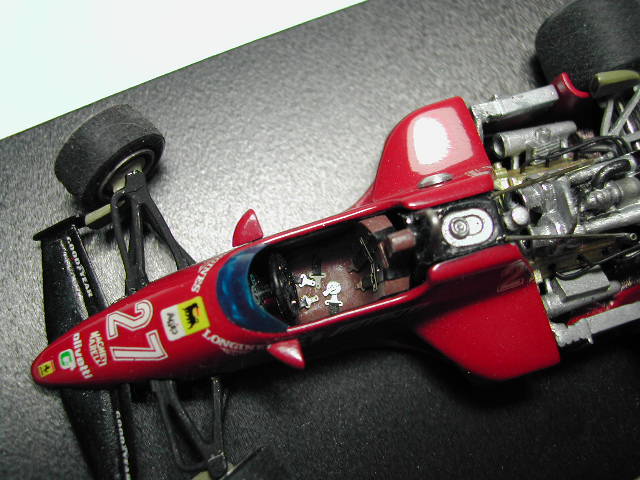
Cockpit
Very simple cockpit (seat, steering wheel, instrument panel) No belts were included so you have to use aftermarket items. I guess they figured you didn't need them since the kit comes with a driver figure. The driver figure is not very pretty and if you want one in the car go aftermarket. The ones included in current kits are actually very nice. The instruments is just a decal and is passable. Steering wheel is ok.
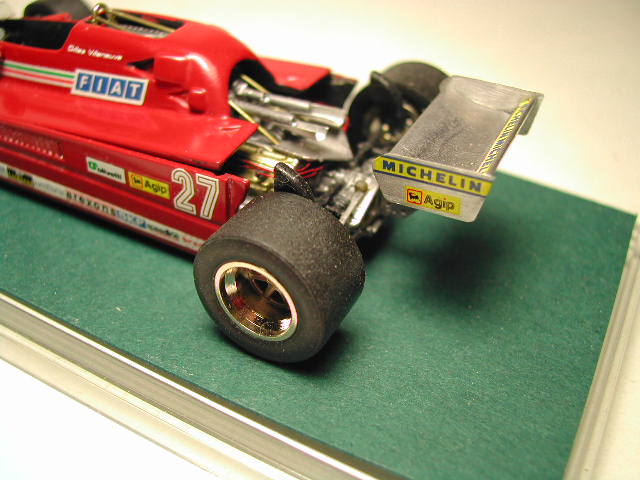
Wheels/ Tires
Wheels are white metal and suffer slightly in detail. When you look at the tires you go ick but they fit well onto the wheels. All of the tires had a defect in one location or another. Just make sure this is pointed down when you glue the wheels on
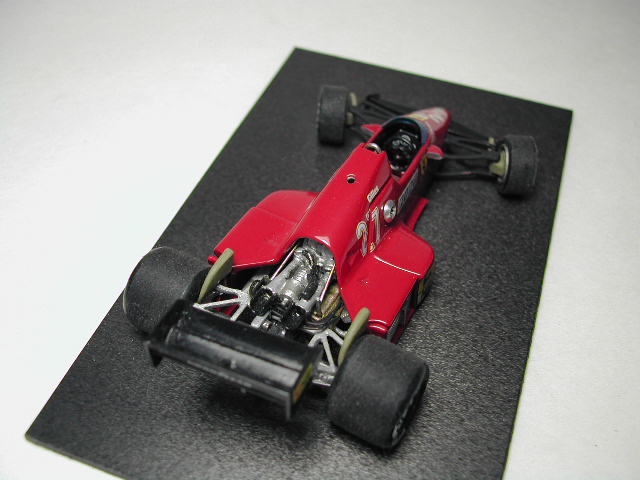
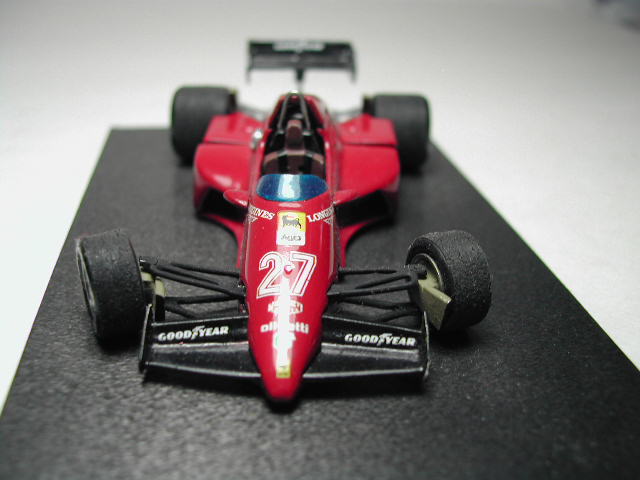
Wings
Again the white metal produces thick endplates and elements. Filing the endplates and some of the elements so they look more to scale. (see tips below)
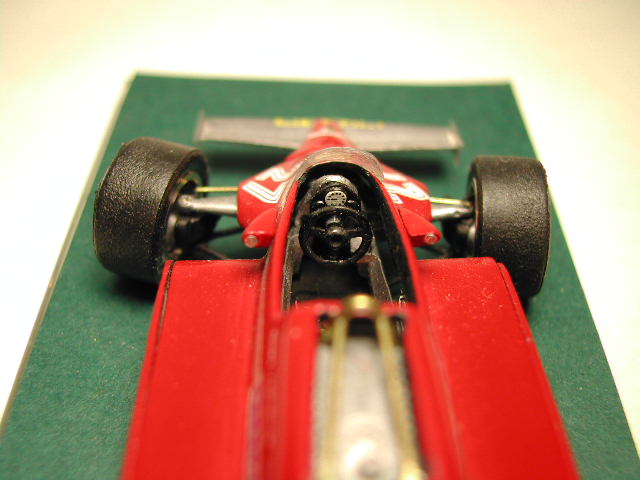
Suspension
Not the prettiest but it works. If you have the energy you could replace certain elements with brass rod. You can't file the kit part thinner since it would get too weak and break.
BodyBody panels fit nicely. One was slightly off but white metal bend easily. I painted the red body with automotive lacquers through an airbrush. The body was then polished up slightly for the decals. Decals went on nicely. Used Future Floor Wax brushed on as a clear coat. Took several coats before there was enough to hide the ridges of the decals. This body was then polished out with a polishing kit.
TIPS
1. For white metal wings if possible replace the endplates with sheet brass for a more scale appearance. Use the kit part as a template for cutting the brass. If you don't want to do this you could file the white metal endplates thinner then file the edges even thinner to sort of fool the eye
2. For white metal mirrors the stem is a very weak point. You should cut this off and replace this with brass rod. Once painted it will be more to scale and it will be a lot stronger and will resist breaking.
a/ cut off kit stem
b/ clean up remaining stem and mark location for drilling. It is recommended that you do this with the tip of an X-Acto blade. This will also help the drill bit from slipping when you start the drilling process
c/ Drill at the same angle as the stem before you cut it off. Use the smallest drill bit possible for the smallest brass rod you have. During drilling check the depth every so often. Make sure you don't drill through to the end or come out one of the sides. Depth of the hole should be at least 1/16"(2mm). Any shallower and the rod might not hold
Use about 1/2"(13mm) of rod. This is too long for the model but this will allow you to hold the part for painting gluing etc. Test fit the rod to make sure it fits in. Use a small amount of CA glue on the tip. If you use too much and it oozes out juts wipe away the excess. When the CA has dried completely check again to make sure the area is clean. Bend the rod if necessary. Test fit on the model before painting
Conclusion
Not a bad kit for it's time. With some of the super detailed kits these days this would look like a toy in comparison. A lot of work would be needed to make the engine area look good. The kit suffers from the white metal casting limits. For the price ($15) I would recommend this kit as a quick build to hone your 1:43 building skills
More Photos added Dec 26 2010