Periscope Lift R&D Part 2- April 20, 2009, Updated May 2, 2009

I got some 6-32x1-1/2" Pan head screws to join the parts
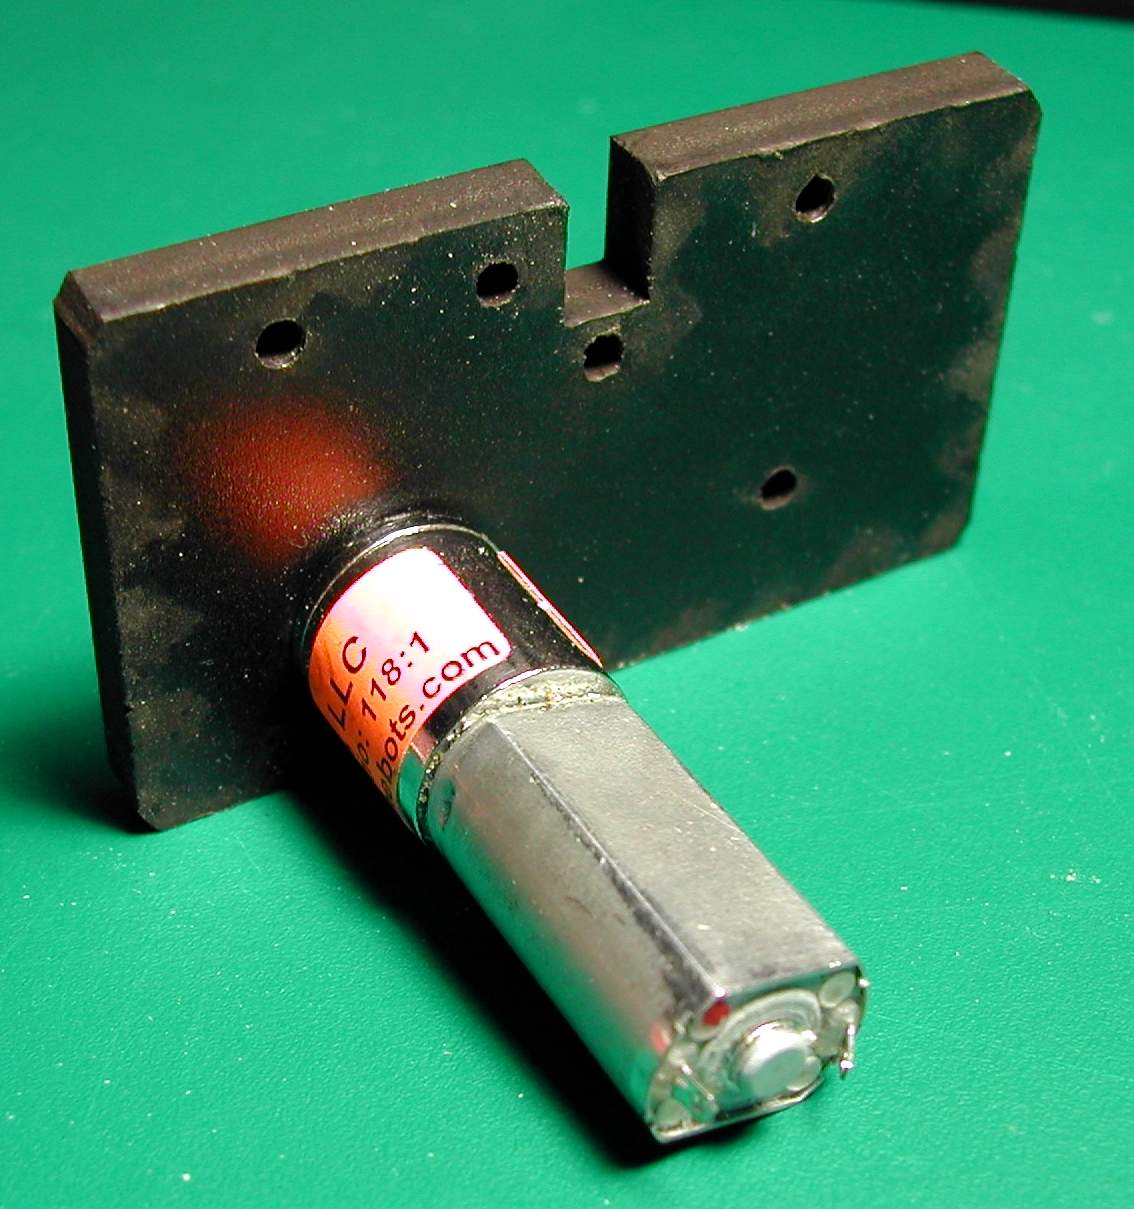
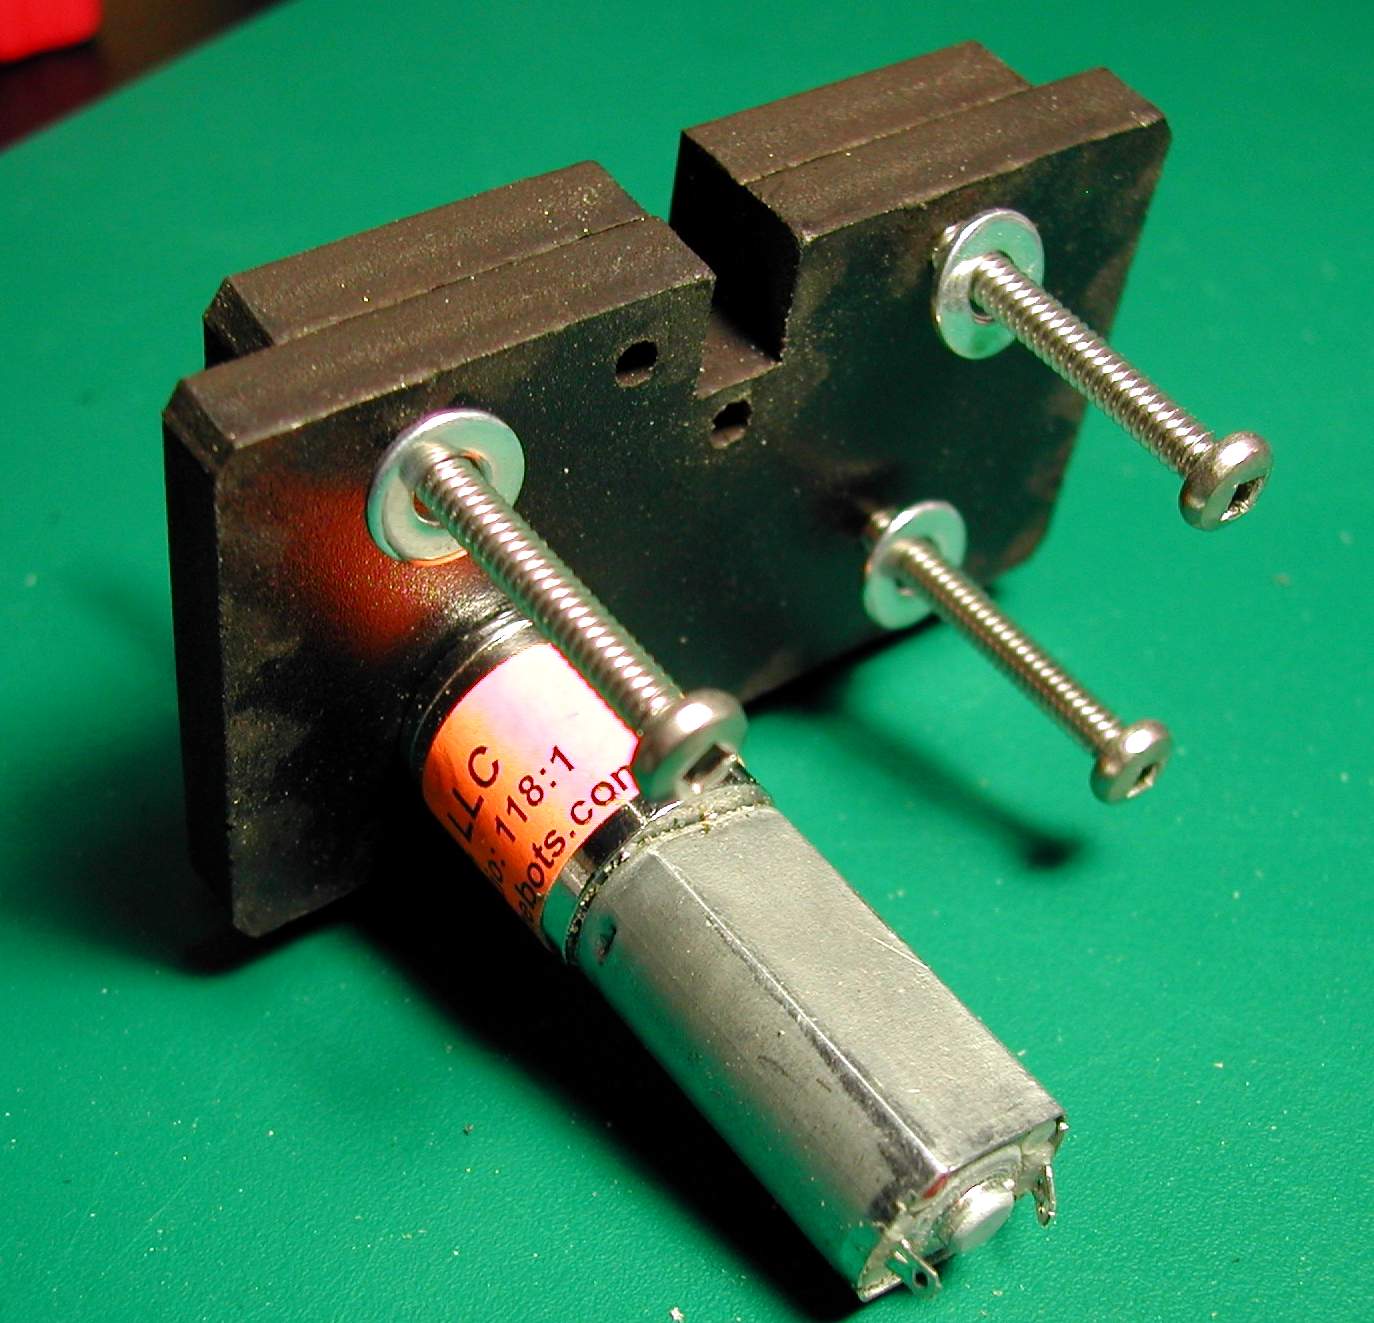
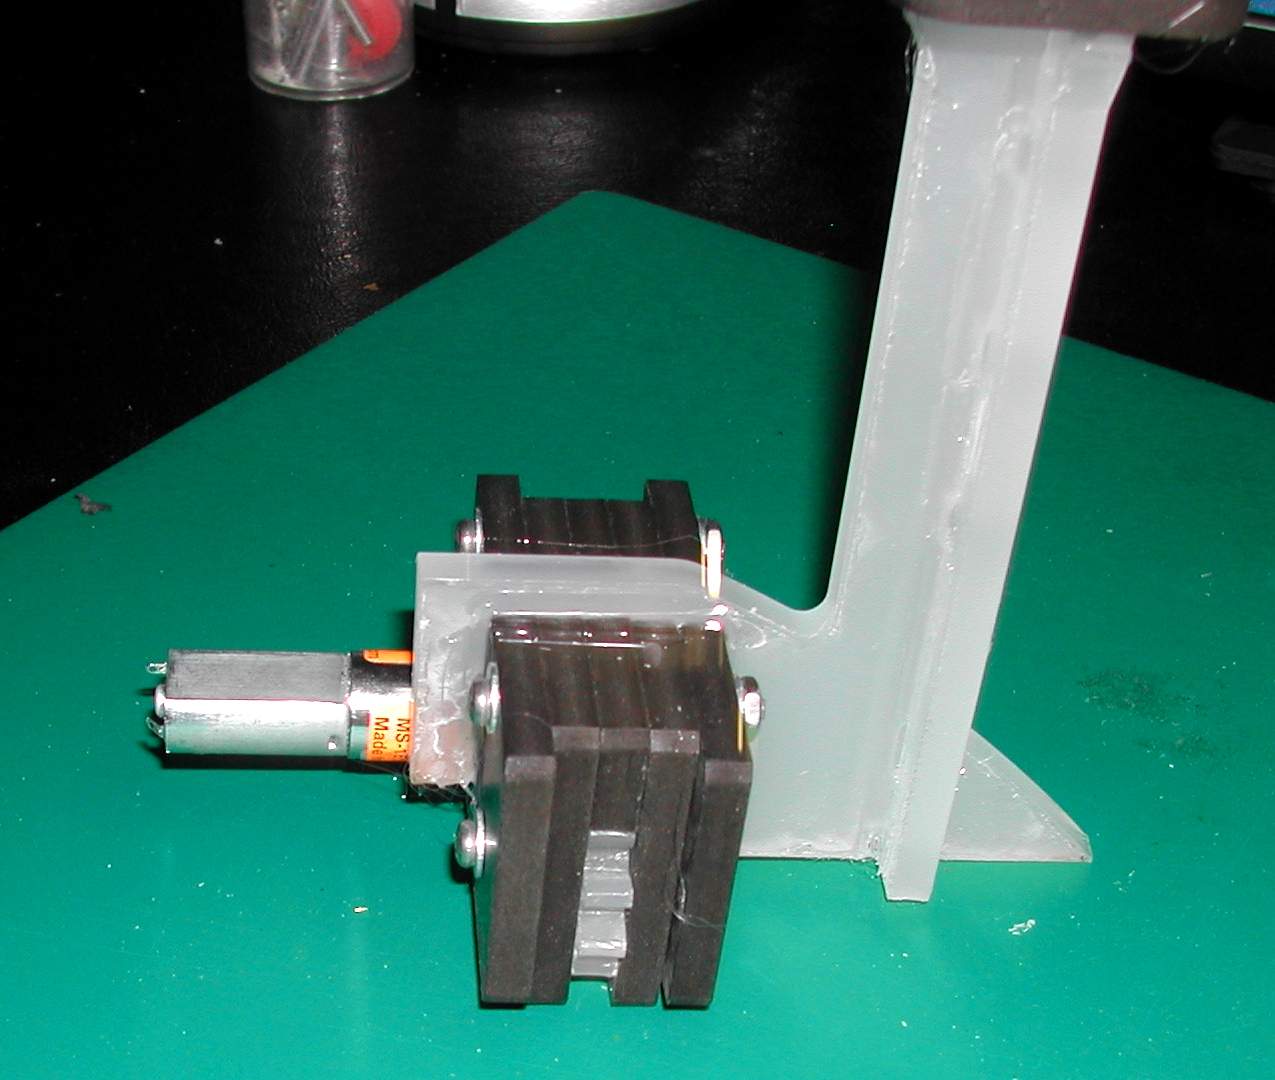
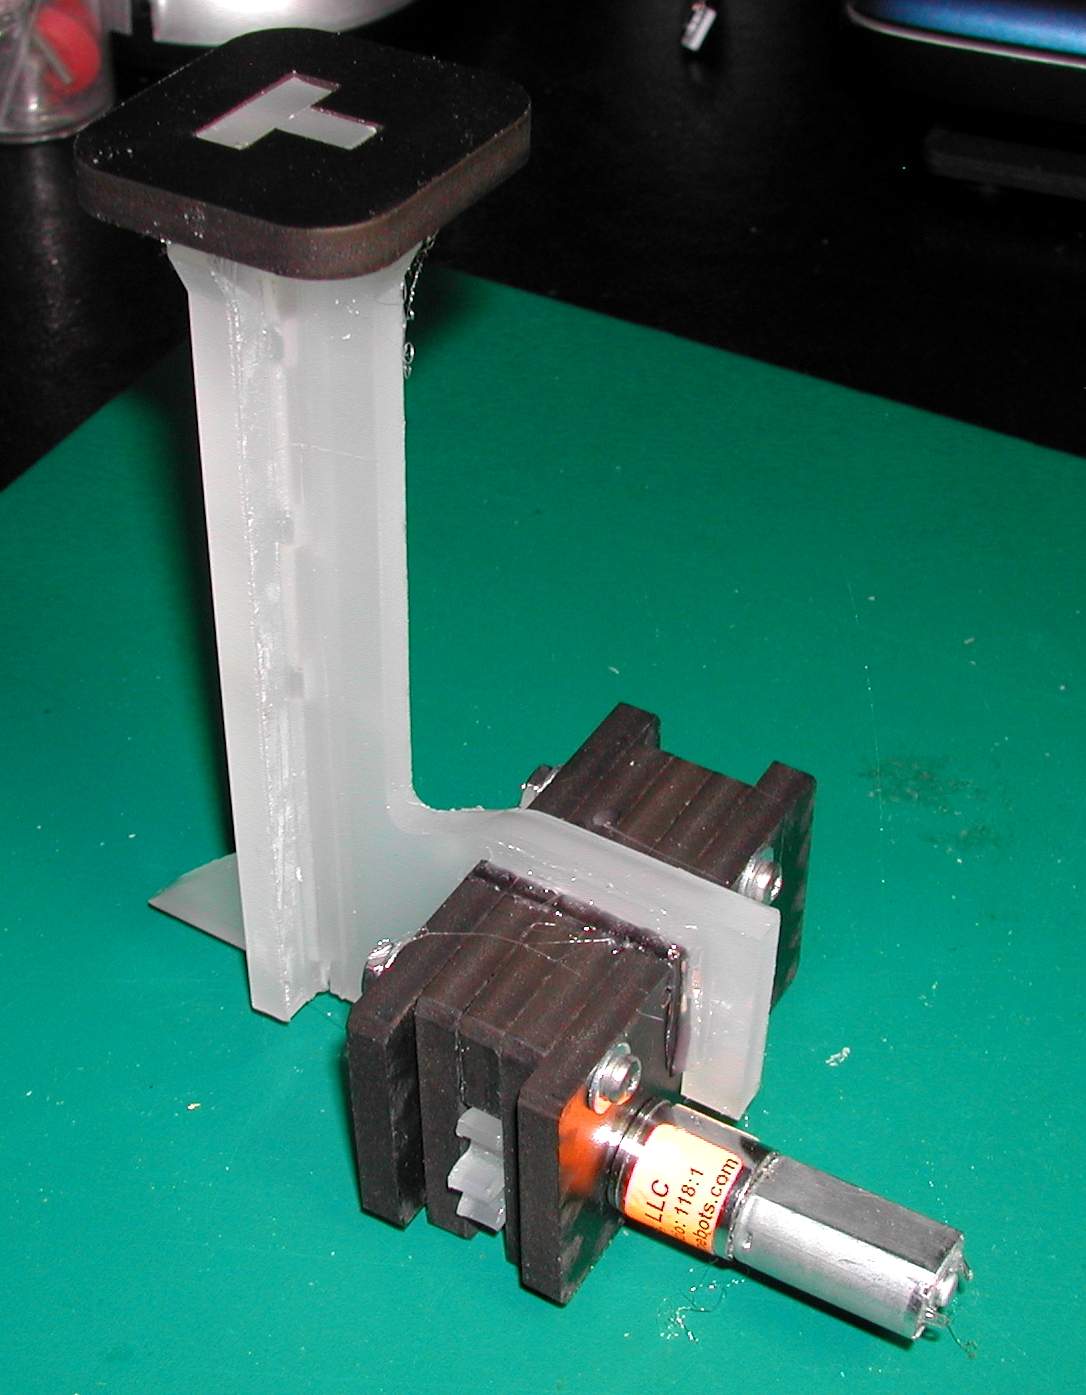
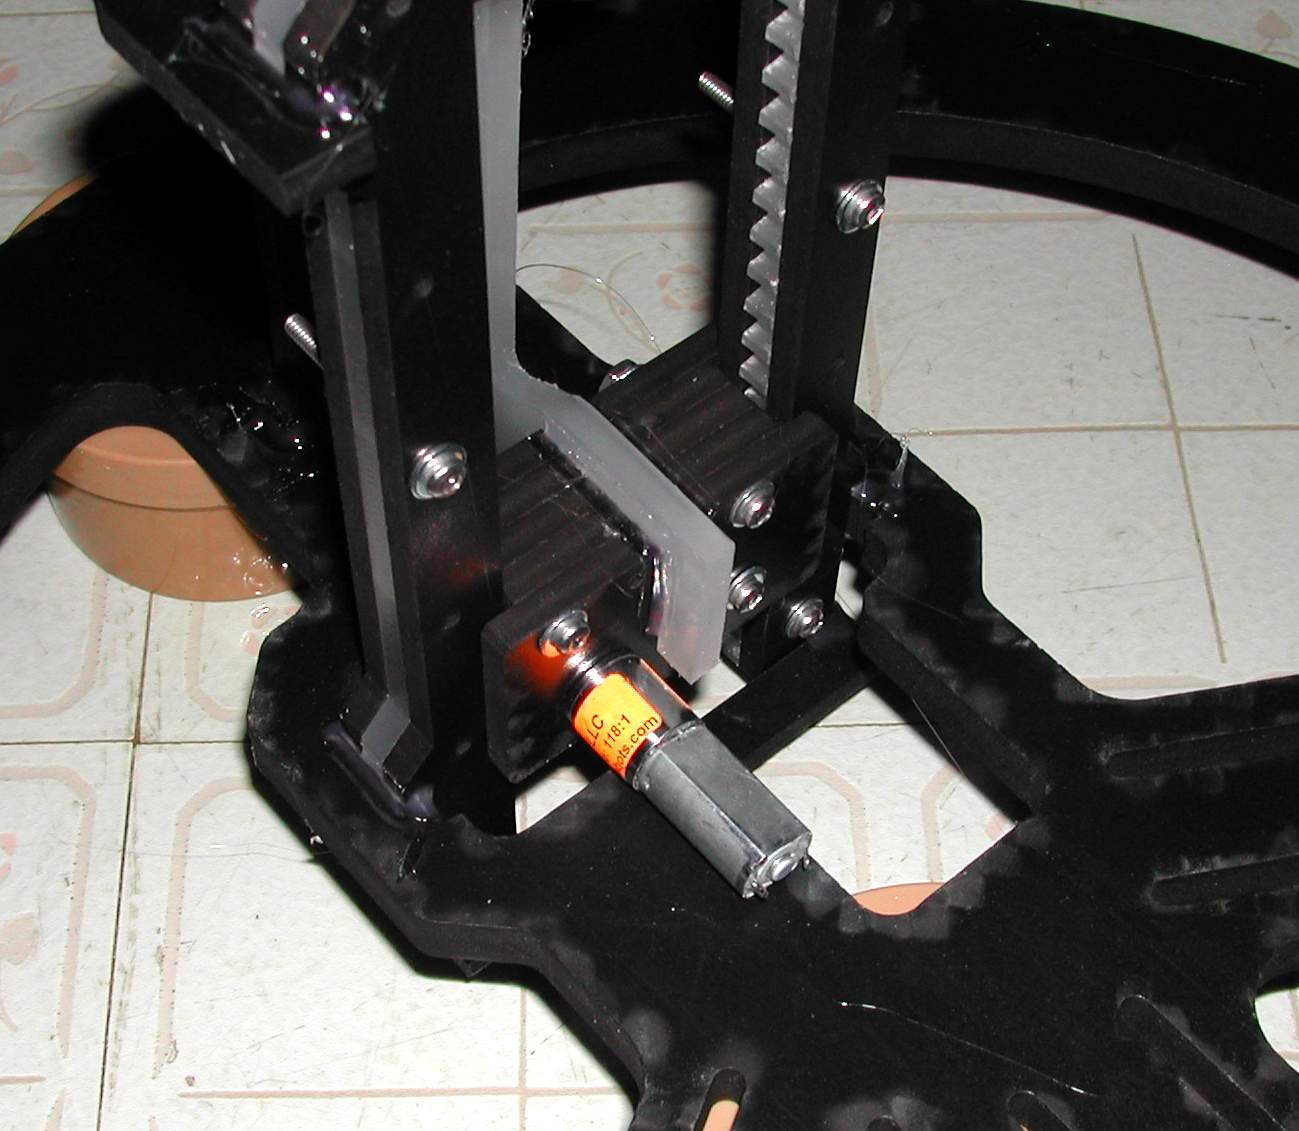
First I mounted the motor with 2-56 screws. Motor is a RB-BAN-51 from www.robotshop.ca. (6VDC, 26rpm, 534oz-in) I also purchased the Lynxmotion Mounting Hub -3mm RB-Lyn-99
The other side showing the long shaft
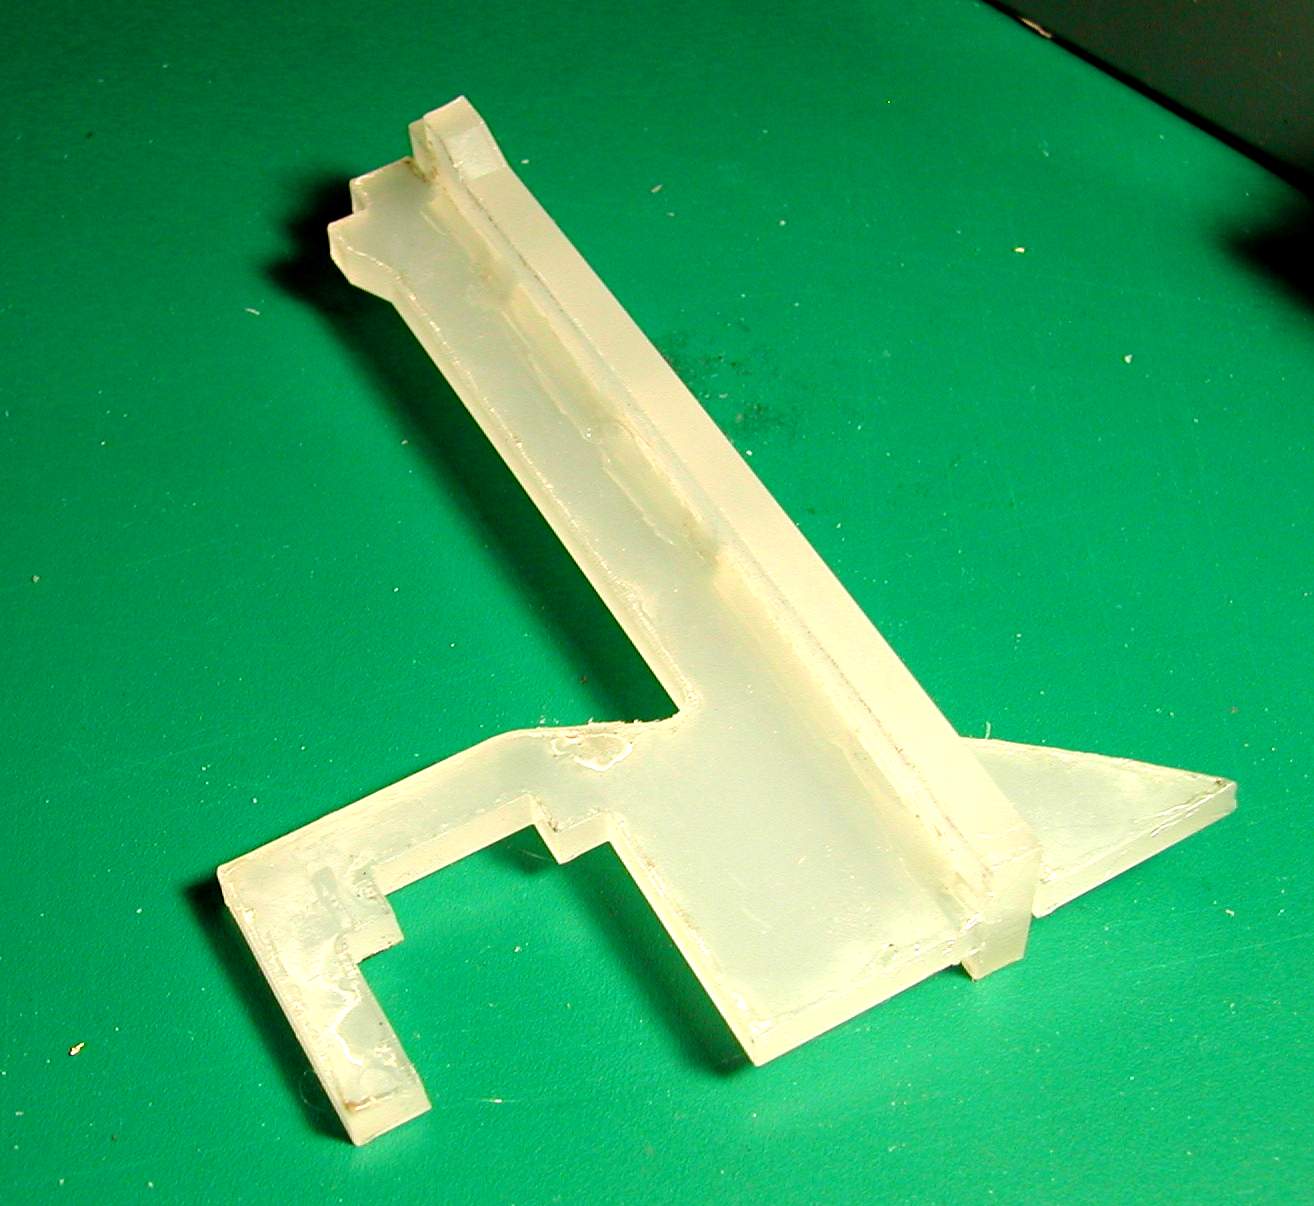
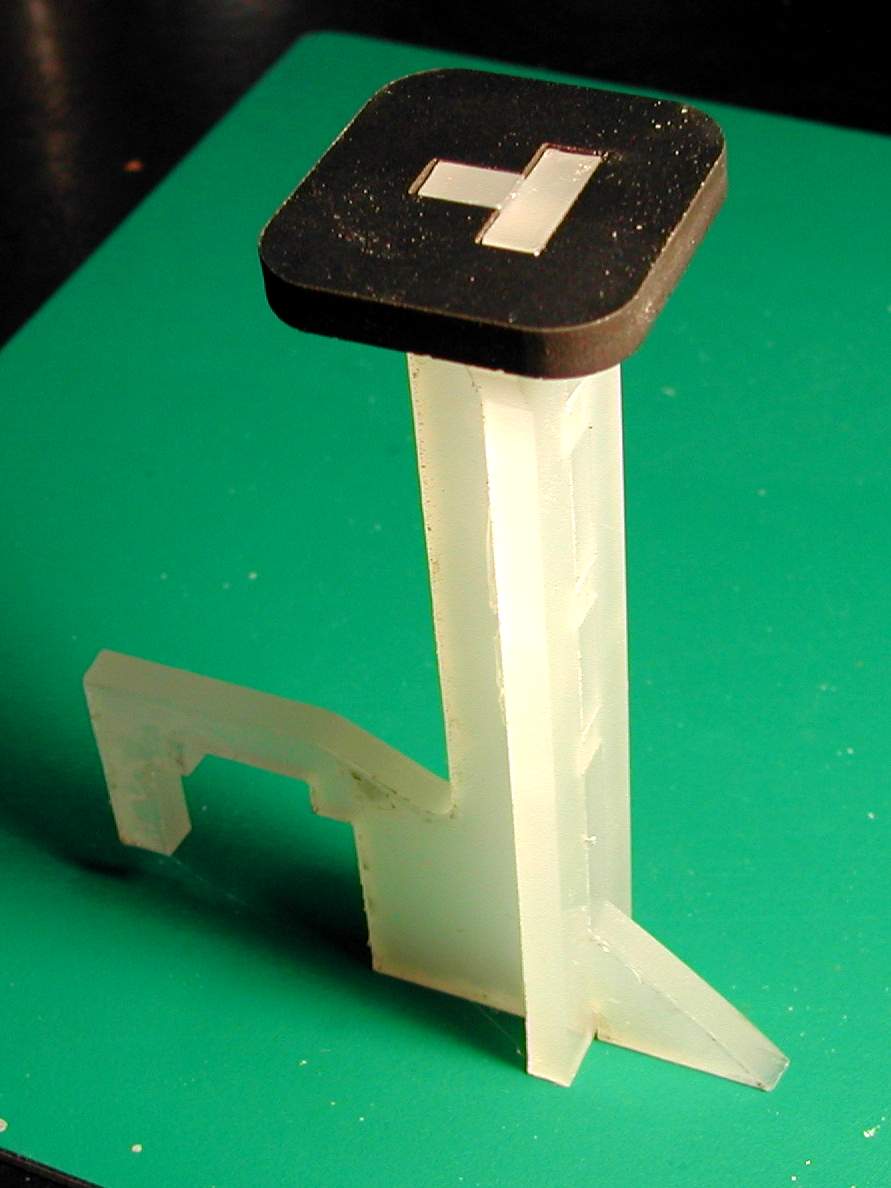
I glued this small part onto the next piece
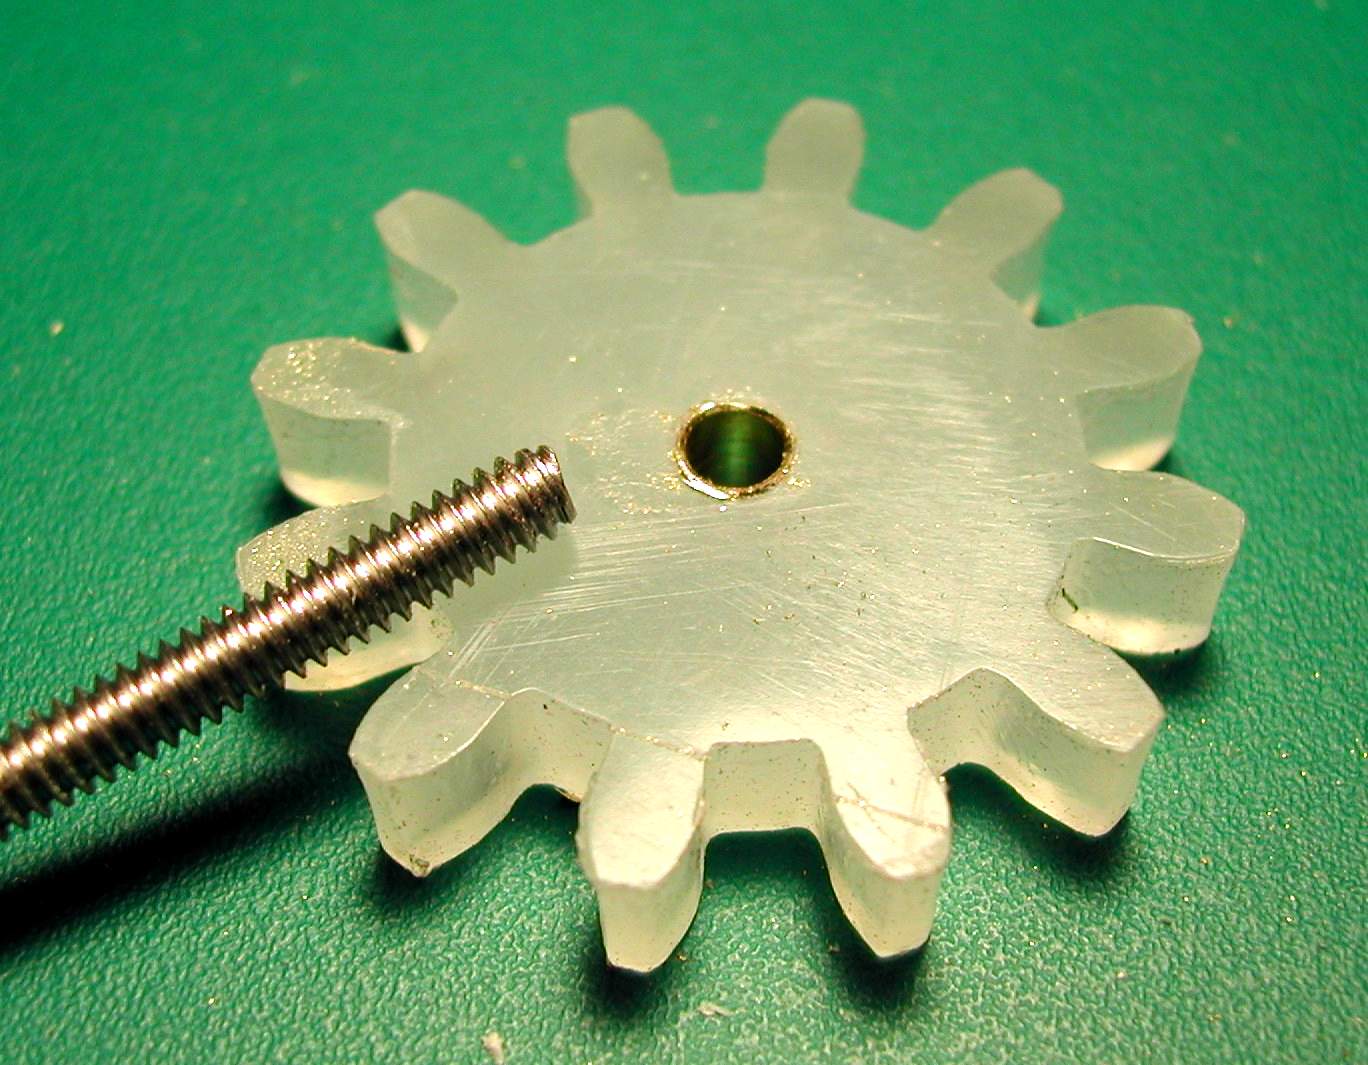
I made a little brass bushing to reduce possibility of wear on the gear by the threaded rod. Although not 100% necessary because the gear is not rotating all the time I think if you can make one then do it.
Mounting of the second part. In hindsight, due to interference problems, I should have started the screws from the other side.
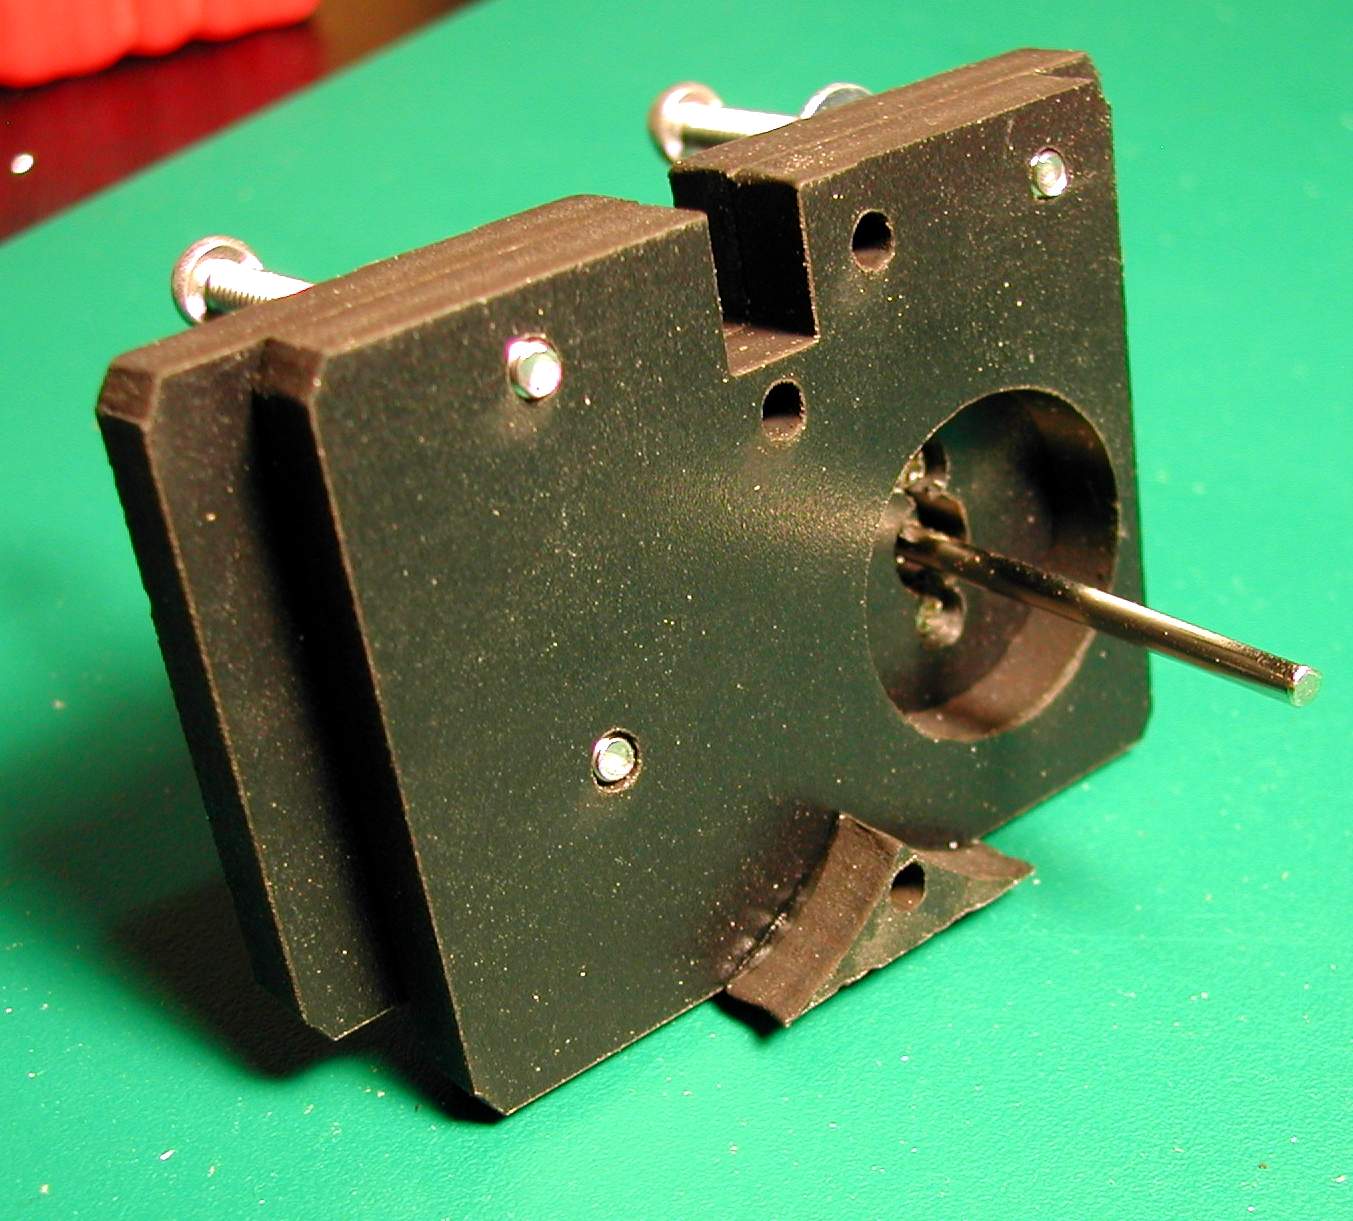
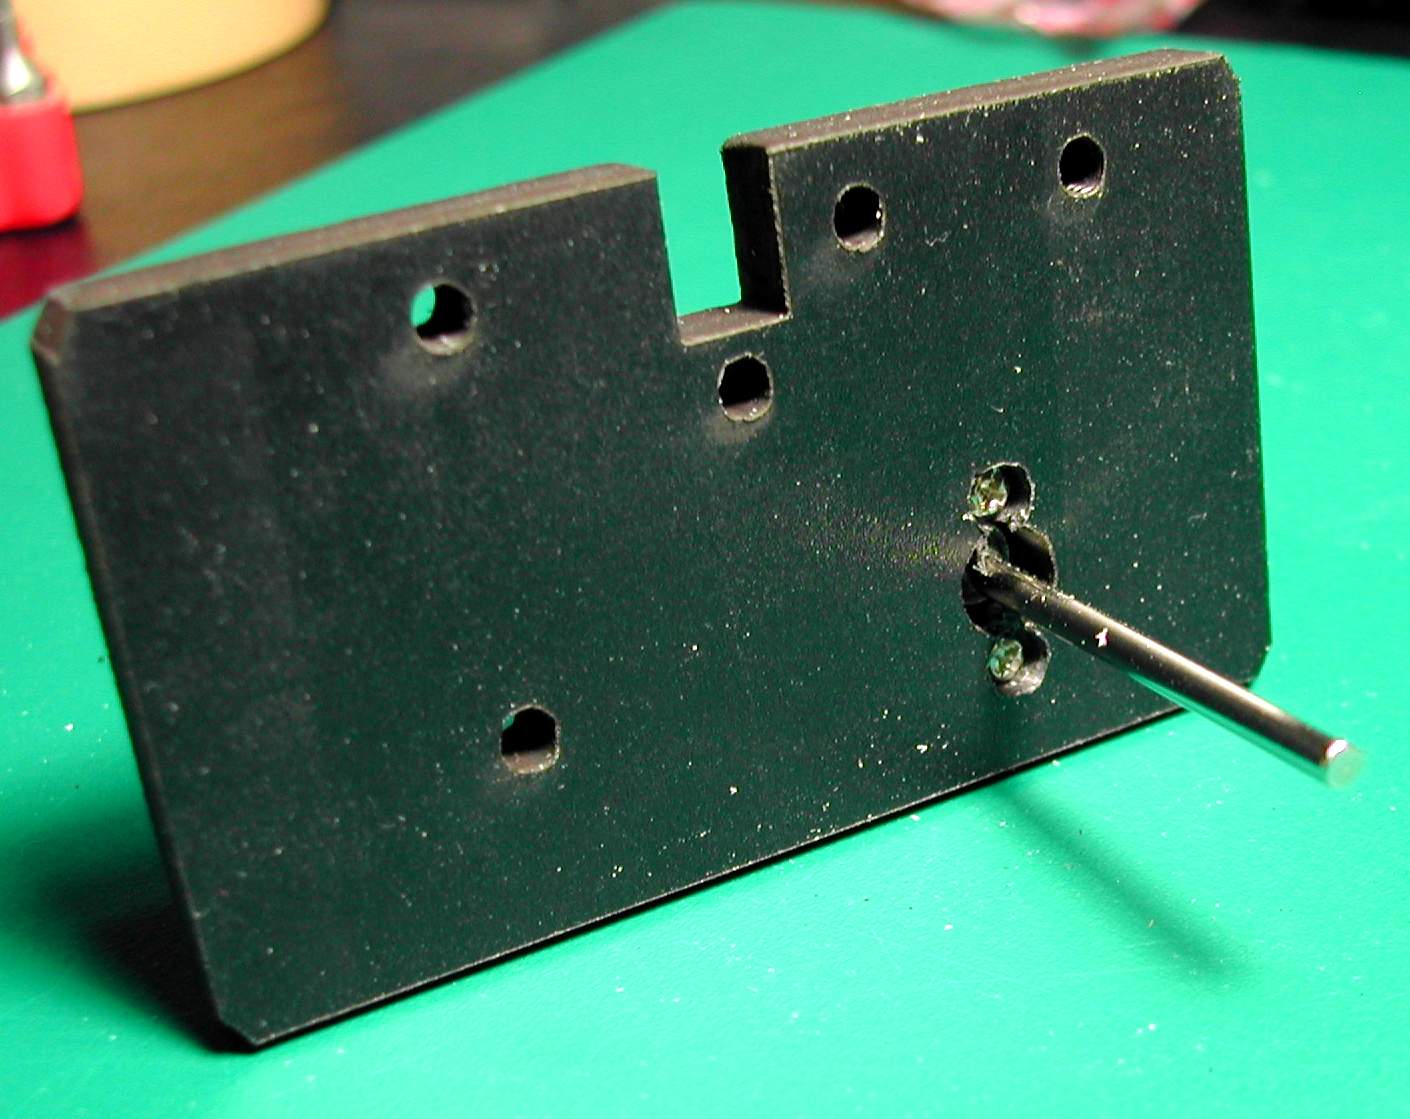
The front side
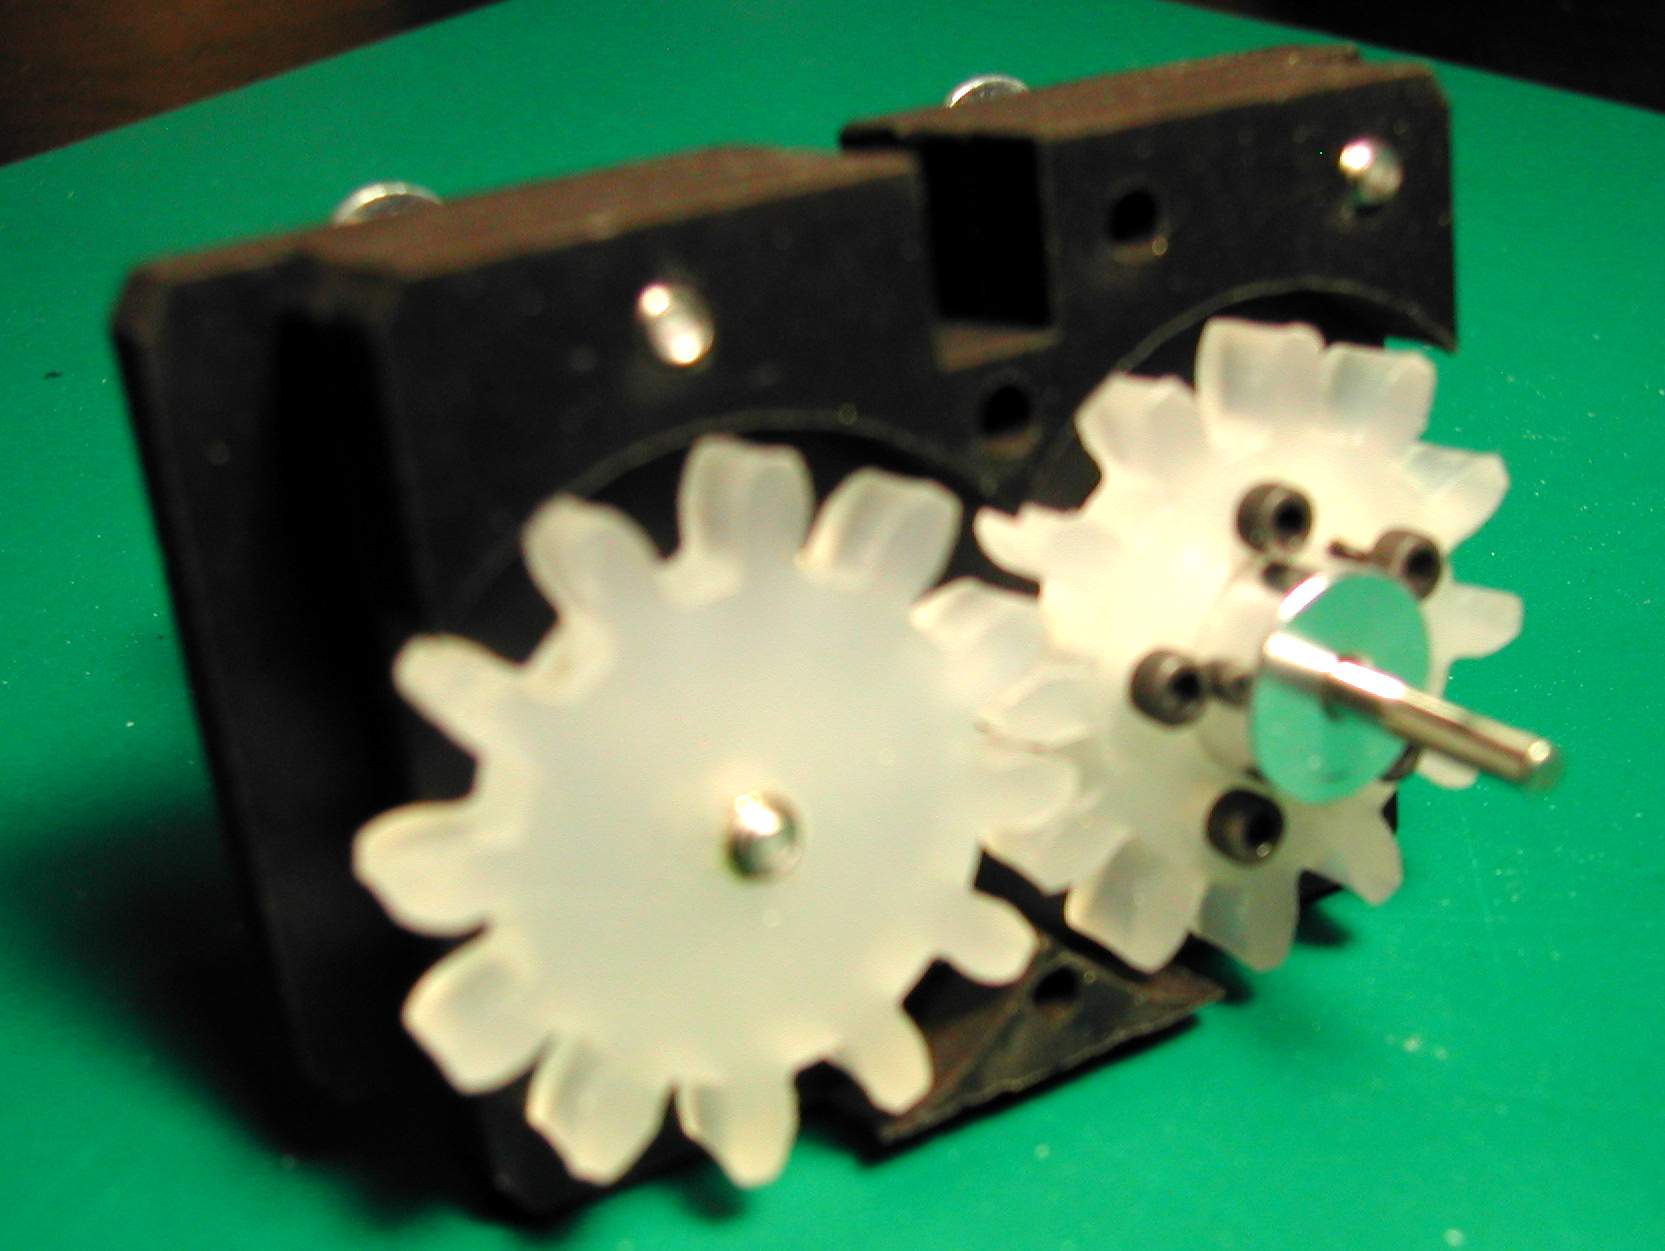
Adding the gears
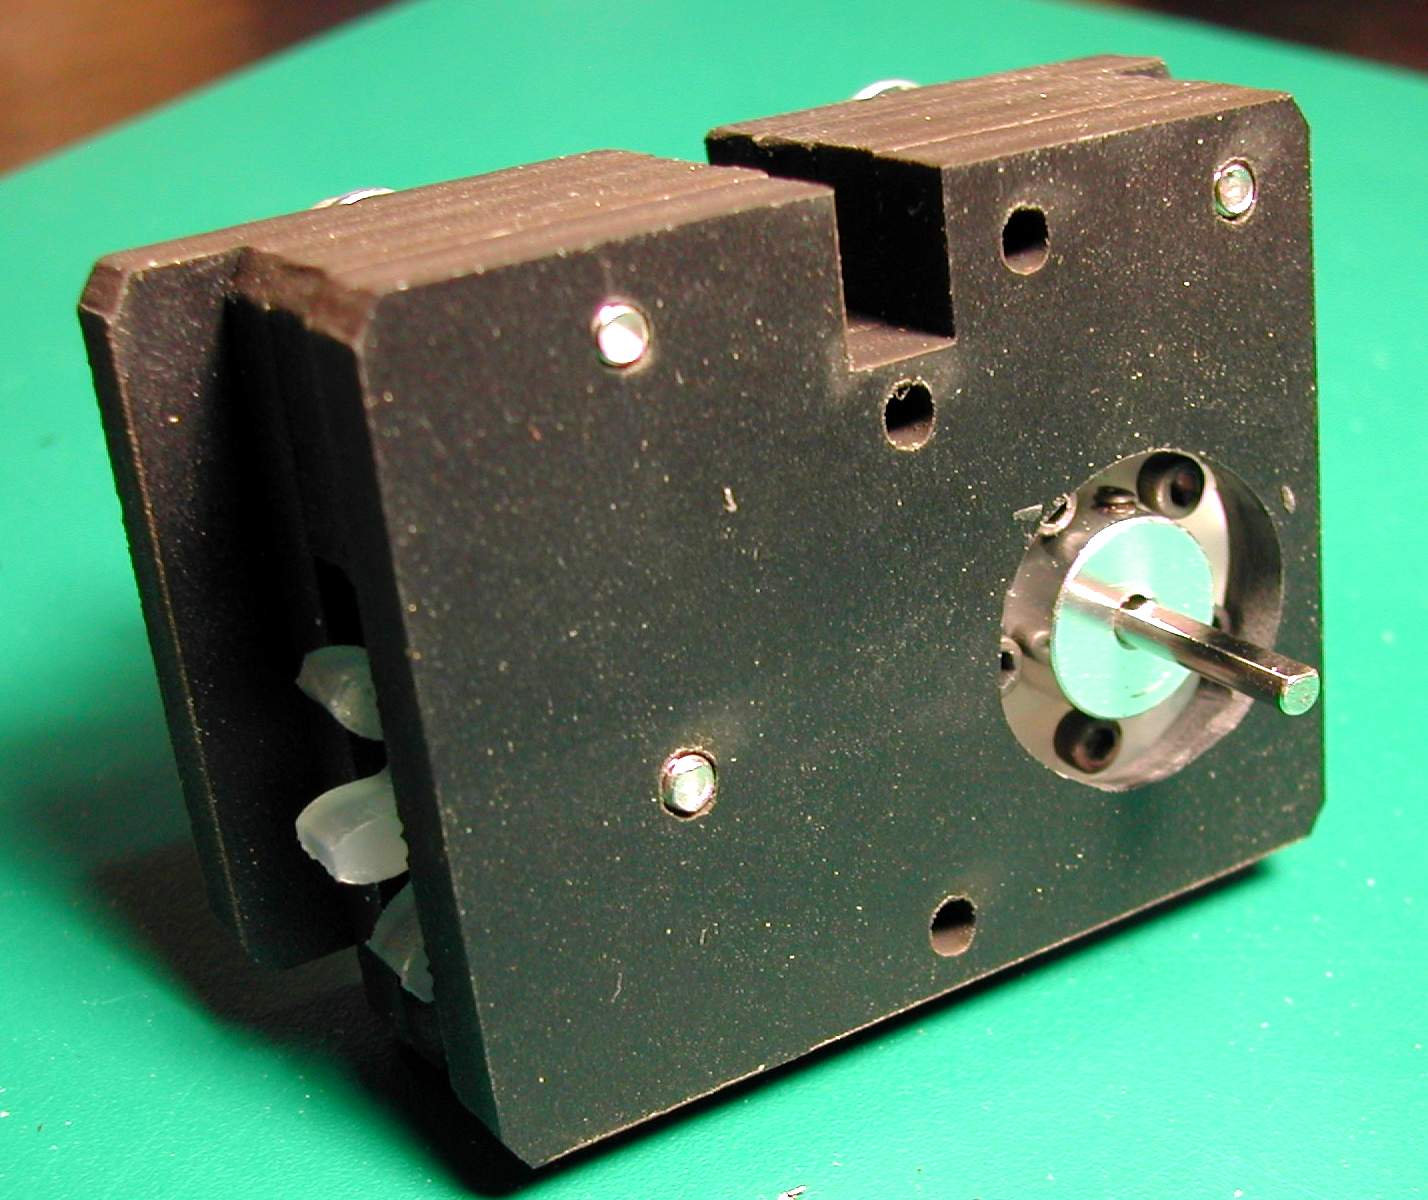
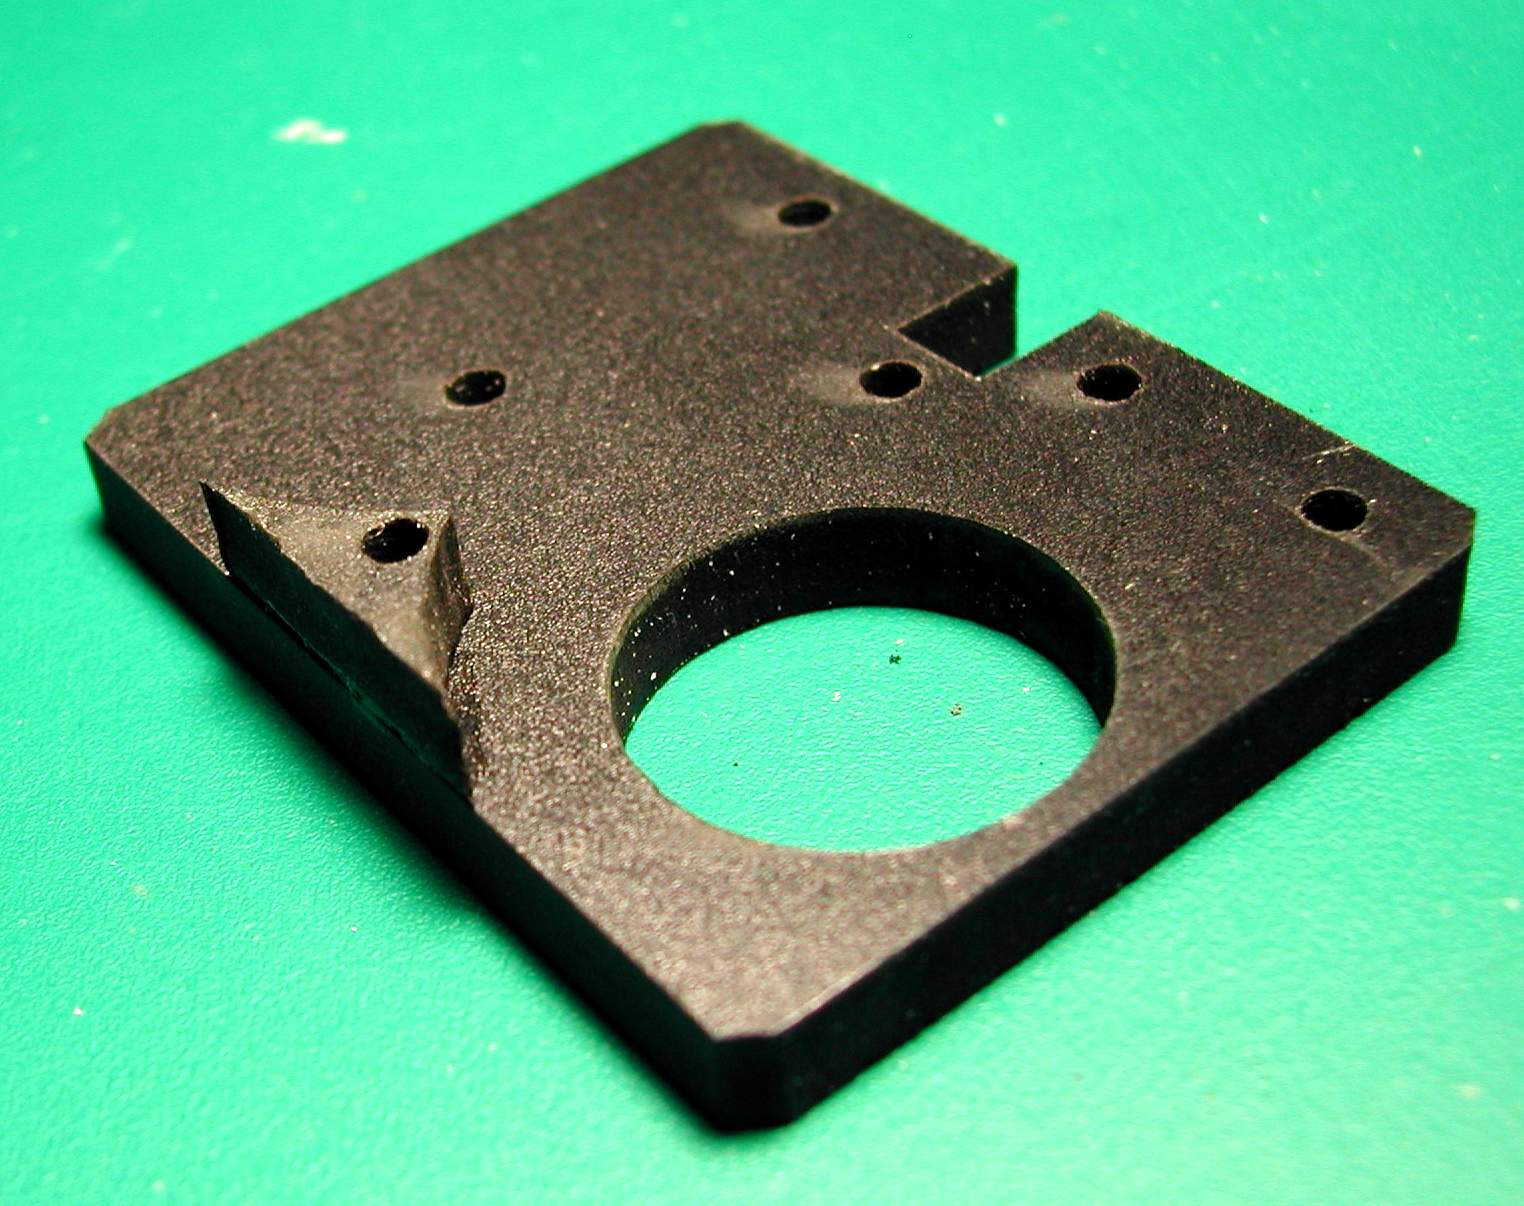
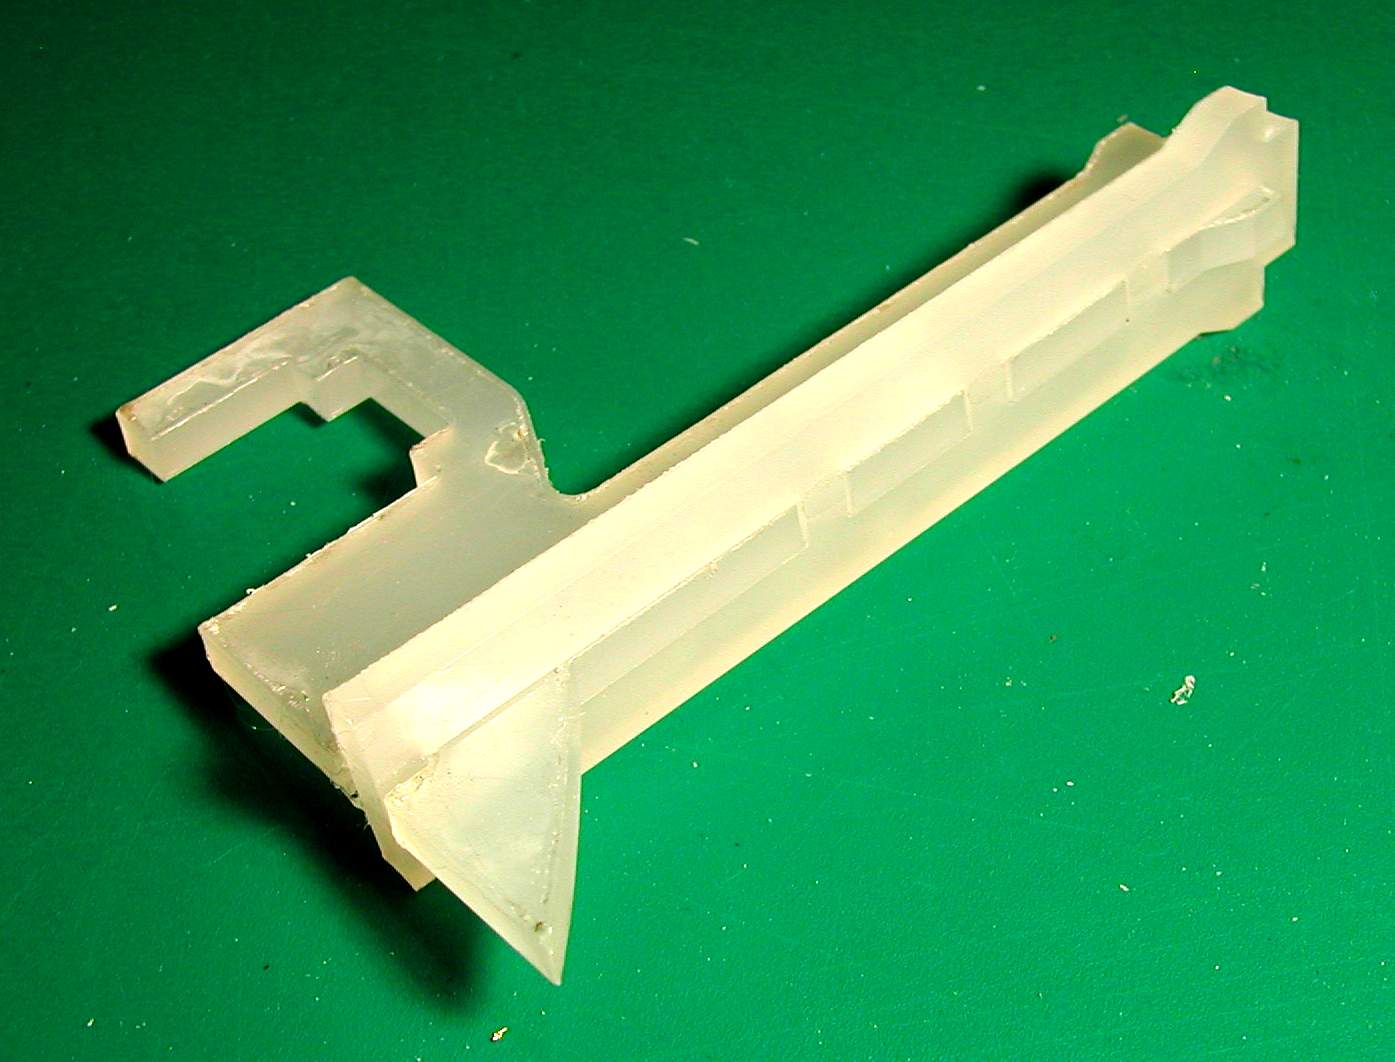
Adding the next plate. This is the one I modified to clear the hex heads

Using the 6-32-1-1/2" pan head screws to join the parts. You can see that I used washers in the assembly. Later on these interfered with the lift system so I took them out later
The gear side. NOTE: The left and right gears are slightly different. Before you commit to gluing the parts to the ring test the geared assembly o make sure the gears mesh correctly
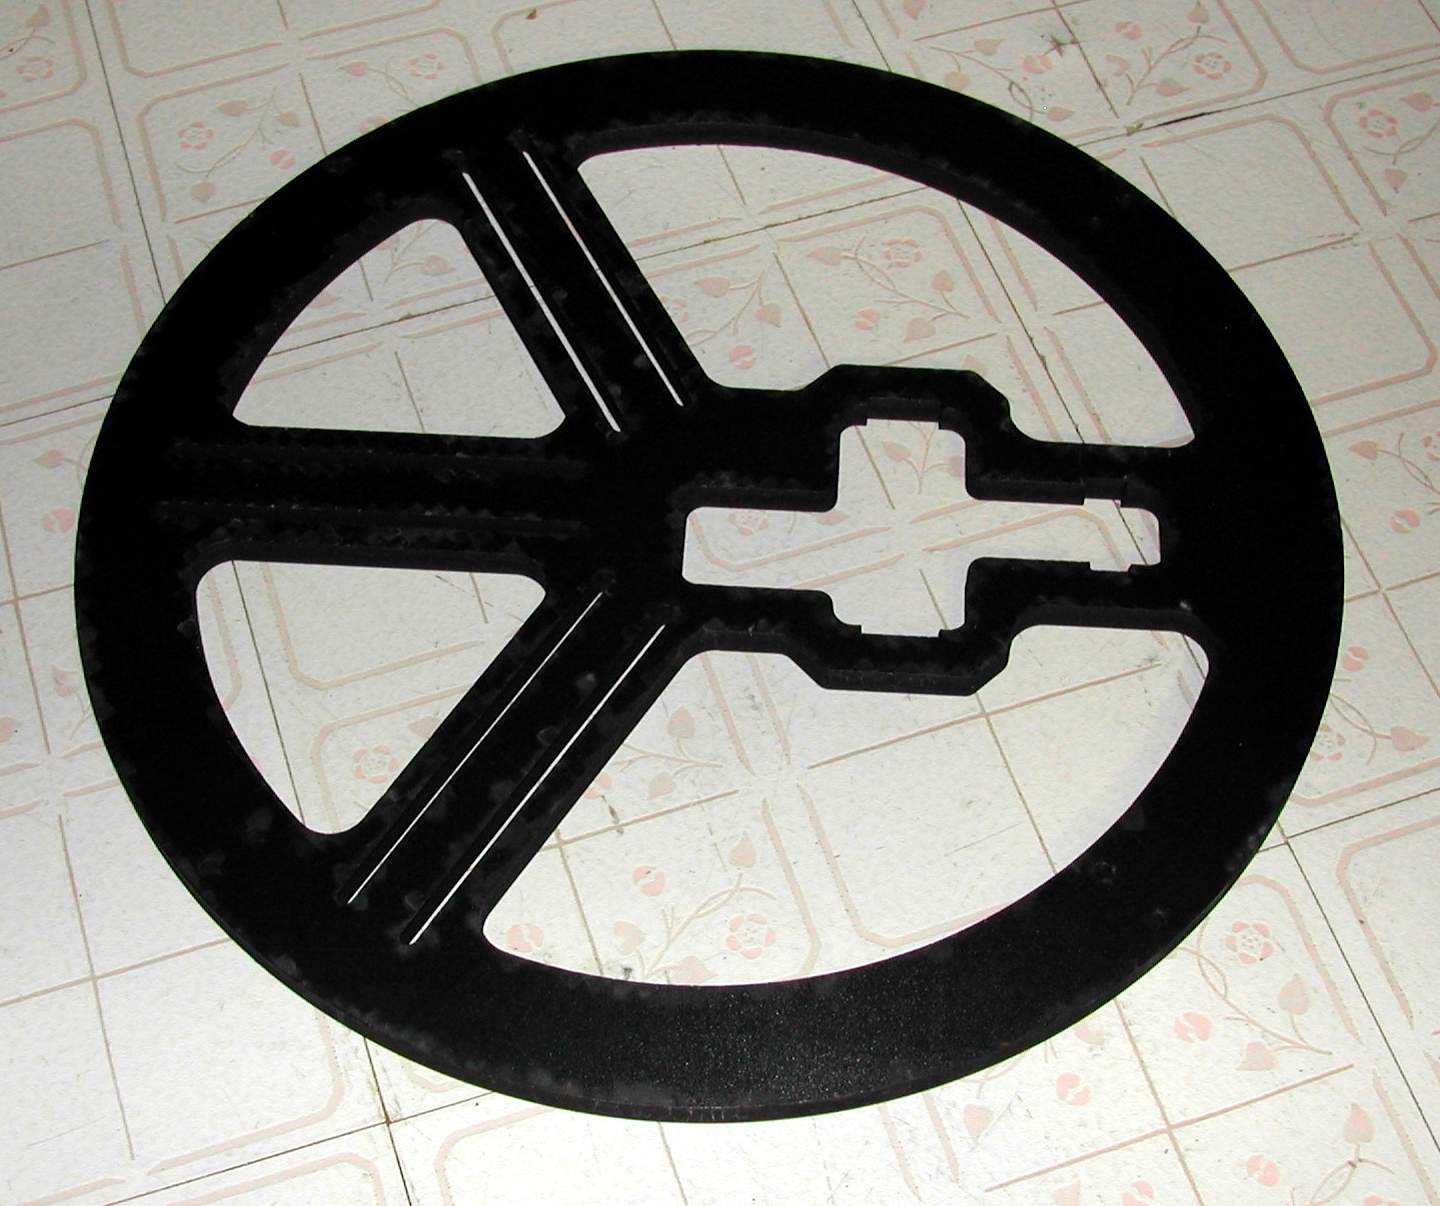
One of the 3 different dome mounting plates offered. This is the one lifter plate. NOTE: For the way I mounted the motor the ring is upside down. Later on you will see where the problem occurs.
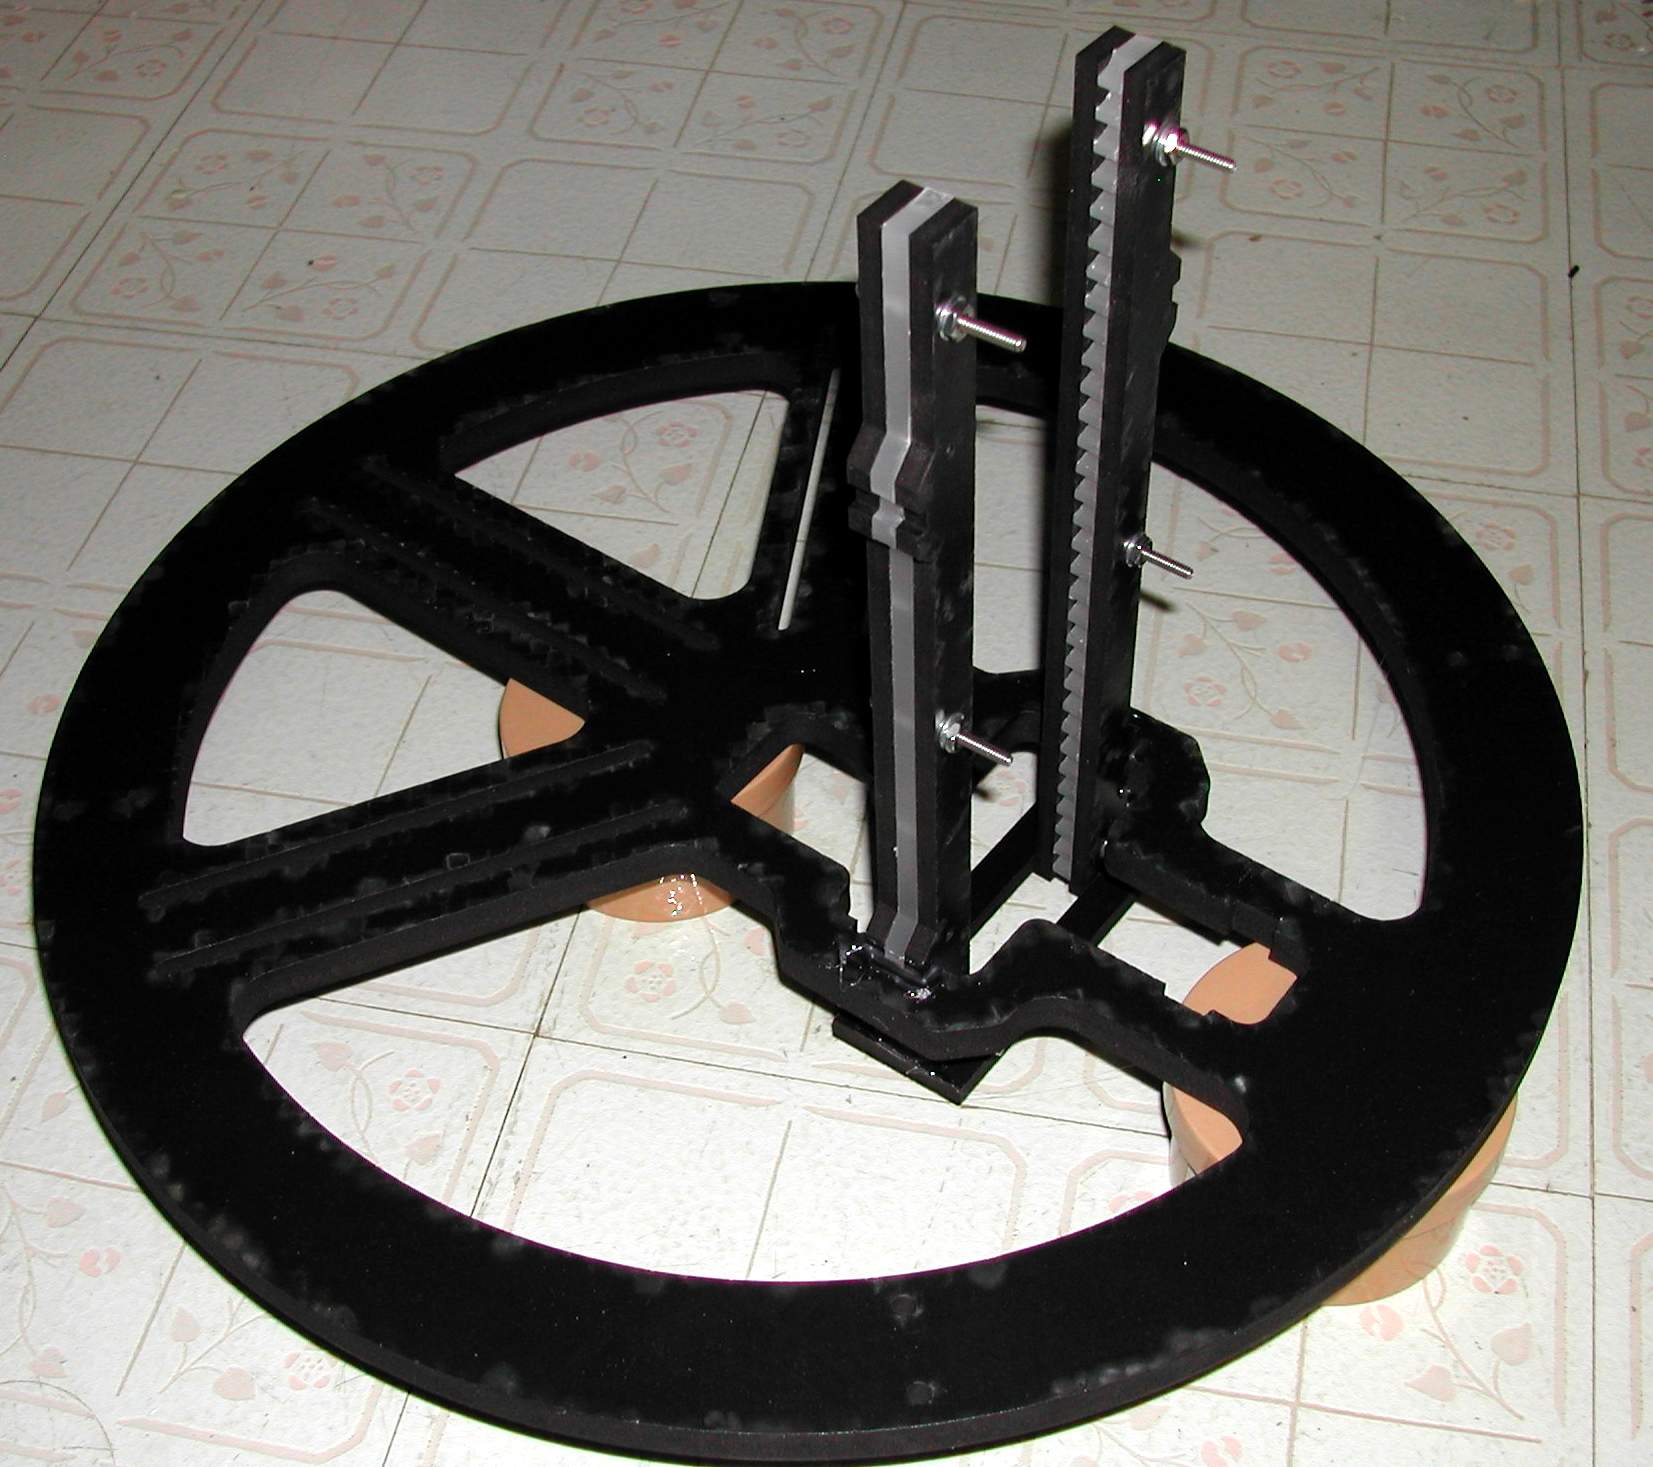
I just hot glued the parts together to see how the system works. Adding the 2 vertical geared columns. Test the geared assembly to make sure it moves correctly. If I was more observant I would see that the bottom ring was upside down but I guess I was distracted by making sure the gears meshed right. I also glued on the bottom rectangle to the bottom of the columns
Added the upper bracket
Gluing together the actual lift assembly. There is a slight error in this part that will have to be fixed for the production kit
Another view
Added the top plate
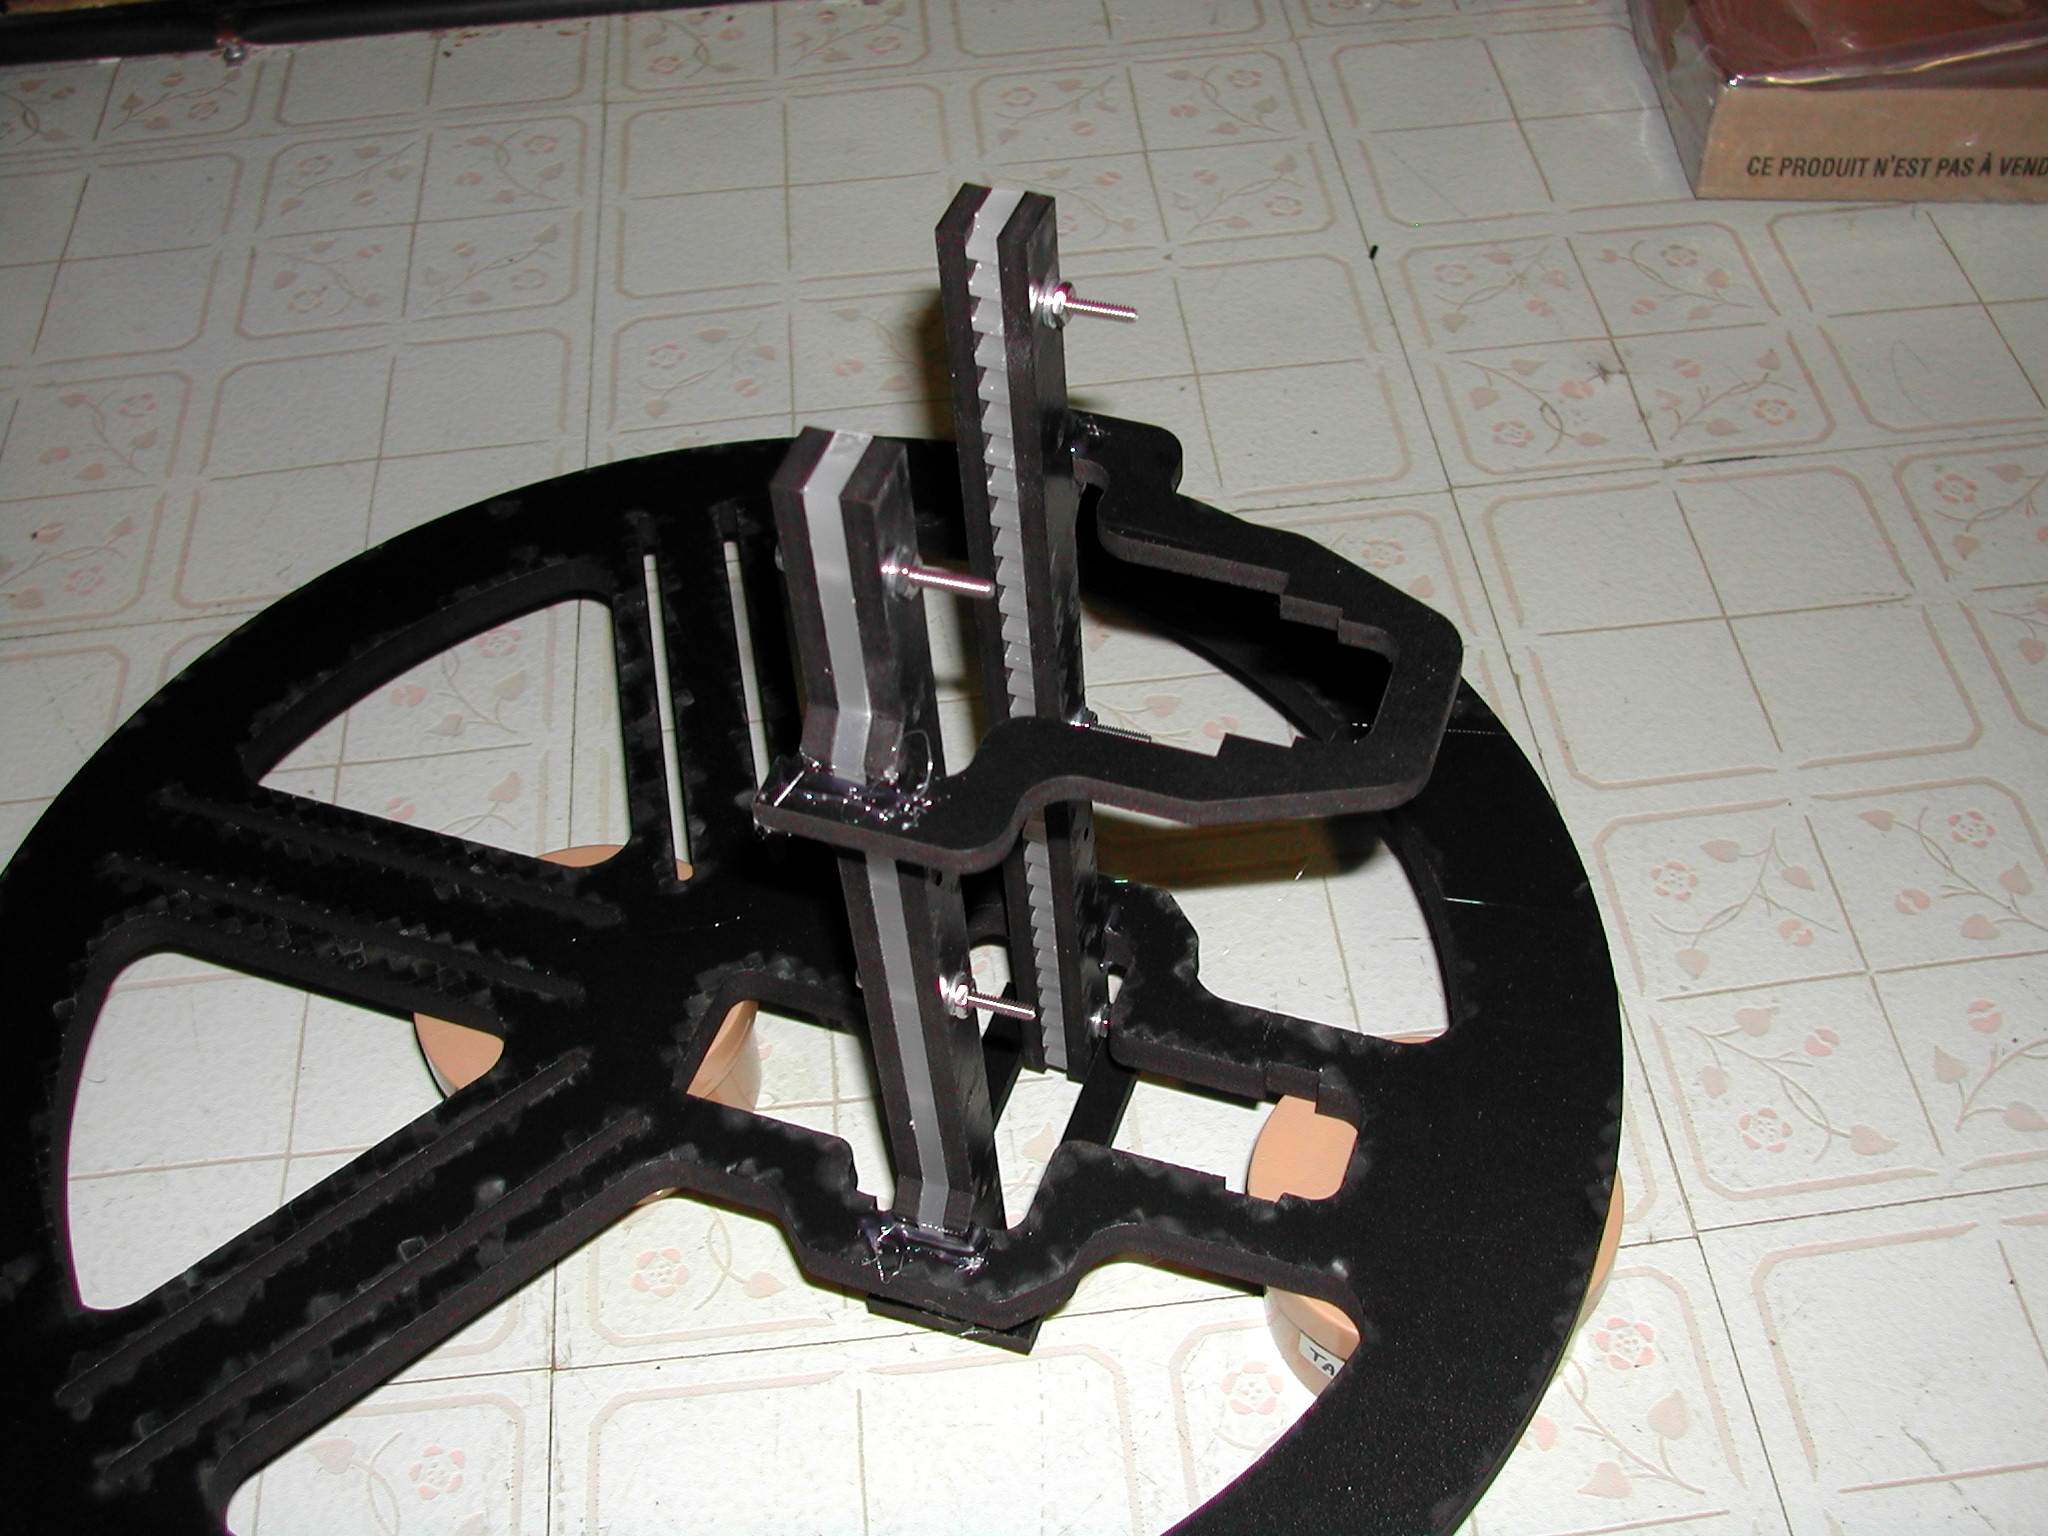
Adding the geared assembly.

Another view
And another one

Gluing in the front guides
Here is the smack the head moment when I realized the ring was upside down. The motor will not clear the plate to go to the bottom position

Thankfully the hot glue was not fully cured and I could disassemble the parts to try again
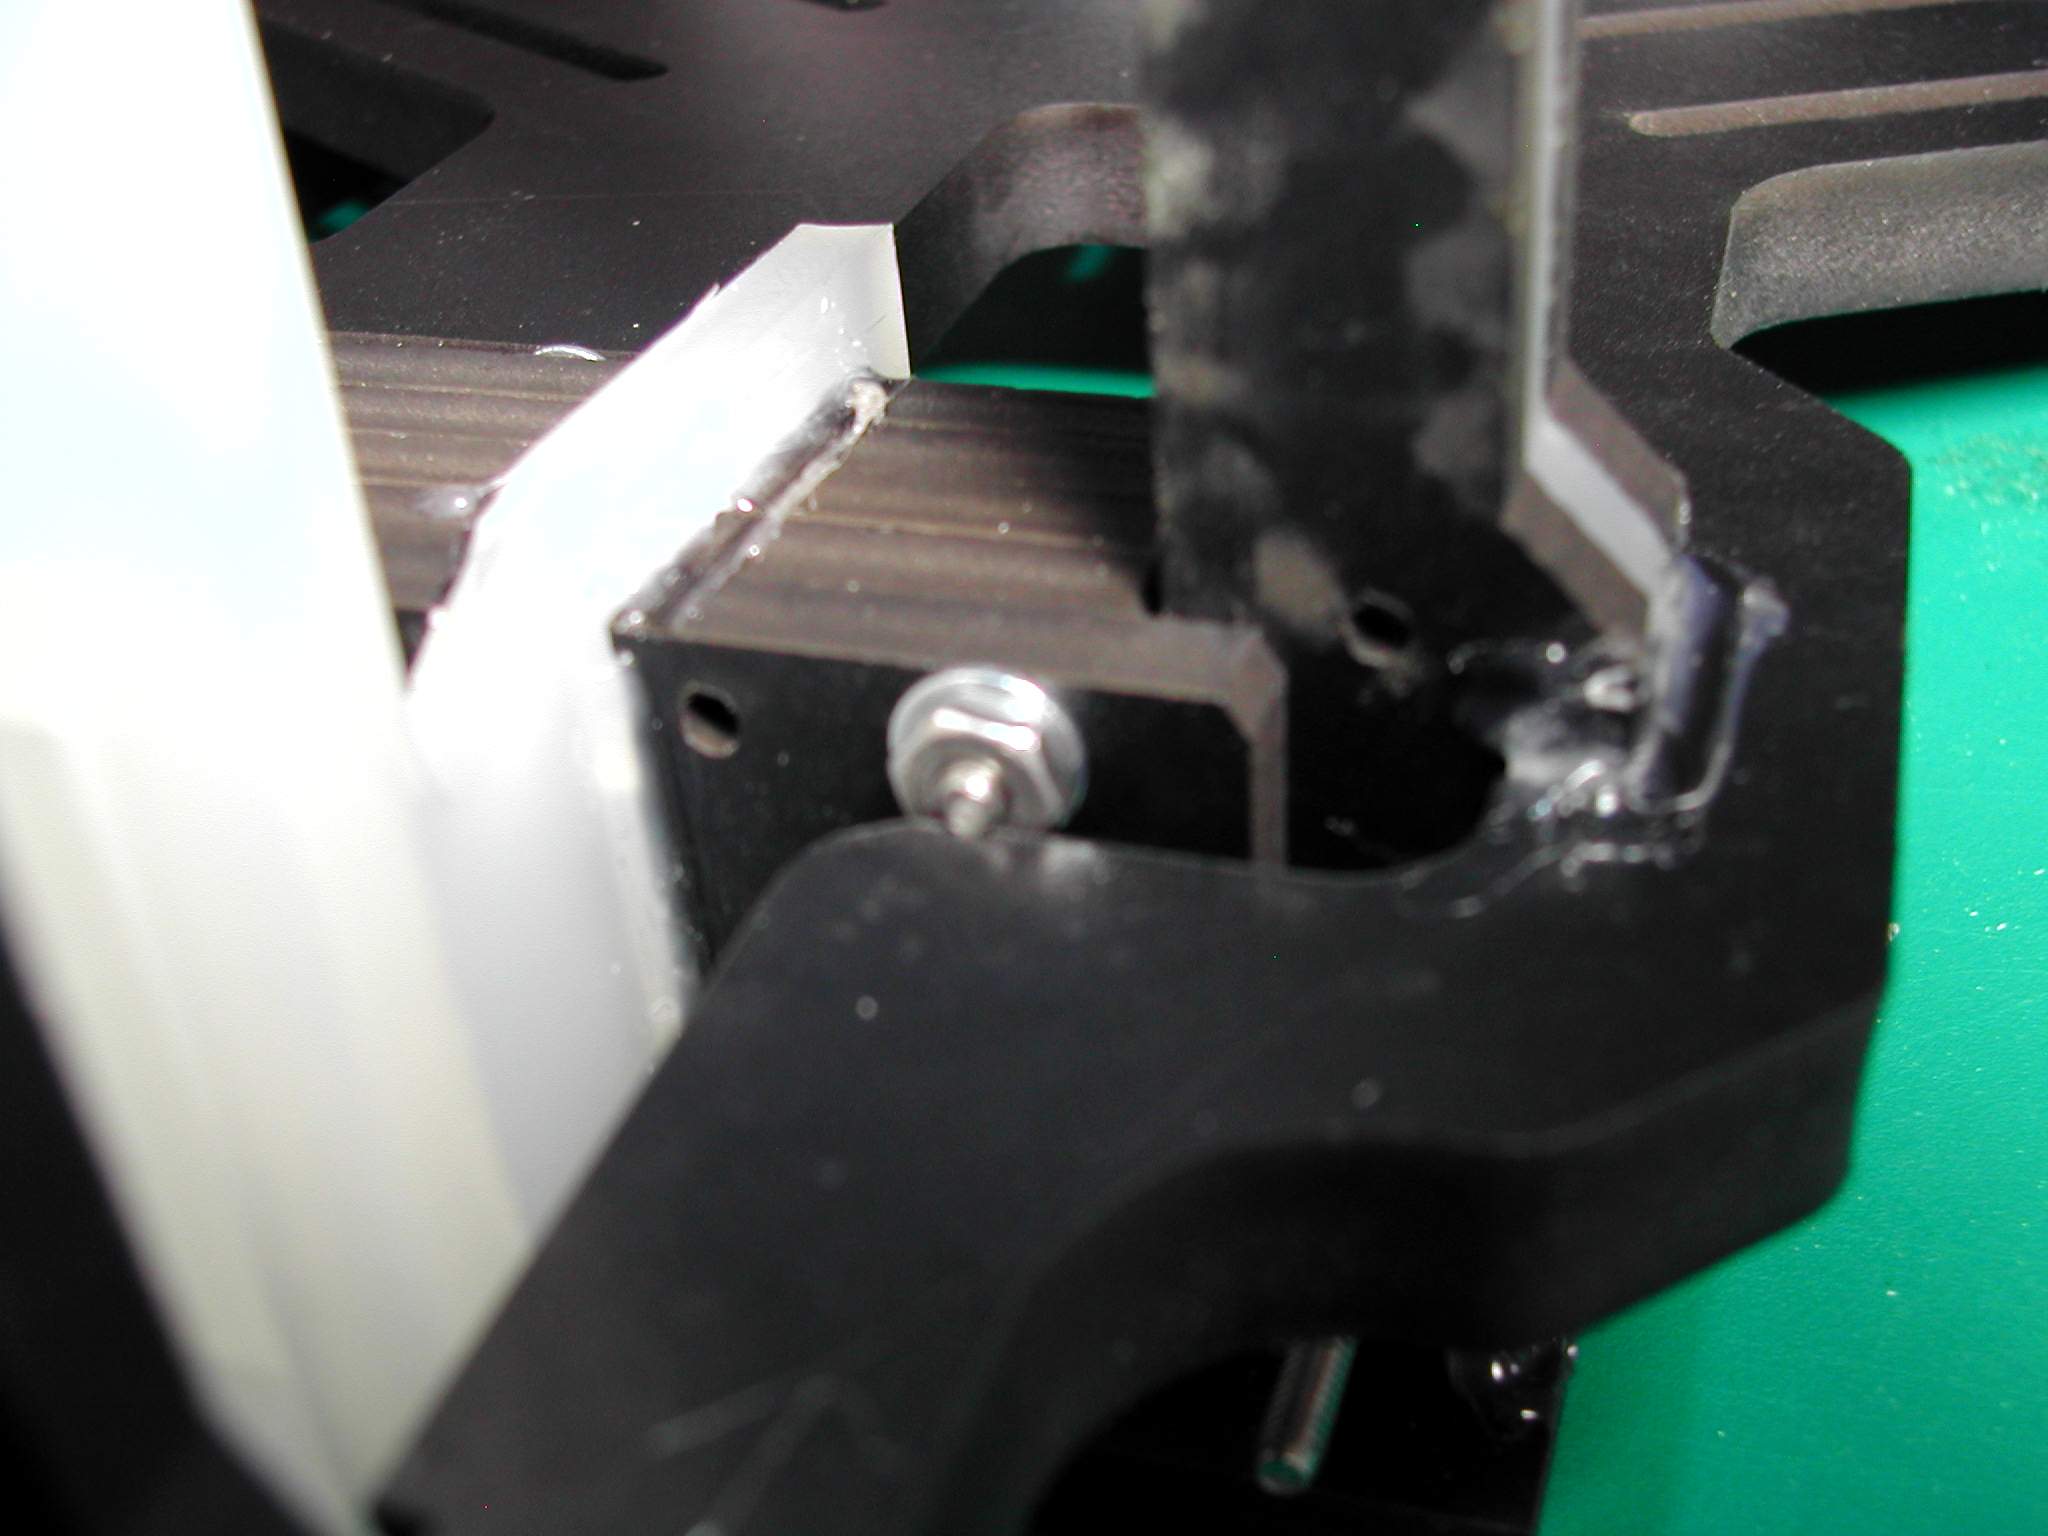
The next problem was some of the washers and threaded ends were hitting the plate or geared assembly. You can either modify the plate for clearance or modify the screws. In this case I reversed the screw so the pan head was on this side

To allow the assembly to drop down to the lowest point I beveled the edge of the assembly with an exacto knife
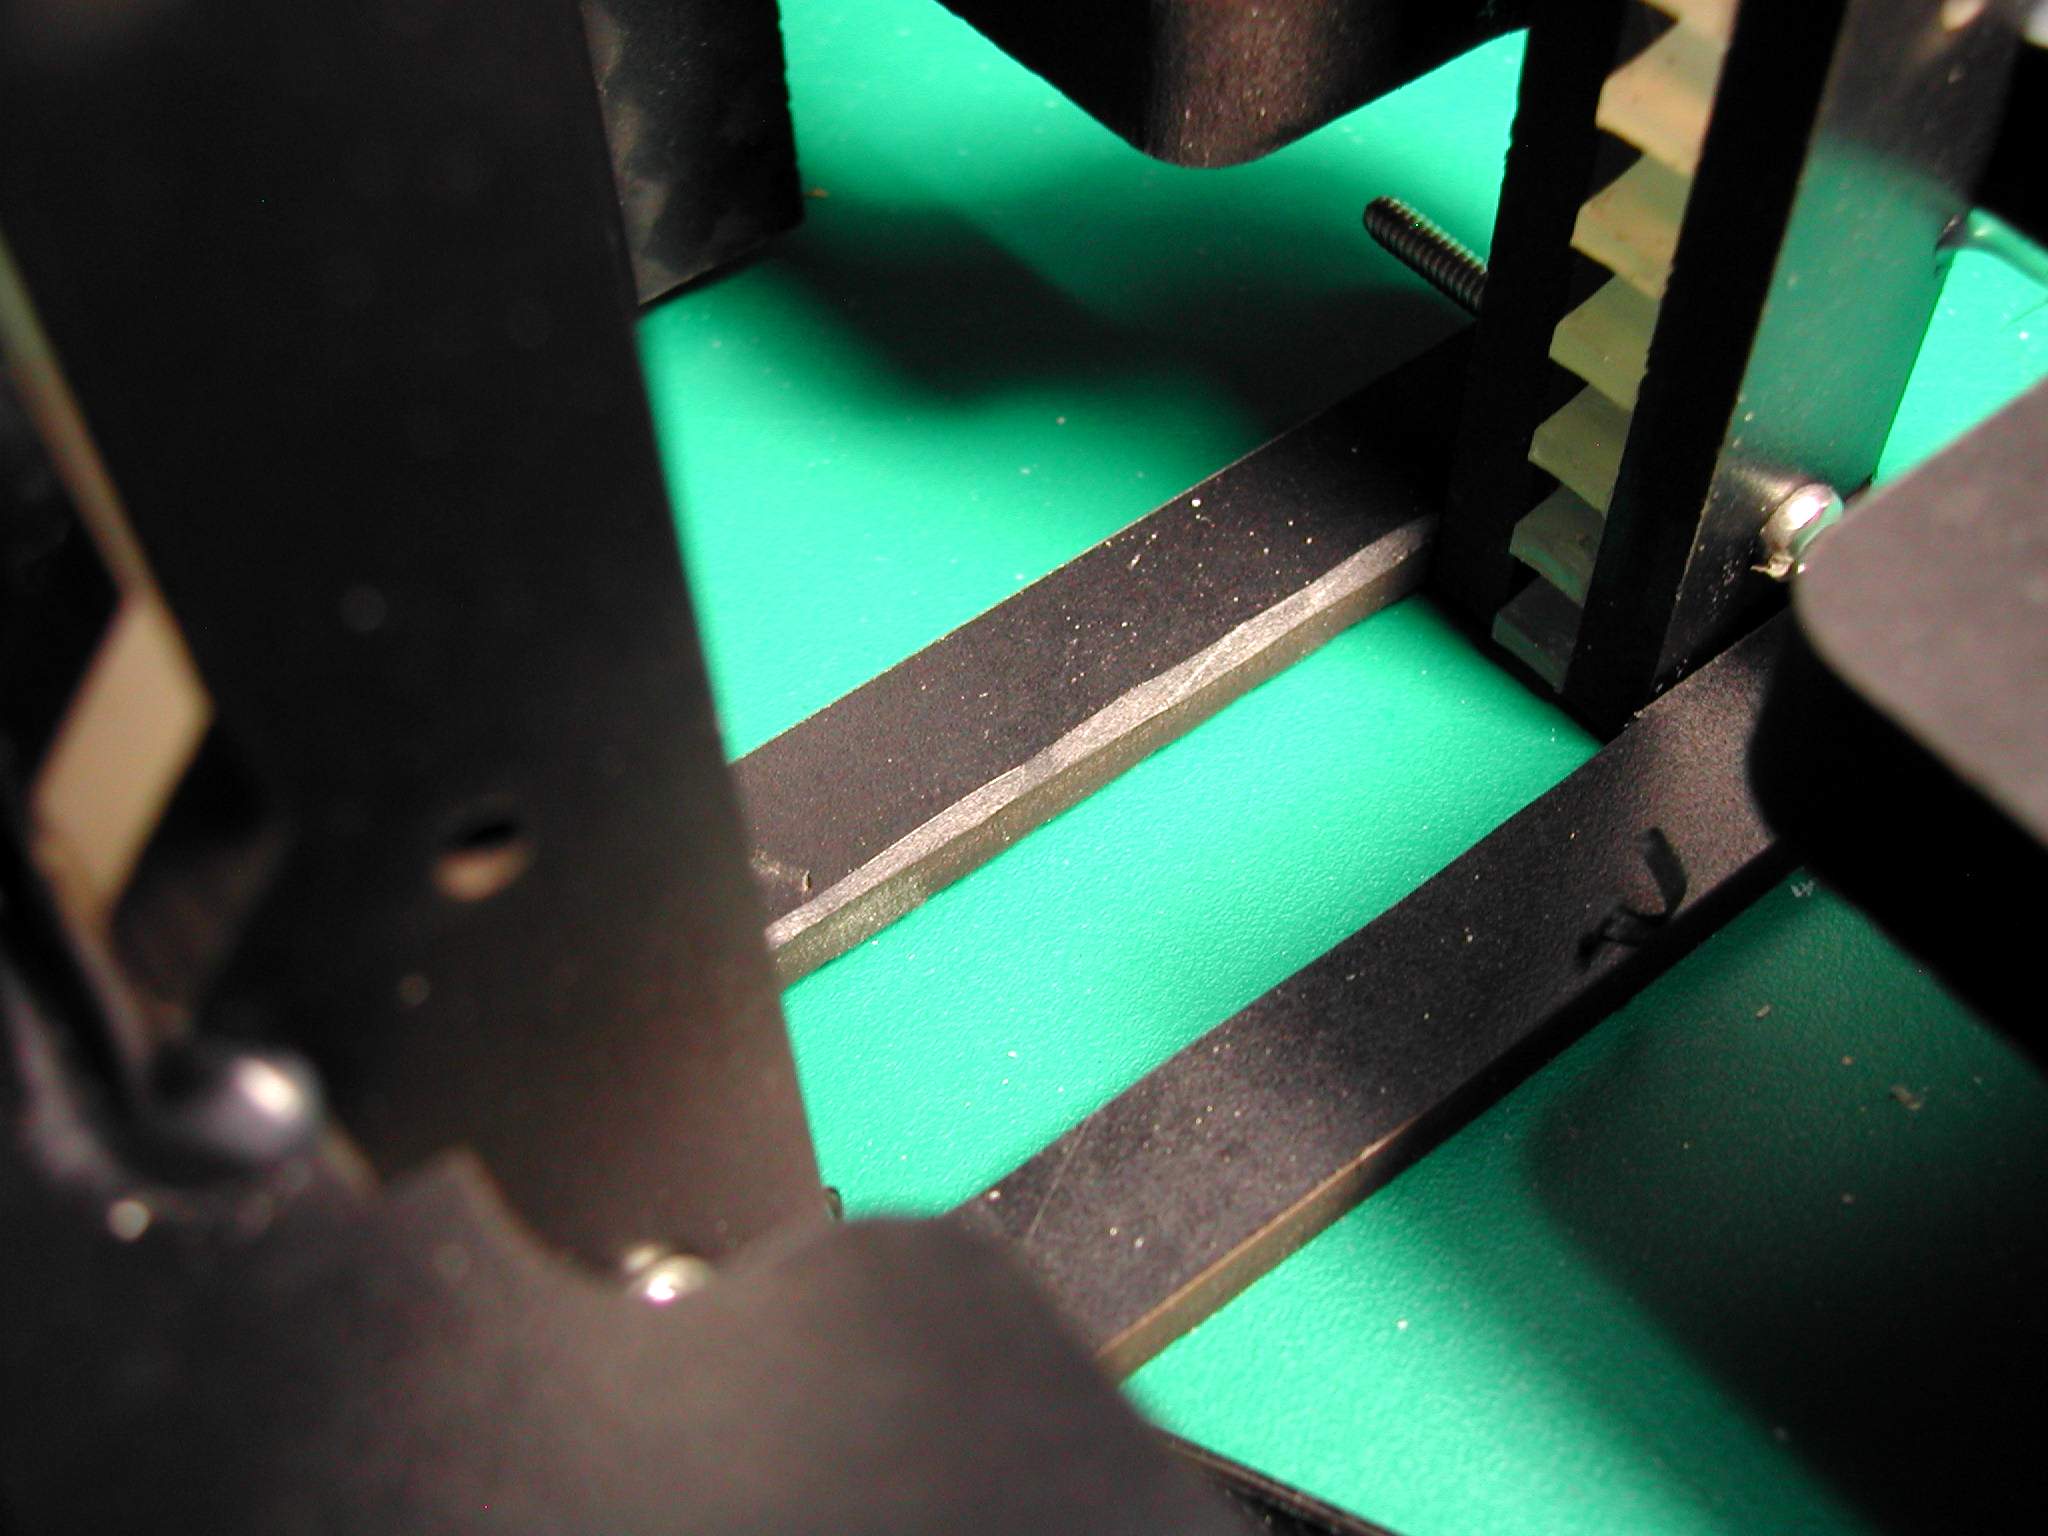
The same was done with the lower rectangle
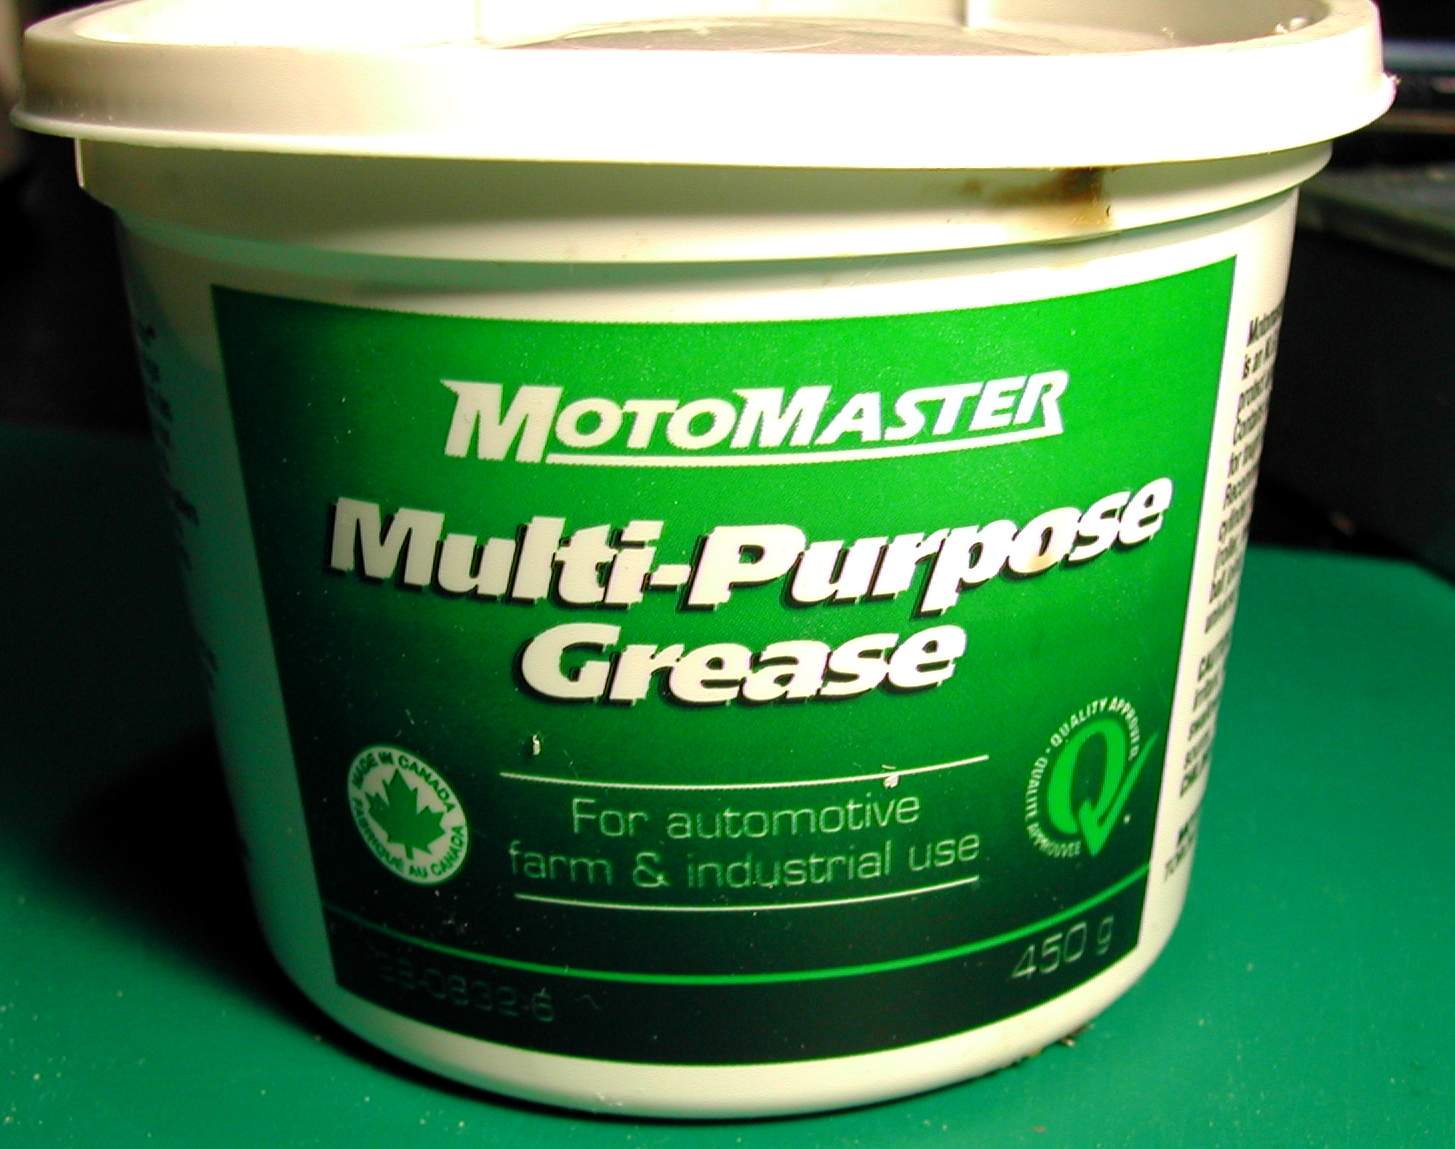
The moment of truth came and I applied power to the assembly. The thing groaned and sporadically moved. I thought the gears needed to be run in so i tried to run it up and down but it was still too stiff. I wondered if the motor was not strong enough. I also thought the gears might be binding from the screws being too tight so I loosened the screws slightly but no joy. I then thought of greasing the gears to let them spin better. This did the trick and the thing seems to be working very well. .
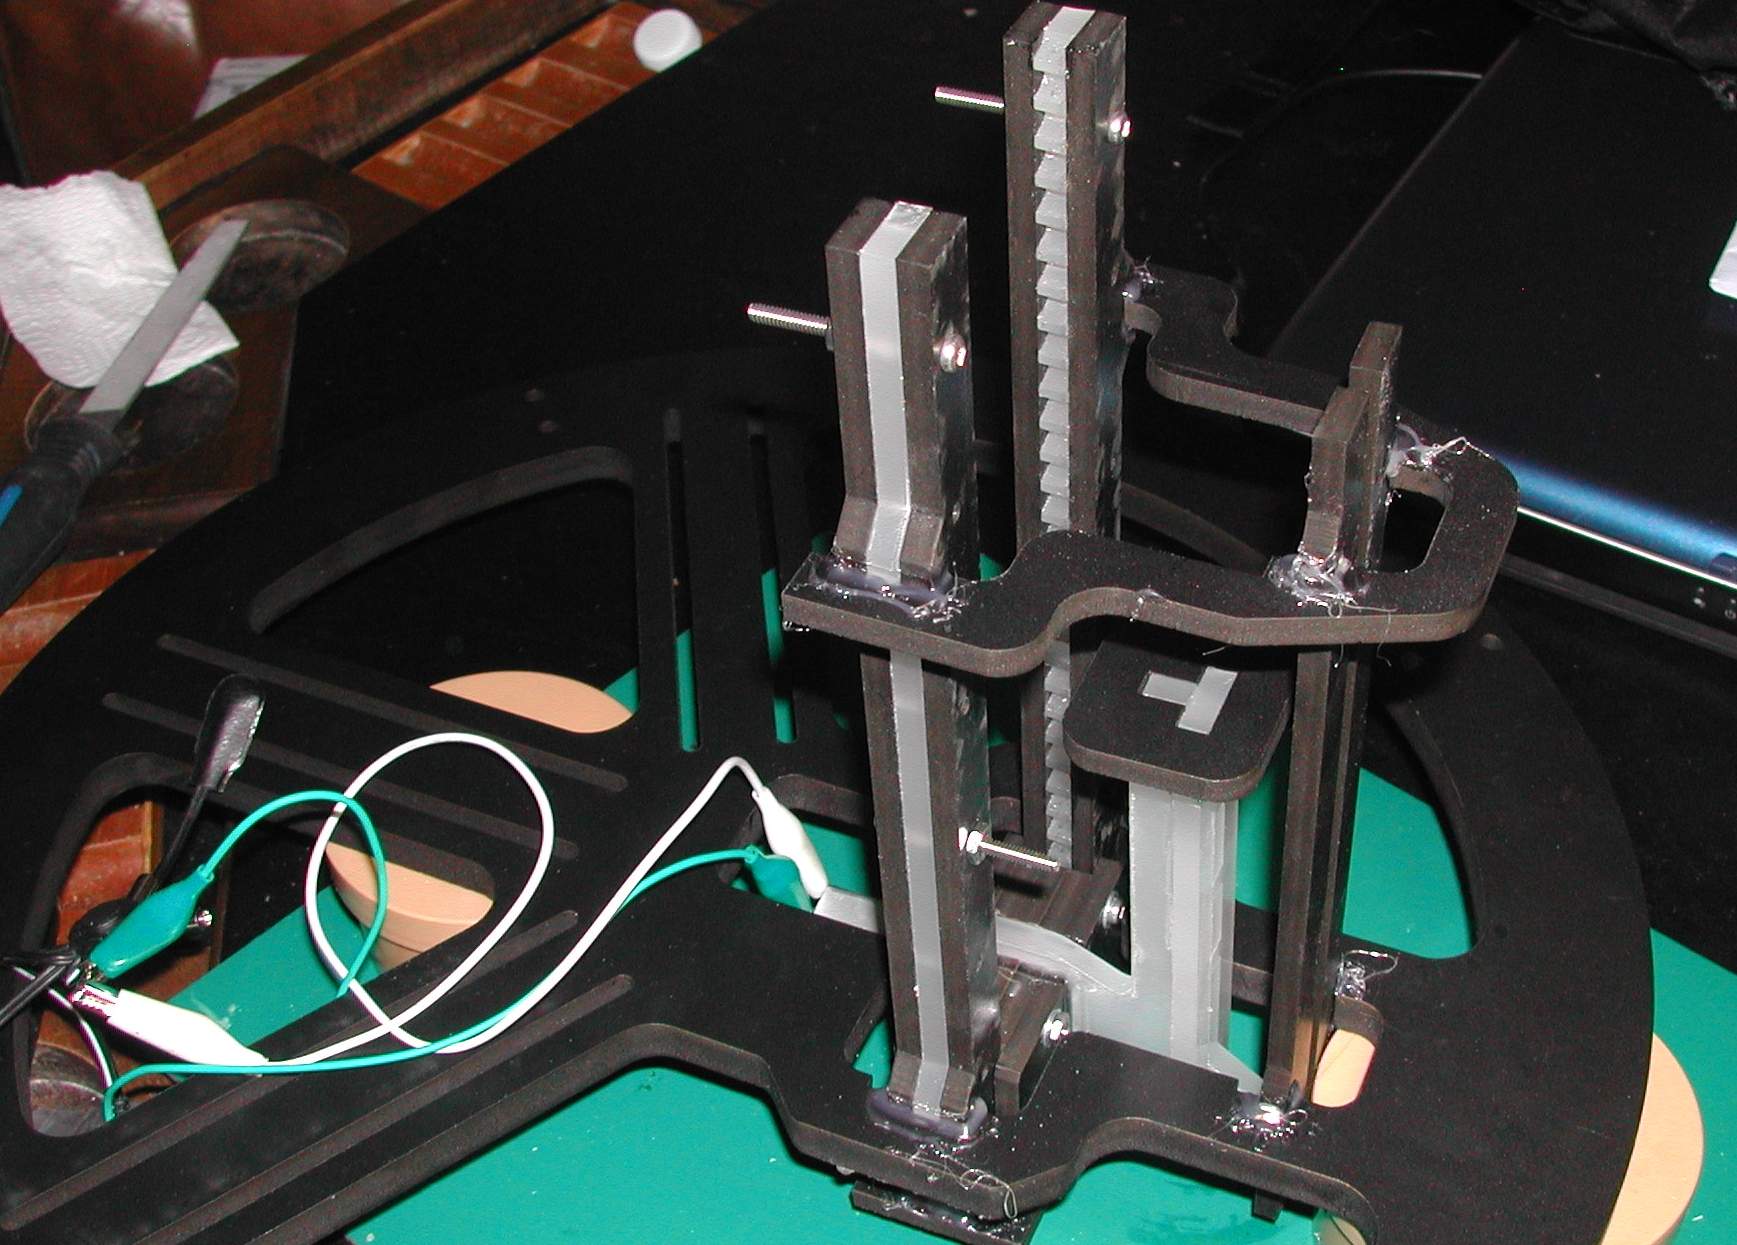
Here is the final assembly with the motor temporarily wired up. At 26 rpm I think the motor is too fast. I will now have to conduct various tests to see how much weight the thing can lift
The motor is just wired to an AC-DC adapter at 6VDC. I am using a power bar to turn the motor on and of. Up motion

Down motion.
May 2 2009. A new motor (Jameco 253534 - 12VDC 24RPM, 7500 g-cm). It is lifting 4 coke cans for a total of 539oz (1530g) (3.36lbs)