A&A Skirt - July 29 2007
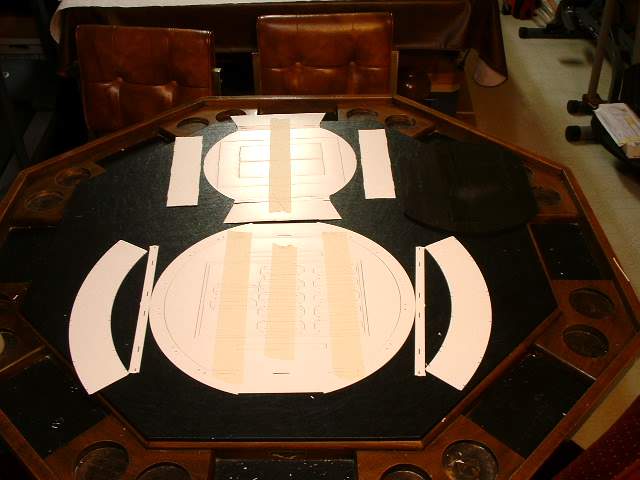
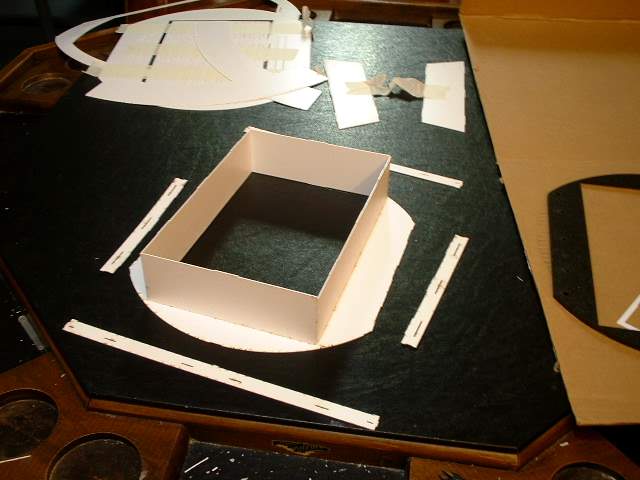
Here are all the parts in the skirt kit.

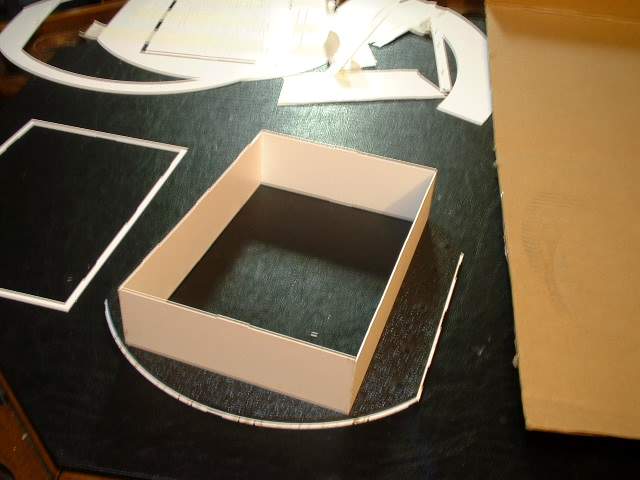
Start with the bottom pieces

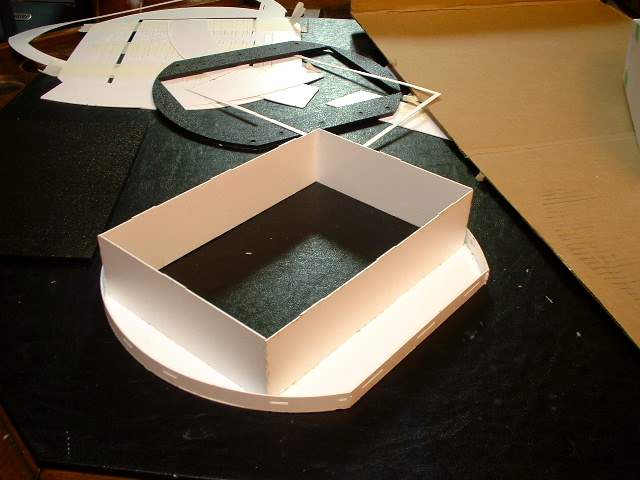
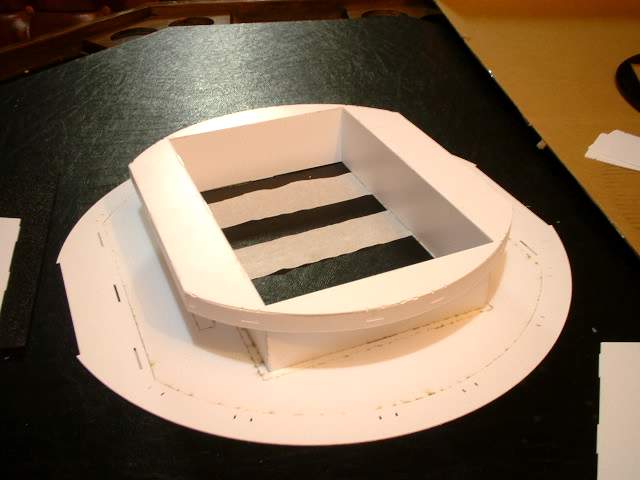
The 4 sides are glued on. Here we also see the extra plexi included to replace the A&A frame part. To the left is an extra support for the top of the box section. It is not needed and actually gets in the way of the new A&A frame bottom plate but gets in the way of the installation

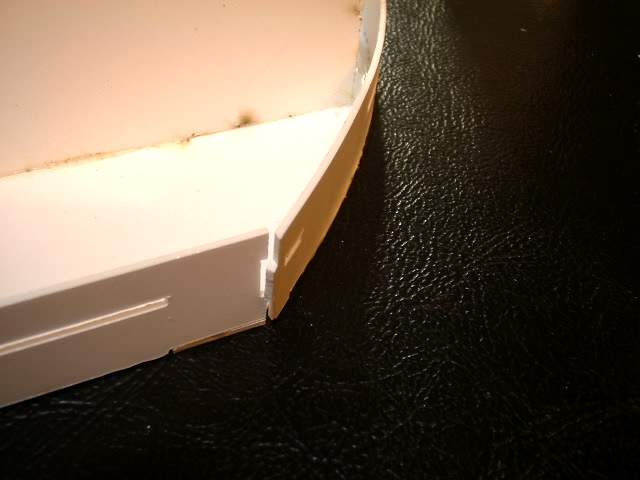
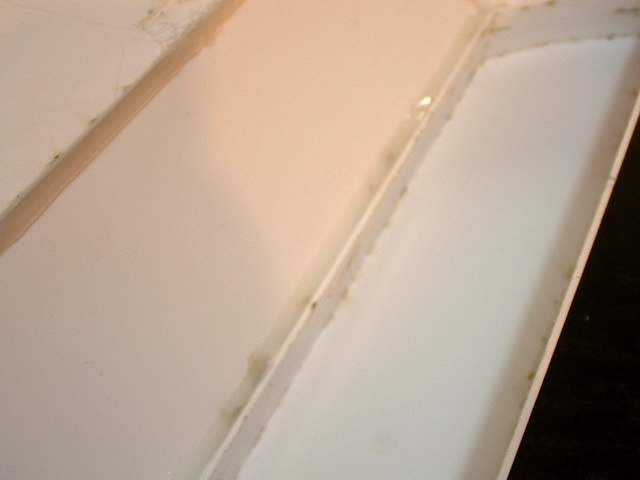
Close up of the skirt with the 4 side walls added.
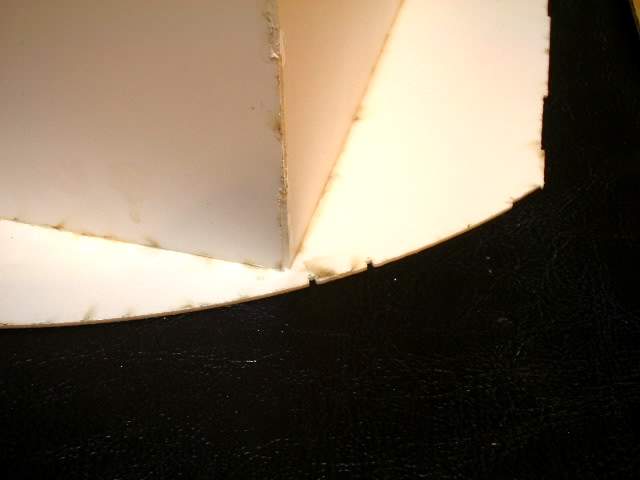
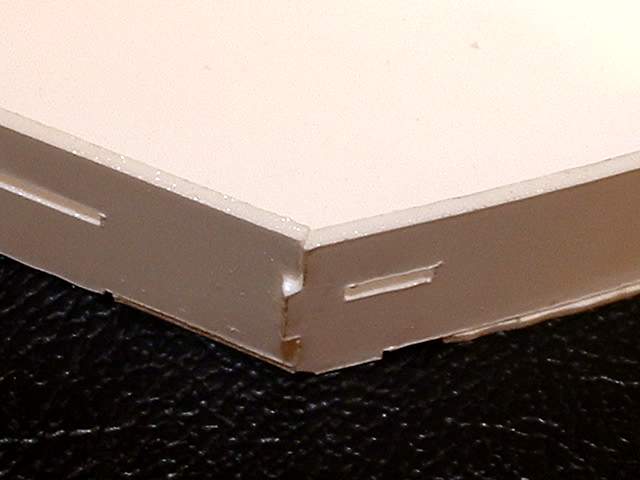
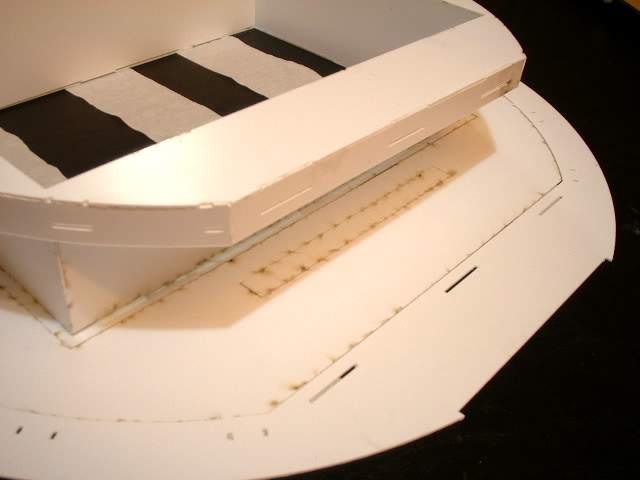
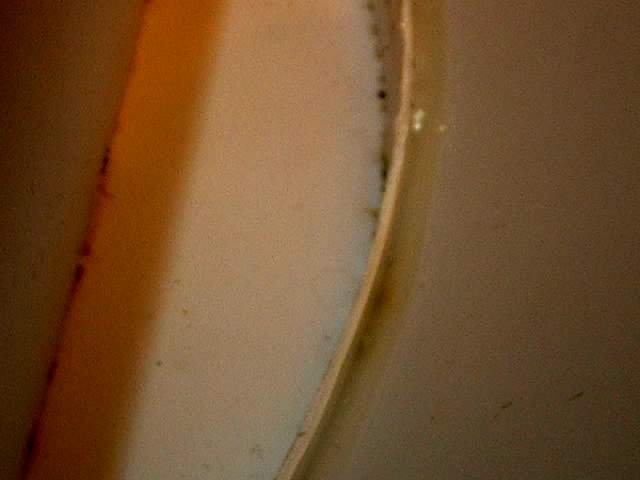
Close up of the corner and how little material there is
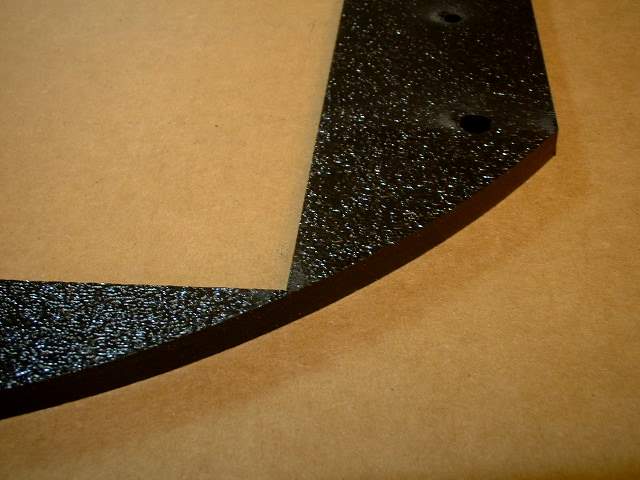
The new bottom plate and also the corner that has little material
The new bottom plate slips over the skirt inner box

The top bracket added. It reinforces the top of the box but also keeps from installing and removing the new A&A bottom plate
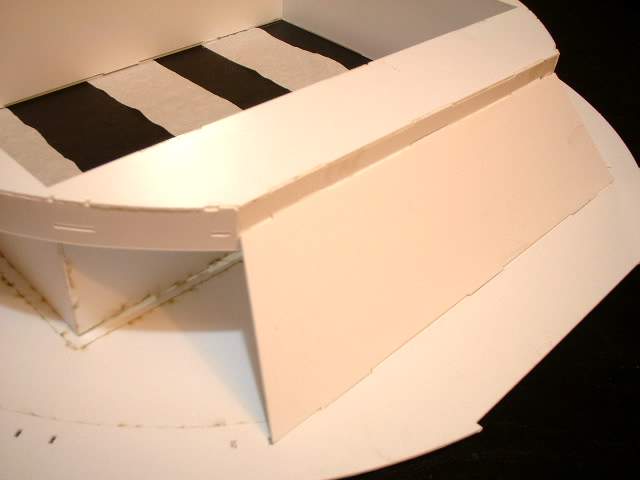
Next are the new 4 side walls
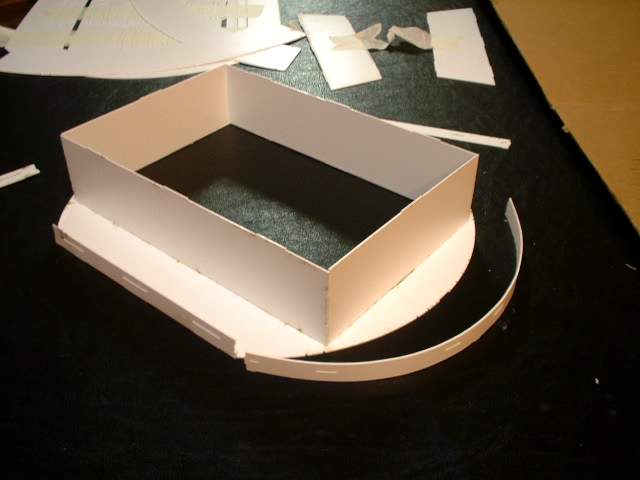
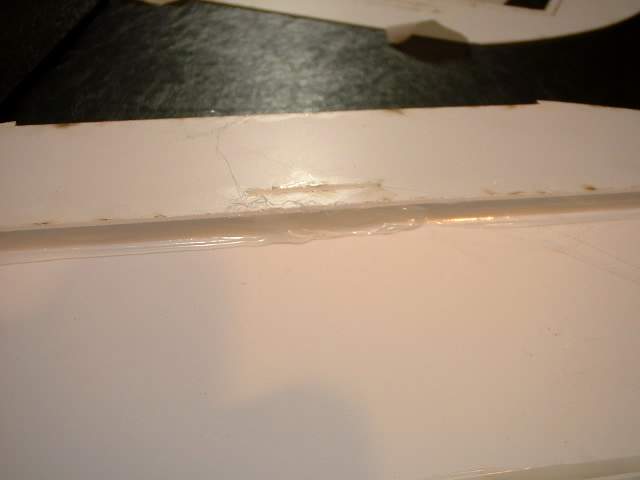
I have glued in the side walls and have pre-curved the front and rear strip to make the installation easier.
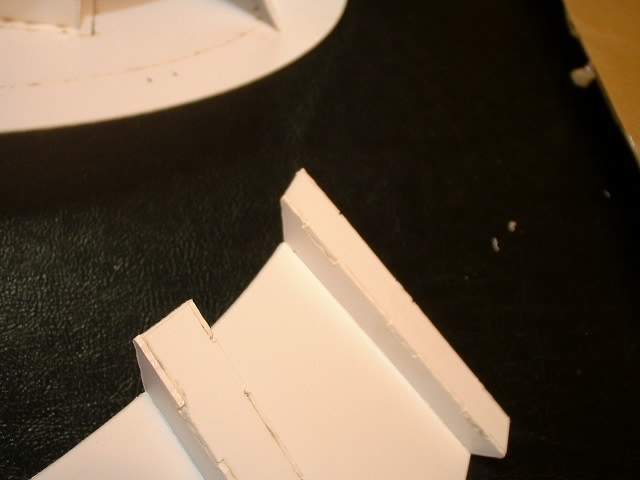
To make installation easier the corners are beveled
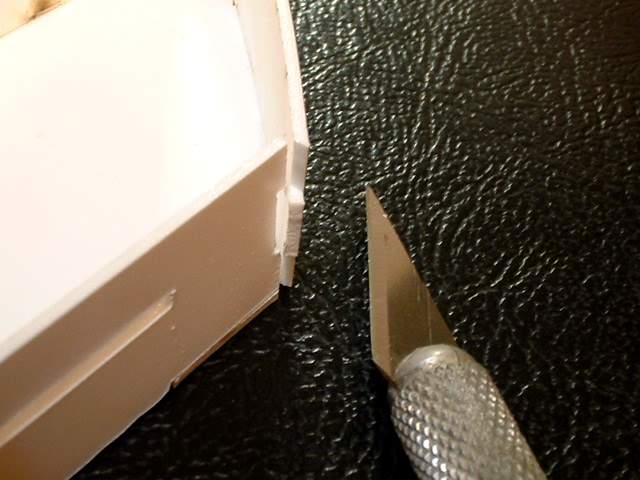
I have done this with an exacto blade
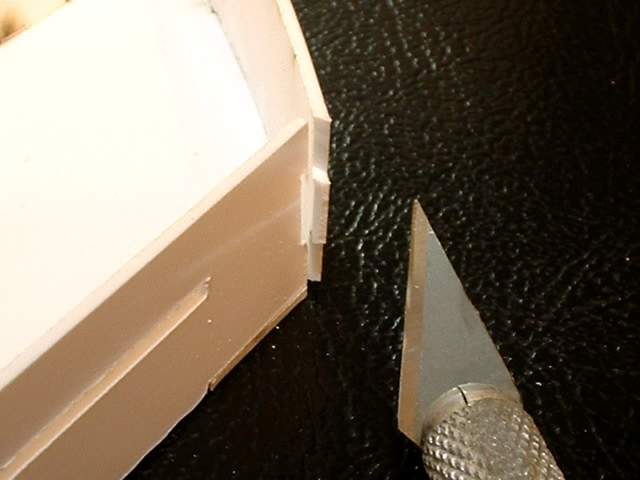
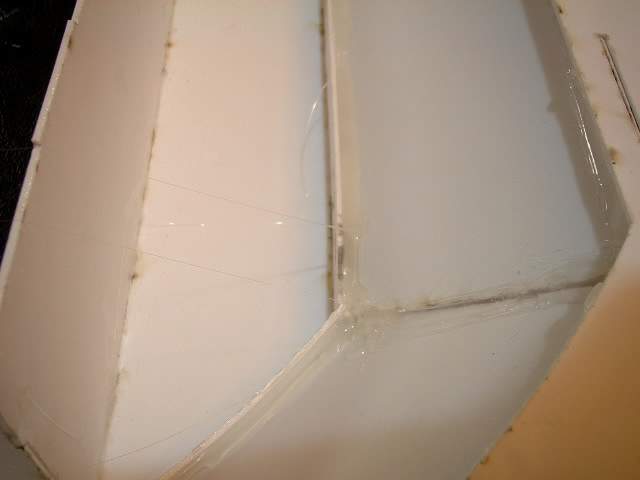
Another view
Glued together
All together
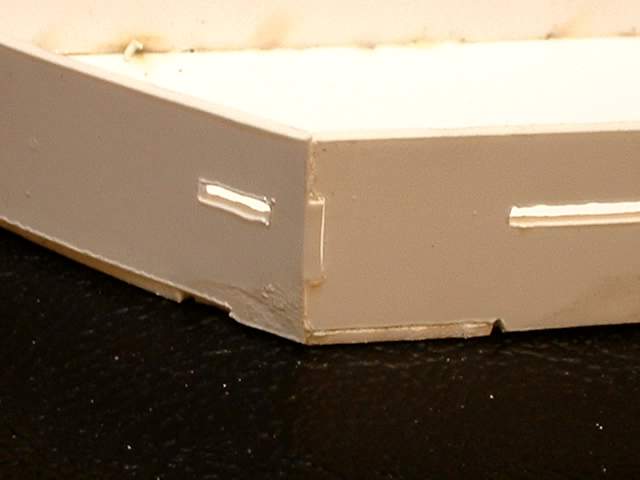
Another corner filed to shape

We next use the excess styrene from the kit including the thin frame that I did not install earlier
Position the assembly in the middle
Before the side piece added
Side piece added. Repeat on other side
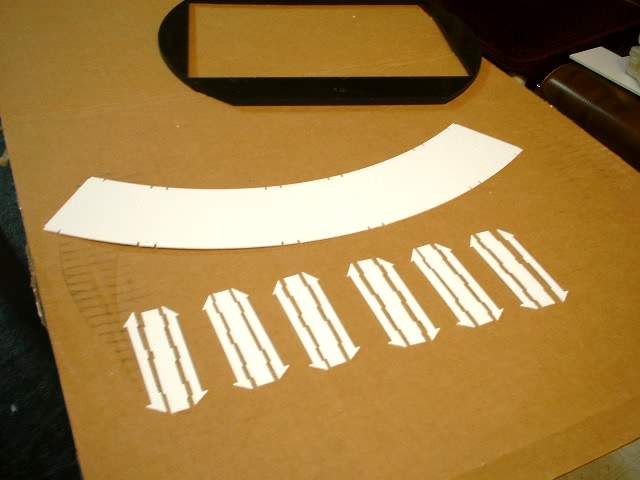
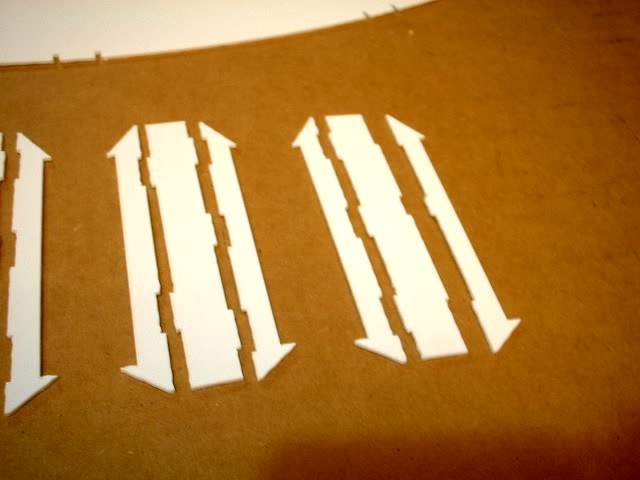
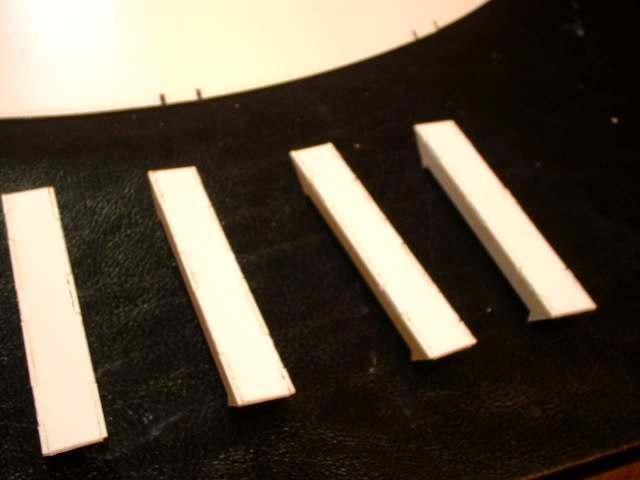
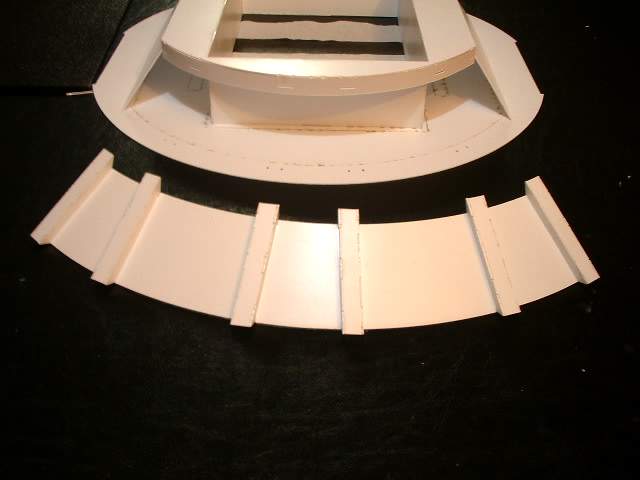
Next we ready the parts for the curved section
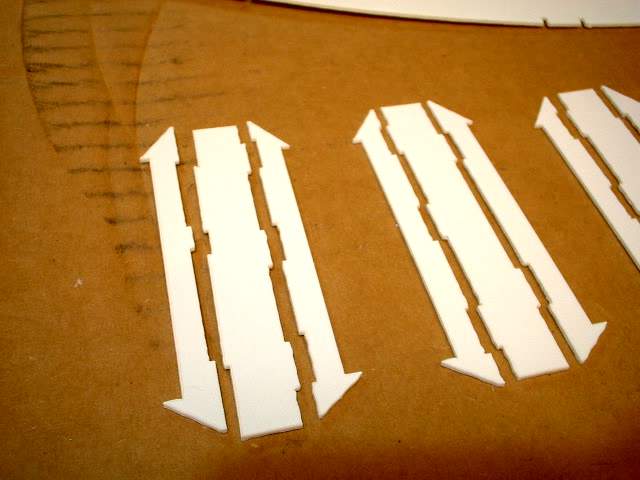
Take a close look as the following sequences of photos. There are 3 different slats and they have to be positioned correctly or they will not fit. One side of the slats has the same cutouts while the other side has 3 different shaped cutouts. This is how you will tell them apart and how they will be installed onto the curved piece. This shows from left to right the first 2 slats
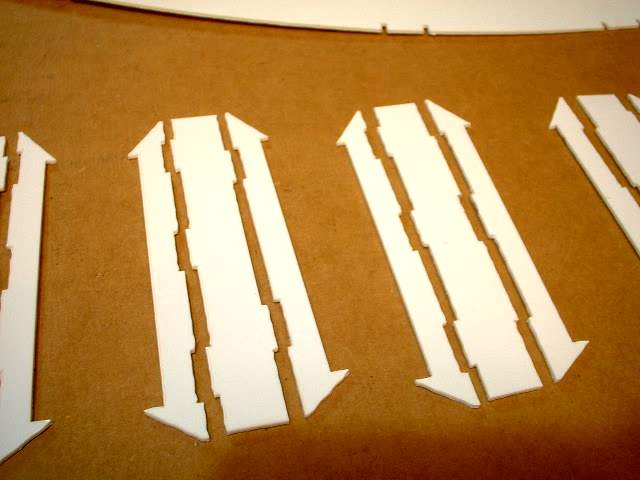
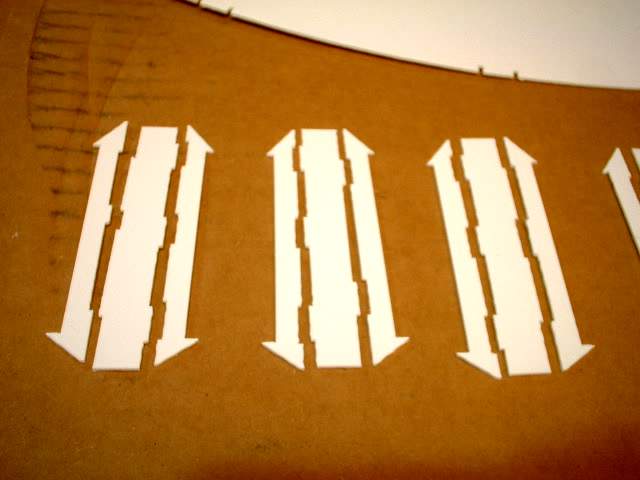
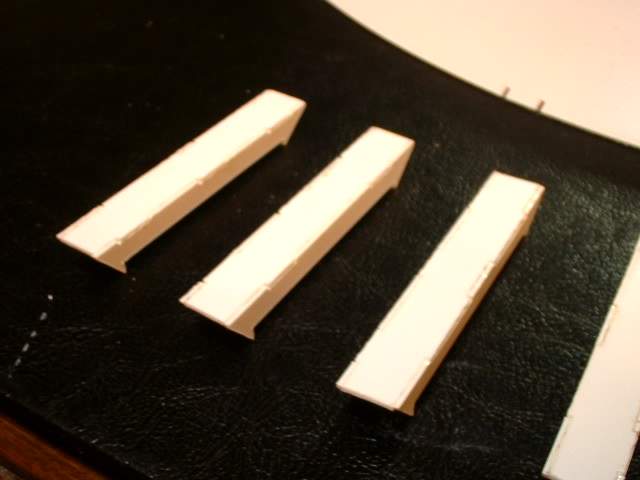
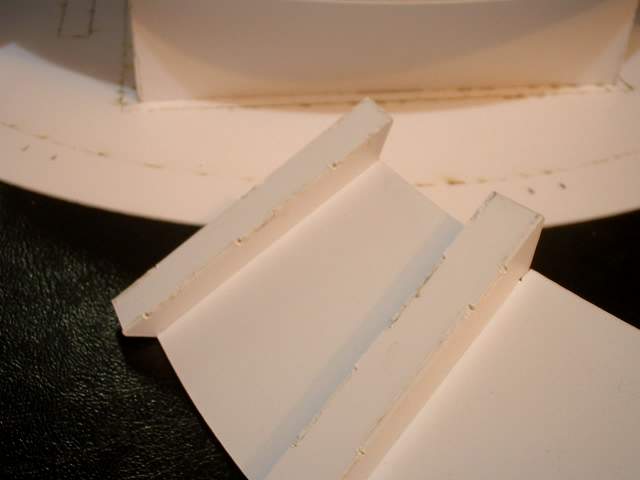
Slats 2 and 3. Note that the more severe angle is on top and the less severe angle is on the bottom. Make sure all the angles are correct
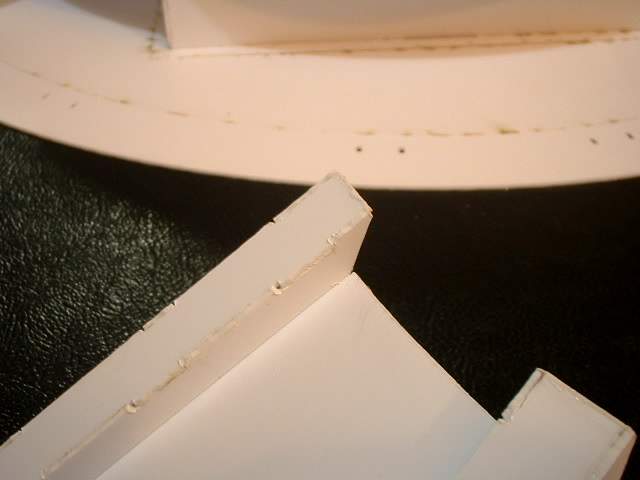
Slats 3 and 4
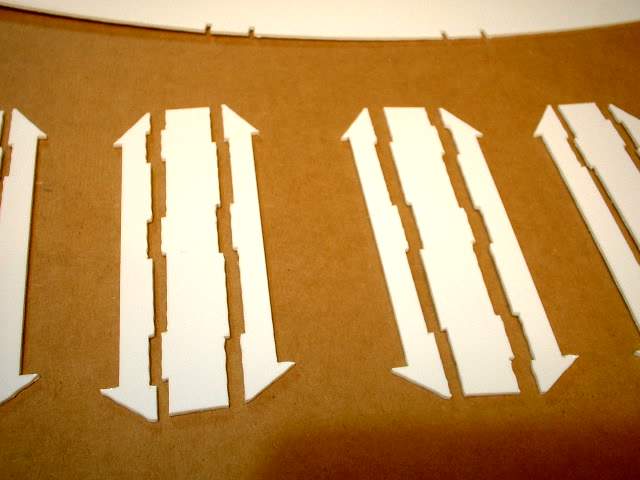
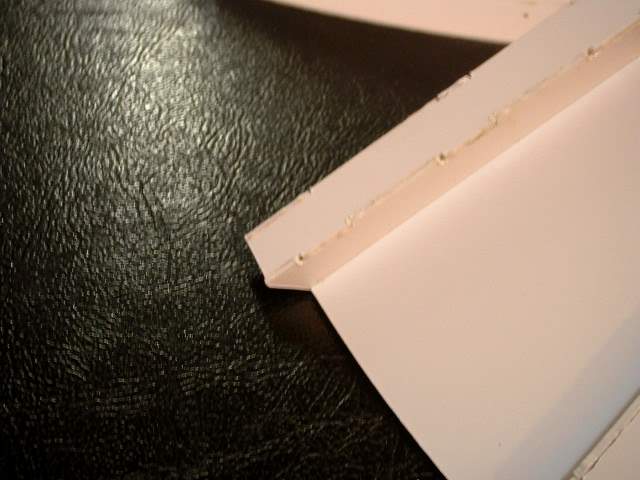
Slats 4 and 5
Slats 5 and 6
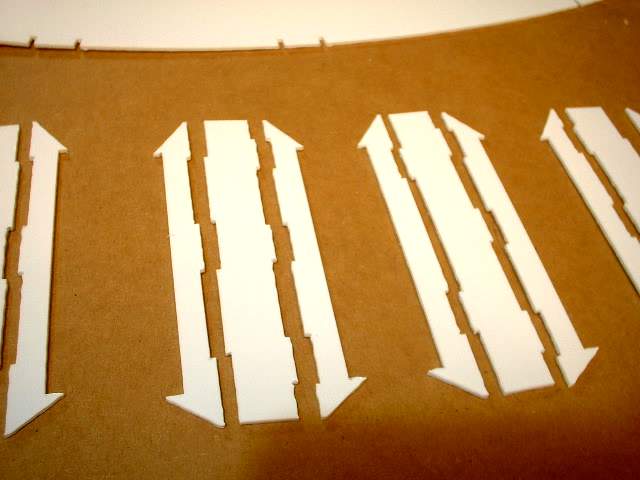
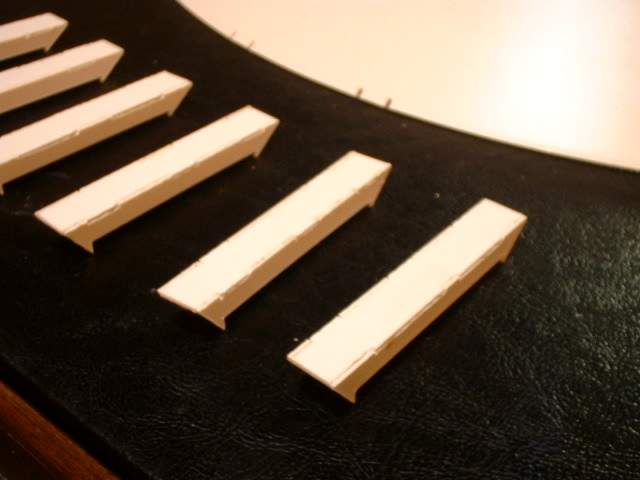
Again but Slats 1,2, 3
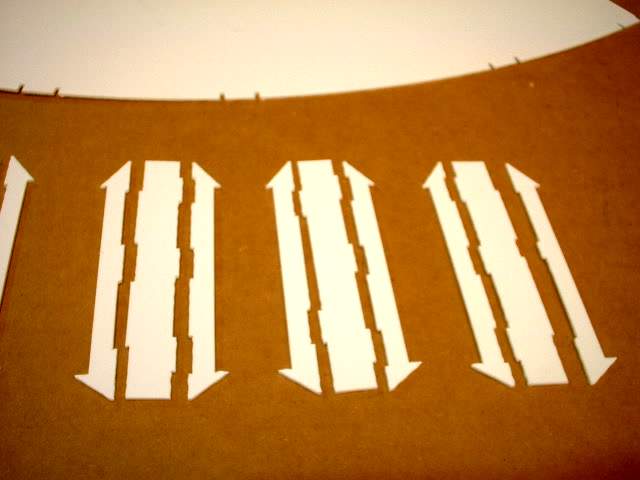
Slats 4, 5, 6

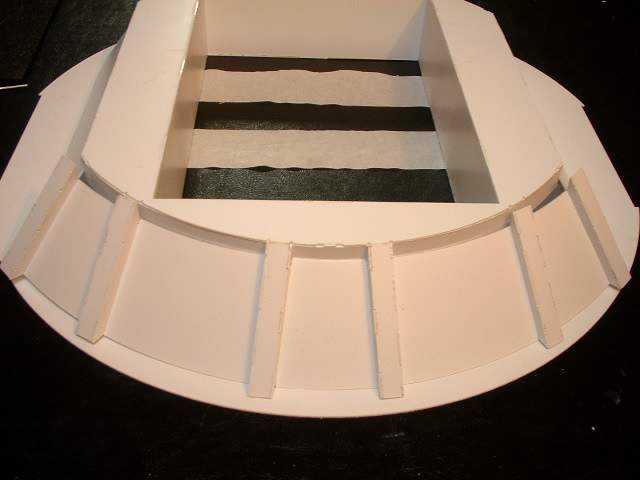
The curved piece is pre-curved and the slats are glued up
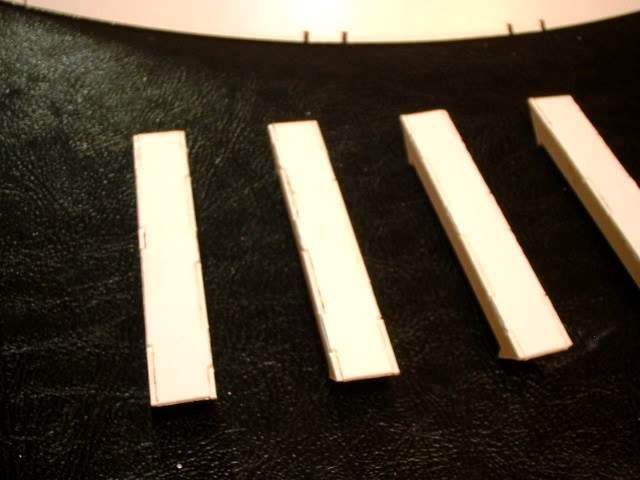
Close up
Close up
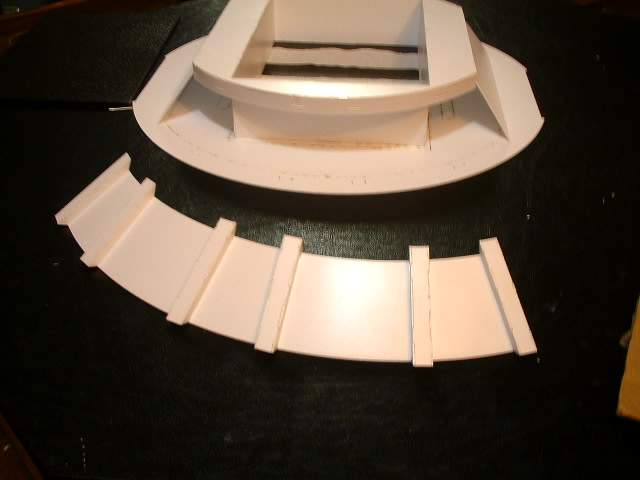
The slats are glued onto the curved piece. I suggest you test fit all the slats so that you are happy that you got them in the right place before gluing. Hey on the first test sample it took me 3 tries to get it right and I designed the thing. This is what prompted the redesign of the slats to make them more identifiable.
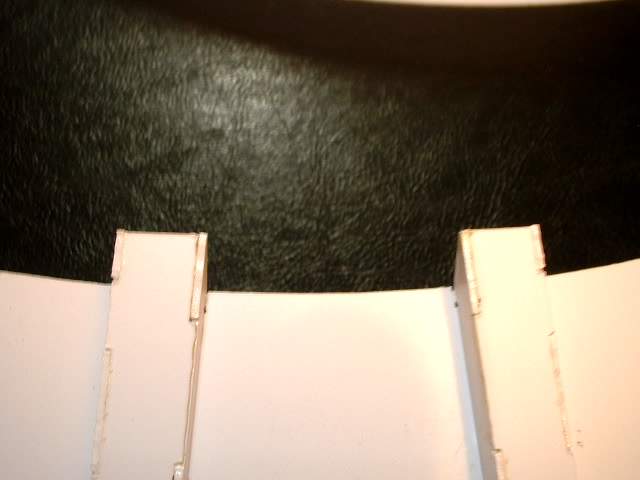
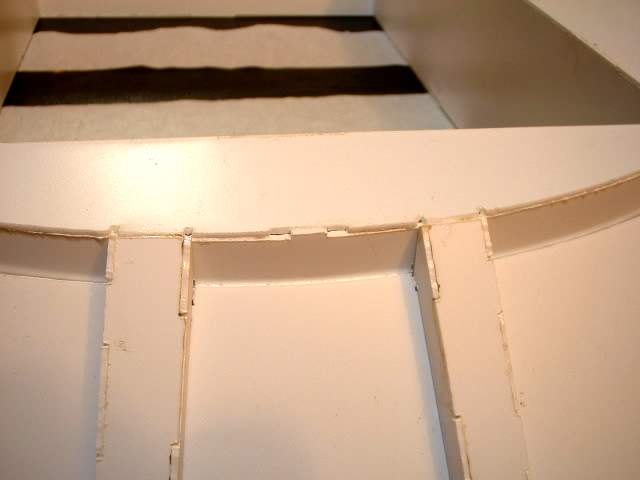
Close up showing the different angles on top and bottom
The top and the more severe angle
The bottom and the less severe angle

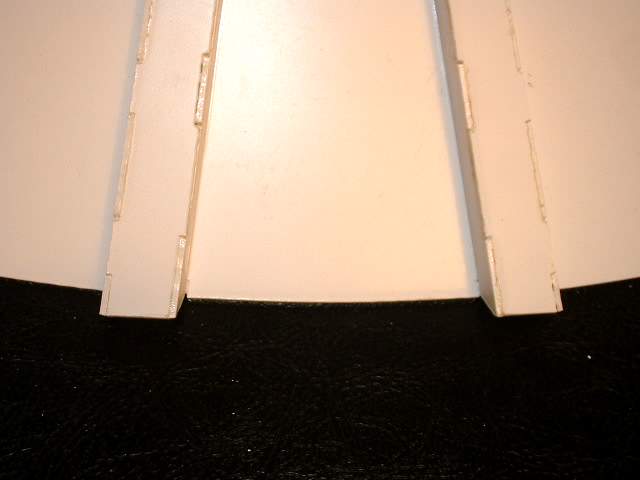
From this view you have to make sure the tops of the slats are even with the curved piece. This gives you a good idea that you did not screw up

Here I lined up the middle 2 slats and glued them in first. Note this can make the end pieces fairly difficult to line up so again test fit the thing with masking tape to make sure everything lines up. It may be easier to line up the ends and then glue the middle.
Since i glued the middle part first I made sure they are lined up with the included indents
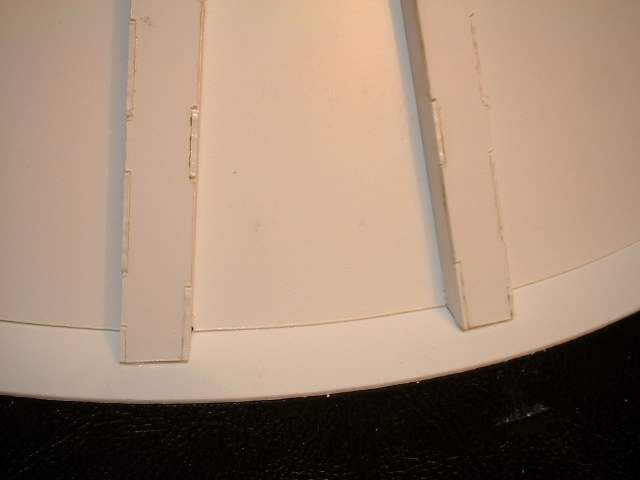
There are also indents in the bottom to help line things up
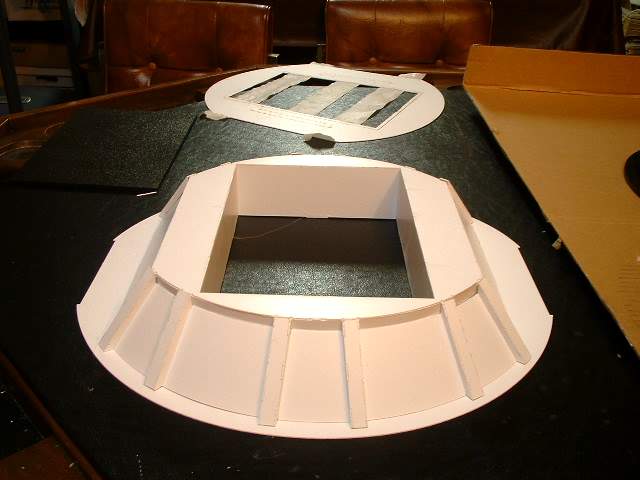
All done
Another view

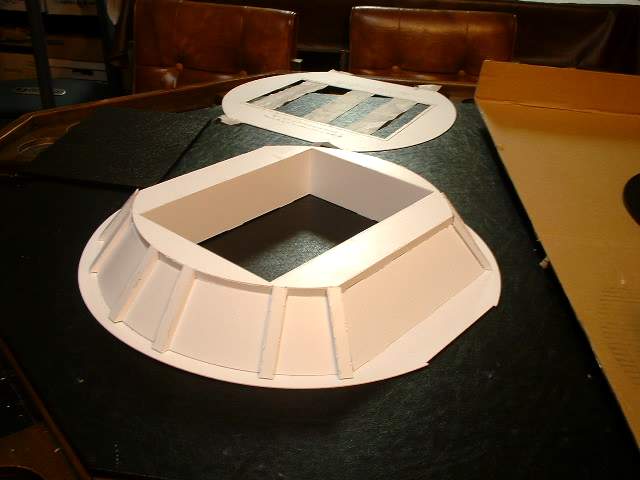
The assembly is fairly fragile so I used hot glue on the inner seams to strengthen it up.


Summary: Even thought it is fairly rigid it is recommended that the skirt be filled with expanding foam. I will be joining the bottom of the A&A frame ring with the bottom plate and then putting in expanding foam to make it one solid rigid piece. That is what I plan to do but what you do is entirely up to you.