OOps this parts was assembled without taking enough pictures to describe the process. I will have t oget more pictures so the assembly process I used is better understood. Until then I will have to describe it in text format. The discs included are there to make the middle assembly. This is there is the builder does not have a method of making one out of other material them selves. If the builder wanted to replace this in the future then this can be used in the mean time.
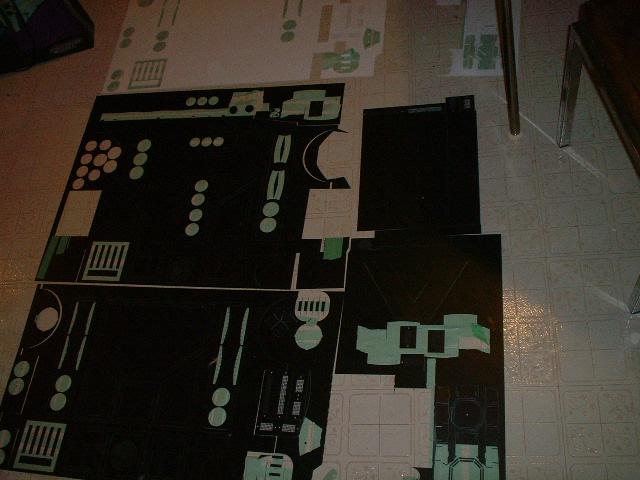 0801.jpg Hmm staring to run out of extras to put together. Lower right is where the main body parts are located. Circles are all over the place and there are planty of extras |
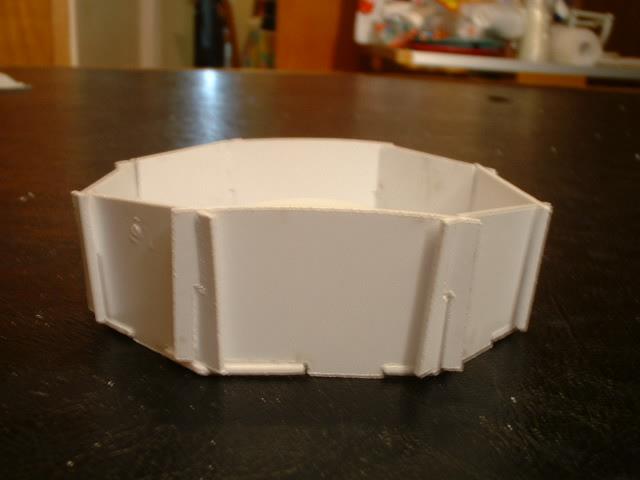
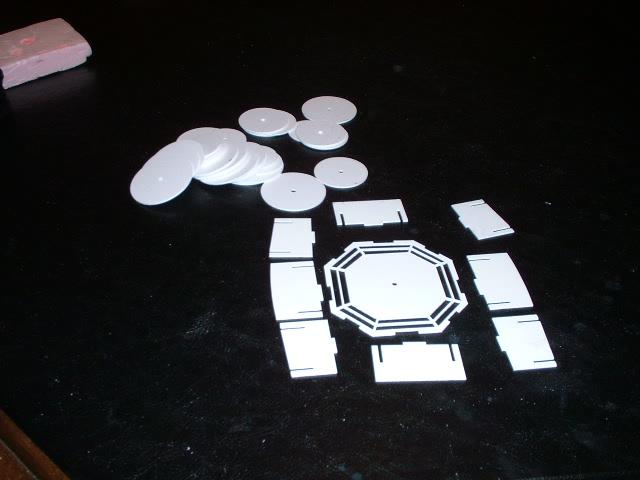 0802.jpg Here are all the parts needed. The oct port housing is laid out as it will be assembled. SOme of the parts are handed so they will fit only one way. This to to try and prevent the parts from being mixed up. My assembly process was the 3 pieces on th eleft and right sides first. If you test fit the pieces to the back piece it maybe fairly tight. Yo umight have to do some slight filing of th eslots to get the parts to fit better. |
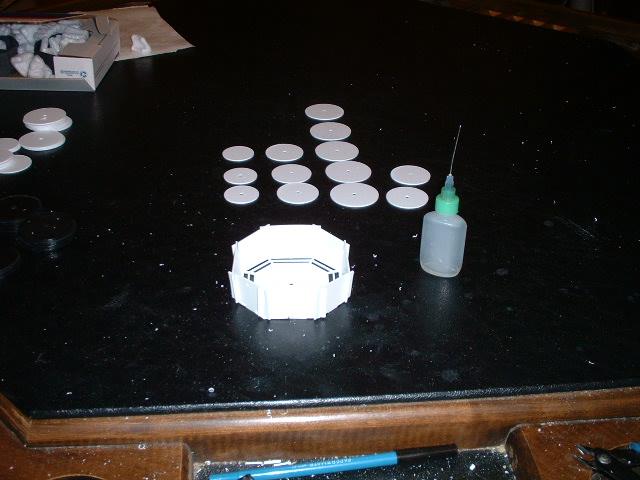 0803.jpg All of a sudden all the parts are together. The circles above are laid out as then will be assembled. There are extras circles so make sure the numbers you pick out are as seen above. The left column of circles is the outer disc. The disc with no hole is to be the outside piece. The circles increase in side and then there is a stepped base |
 0804.jpg Here all the discs are assembled together from their columns. One method of assembly can be to use a rod or something and use th eholes to line htem all up. |
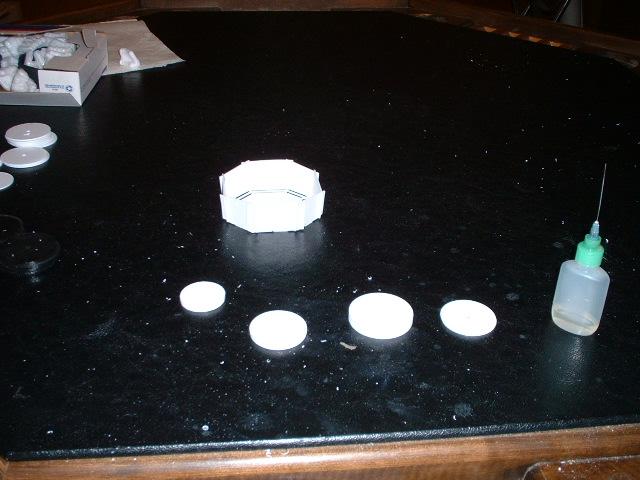
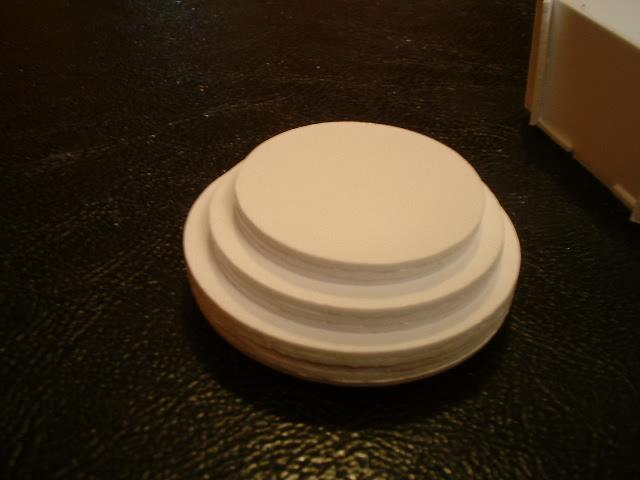 0805.jpg Here are the disc as assembled and ready tp install. Fora cleaner appearance you could putty and file the edges |
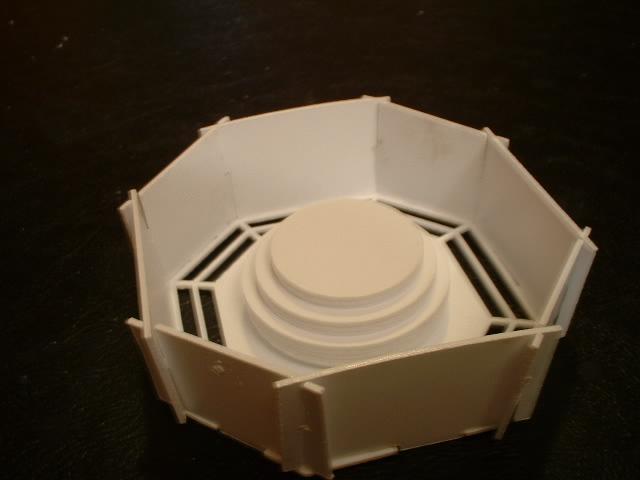 0806.jpg This is what it looks like inside |
 0807.jpg Side view showing the curve of the face that will mate with the insode of the body skin |
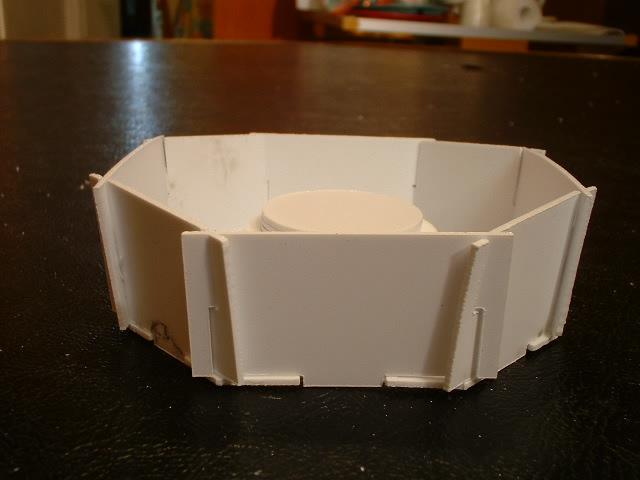 0808.jpg the view 90 deg from the previous view |