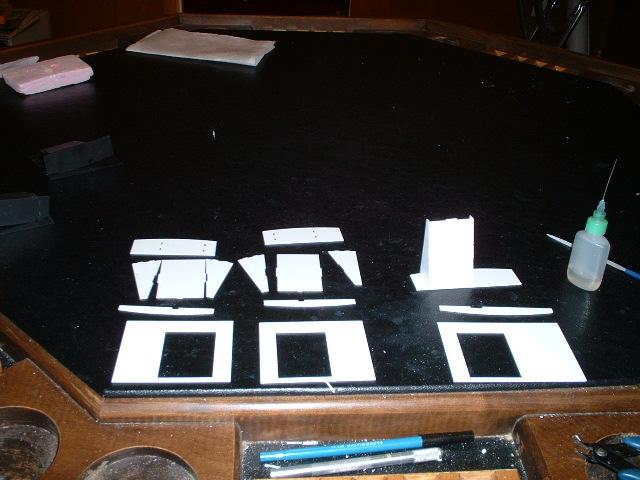
Note that there are 3 coin returns. The front one is handed so make sure the parts are laid out in the right orientation before building. Having references with you will ensure the items are assembled properly. Coin returns are not used in the R7 skins. These are extras that can be used on other droids. There are no coin slots on the R7 skin
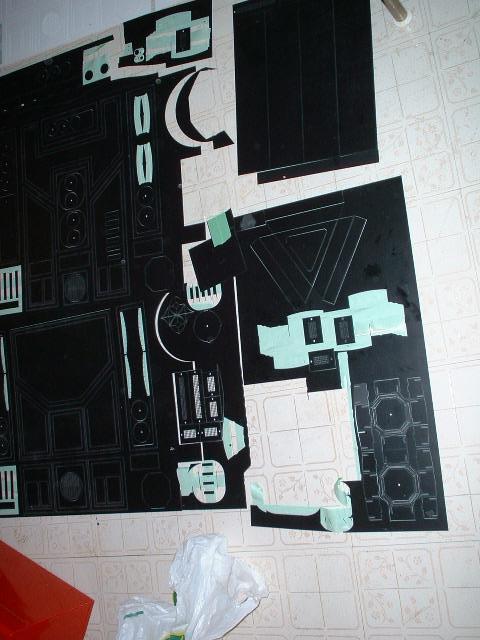 0601.jpg Overall view of the skins and where the parts are taken off of |
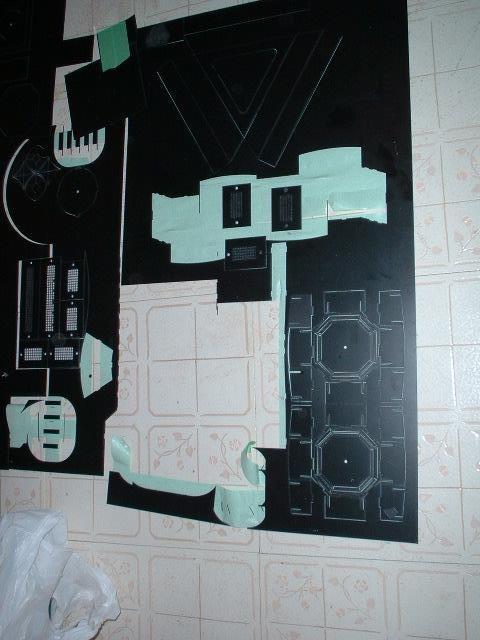 0602.jpg Lower right section of the skins |
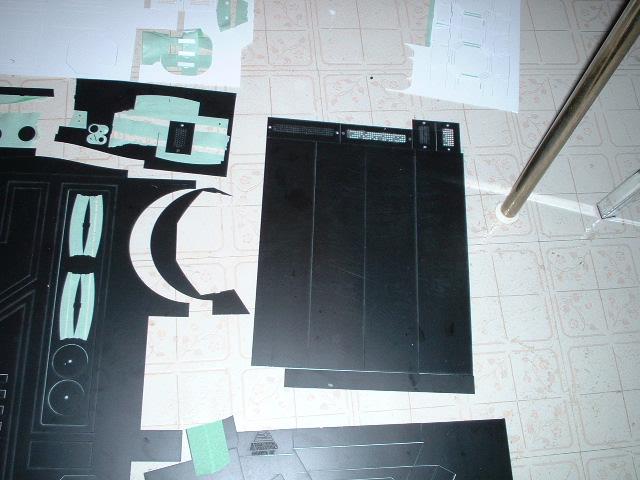 0603.jpg Top right section of hte skins |
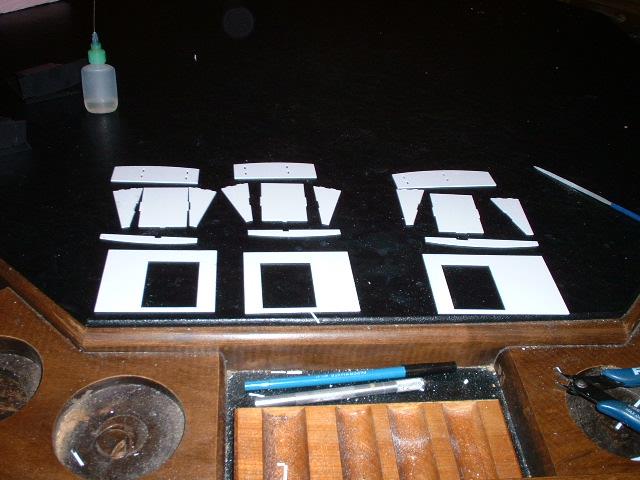 0604.jpg All teh parts laid out ready for gluing |
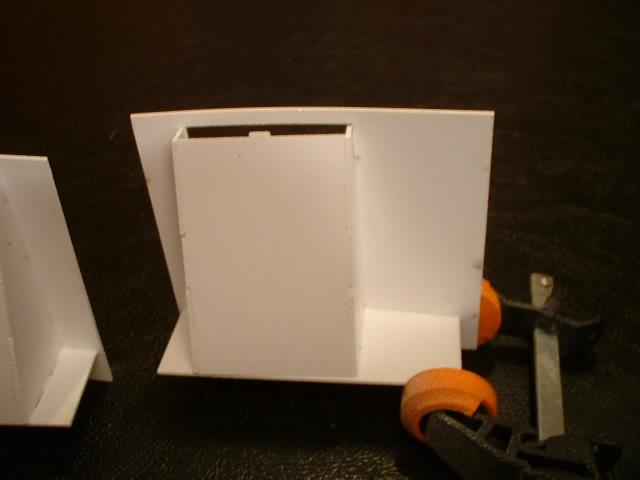
 0605.jpg The front coin slot back has been assembled minus the top piece. The parts should pop into the top piece but if tehr eis fit problem a little cleanup of flash may be needed |
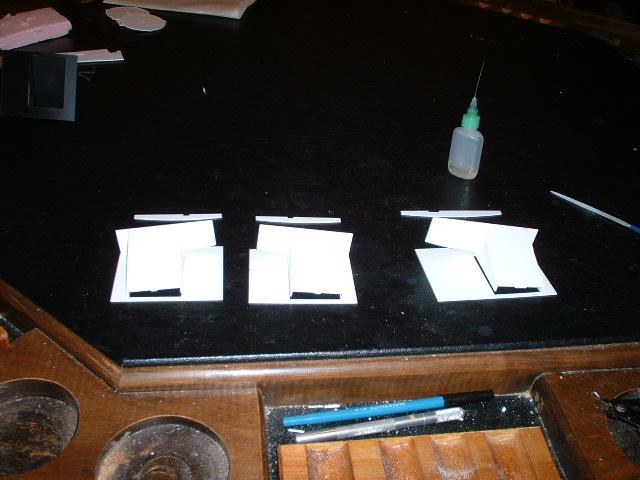
 0606.jpg Here are all the three inserts assembled all minus the top sectoin. This method allows you to make sure the assembly with the face leaves little to no gaps |
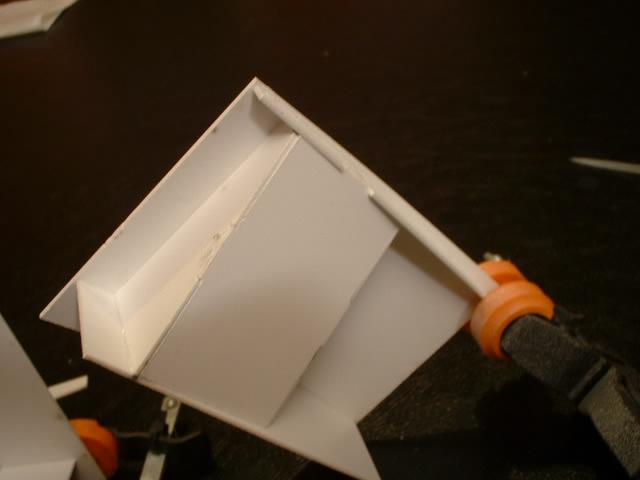
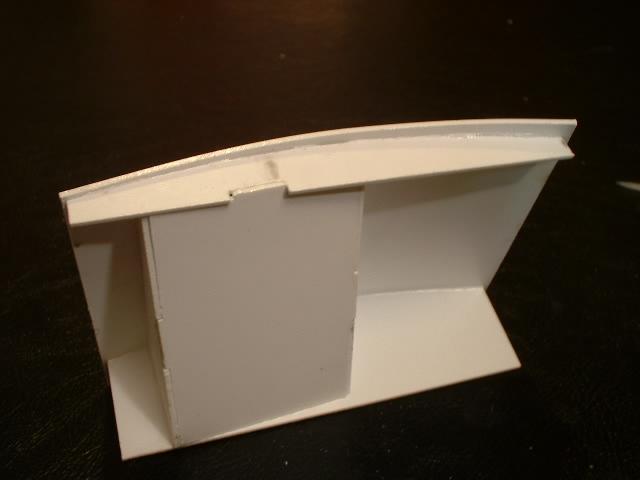
 0607.jpg Here I have assembled one end and one half of the back piece. By waiting until the glue is dry I do not have to worry that the face piece may pull awawy from the rear piece at the ends as the glue is drying |
 0608.jpg Here is the part all glued together minus the top piece |
 0609.jpg All of the parts waiting for the last piece |
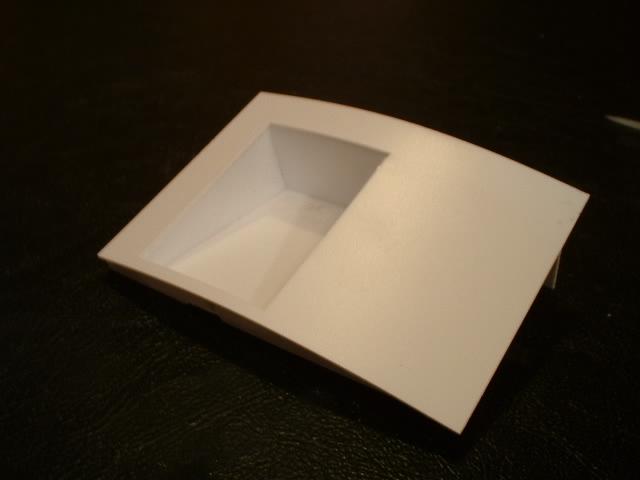
 0610.jpg The last piece has now bee glues on |
 0611.jpg Another view |
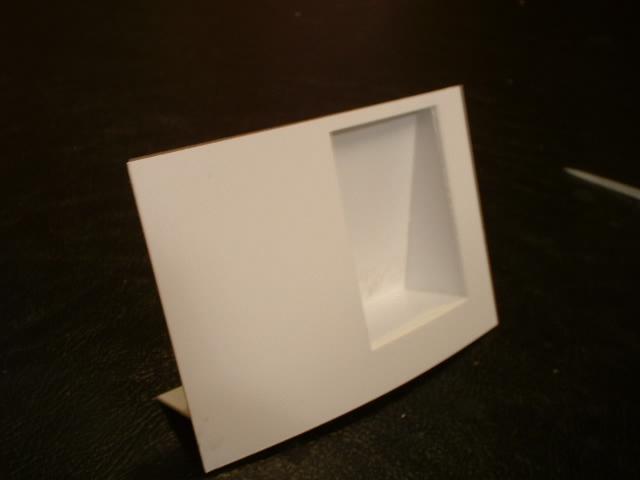 0612.jpg Front view |
 0613.jpg Front coin return done |
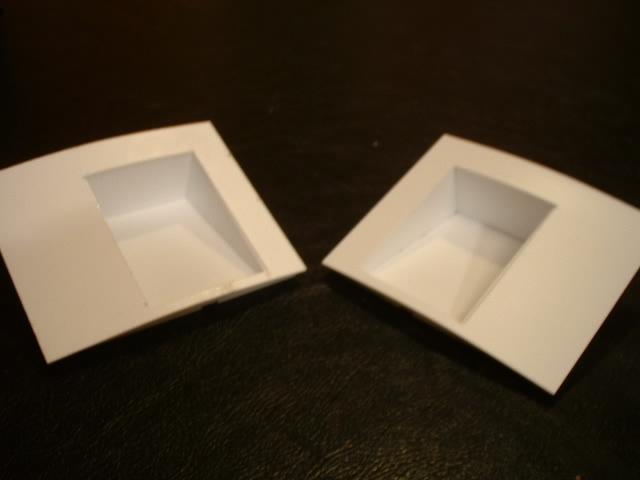 0614.jpg Rear returns done |