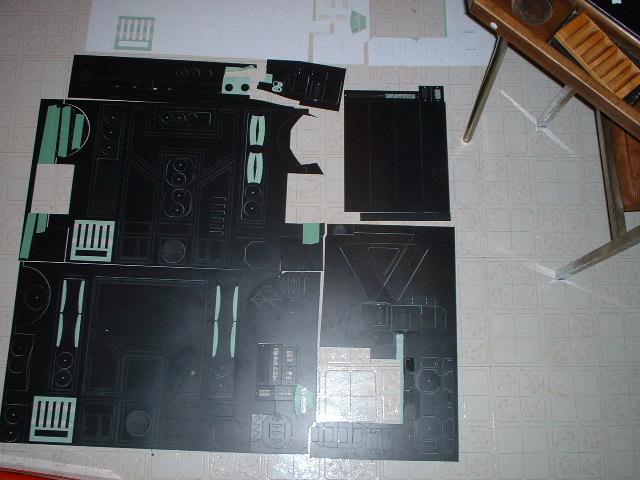
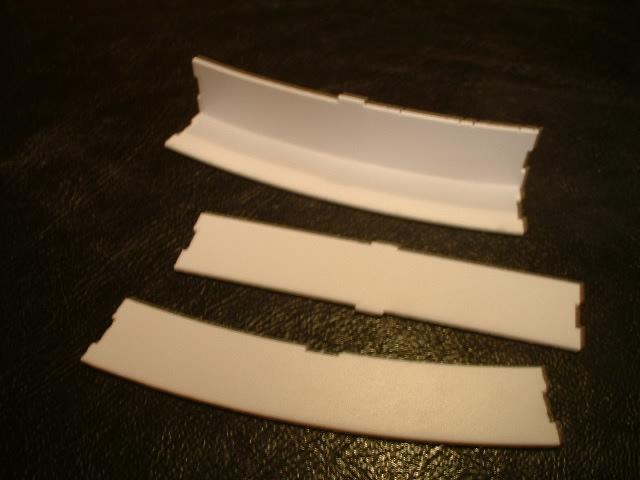
 0401.jpg Overall view of the skins |
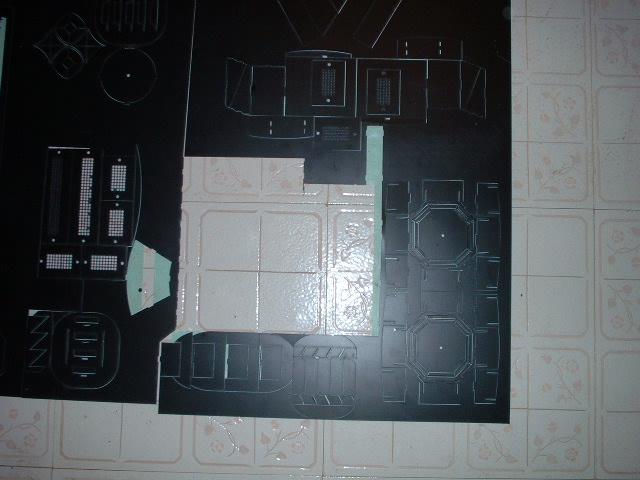 0402.jpg Lower right corner |
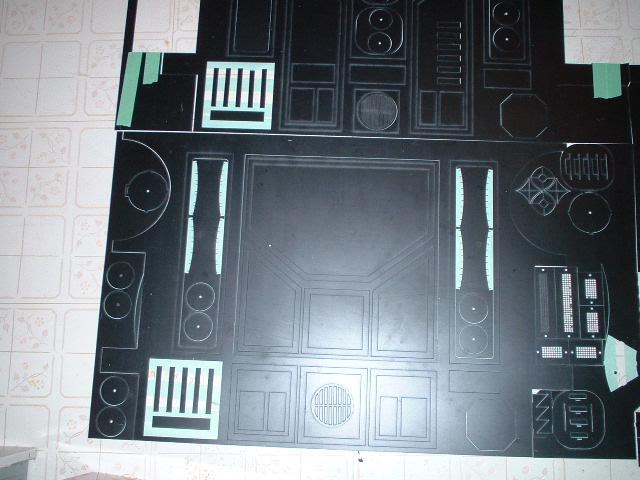 0403.jpg Lower left corner |
 0404.jpg Upper right corner |
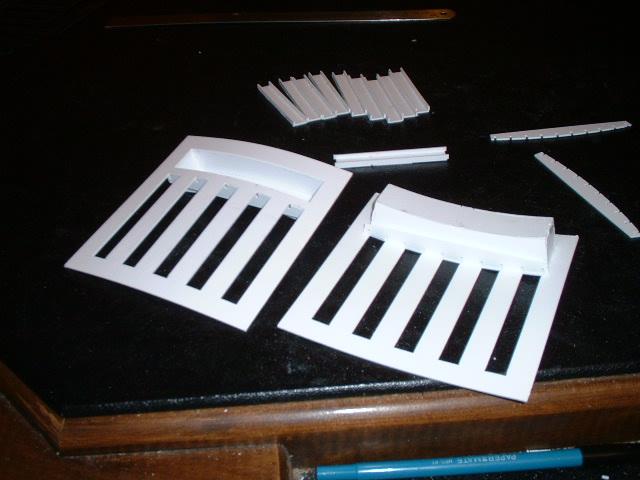
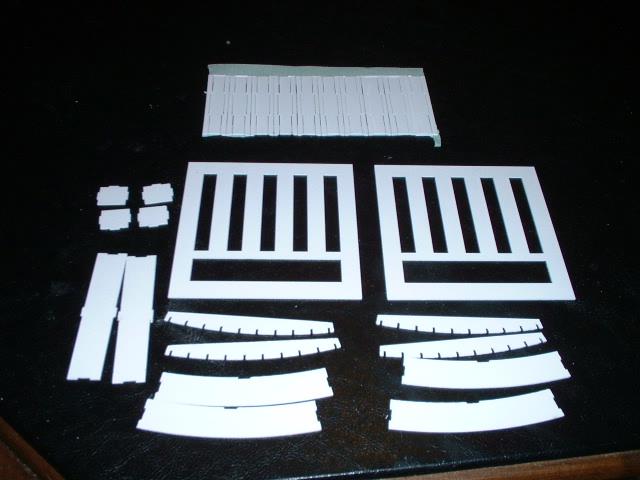 0405.jpg All the pieces ready to go |
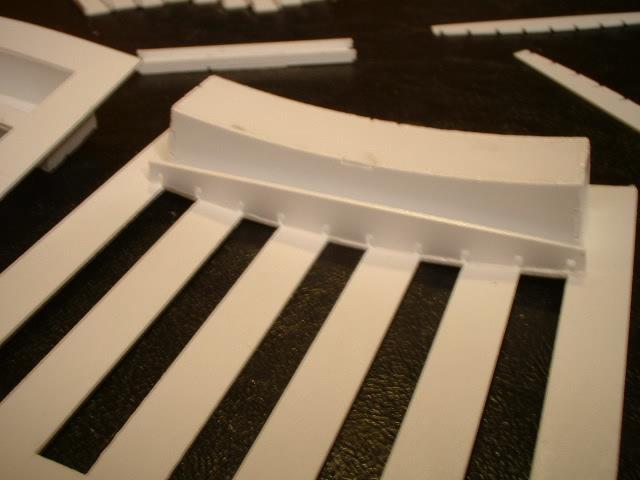
 0406.jpg Prebend the back piece so the gluing will be easier. |
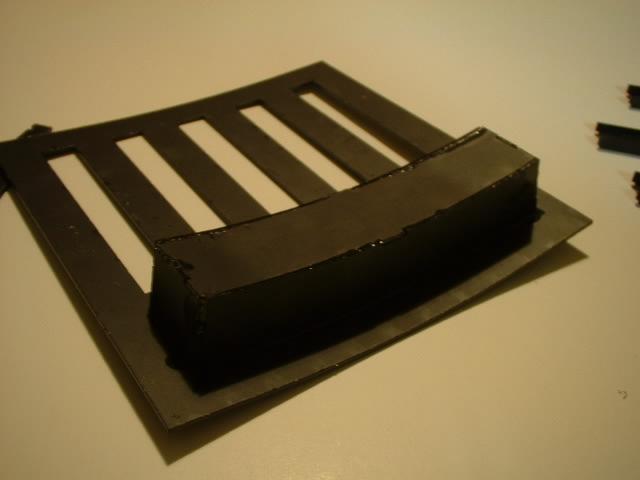
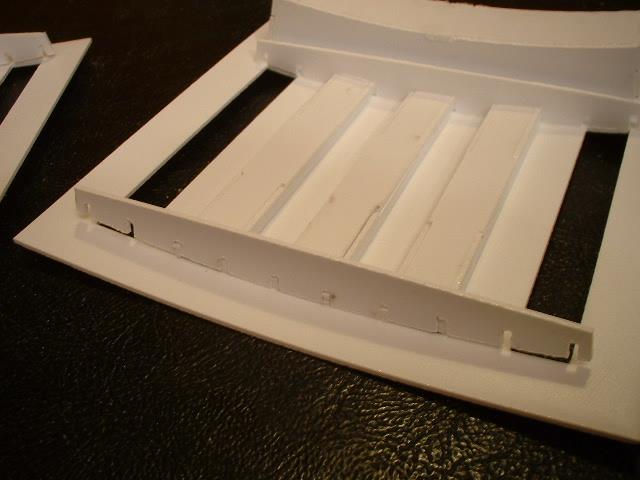
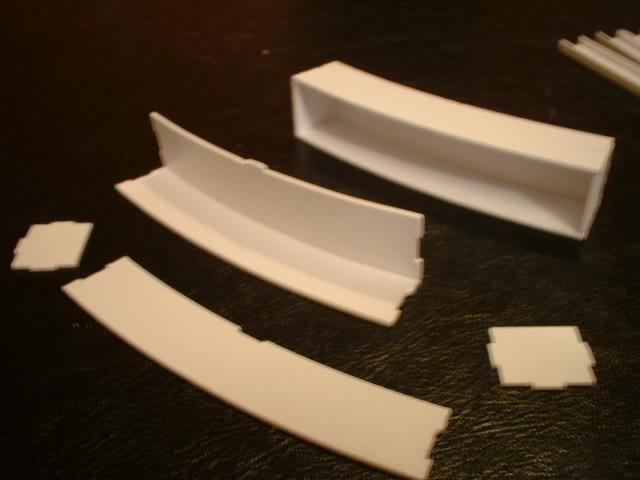 0407.jpg Once the glue has dried the side pieces can be added. In the background is the finished lower pocket |
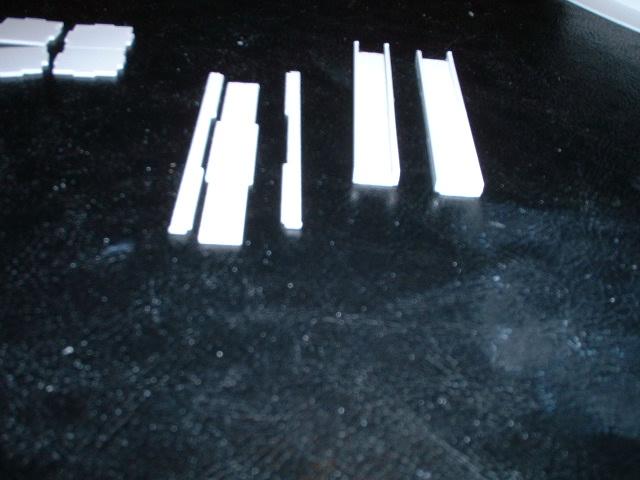 0408.jpg While the lower slats dry it is time to work on the longs slatsNext is the |
 0409.jpg Another view of working on the long slats |
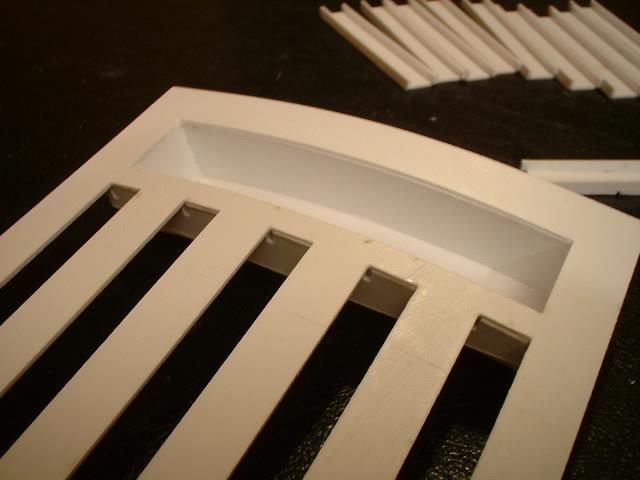
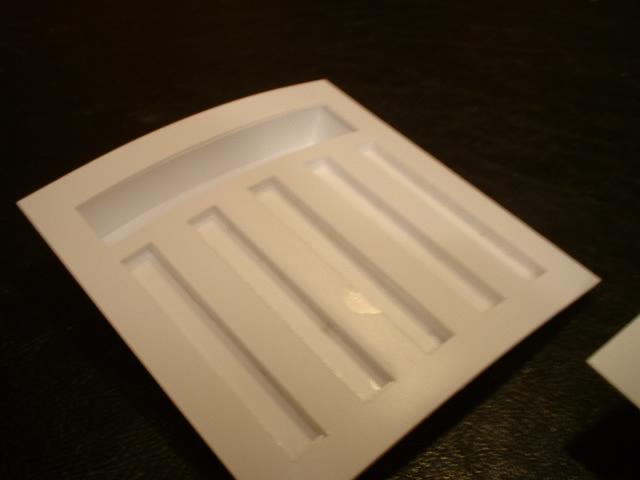
 0410.jpg Prebending the vent face is helpful in making the gluing easier |
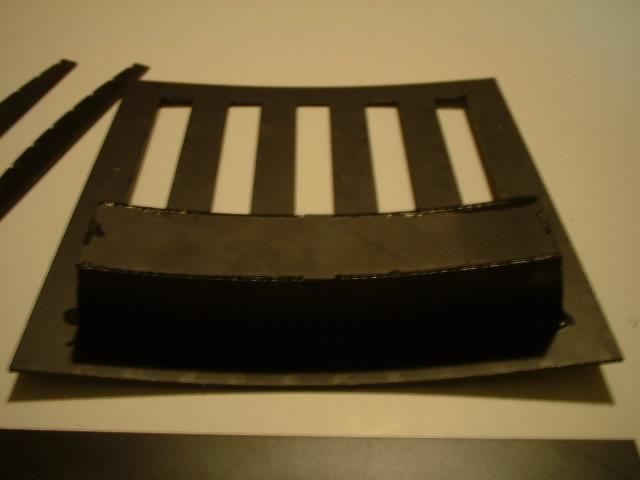 0411.jpg The lower insert has been glued in |
 0412.jpg Another view |
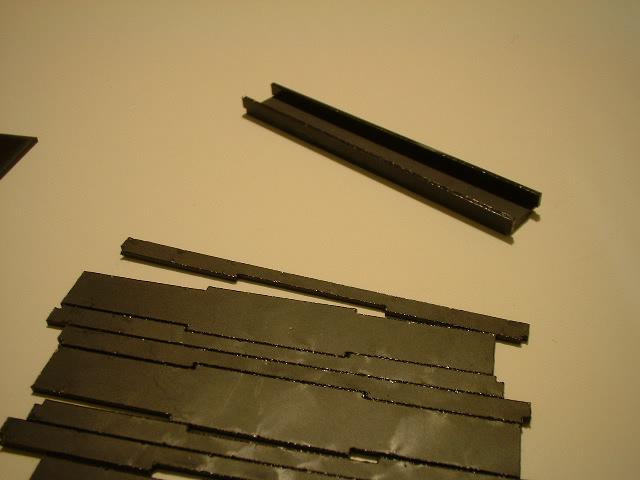
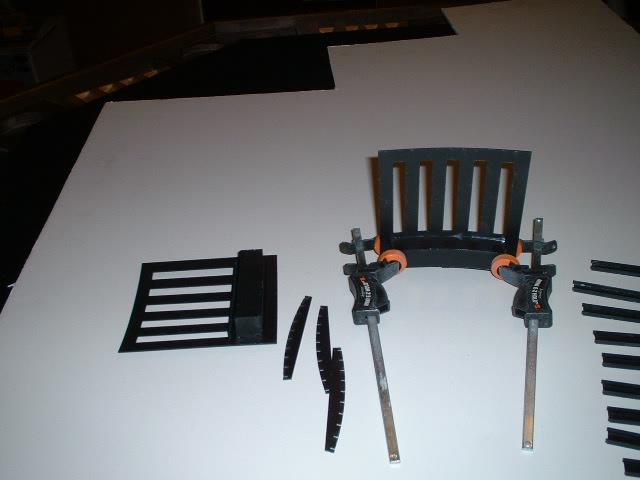 0413.jpg Here I have some small clamps helping to hold the ends together as the glue sets. Depending on the glue sometimes it can be held by hand while the glue sets. otehr glues may take longer to set |
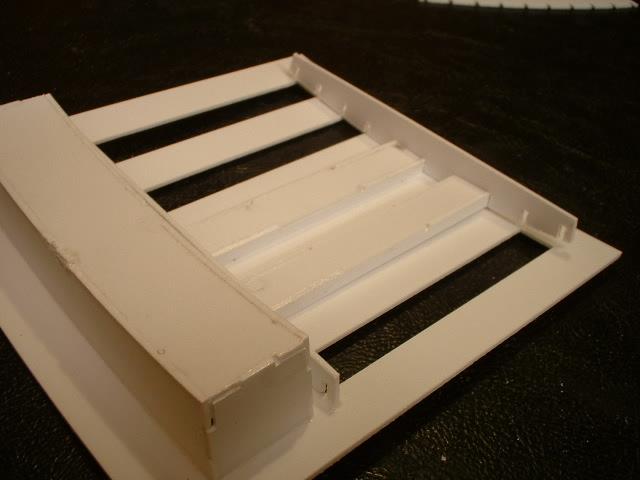
 0414.jpg Hard to see here but the lower section of the long slats has been added. Again make sure the top slat is toped |
 0415.jpg Clsoe up of the lower slat added. Note that the tolerences are tight and this piece has to be mounted flush with the opening to look right |
 0416.jpg Front view |
 0417.jpg The top slayt has been glued on and as before with teh side vents the top piece is used as a guide to locate the second piece for gluing. |
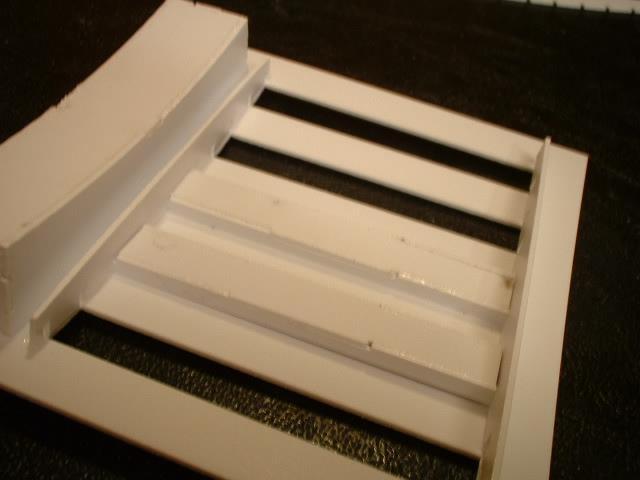 0418.jpg Another view. The top piece is not glued on but it only used to position the other slats as they are glued on. |
 0419.jpg 3rd slat being positioned once all the long slats ahve been glued in the tpo piece can be gkued in |
 0420.jpg All done |
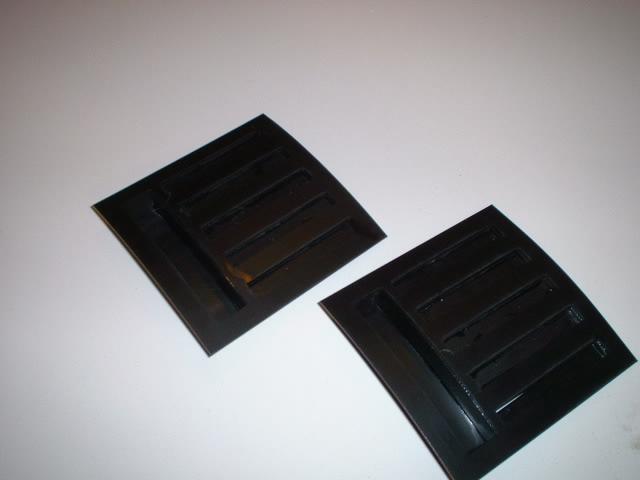 0421.jpg more finished pihotos |