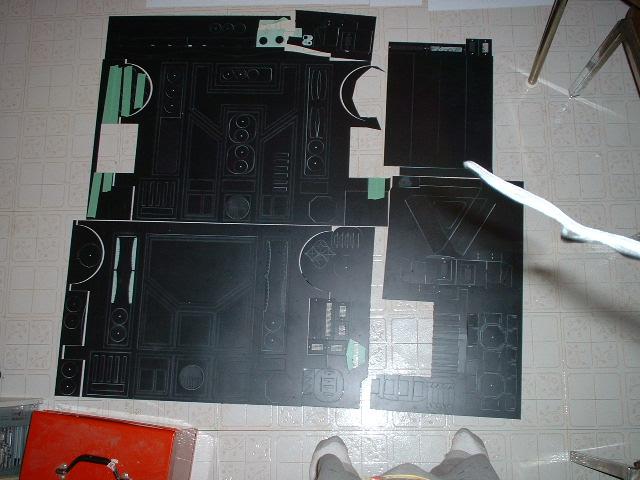
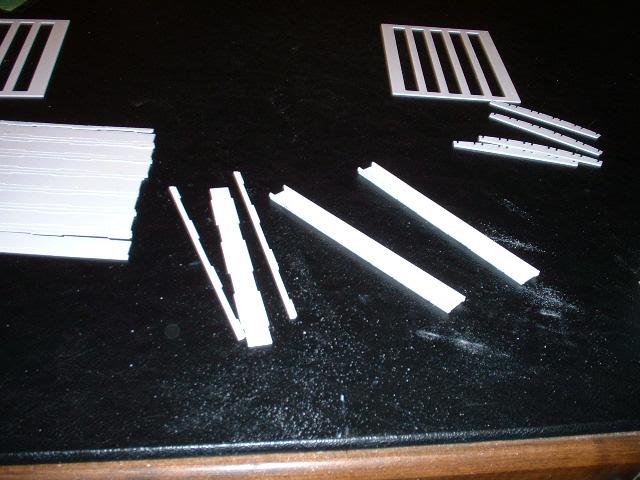
 0301.jpg The skins with the parts removed |
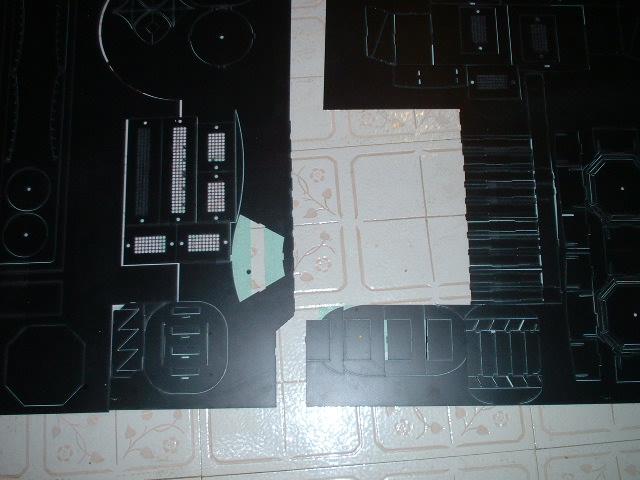 0302.jpg Lower right |
 0303.jpg Upper Left |
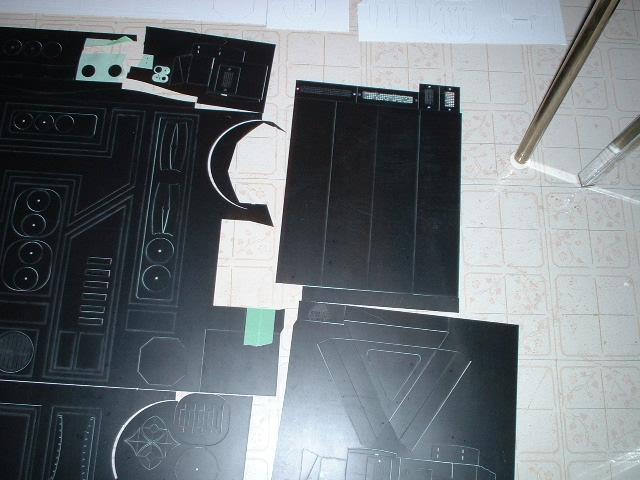 0304.jpg Upper right |
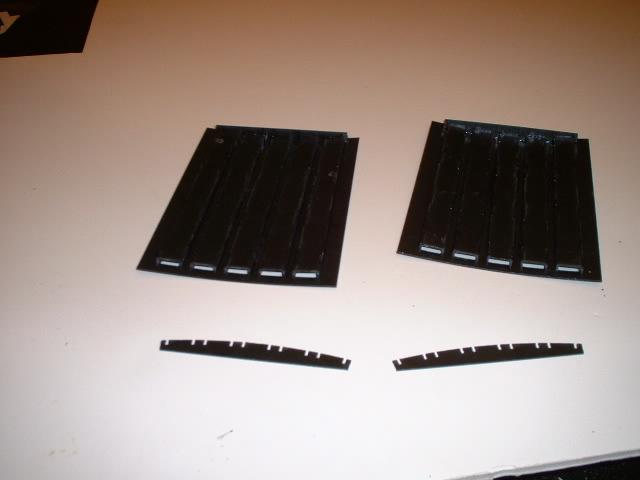
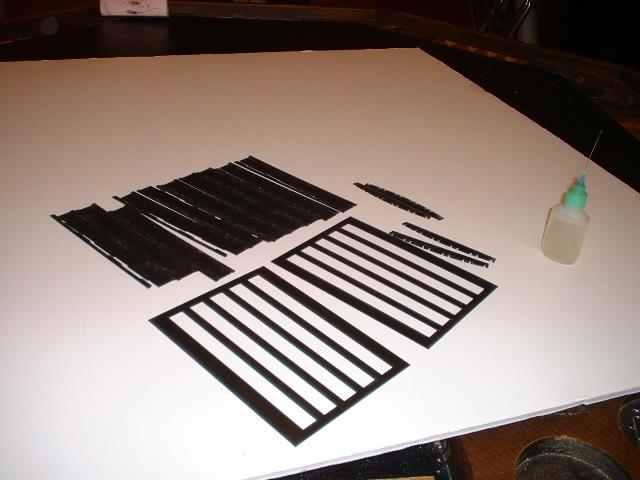 0305.jpg Al the pieces for the side vents |
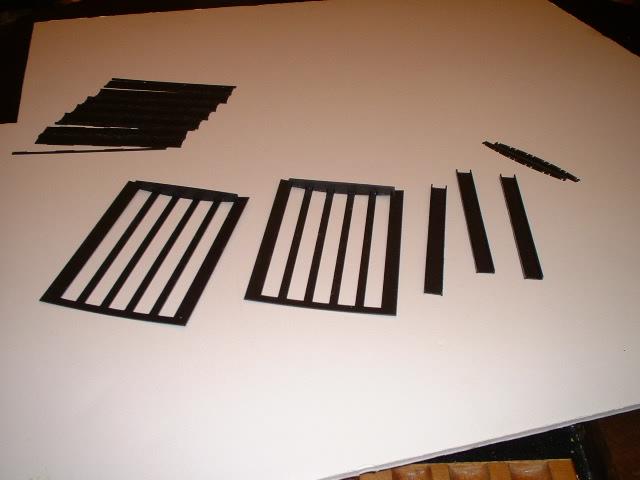
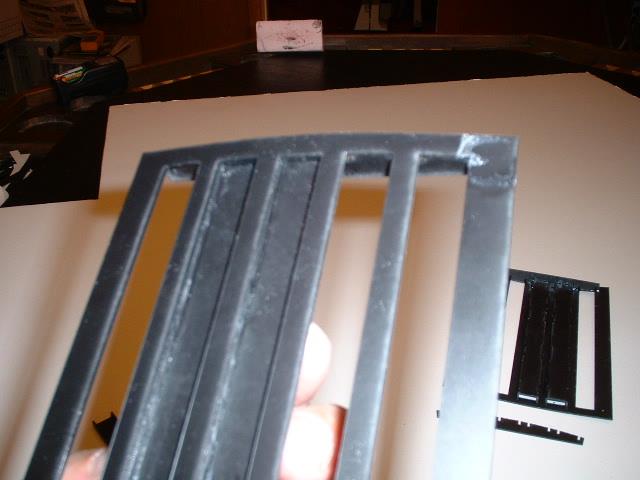
 0306.jpg Here I have am assembling the inserts |
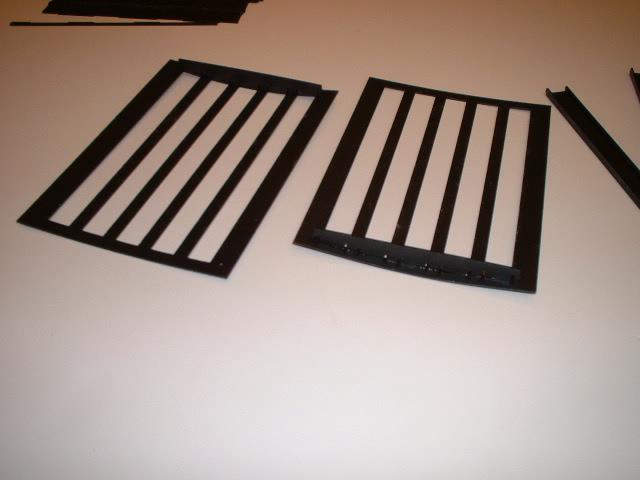
 0307.jpg One side of the end plate has been glued on. I first lined up the top slot to make sure it was toped. Once hte glue was dry I would go to the ends and glue them. I did not bent the vent face before but it may have made things easier if I did. |
 0308.jpg not sy to see but the two views of the side vents |
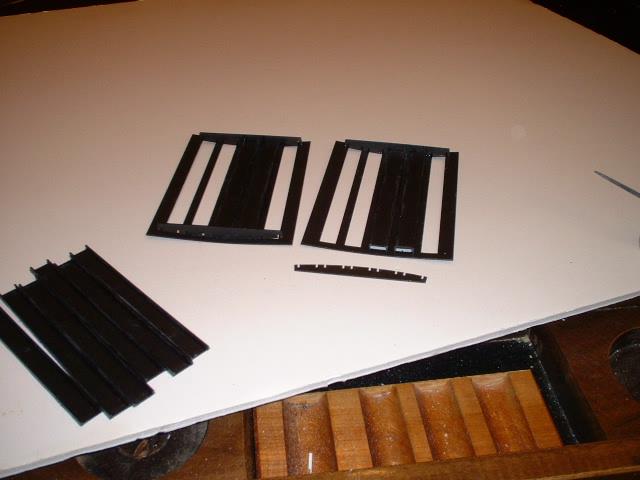
 0309.jpg All the inner pieces have been assembled and ready to be installed. Note that there can be some flash on the ends of the assembles slot so this may make installing them a bit difficult. Some filing with a little file will solve that |
 0310.jpg Always test fit the parts to make sure everything will go in ok before applying glue. I have used the end piece to make sure the alignment is fine as I add each slot |
 0311.jpg The front face |
 0312.jpg Here are all the slots instaled. All I have |