R7 Skin Extras - Periscope

This is where the parts are taken off for the Periscope

Top right corner

top right corner

Here are all the parts all laid out
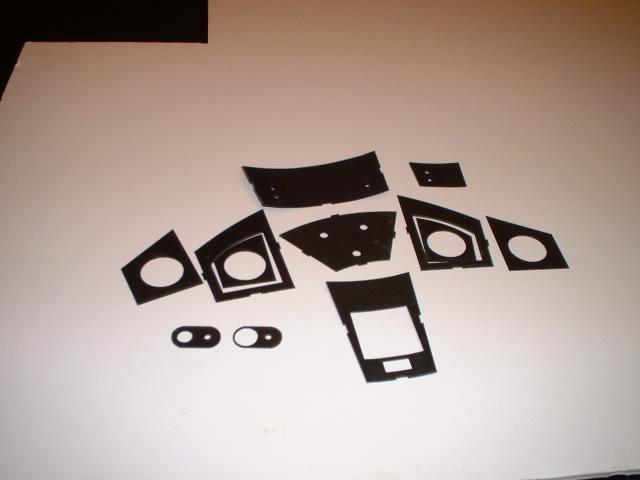
It helps to pre-bend the front and rear pieces

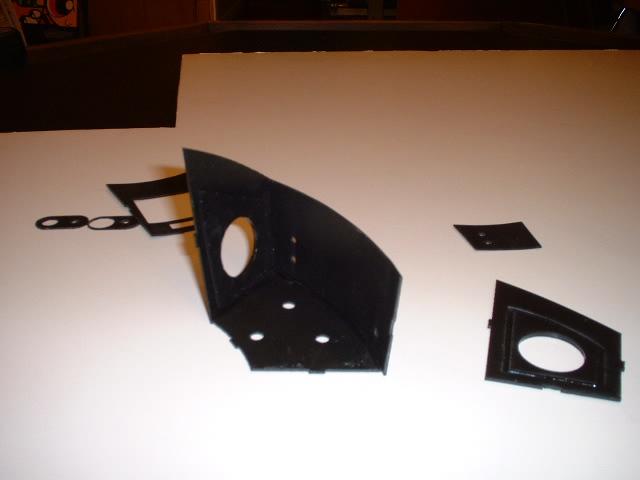
Here are the 3 side pieces. Join the 2 left pieces first. Line up the inner holes before gluing. Once that has set you can glue together the other part. If you have a slow setting type glue you have some time to get the position right.

The back piece is glued on first

Once that has set you can start gluing on the side pieces.

Once the two side pieces have been glued on you can glue on the front piece

WARNING: The front piece needs to be bent into a certain curve. One should take their time doing this as I managed to break the top section when I was trying to bend it too fast. Take your time.
WARNING 2: The rear piece has to bent a certain way to get the 2 holes to be on the right side. Check references and the last picture to make sure the back piece is bent right.